We asked out resident dressmaker Rachel to try out the Two Stitches 'Frida' pattern and give some tips and hints!...
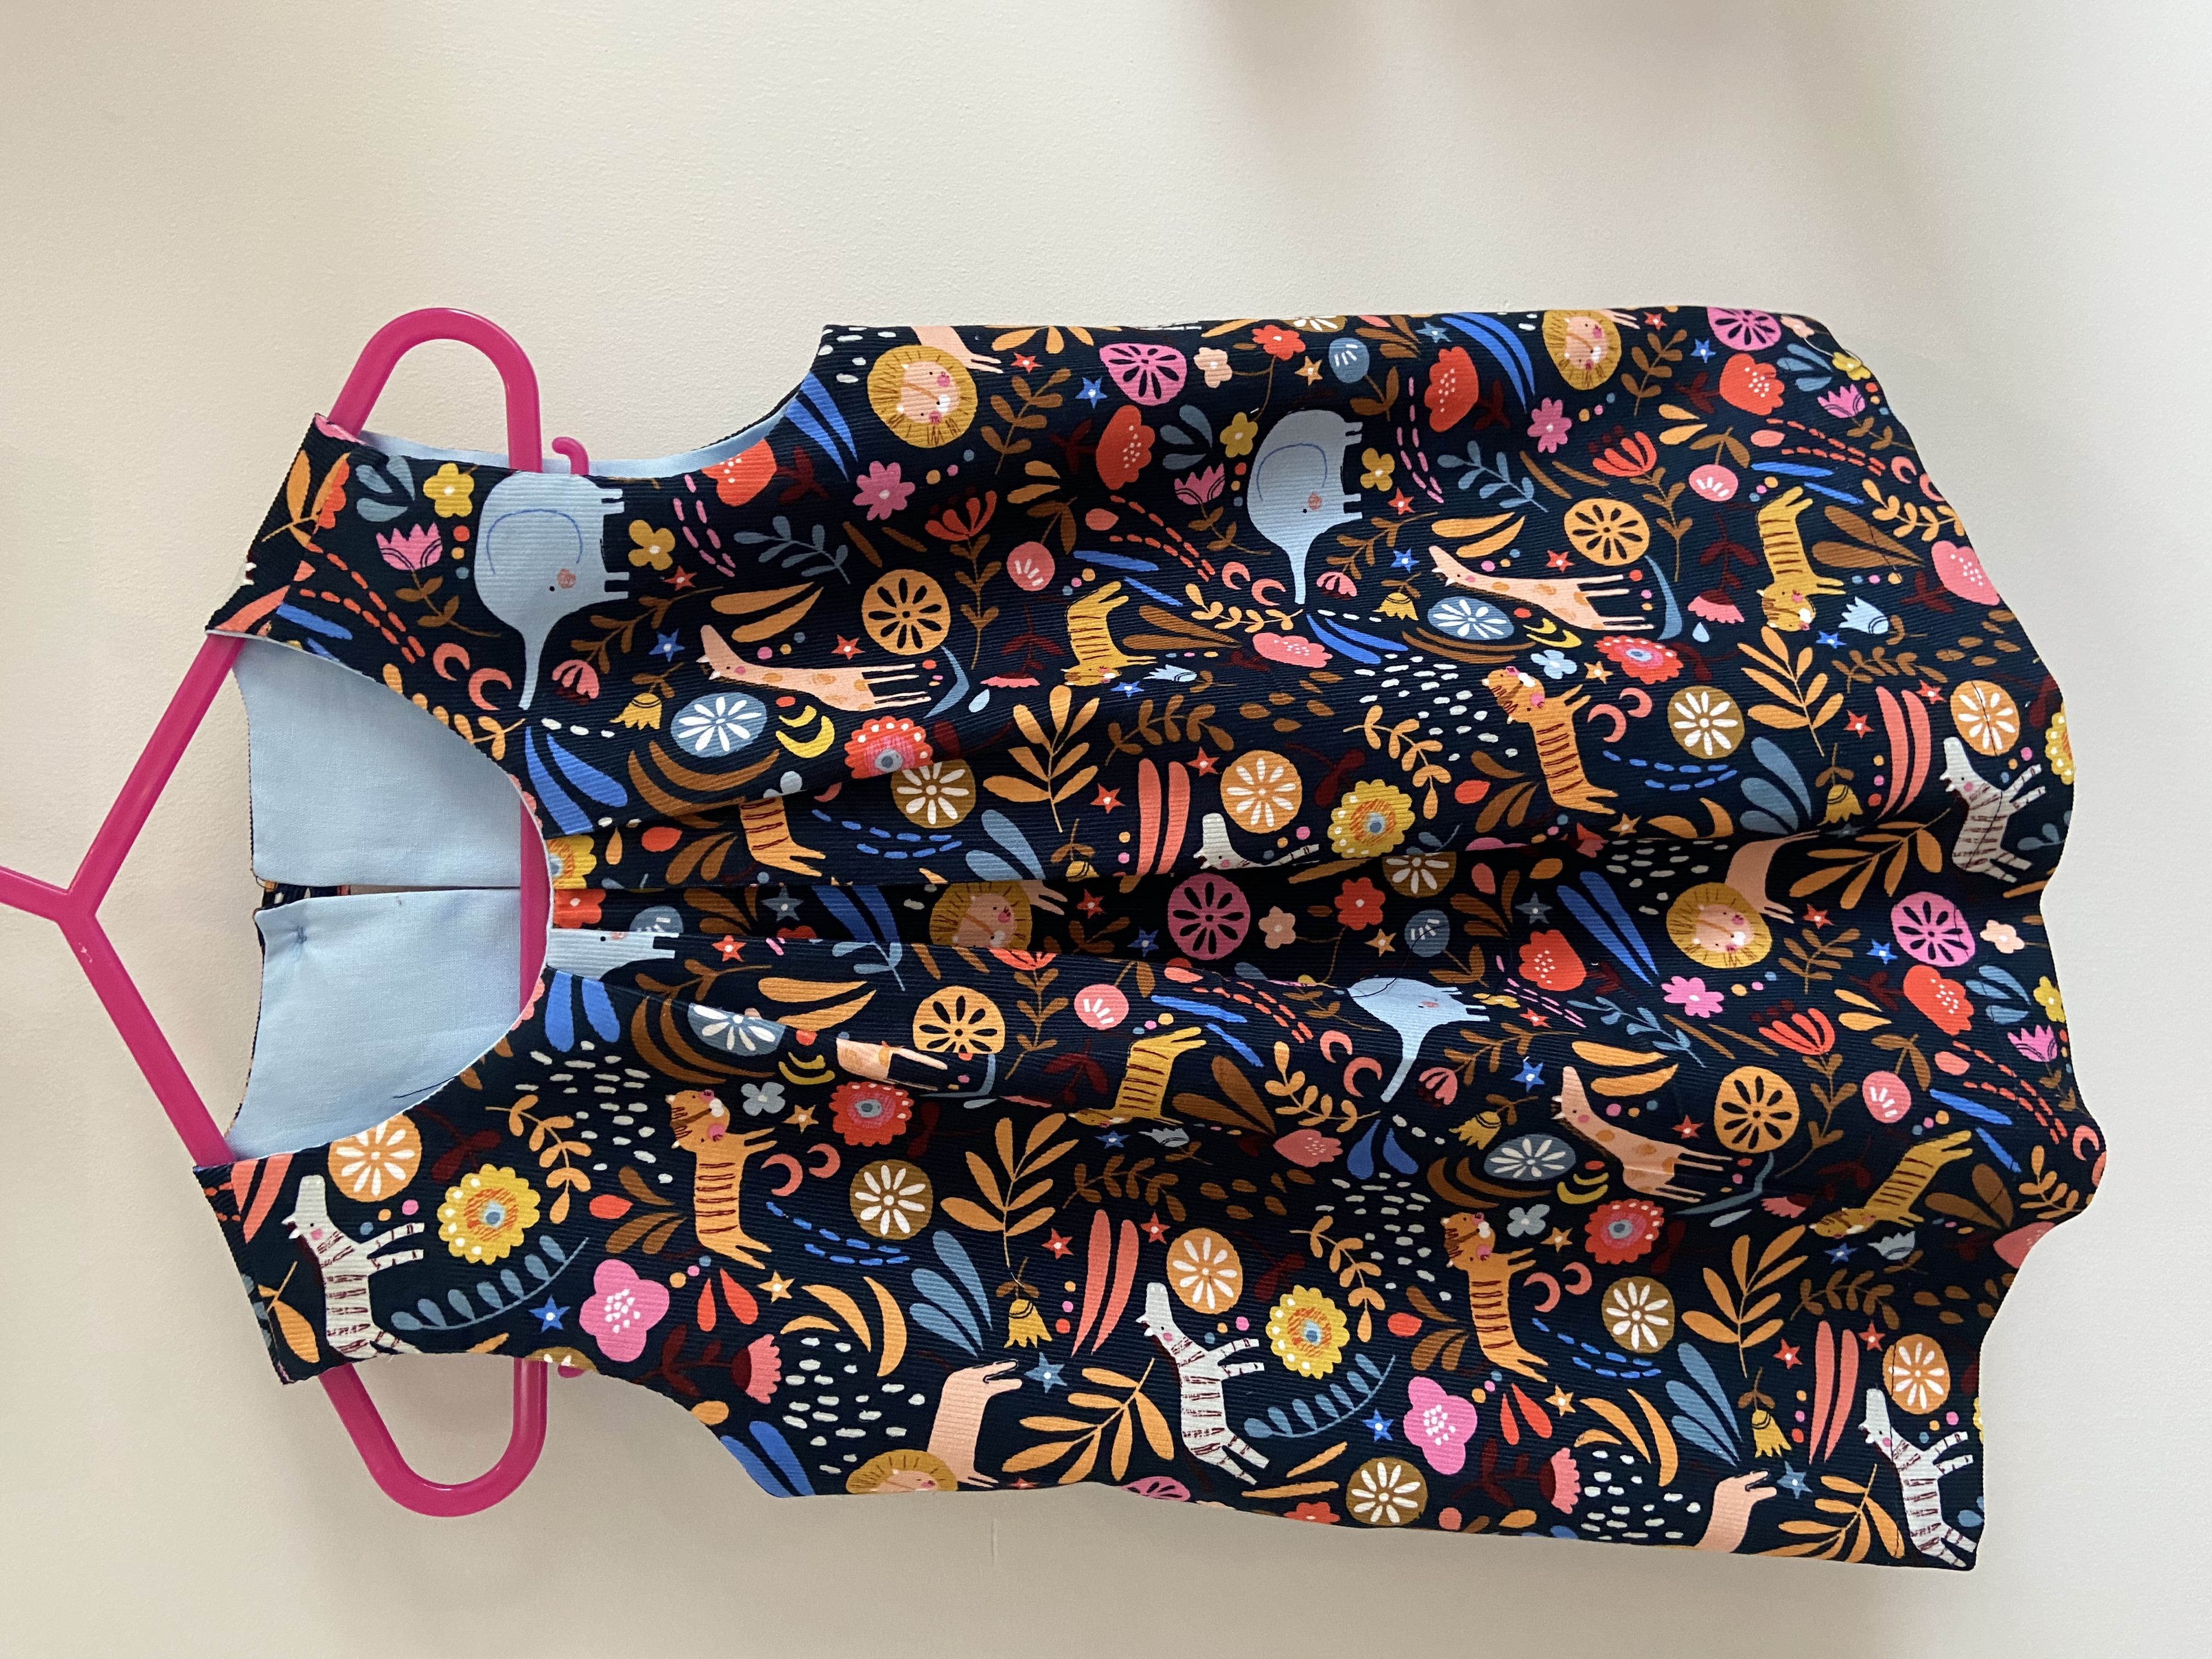
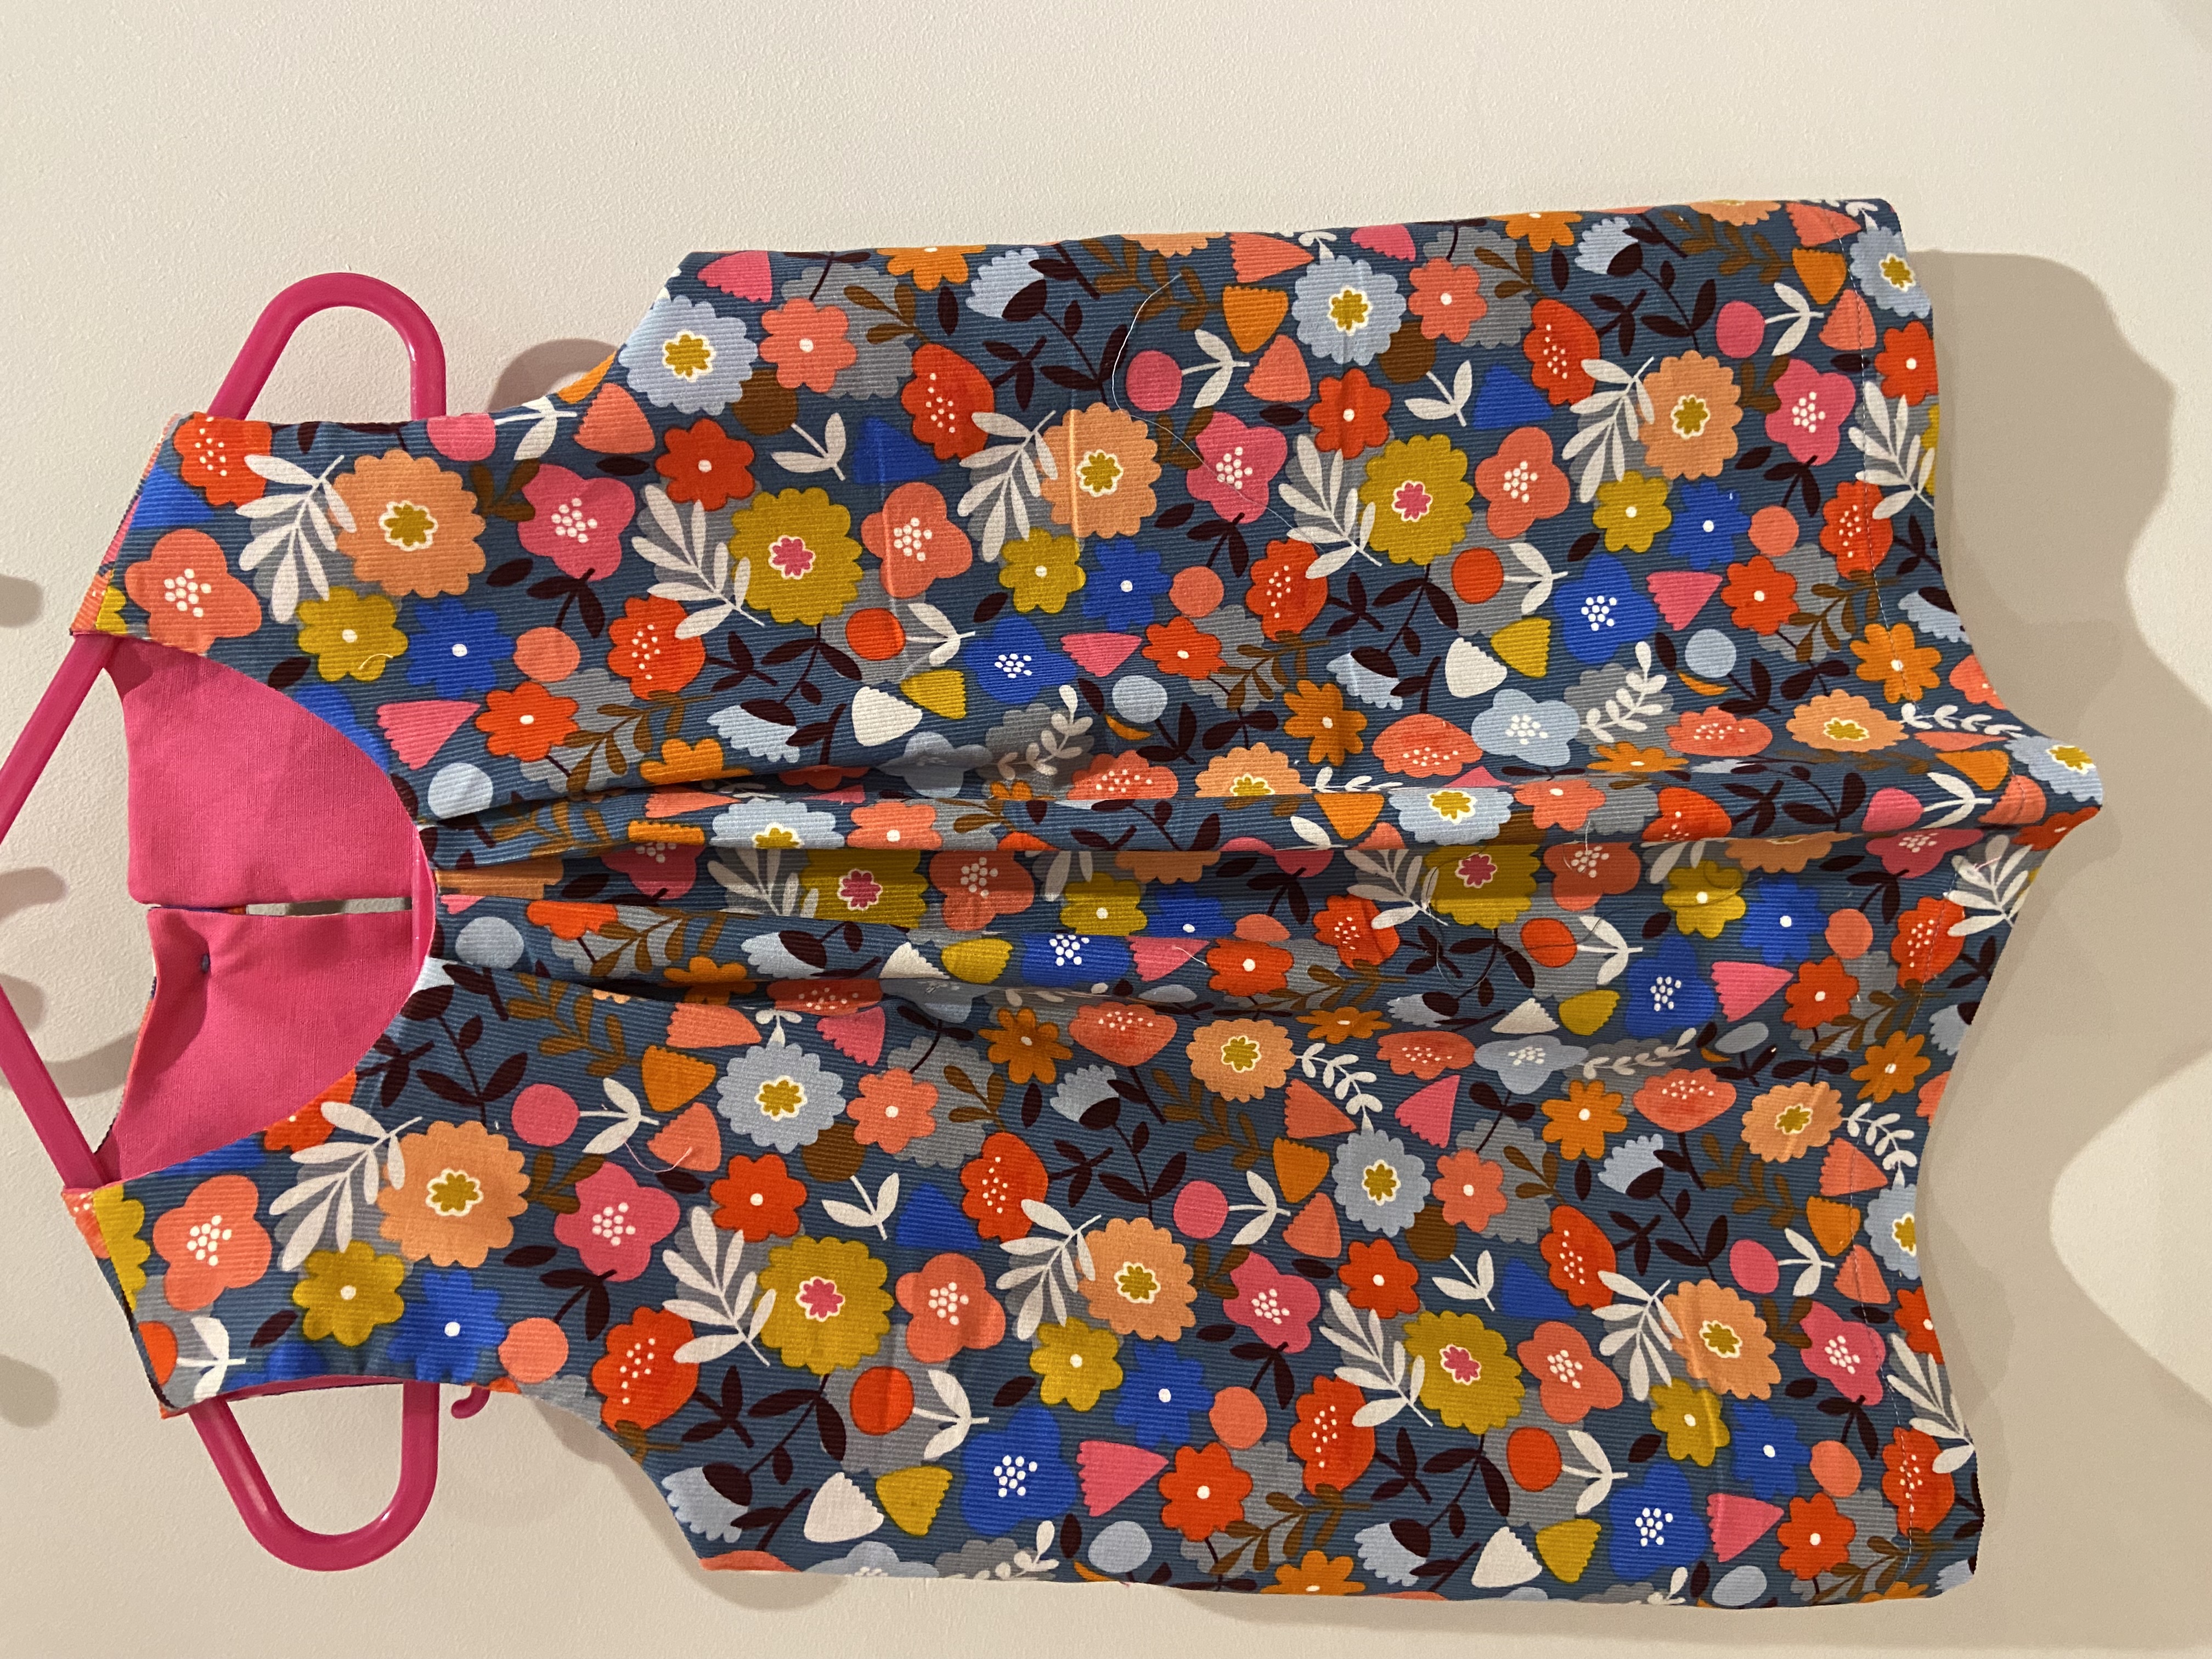
The Frida dress pattern is a nice easy pattern for a confident beginner. The instruction booklet included with the pattern has clear drawings and instructions. I hope this blog with photos of making the dress will be an additional help for newish sewers. You can find the Frida pattern here. We made the dress in Pincord from Sew Scrumptious with a 100% cotton lining.
General Instructions
- Read the general instructions carefully before starting the project. As stated remember to wash all your fabrics before cutting out to allow for any shrinkage.
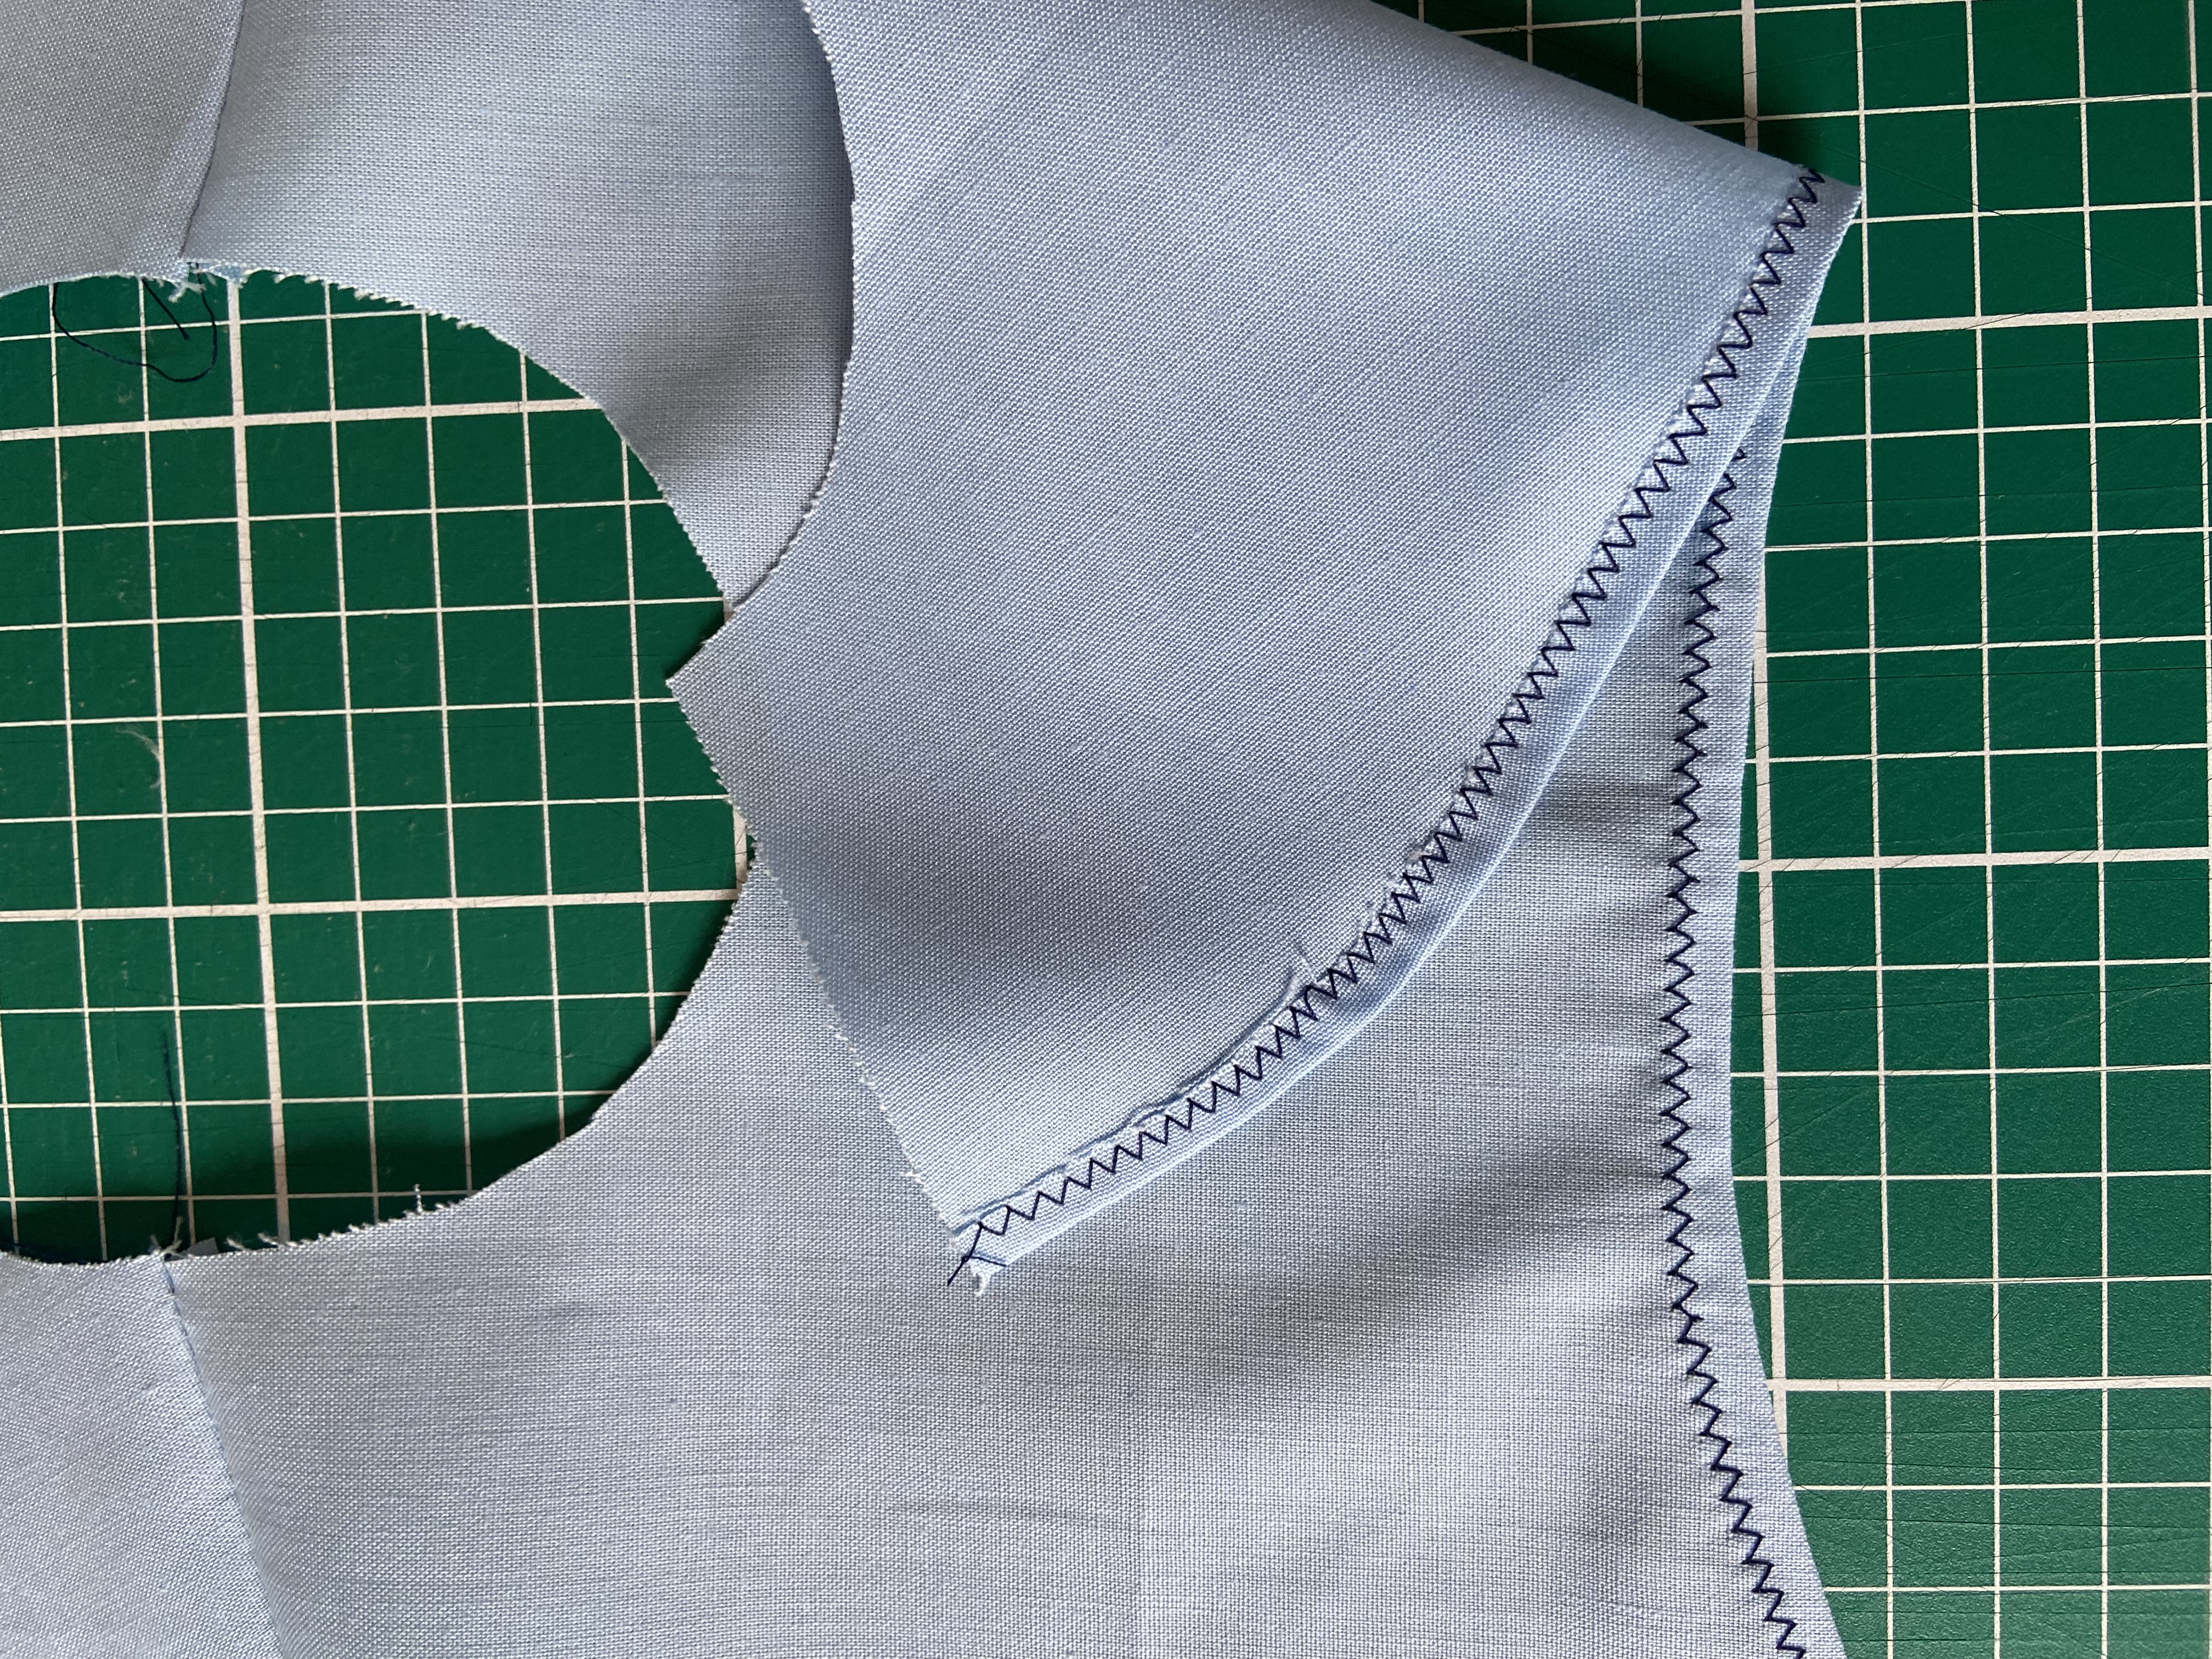
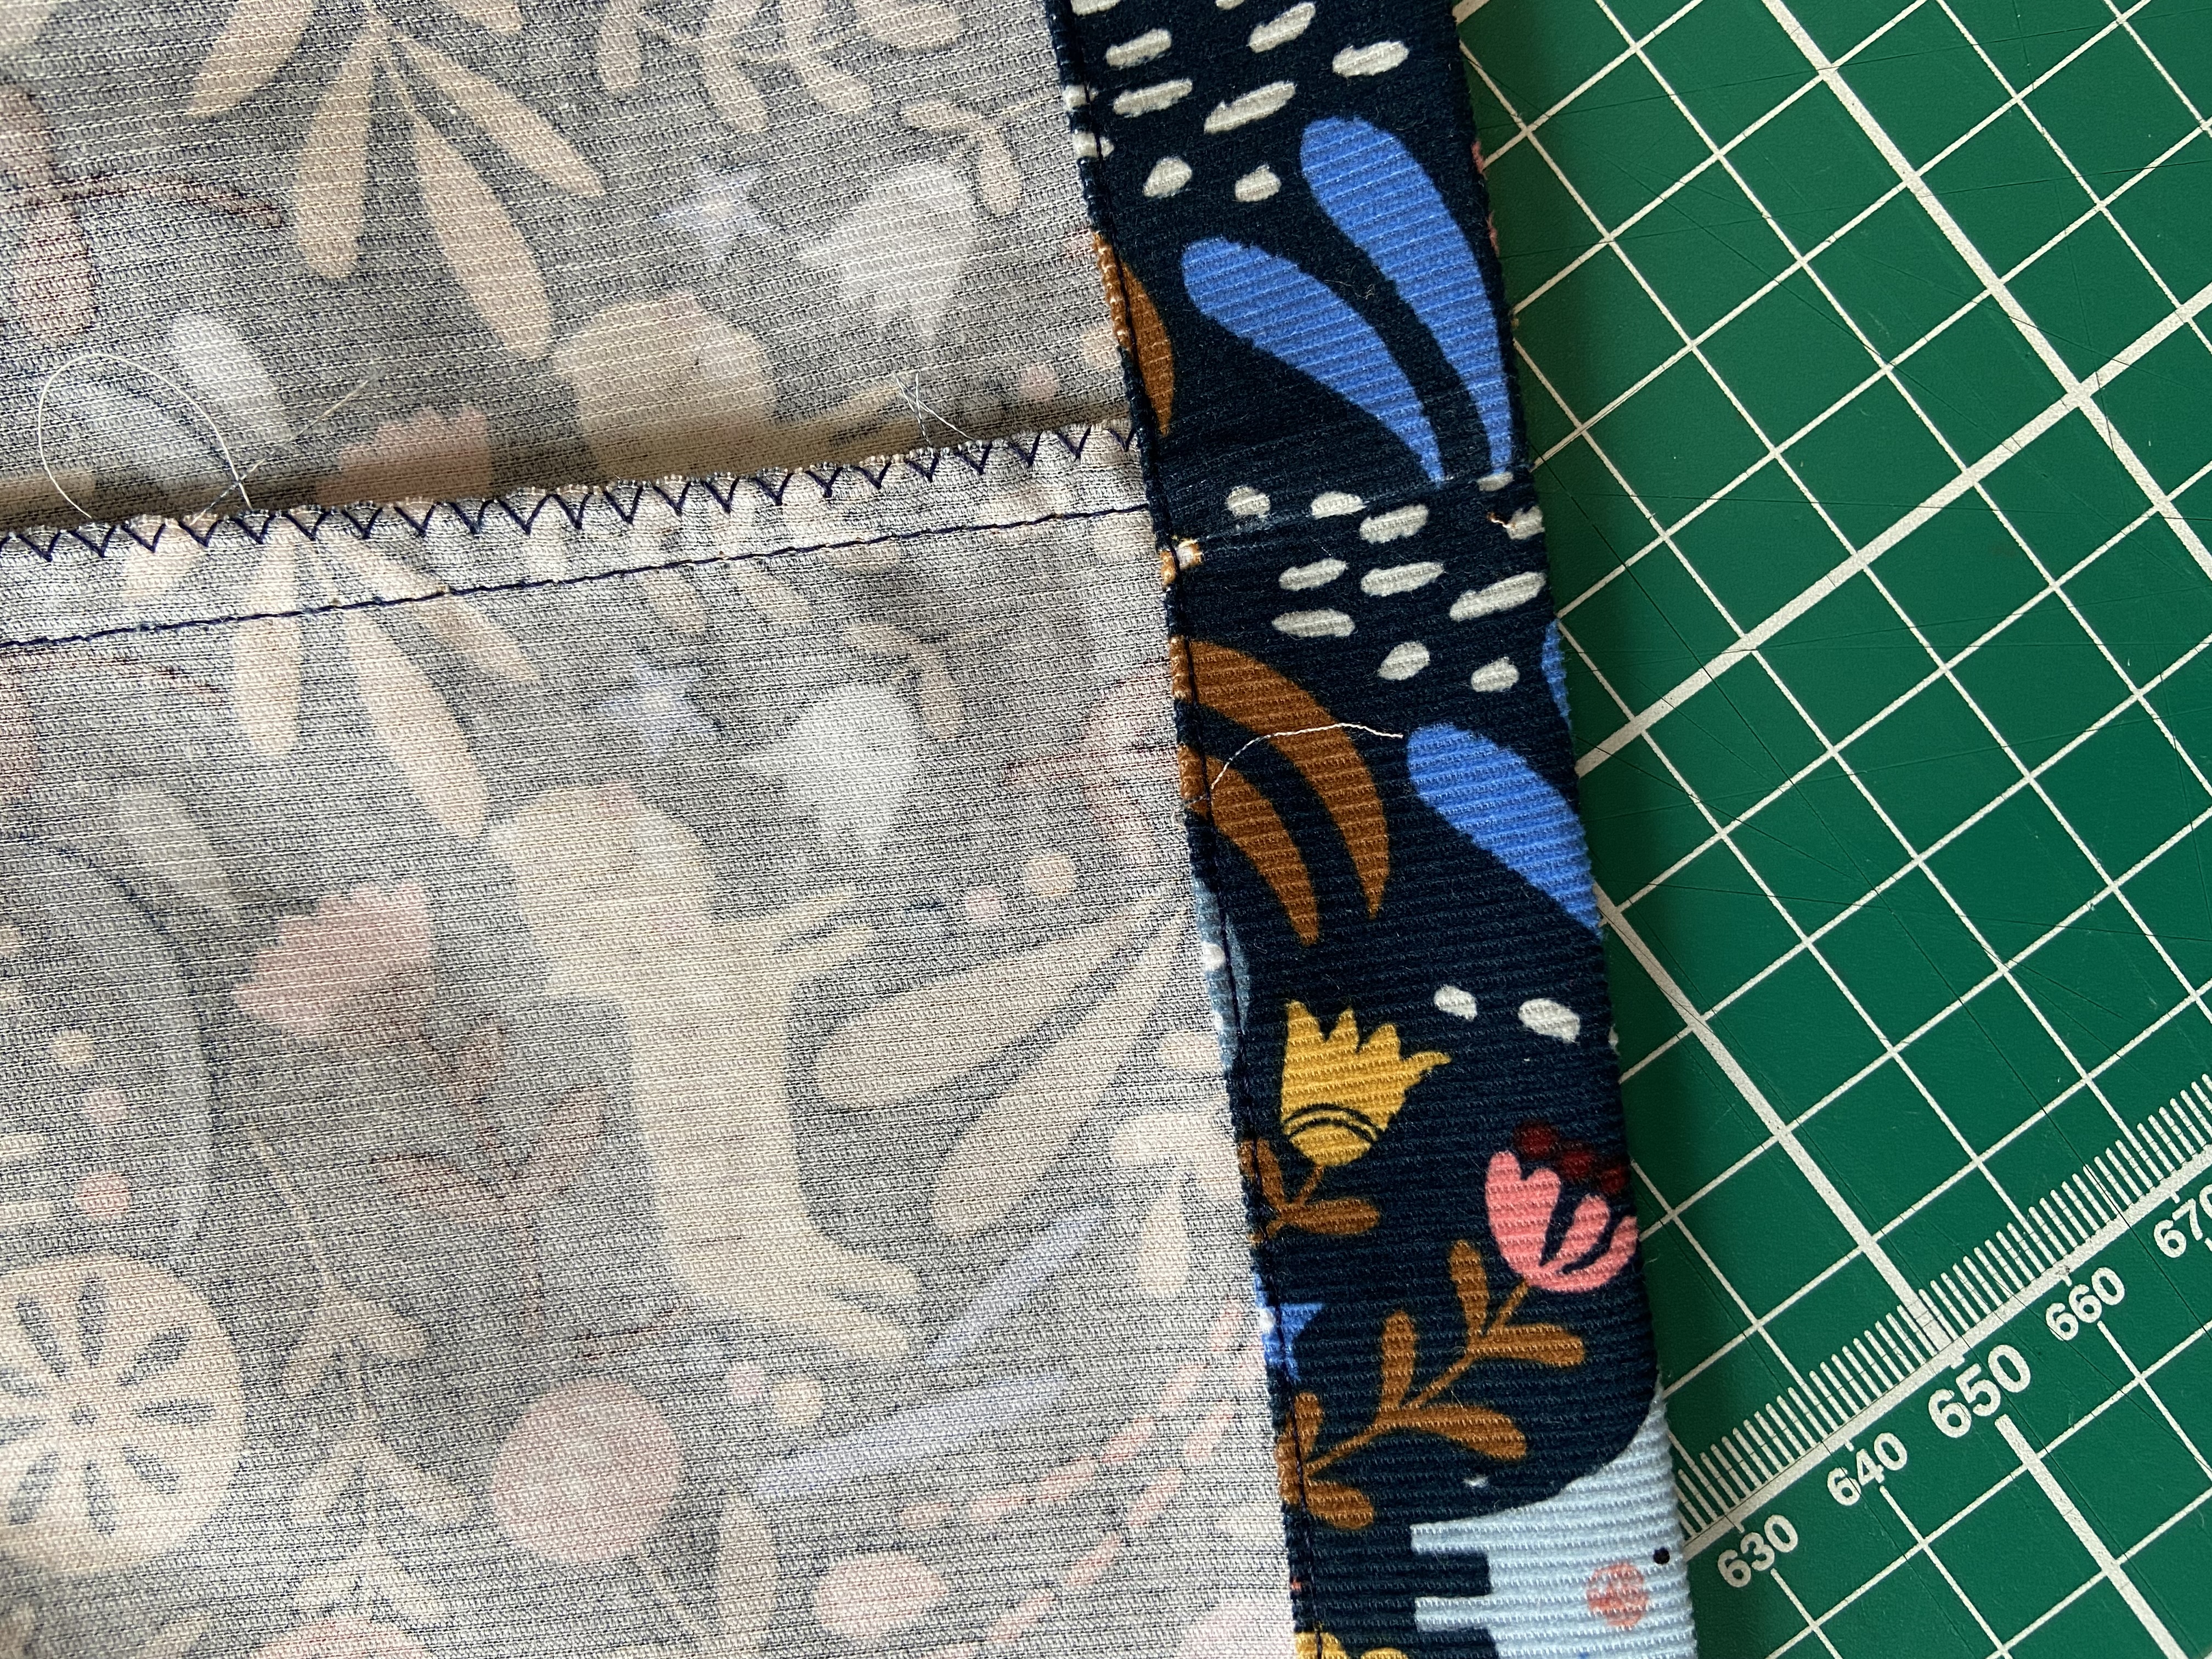
- Point 5 suggests pressing the seams open after sewing, but as the seams are very narrow, only 5mm, I think neatening the edges together with a zigzag stitch and then pressing to one side is better.
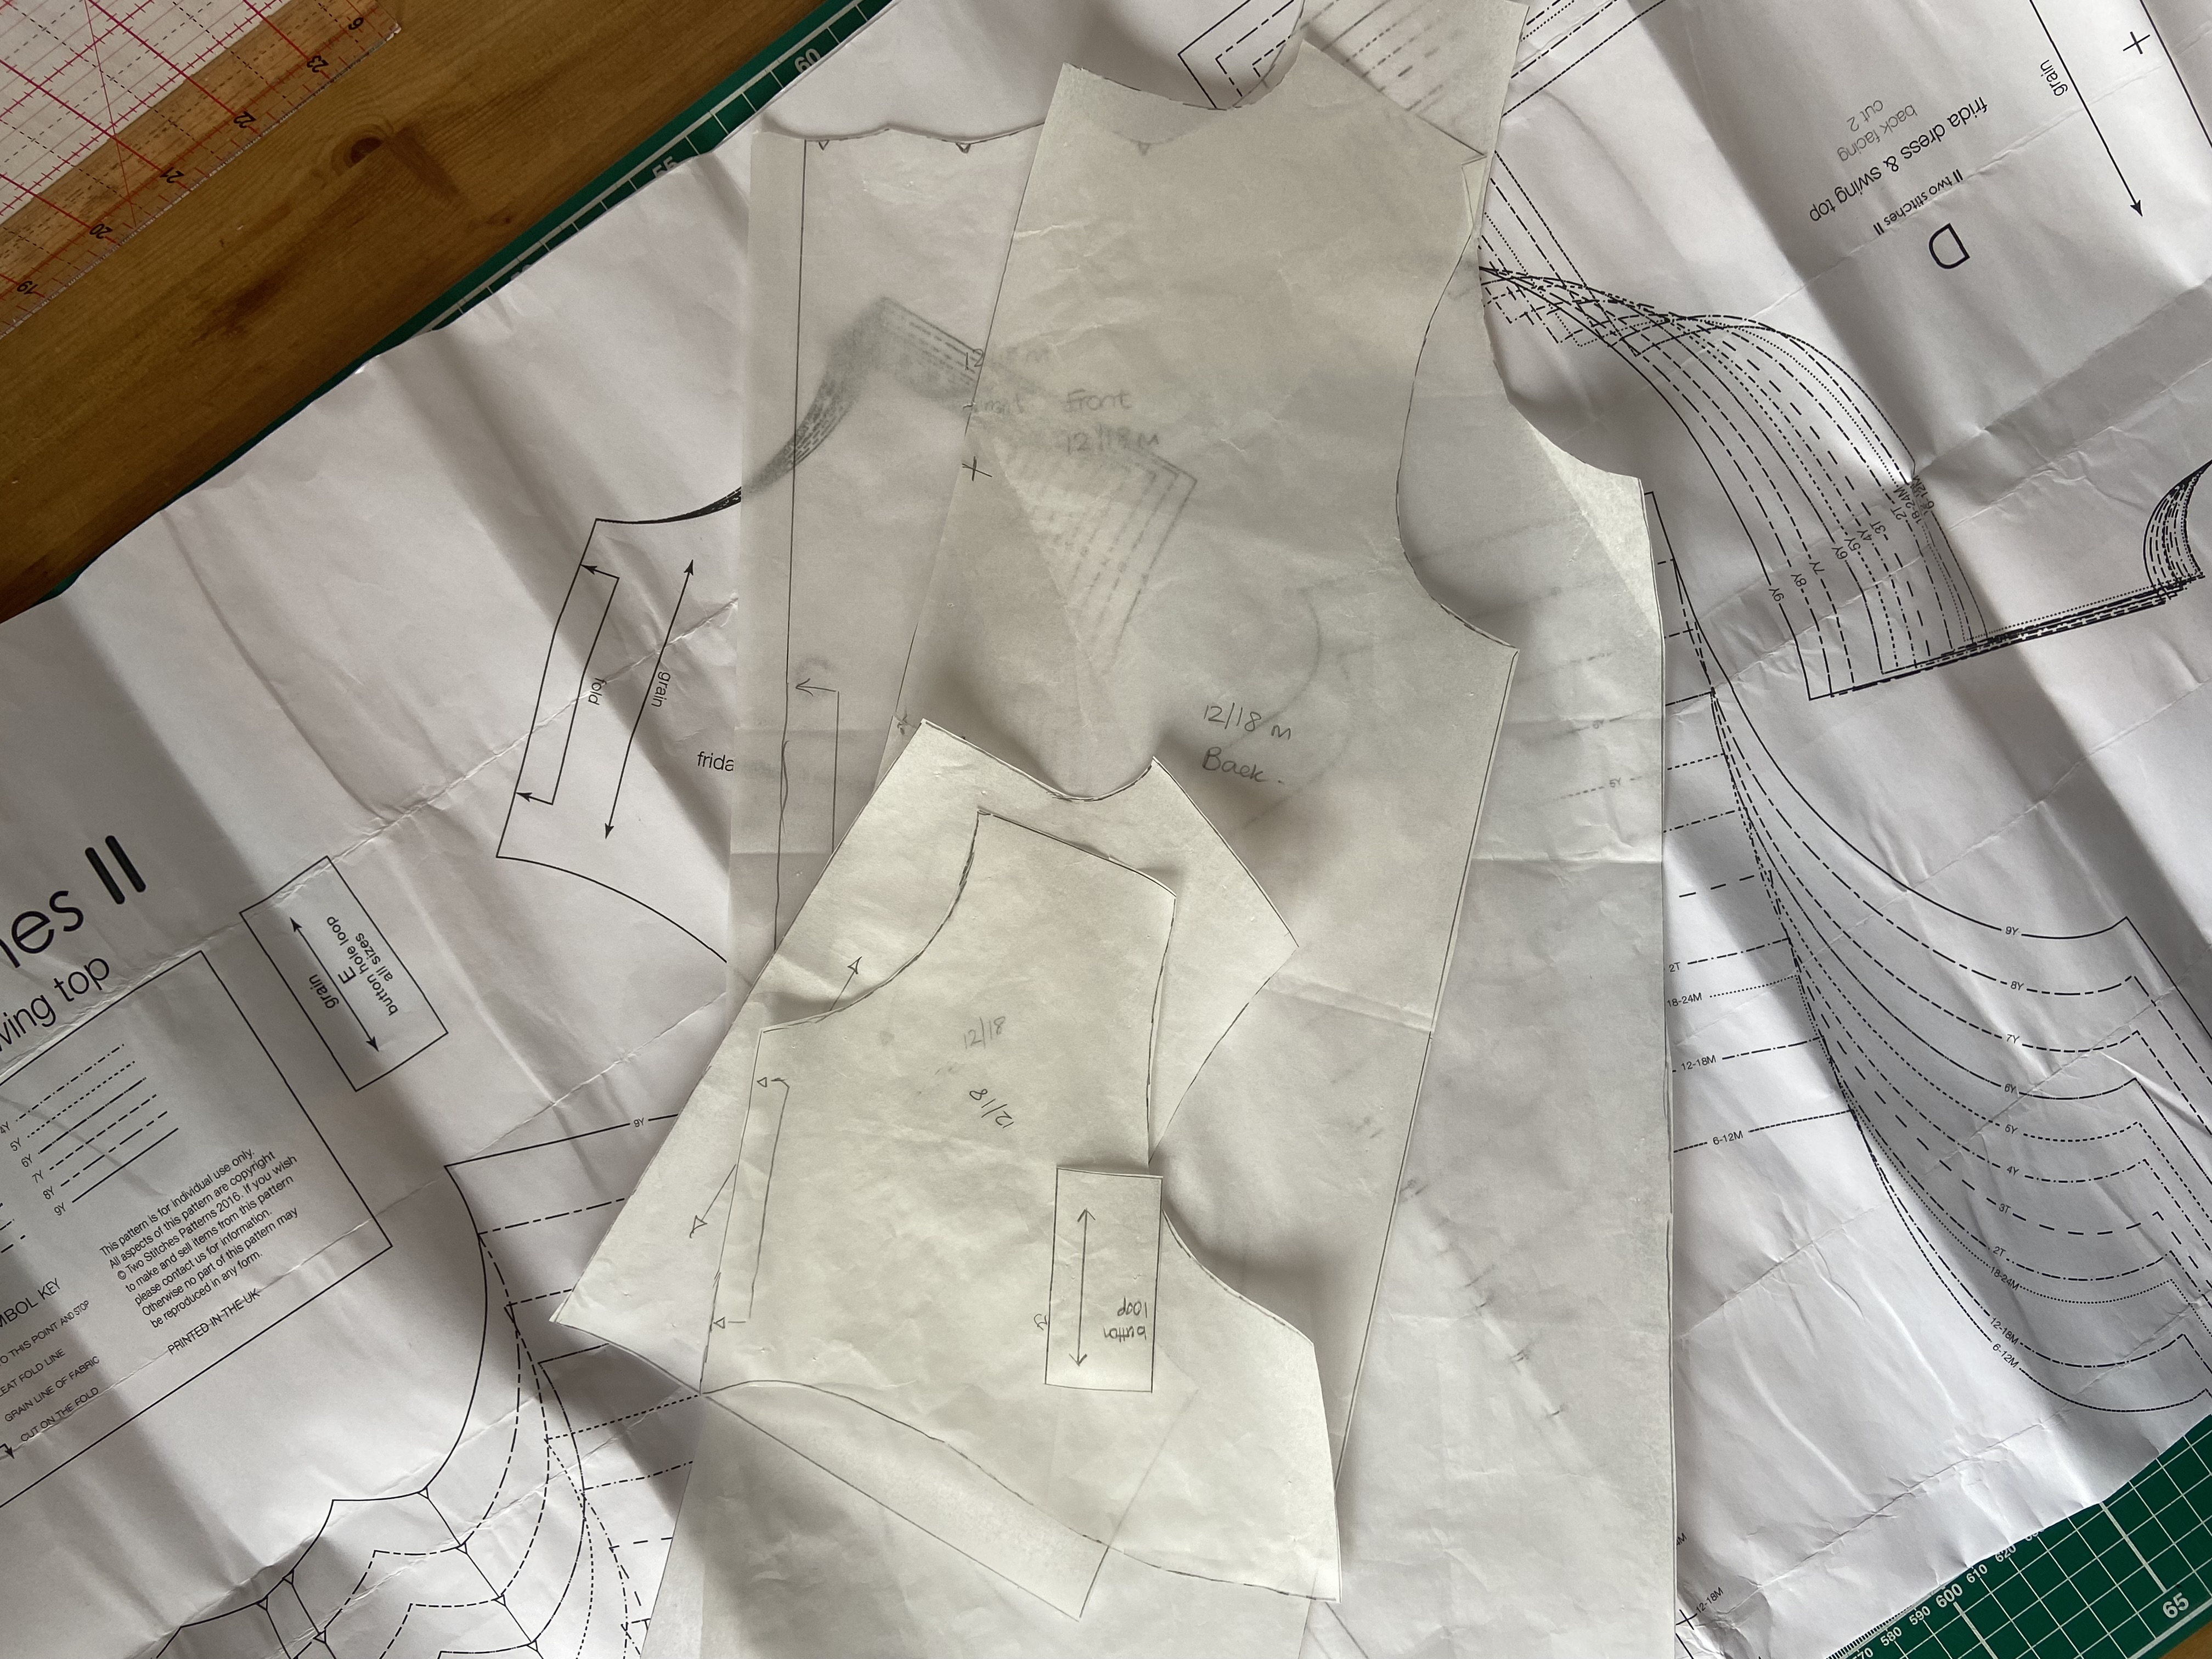
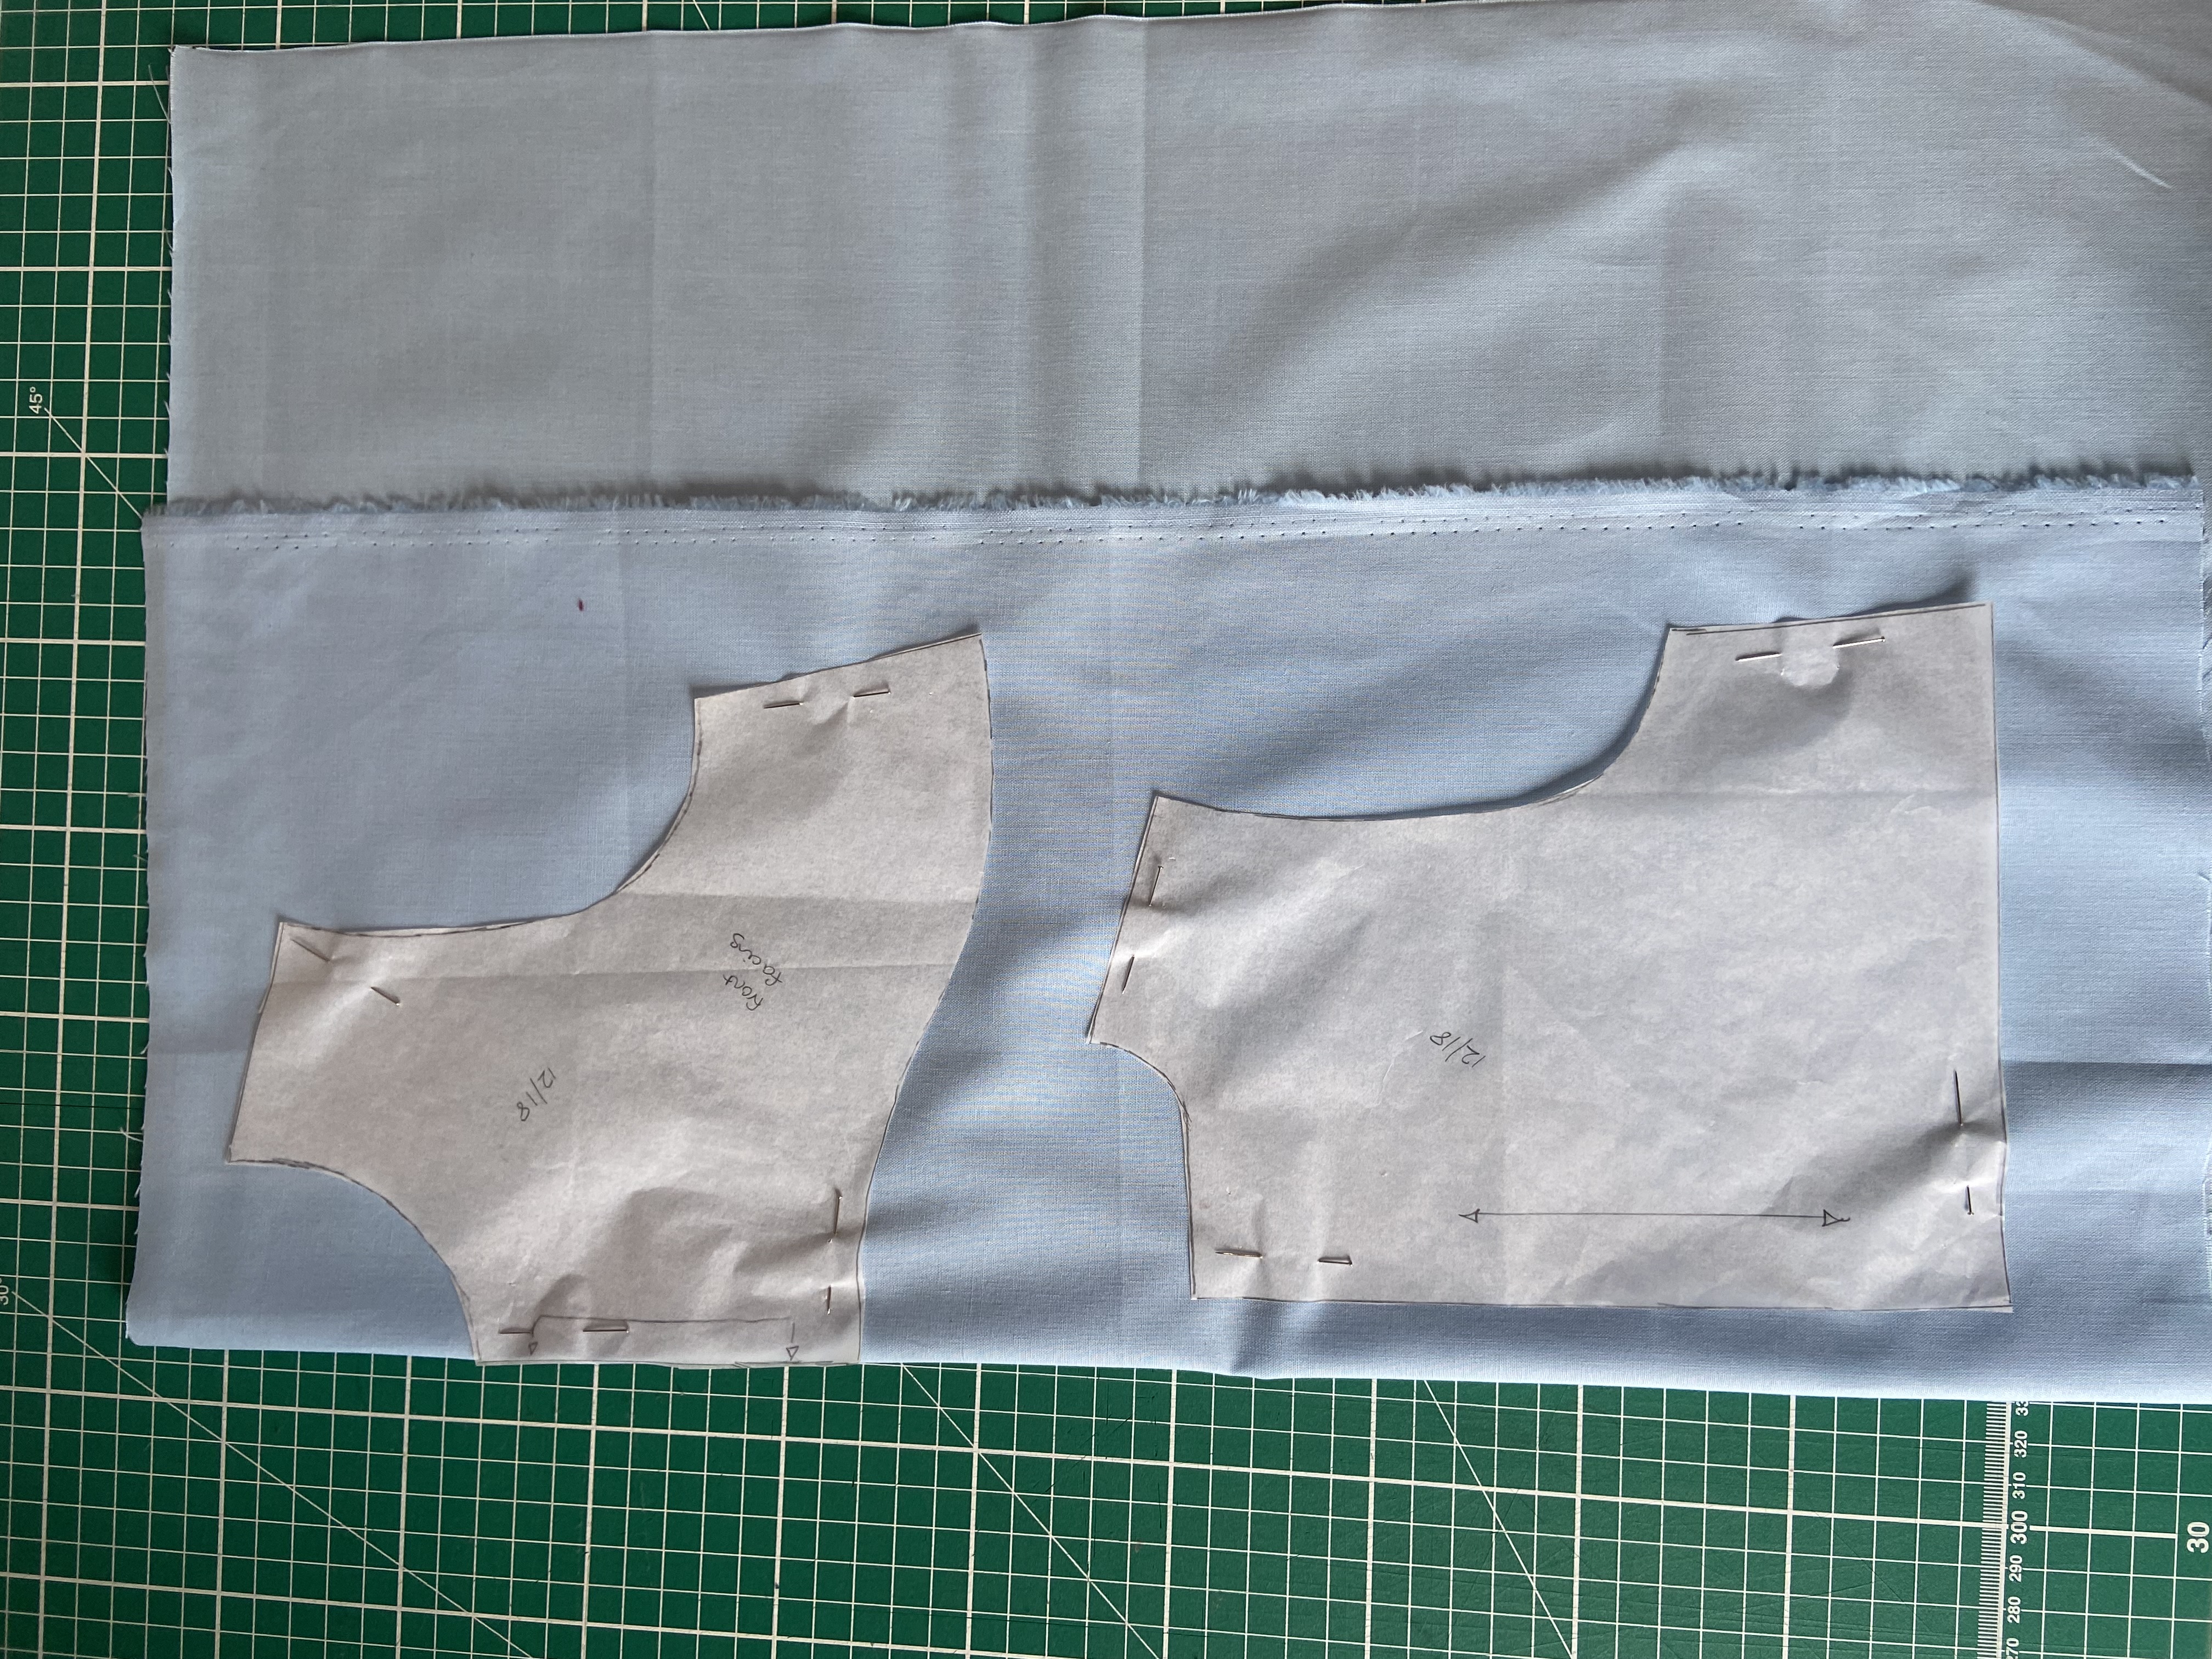
- Trace the size pattern you want to use from the master copy. I use baking paper. This means that the master copy is intact for copying further sizes as your child grows.
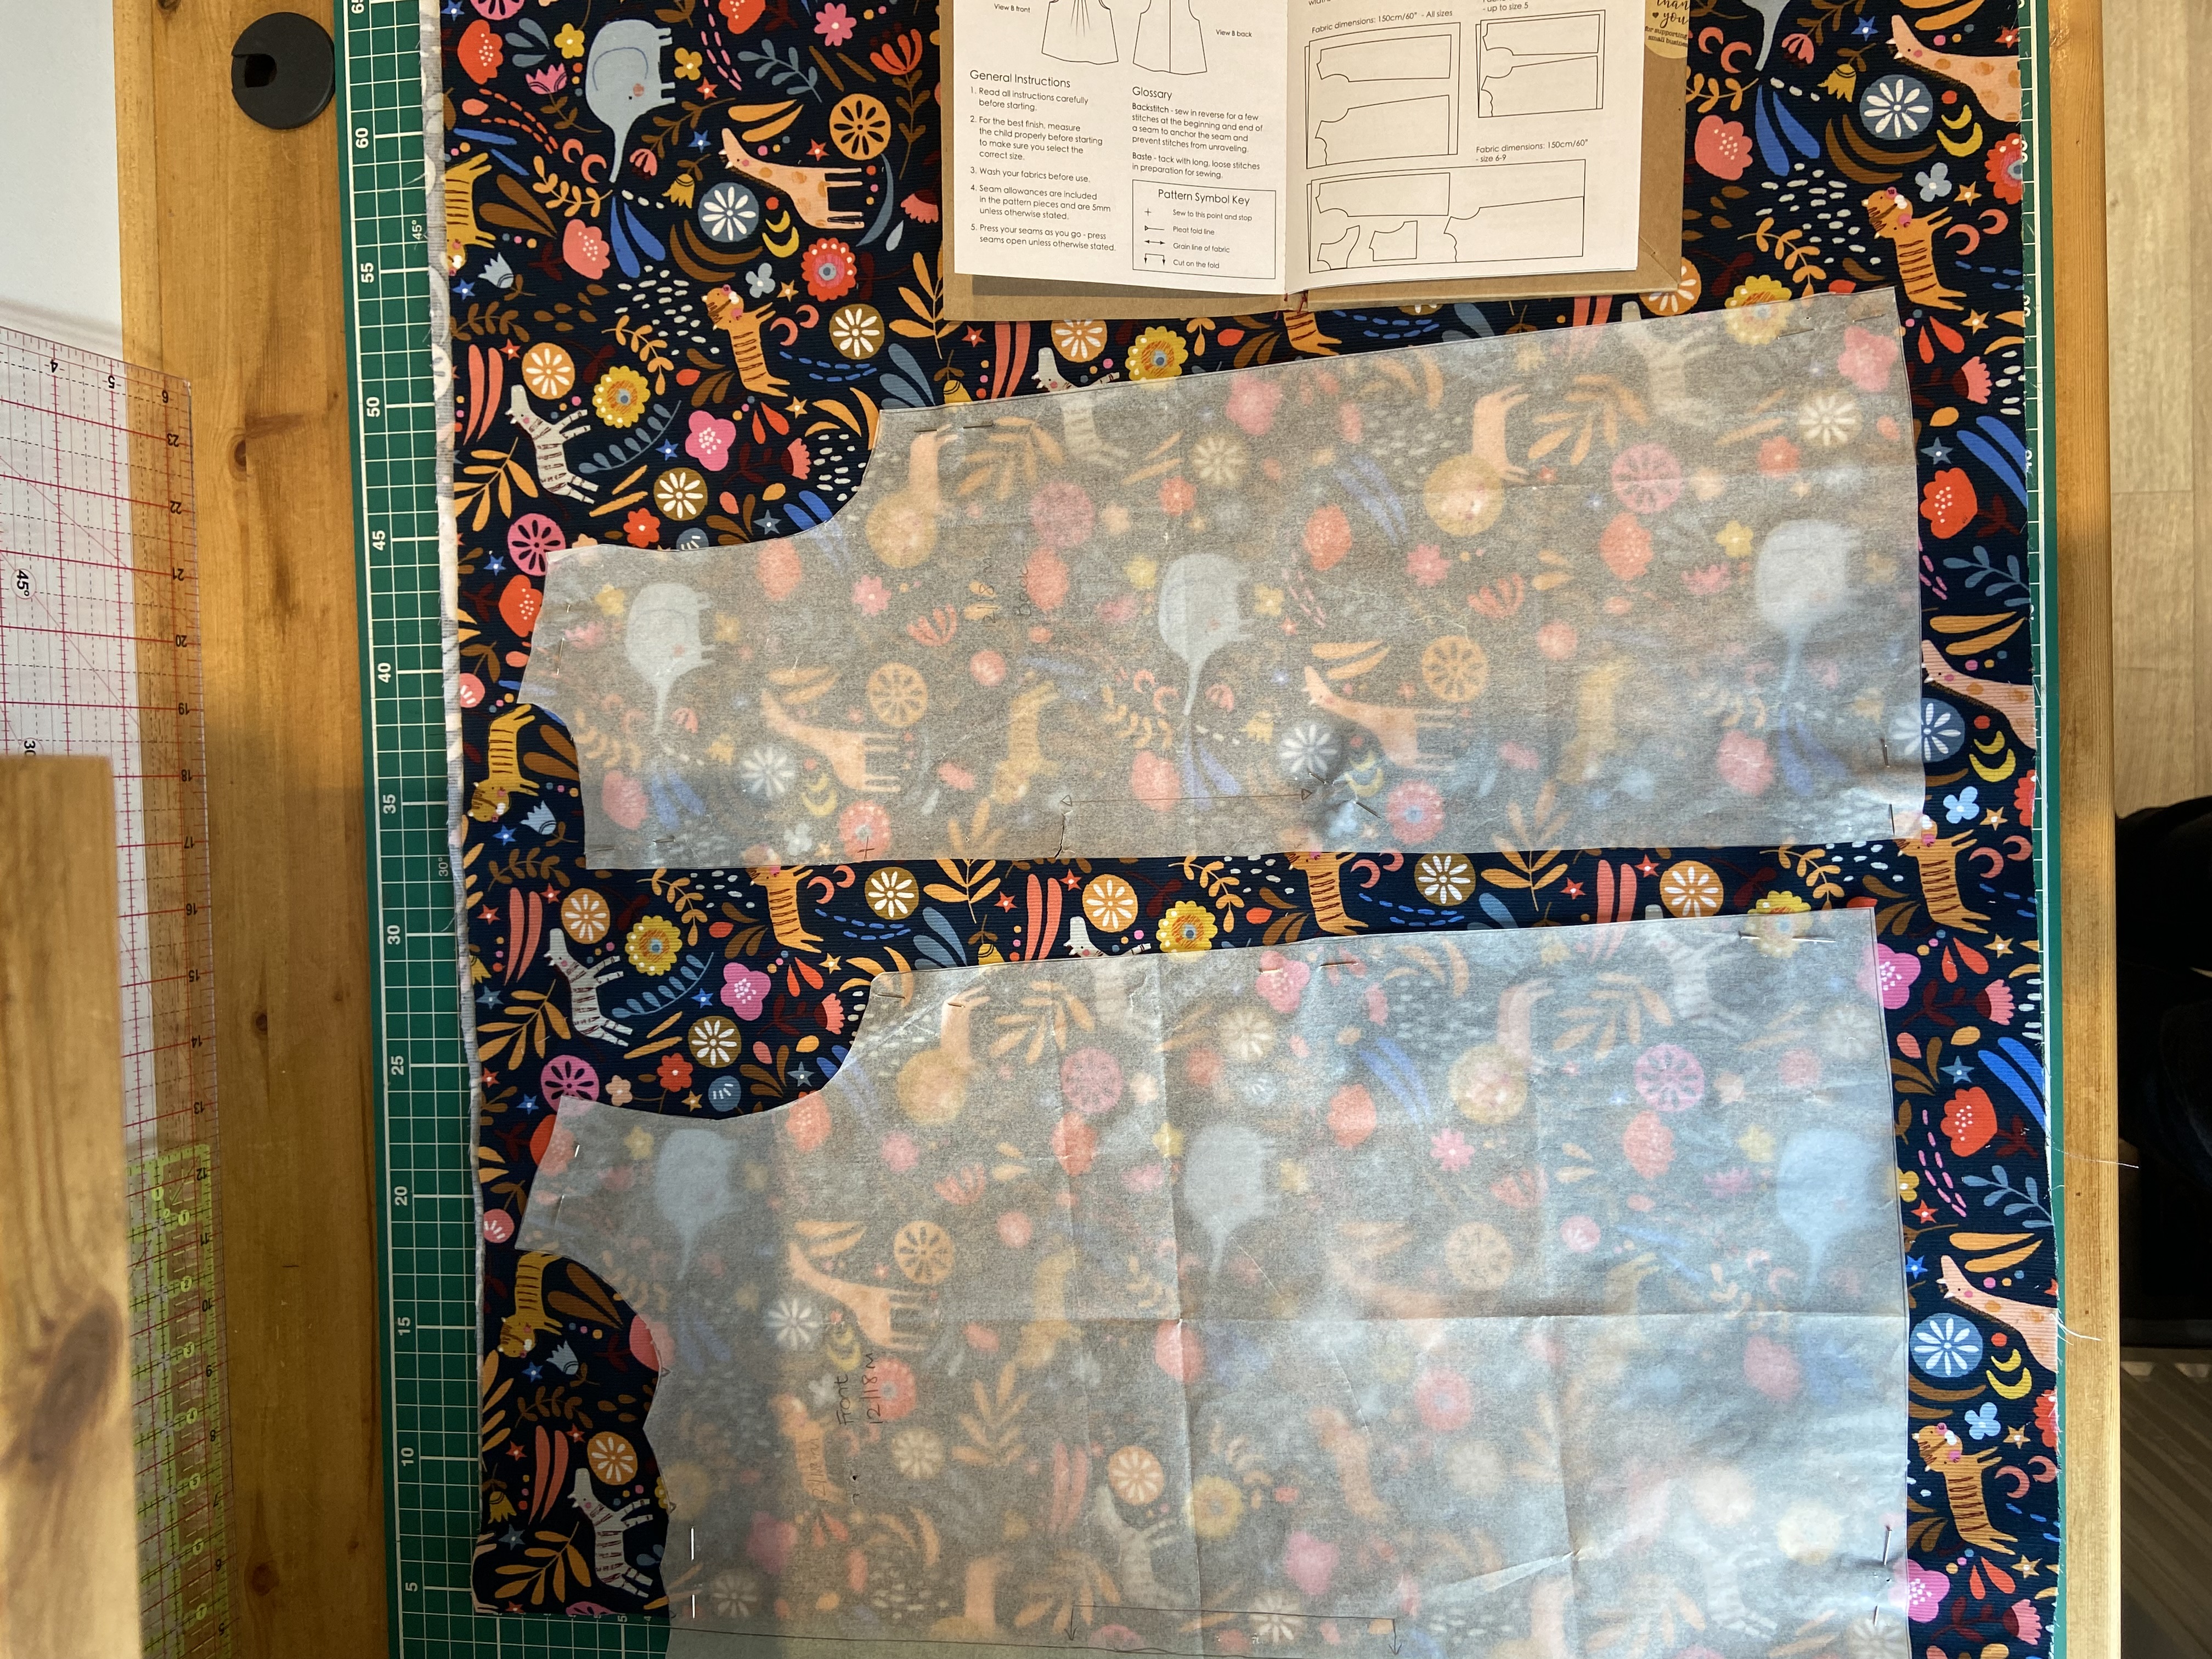
Cutting out
Point 5 Transferring markings. As suggested you can use chalk or a removable marking pen, or I made a tiny snip in the fabric at the markings
Sewing instructions
The numbers correspond to the instruction booklet.
1,2,3 Take your time aligning the folds to make the pleats
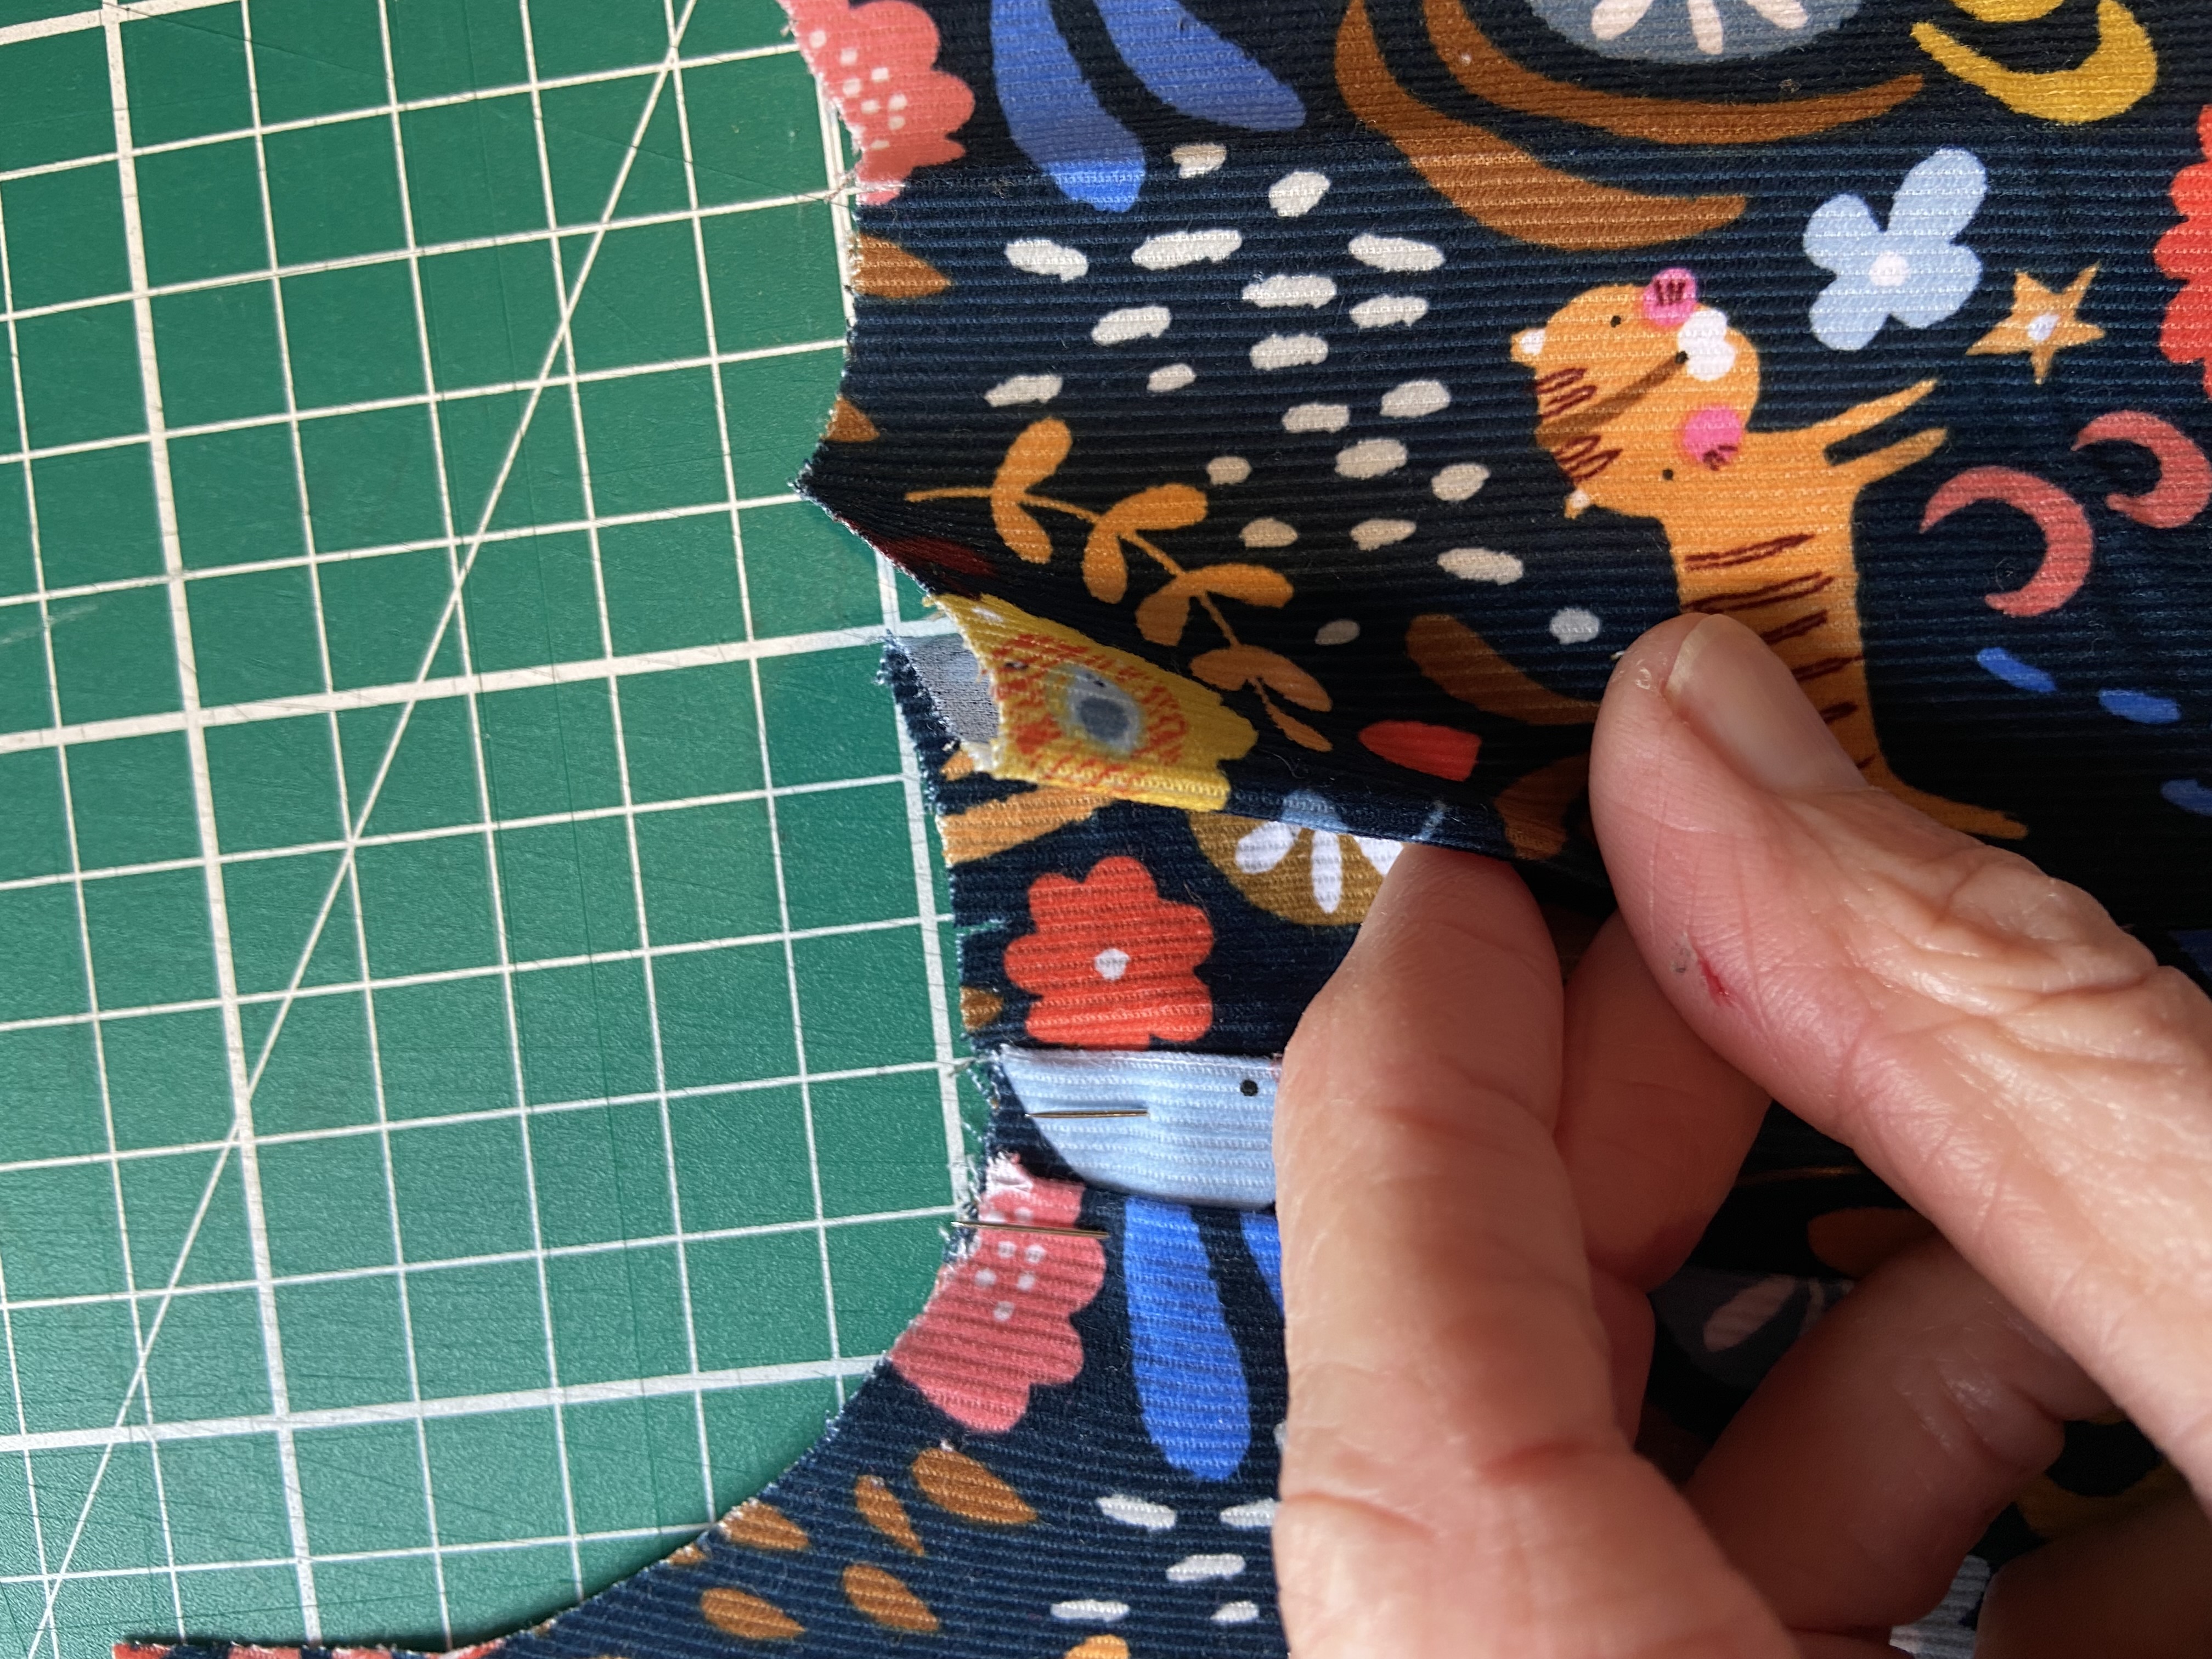
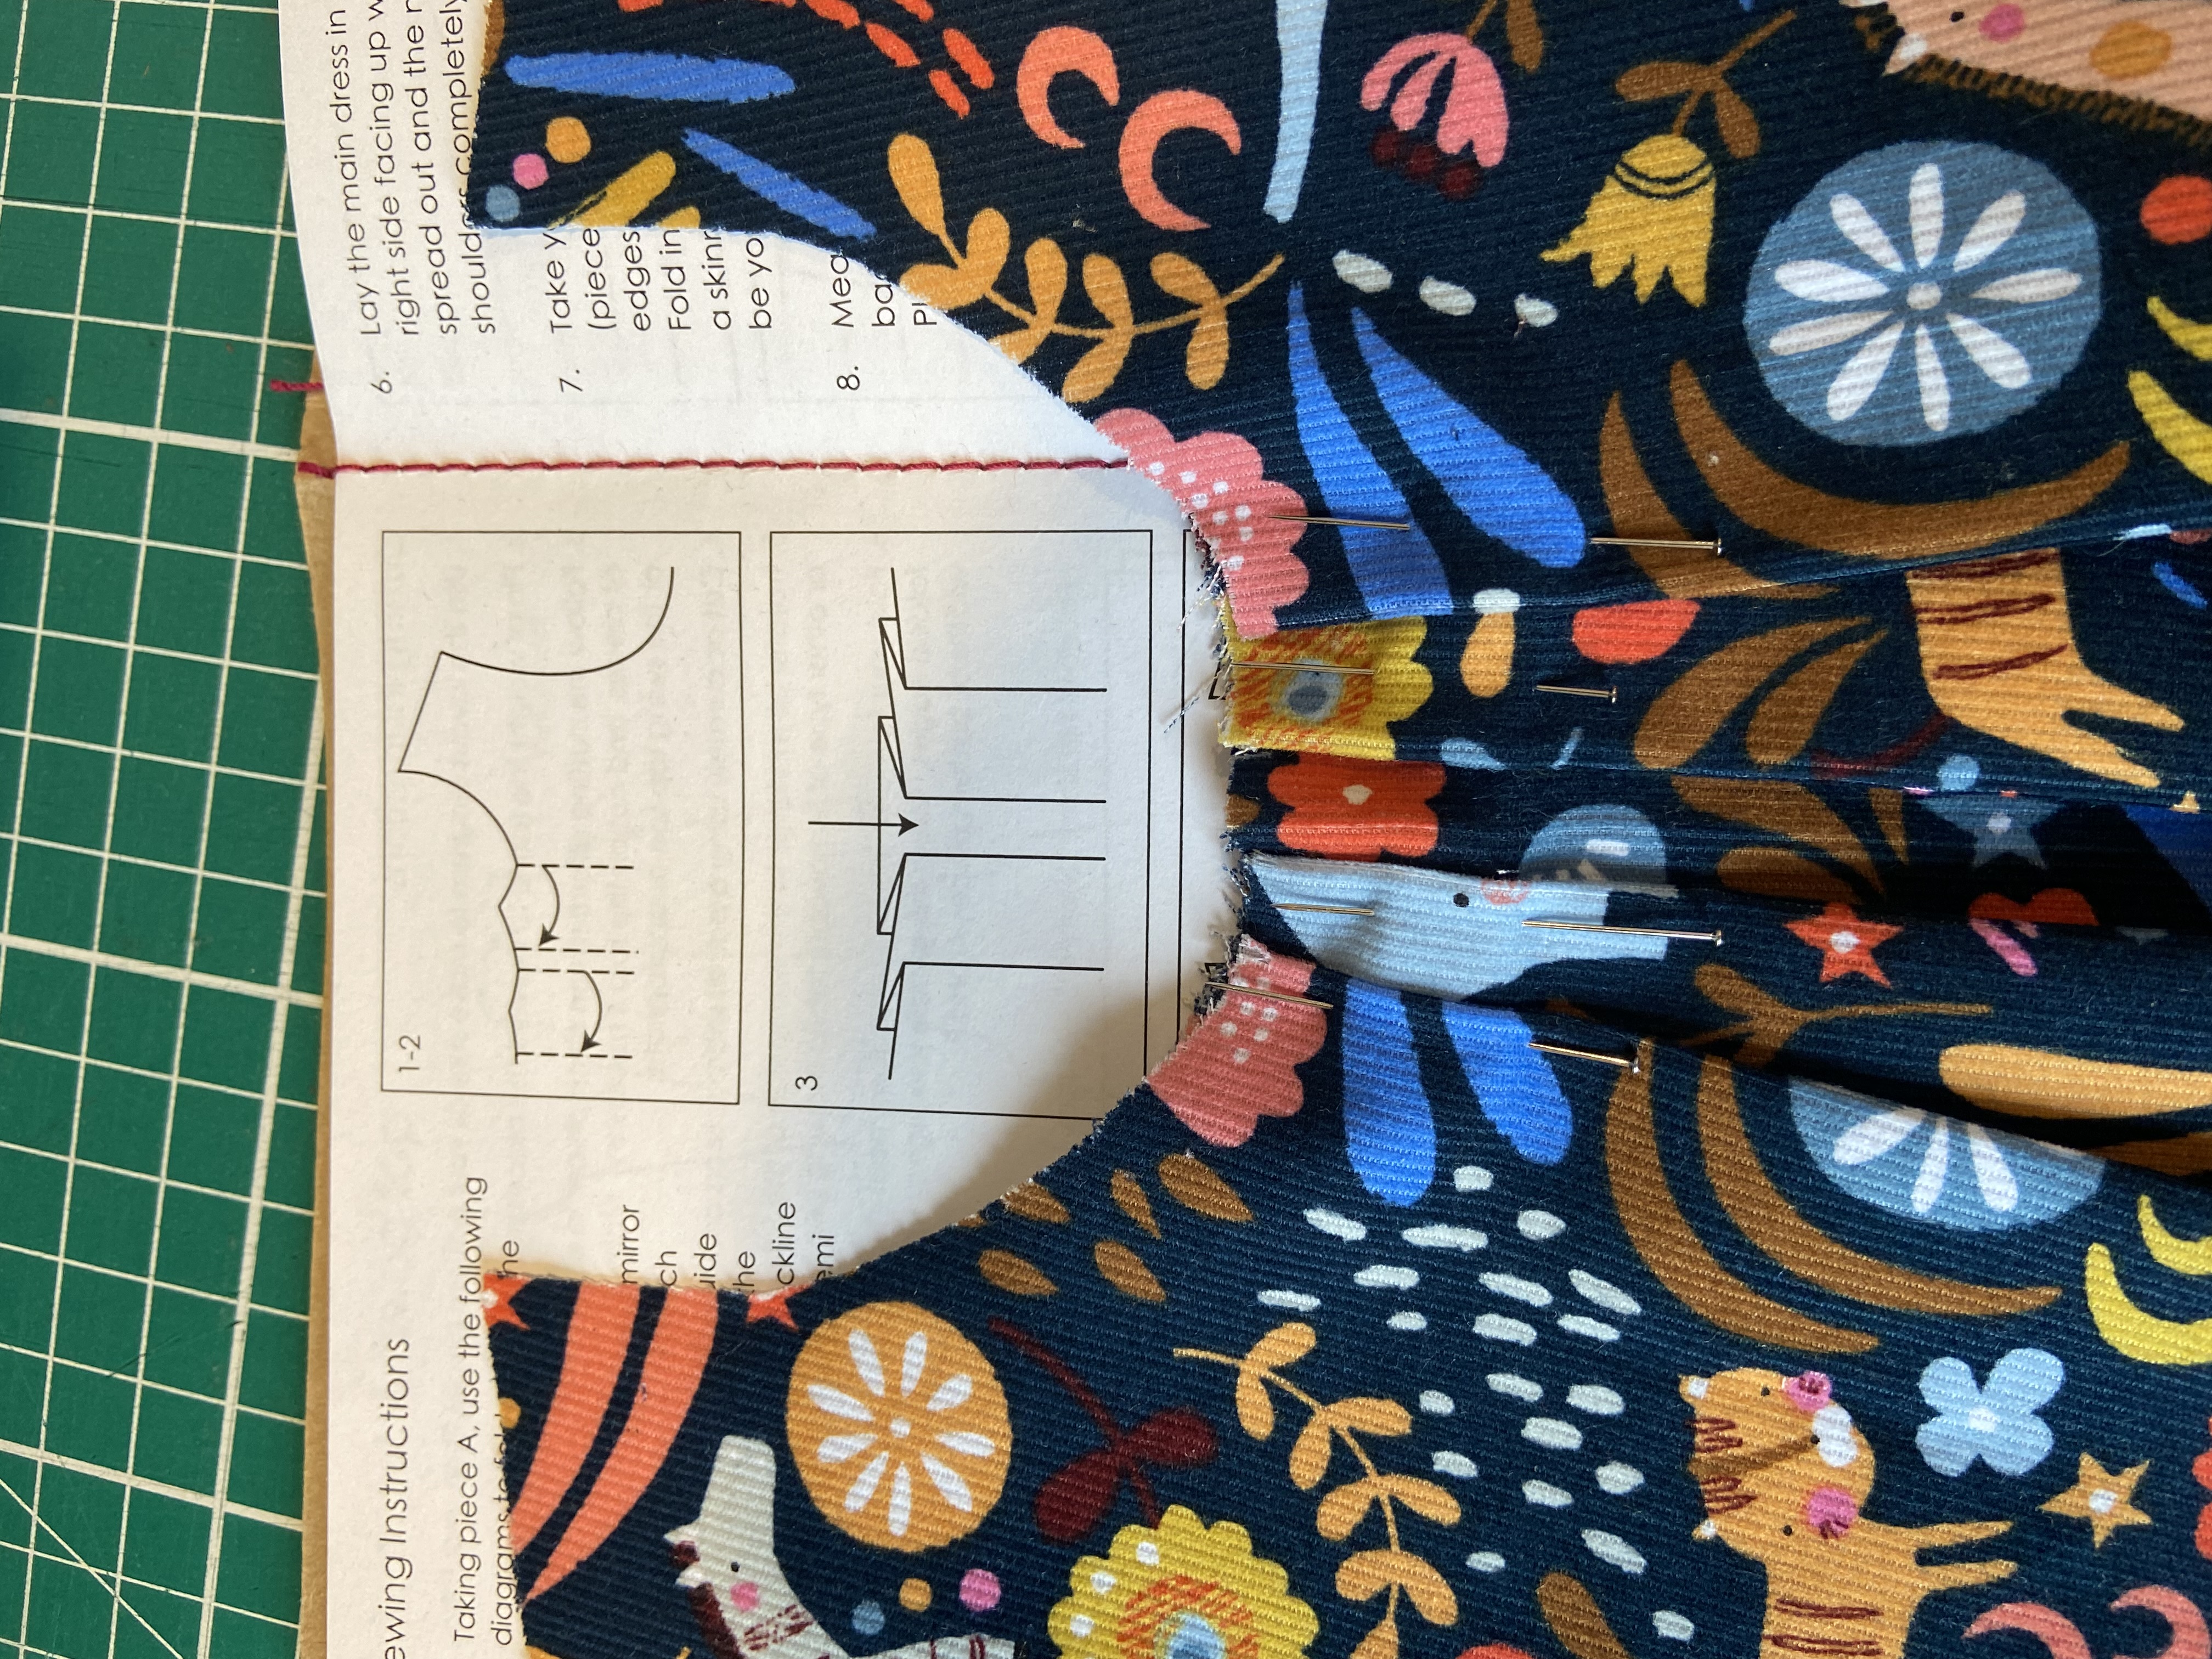
Tip: once you are happy with the pleats and they are pinned in place, before you baste in place (instruction 4) I suggest laying the front facing over piece A to check it matches up nicely. If not adjust the pleats to fit. Once happy stitch the pleats in place a few mm from edge.
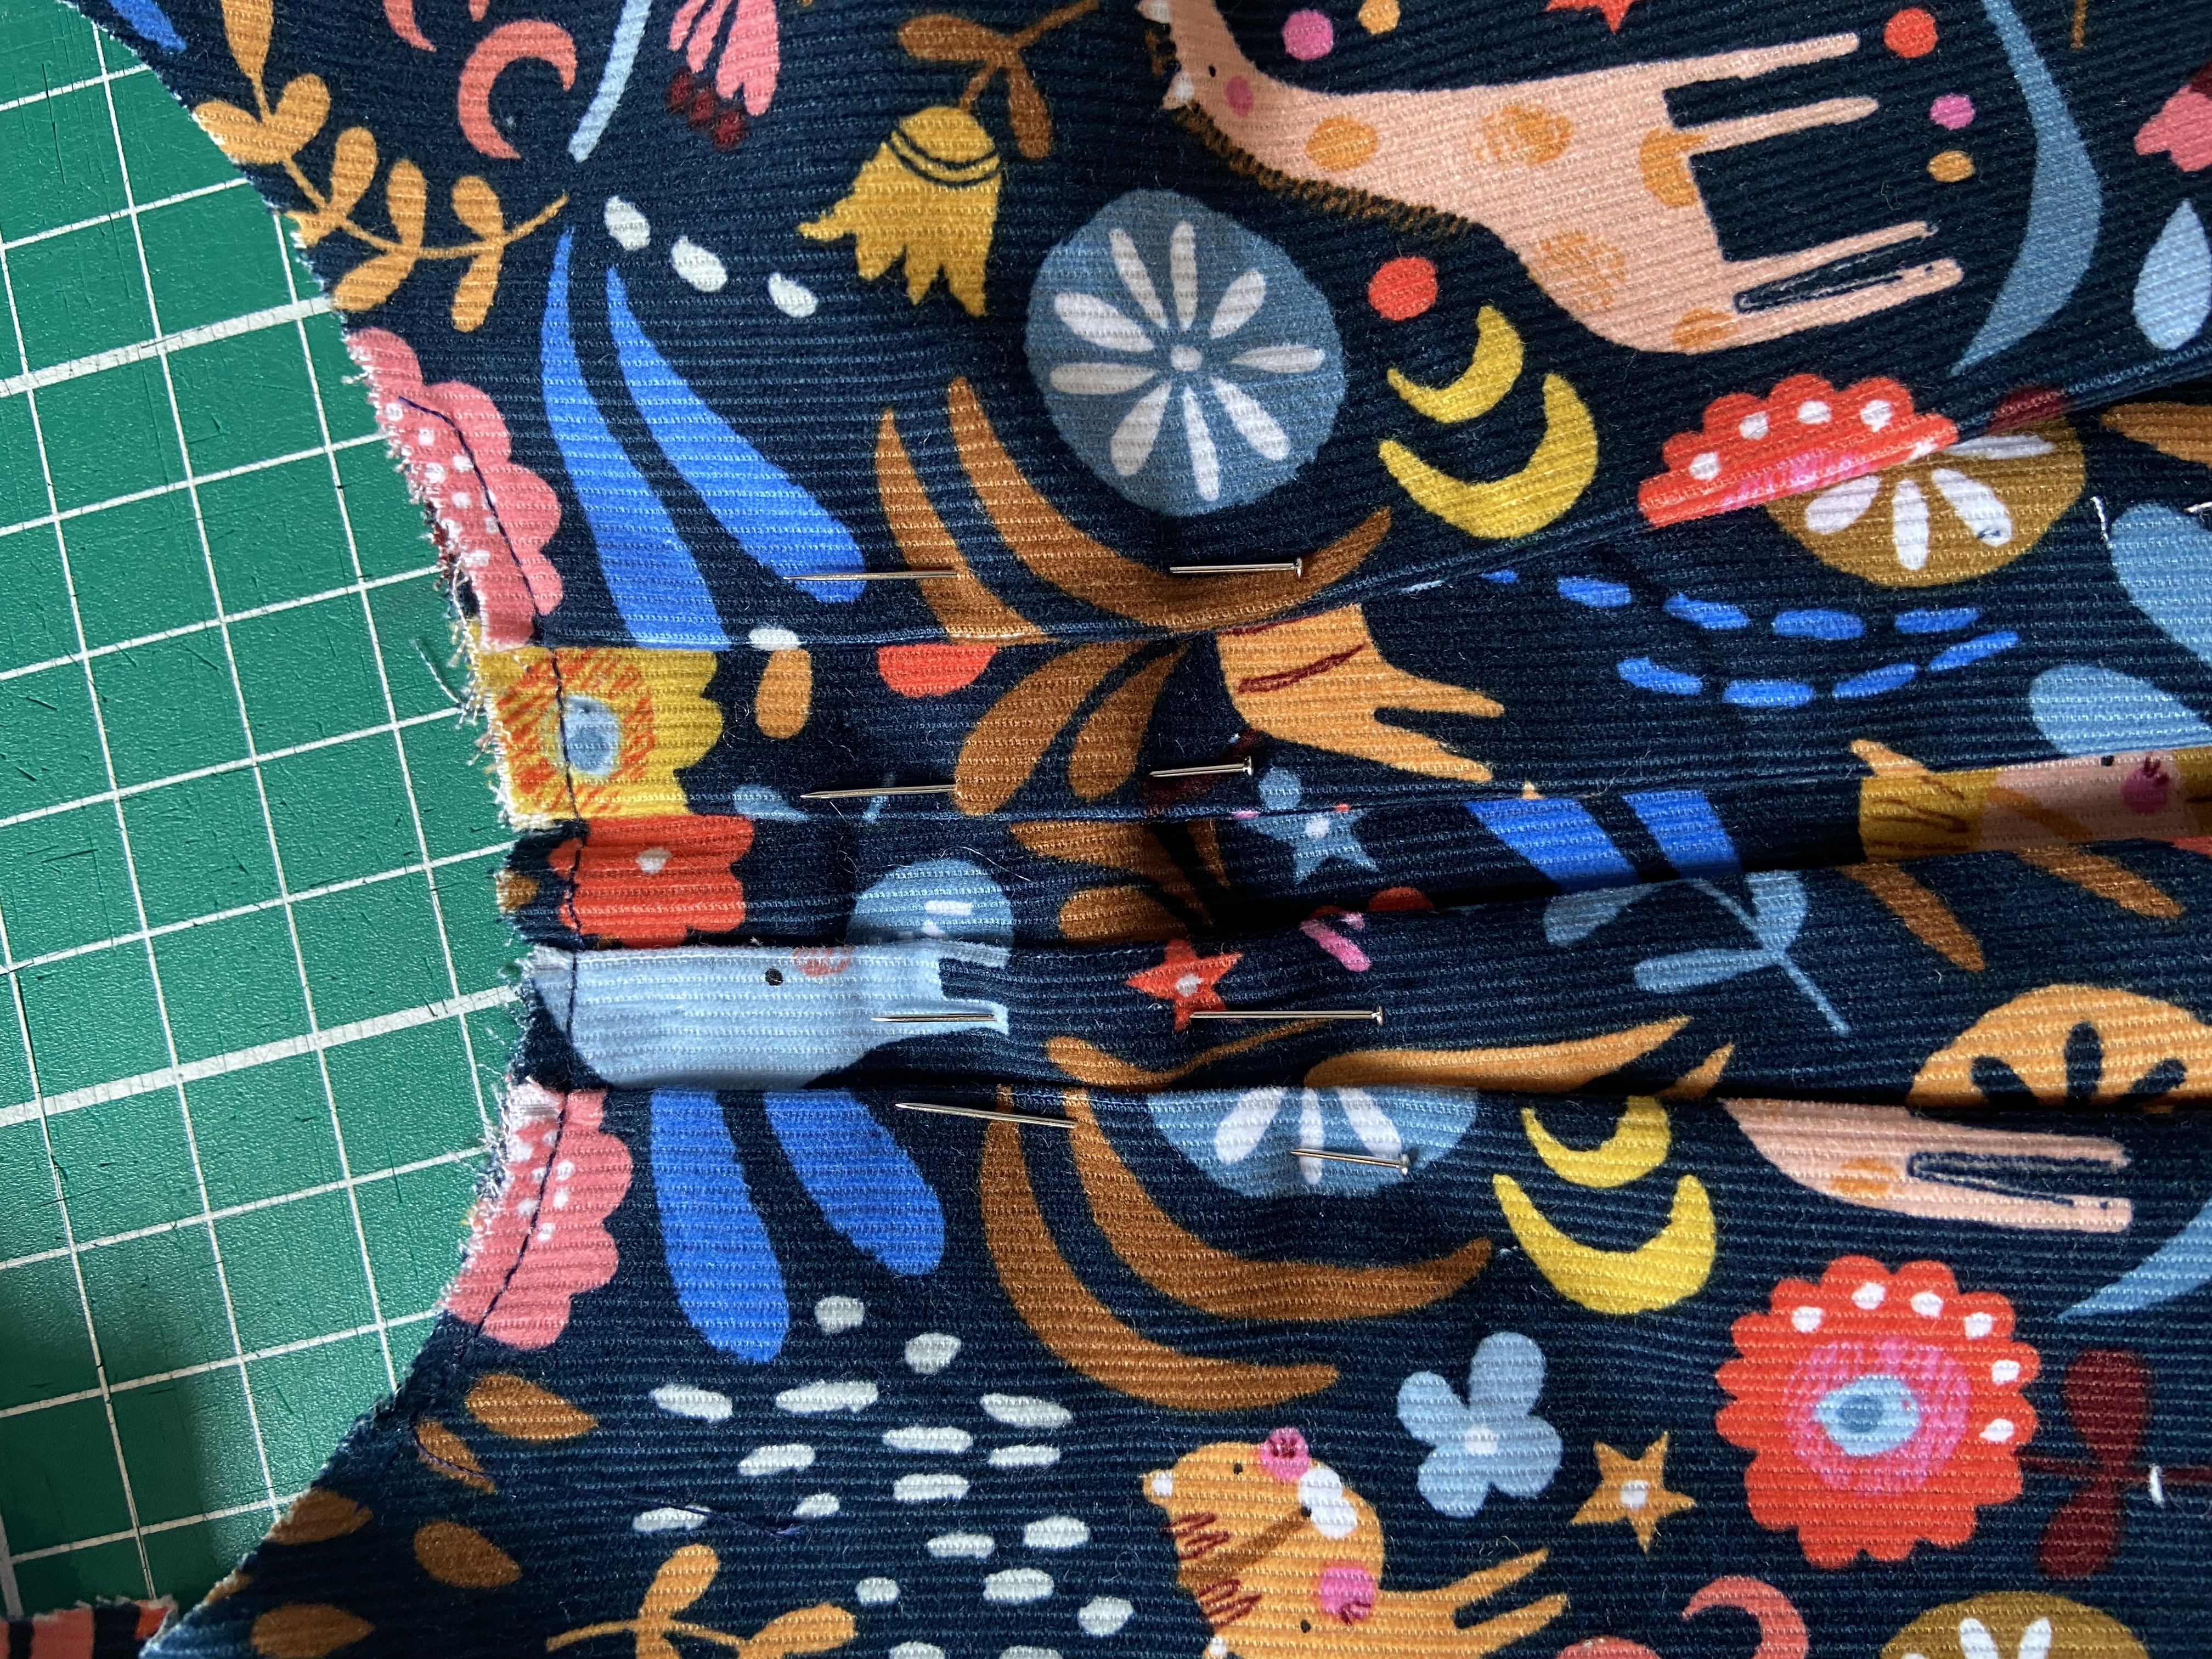
Once the pleats are in basted in place I move the pins further down the pleats to keep them tidy and out of the way when attaching the facing later.
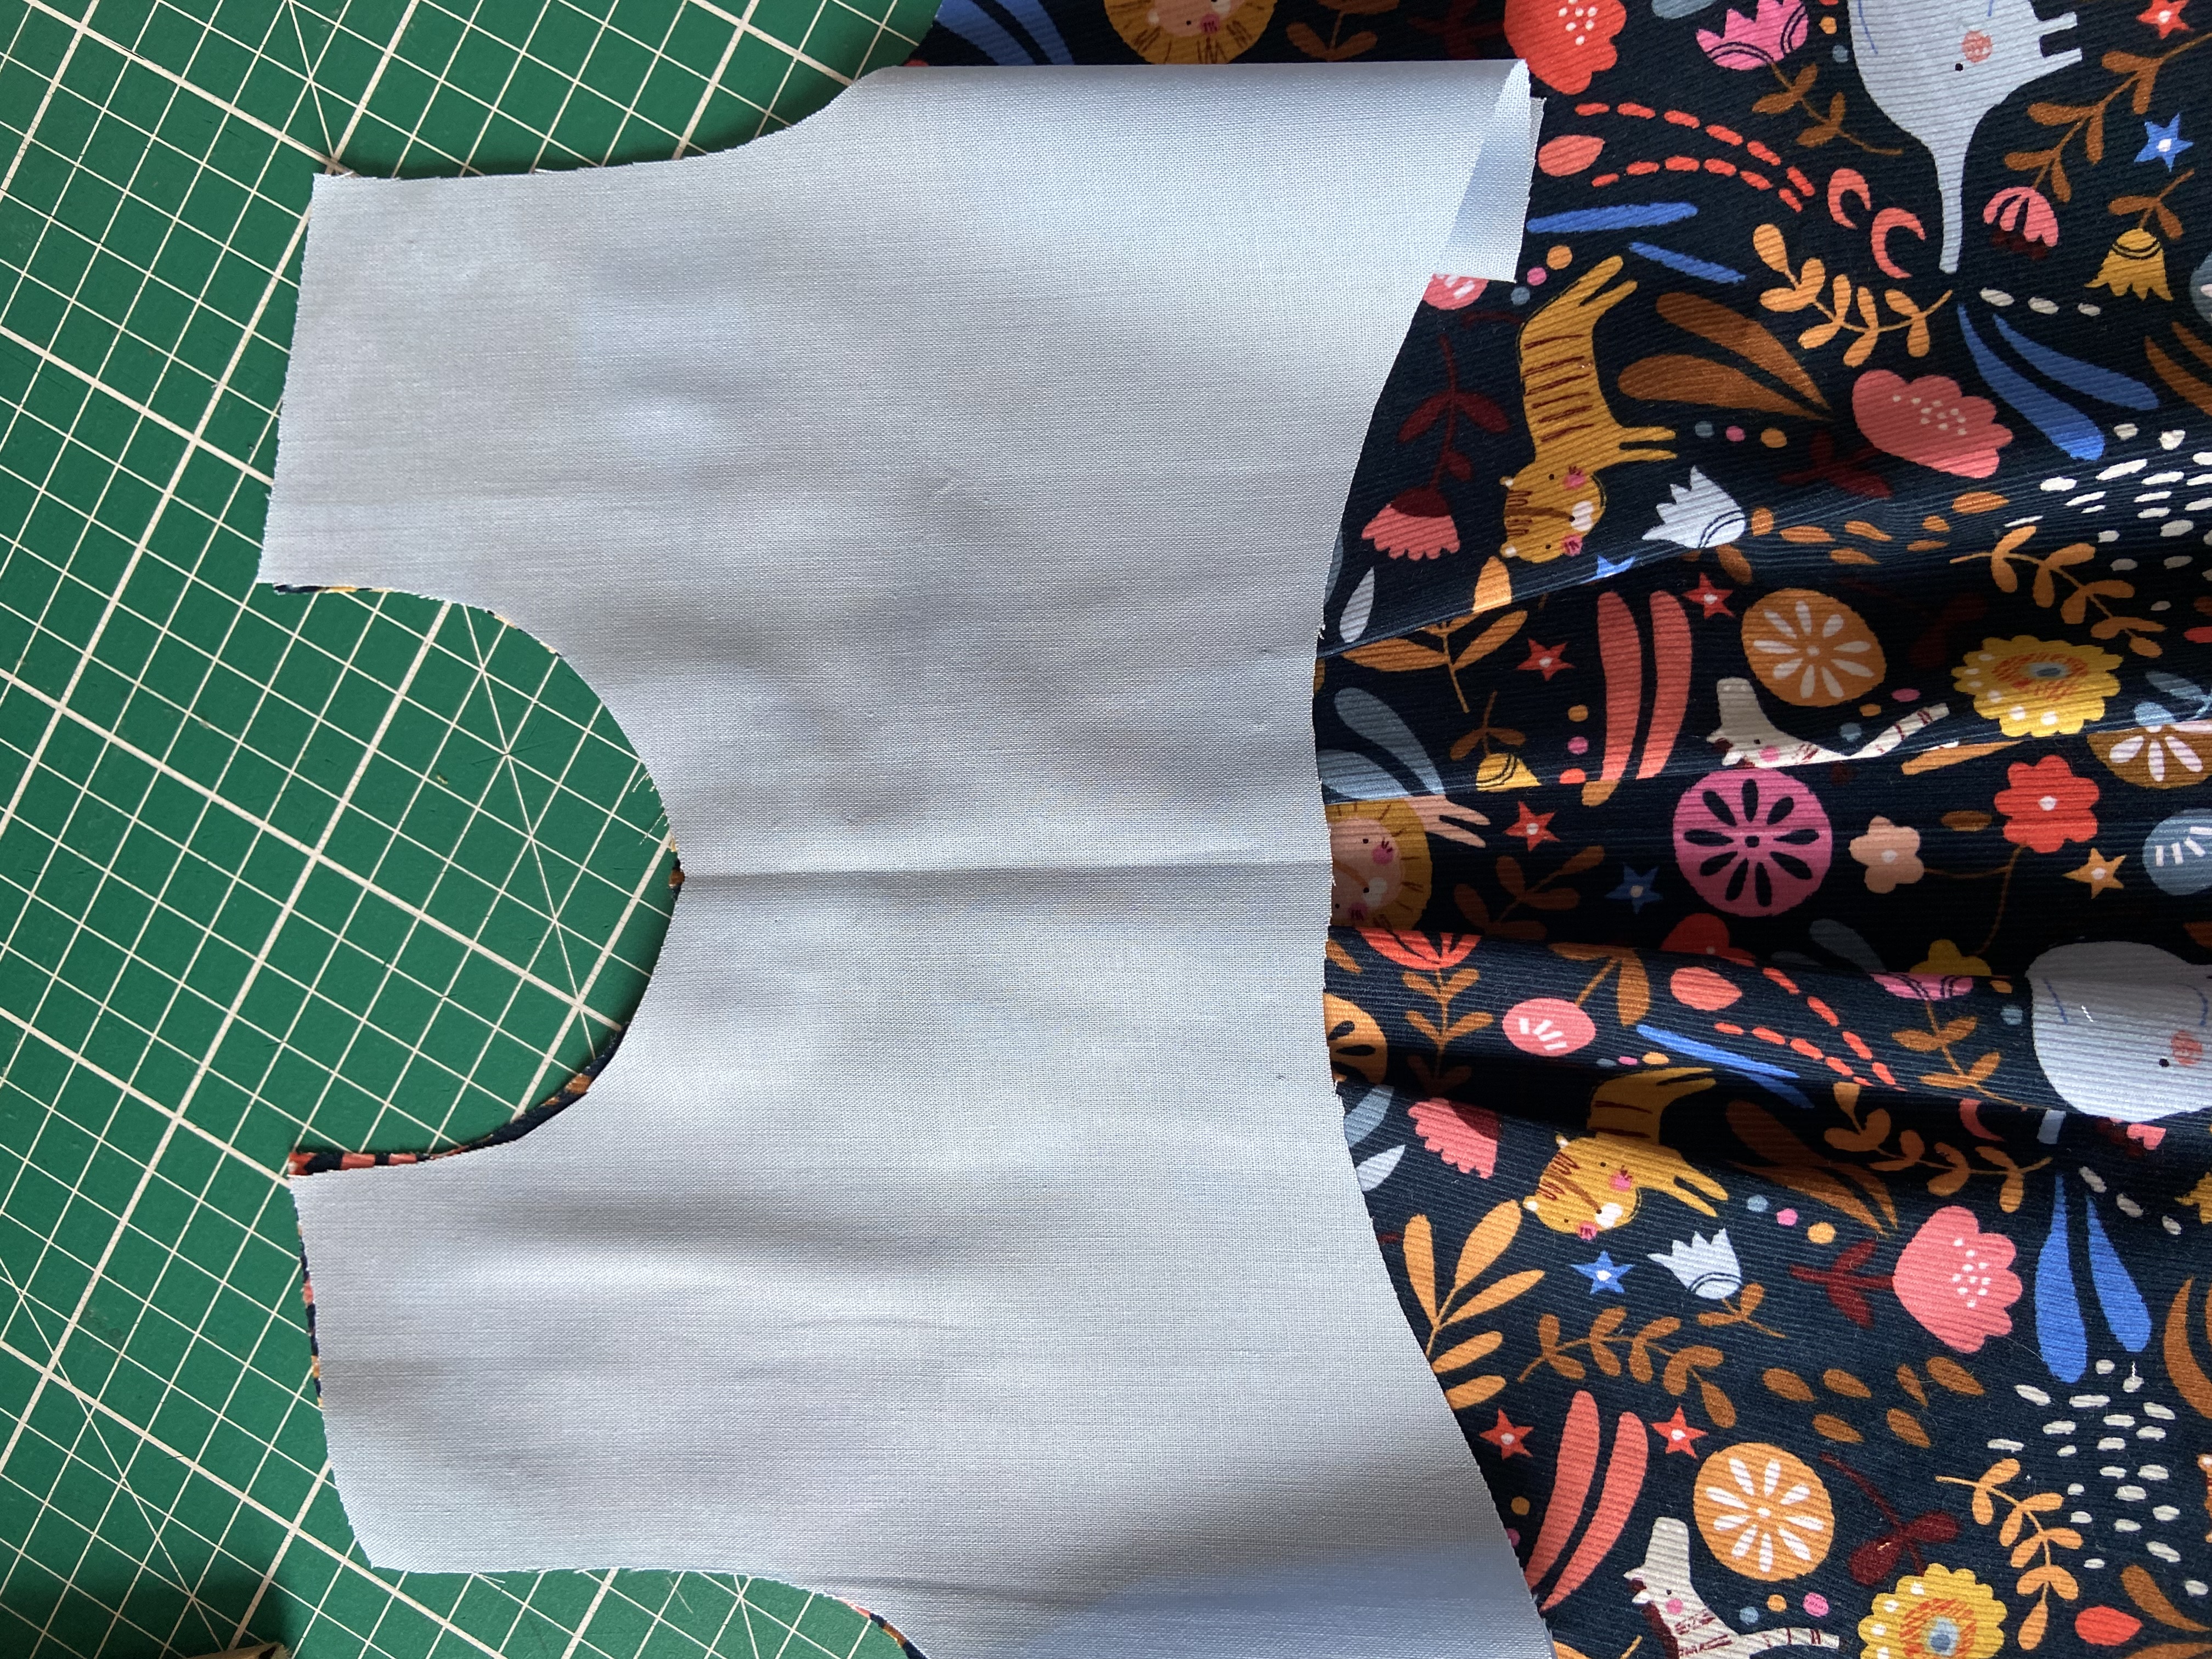
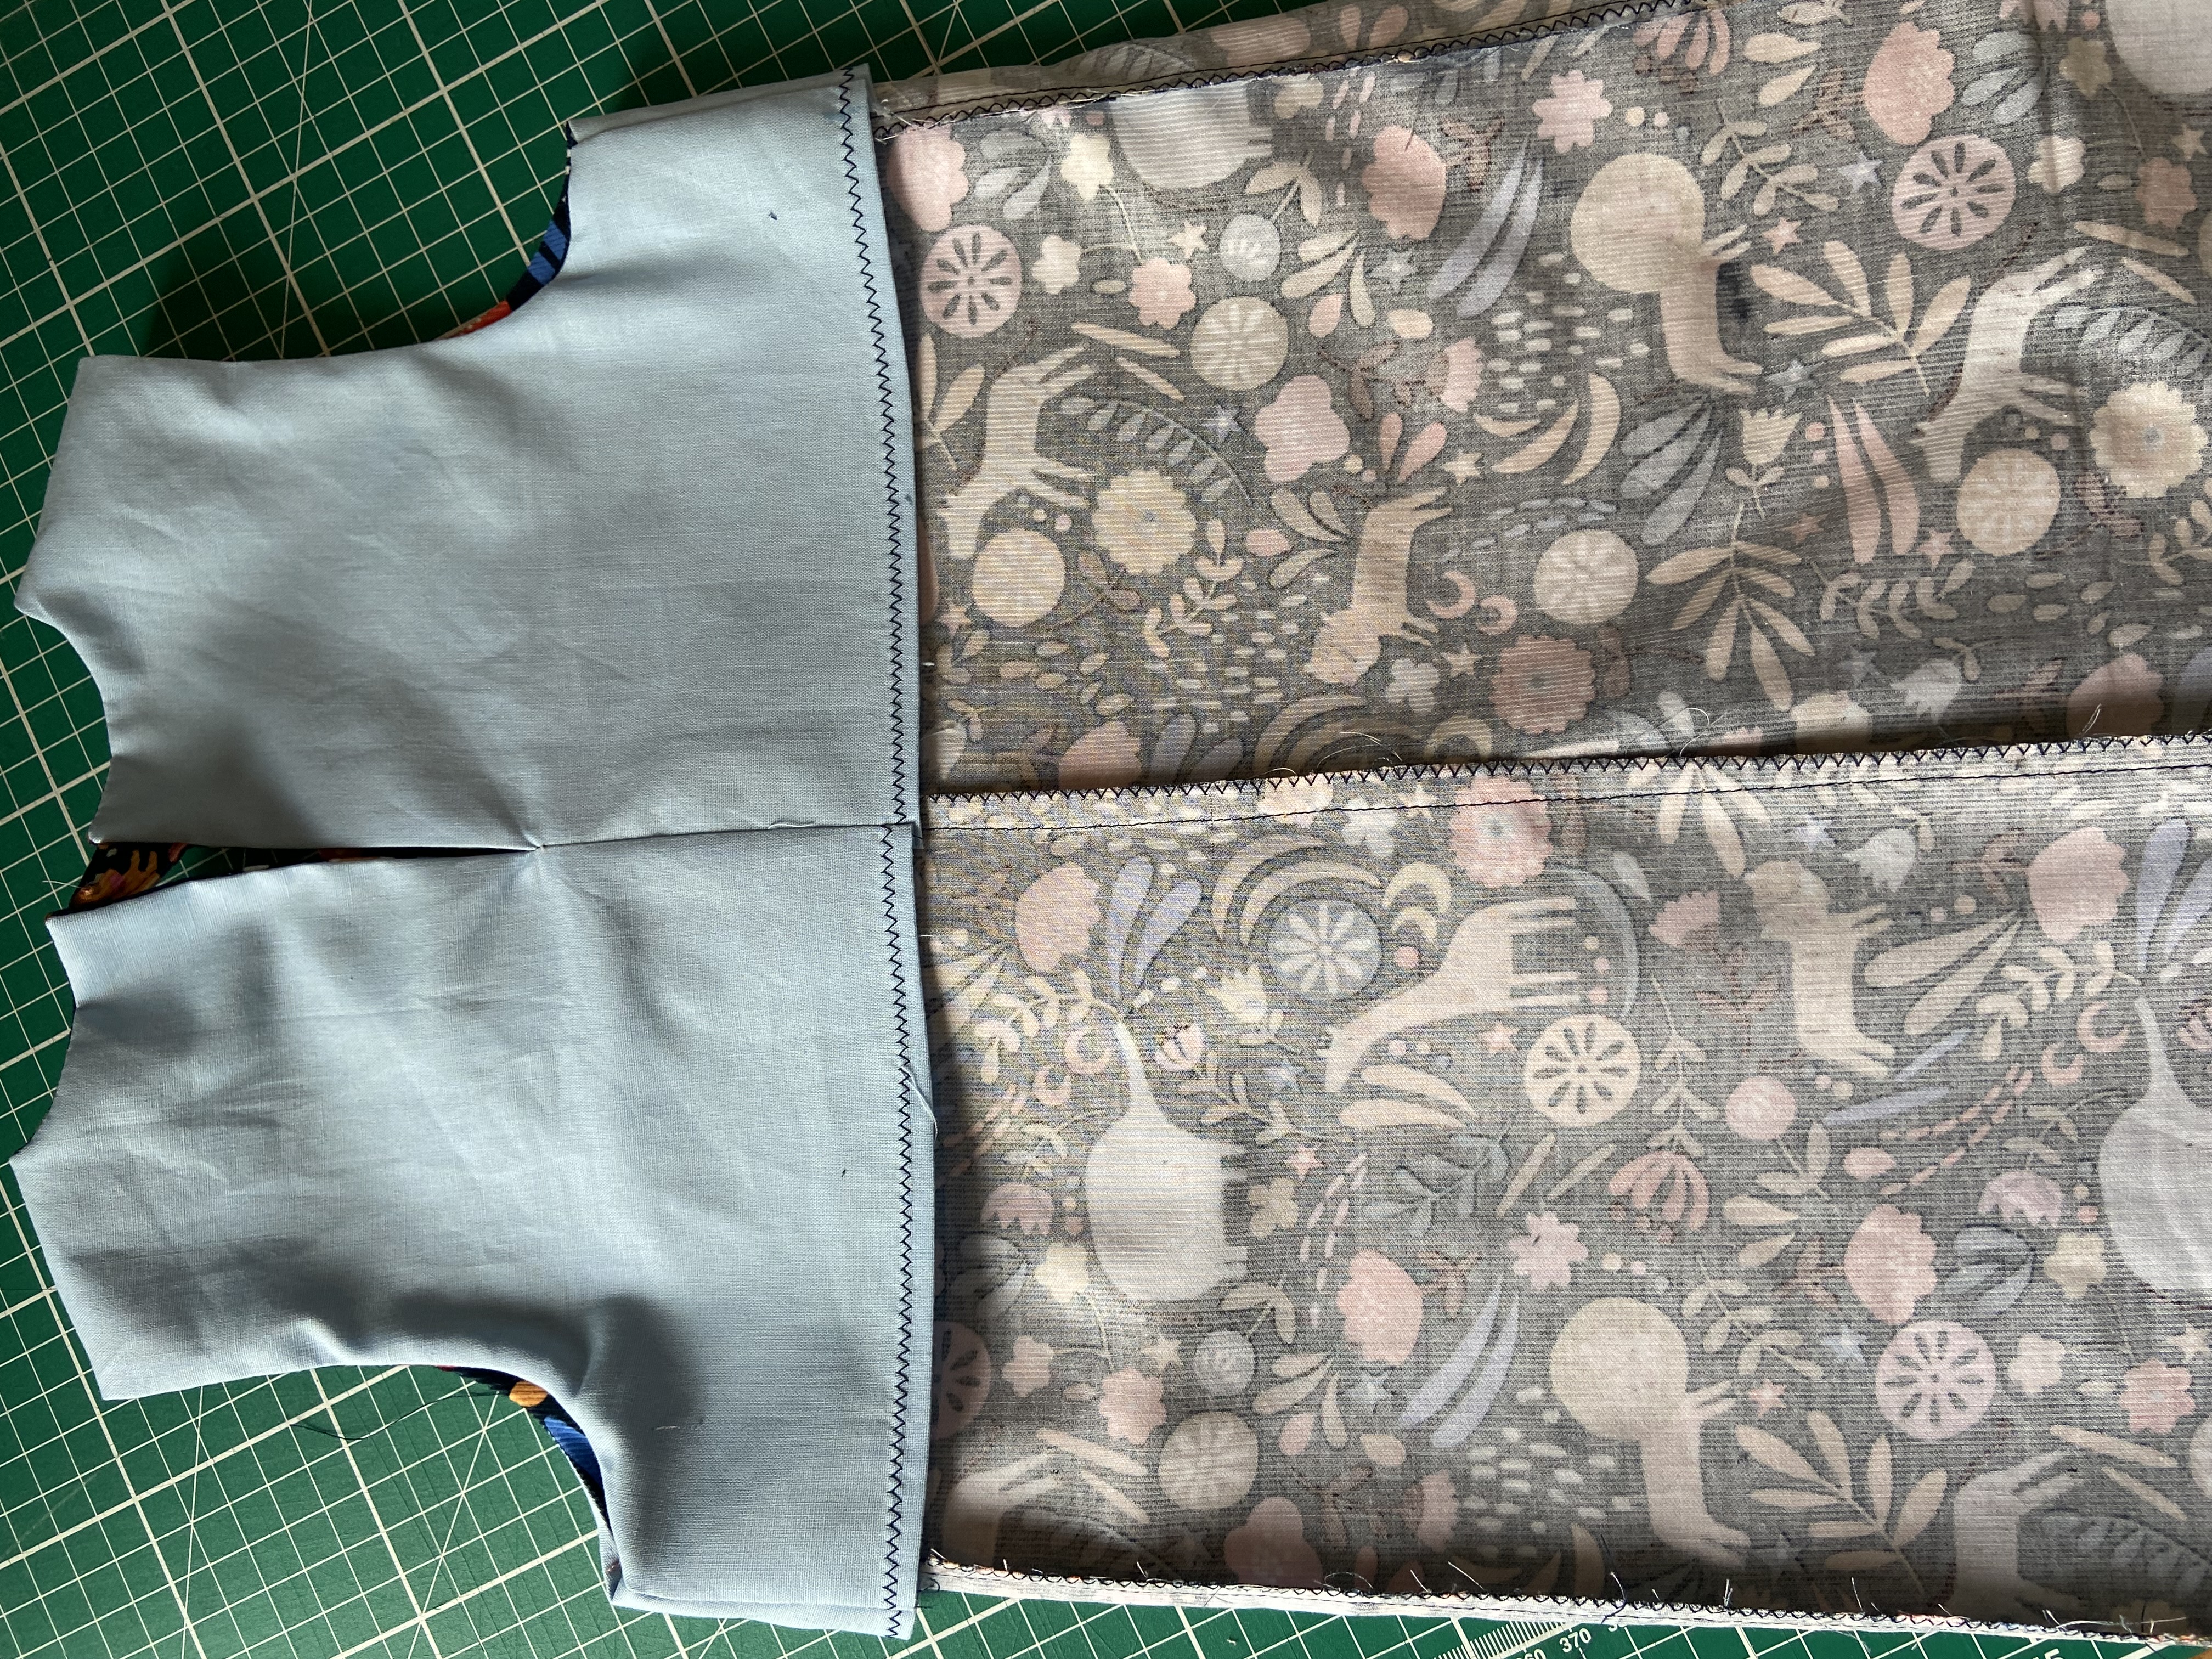
5 Line up the shoulder seams of the dress and the facings, pin and sew.
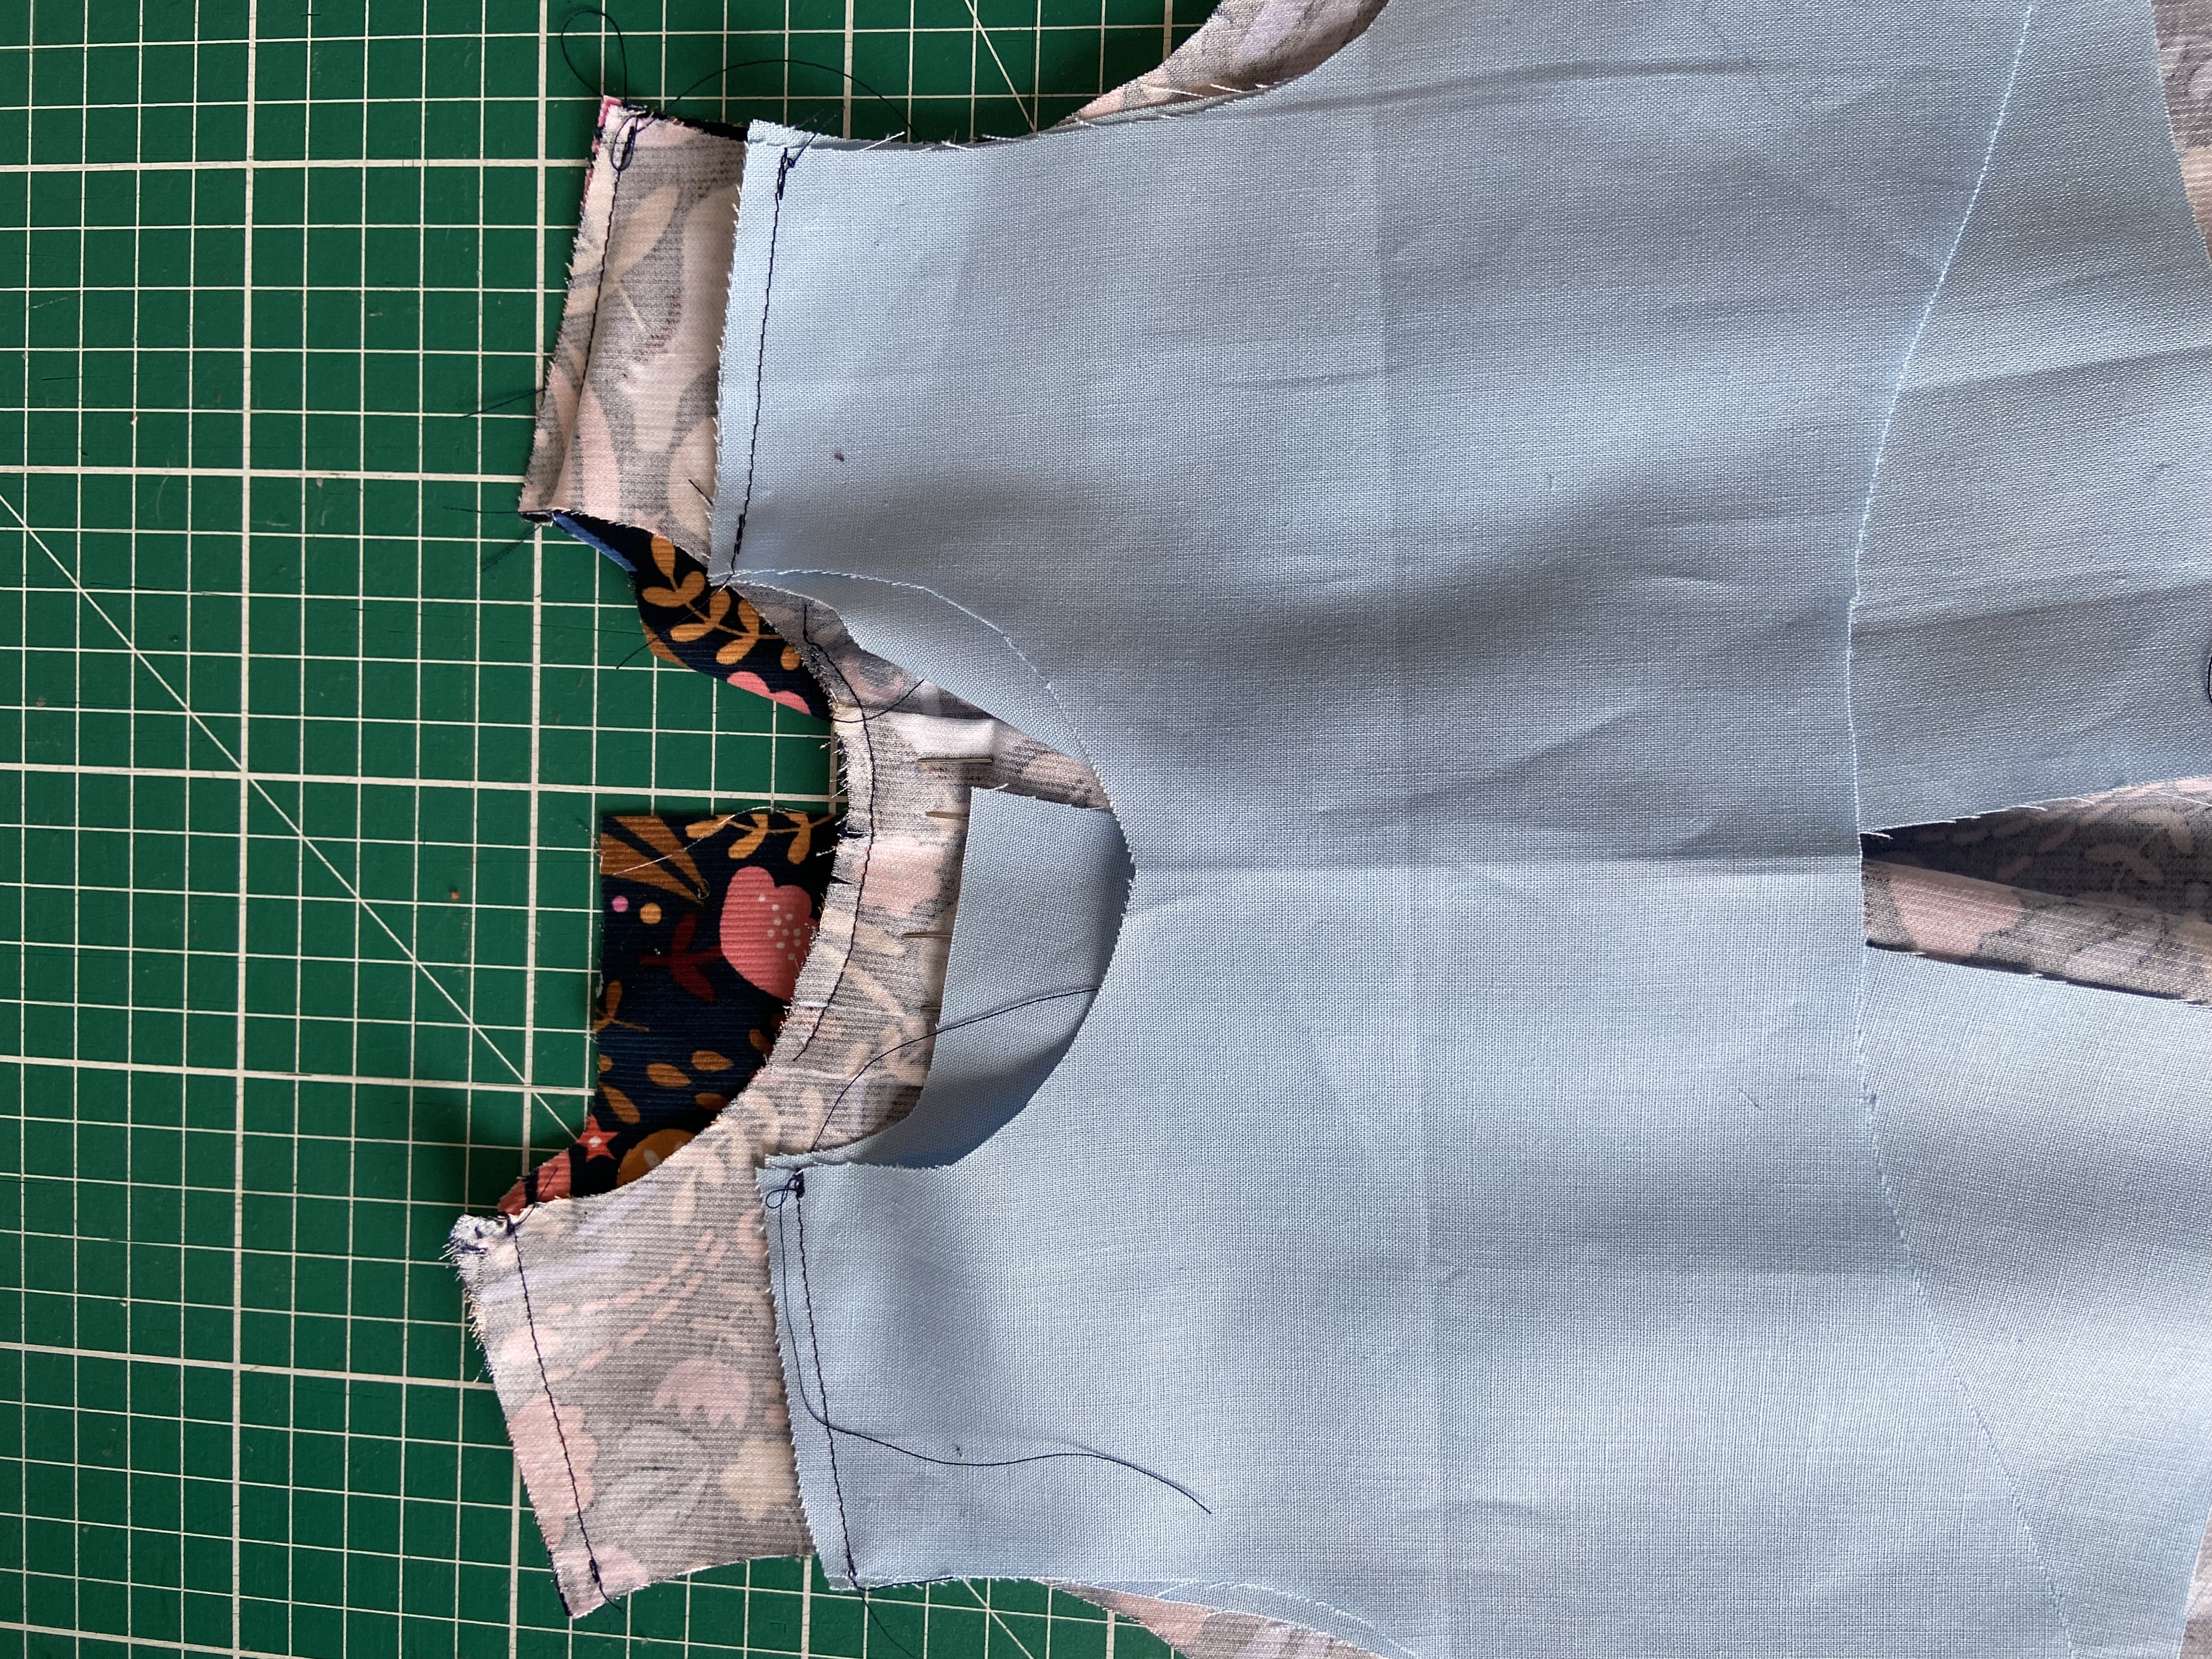
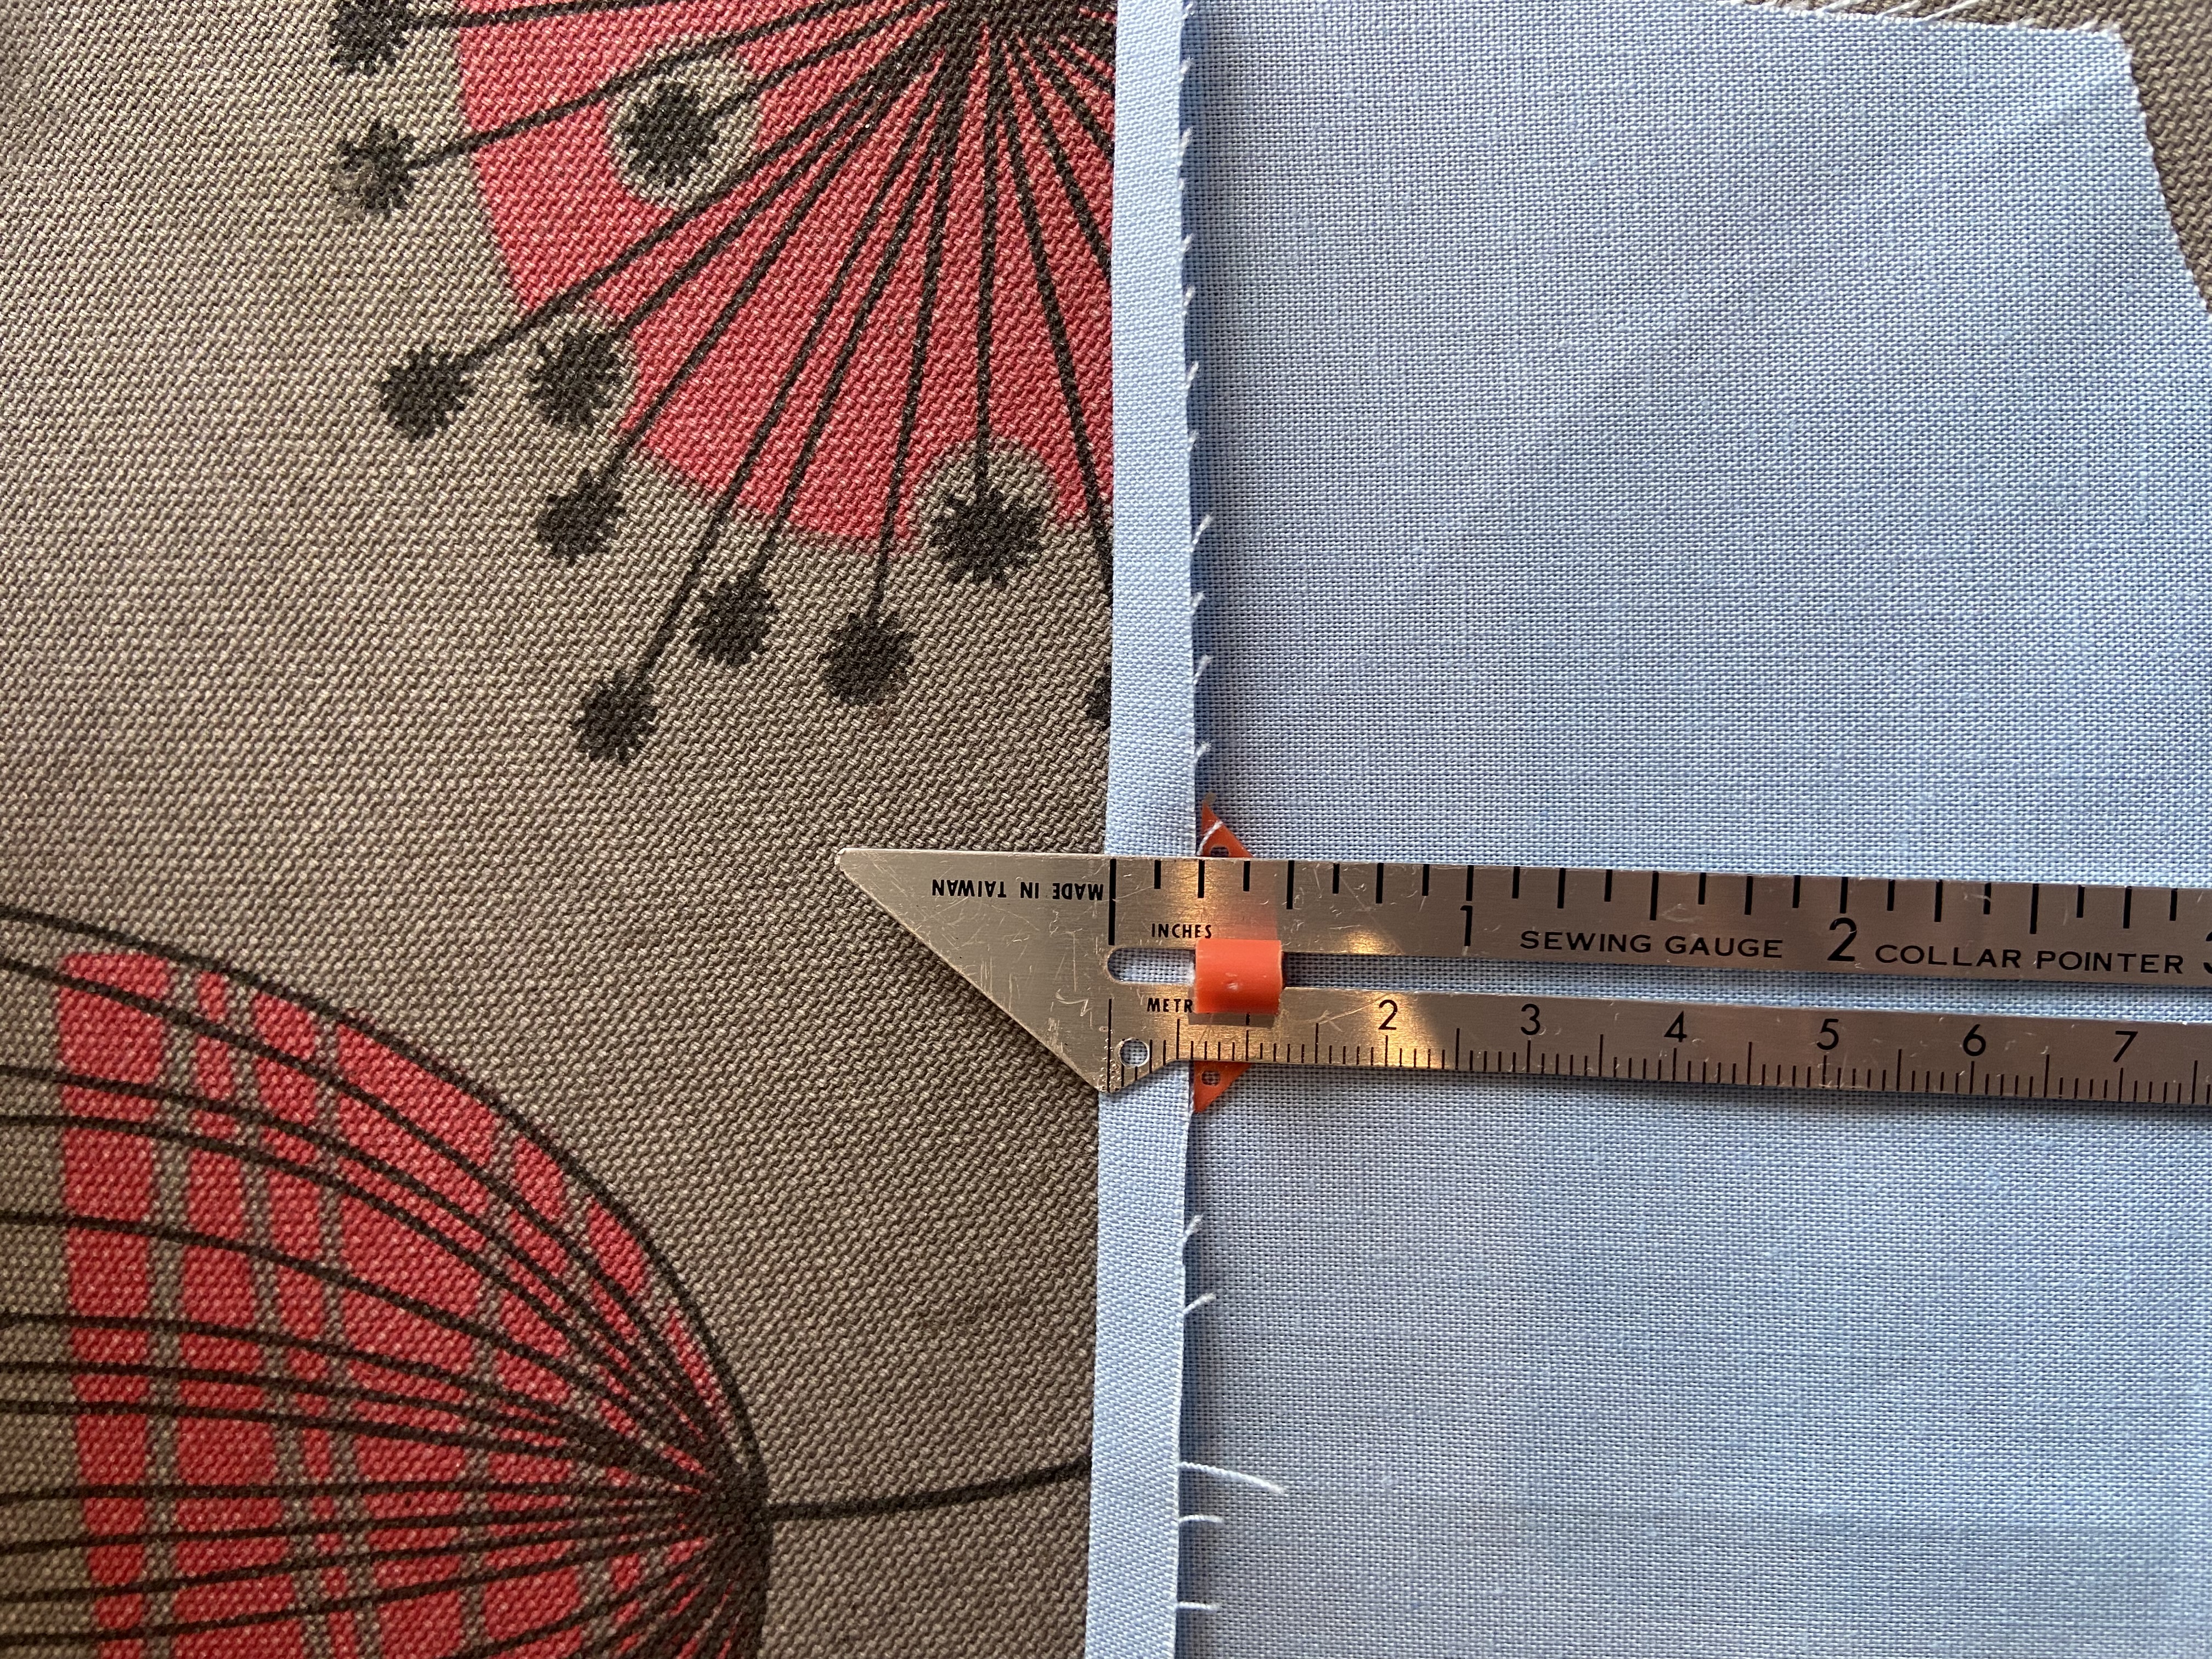
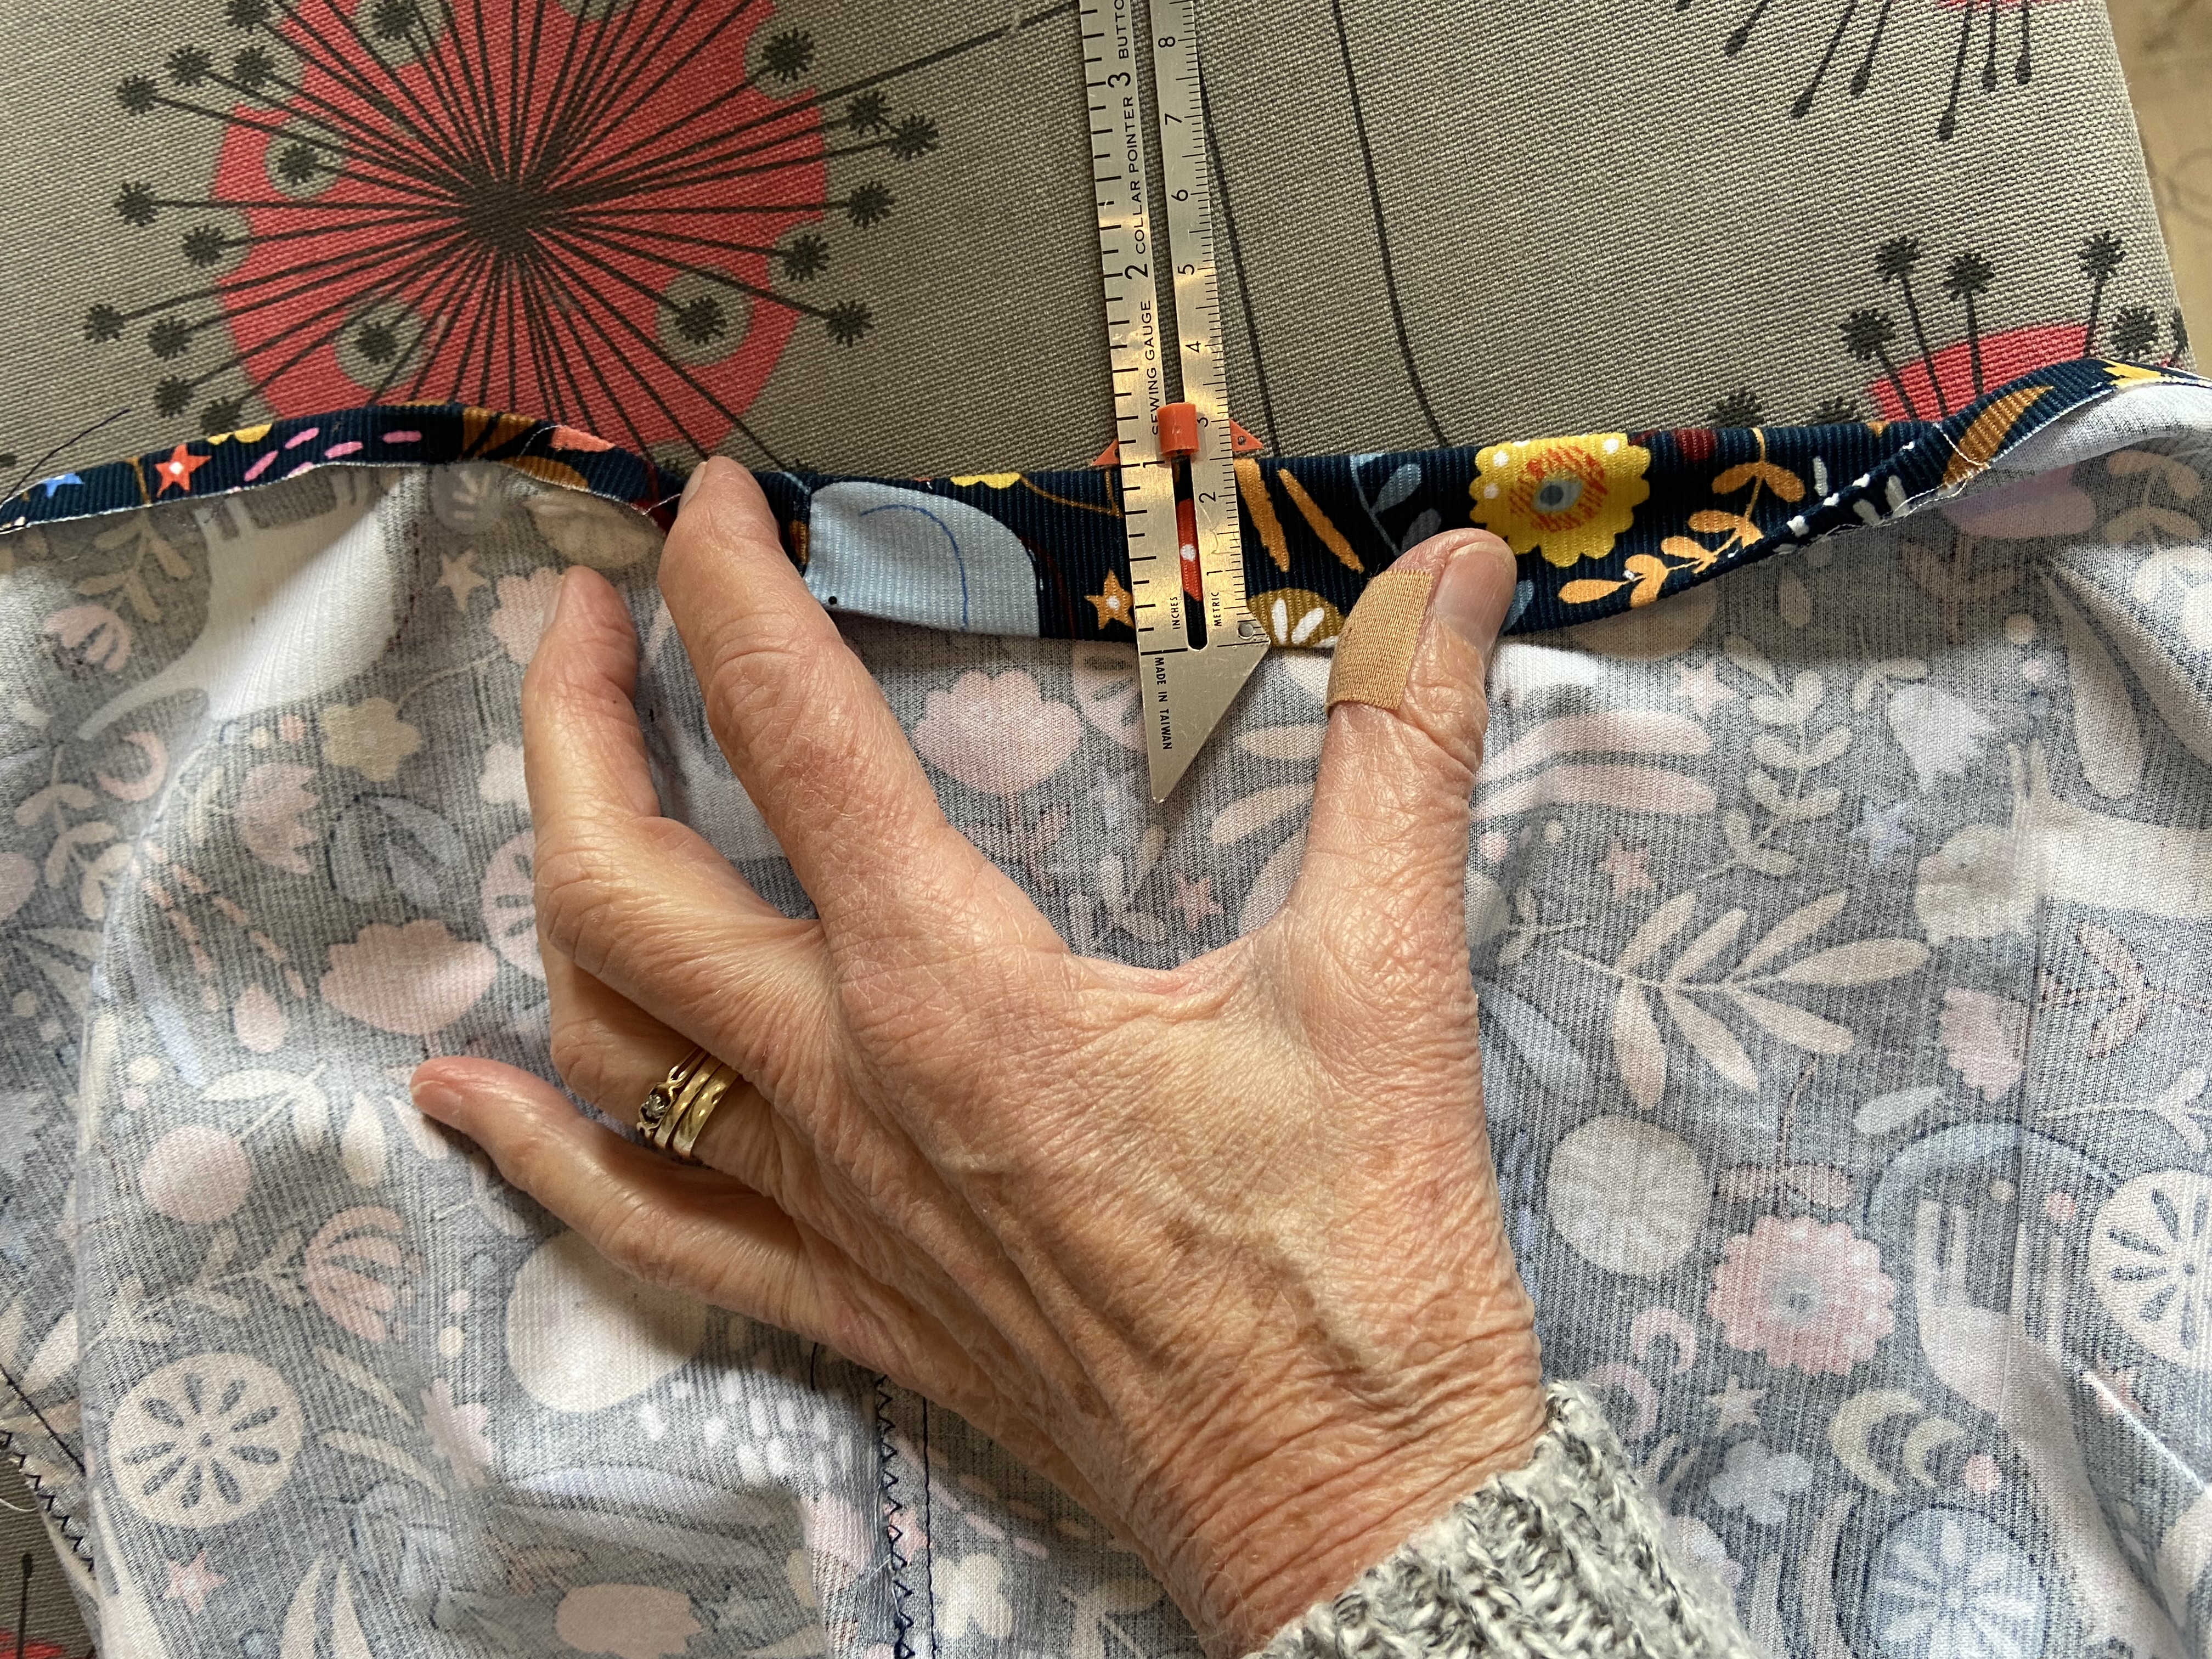
Neaten the edges of the facings, turn up 5mm to wrong side and zig zag in place. If you have an overlocker you could just neaten the edges using that.
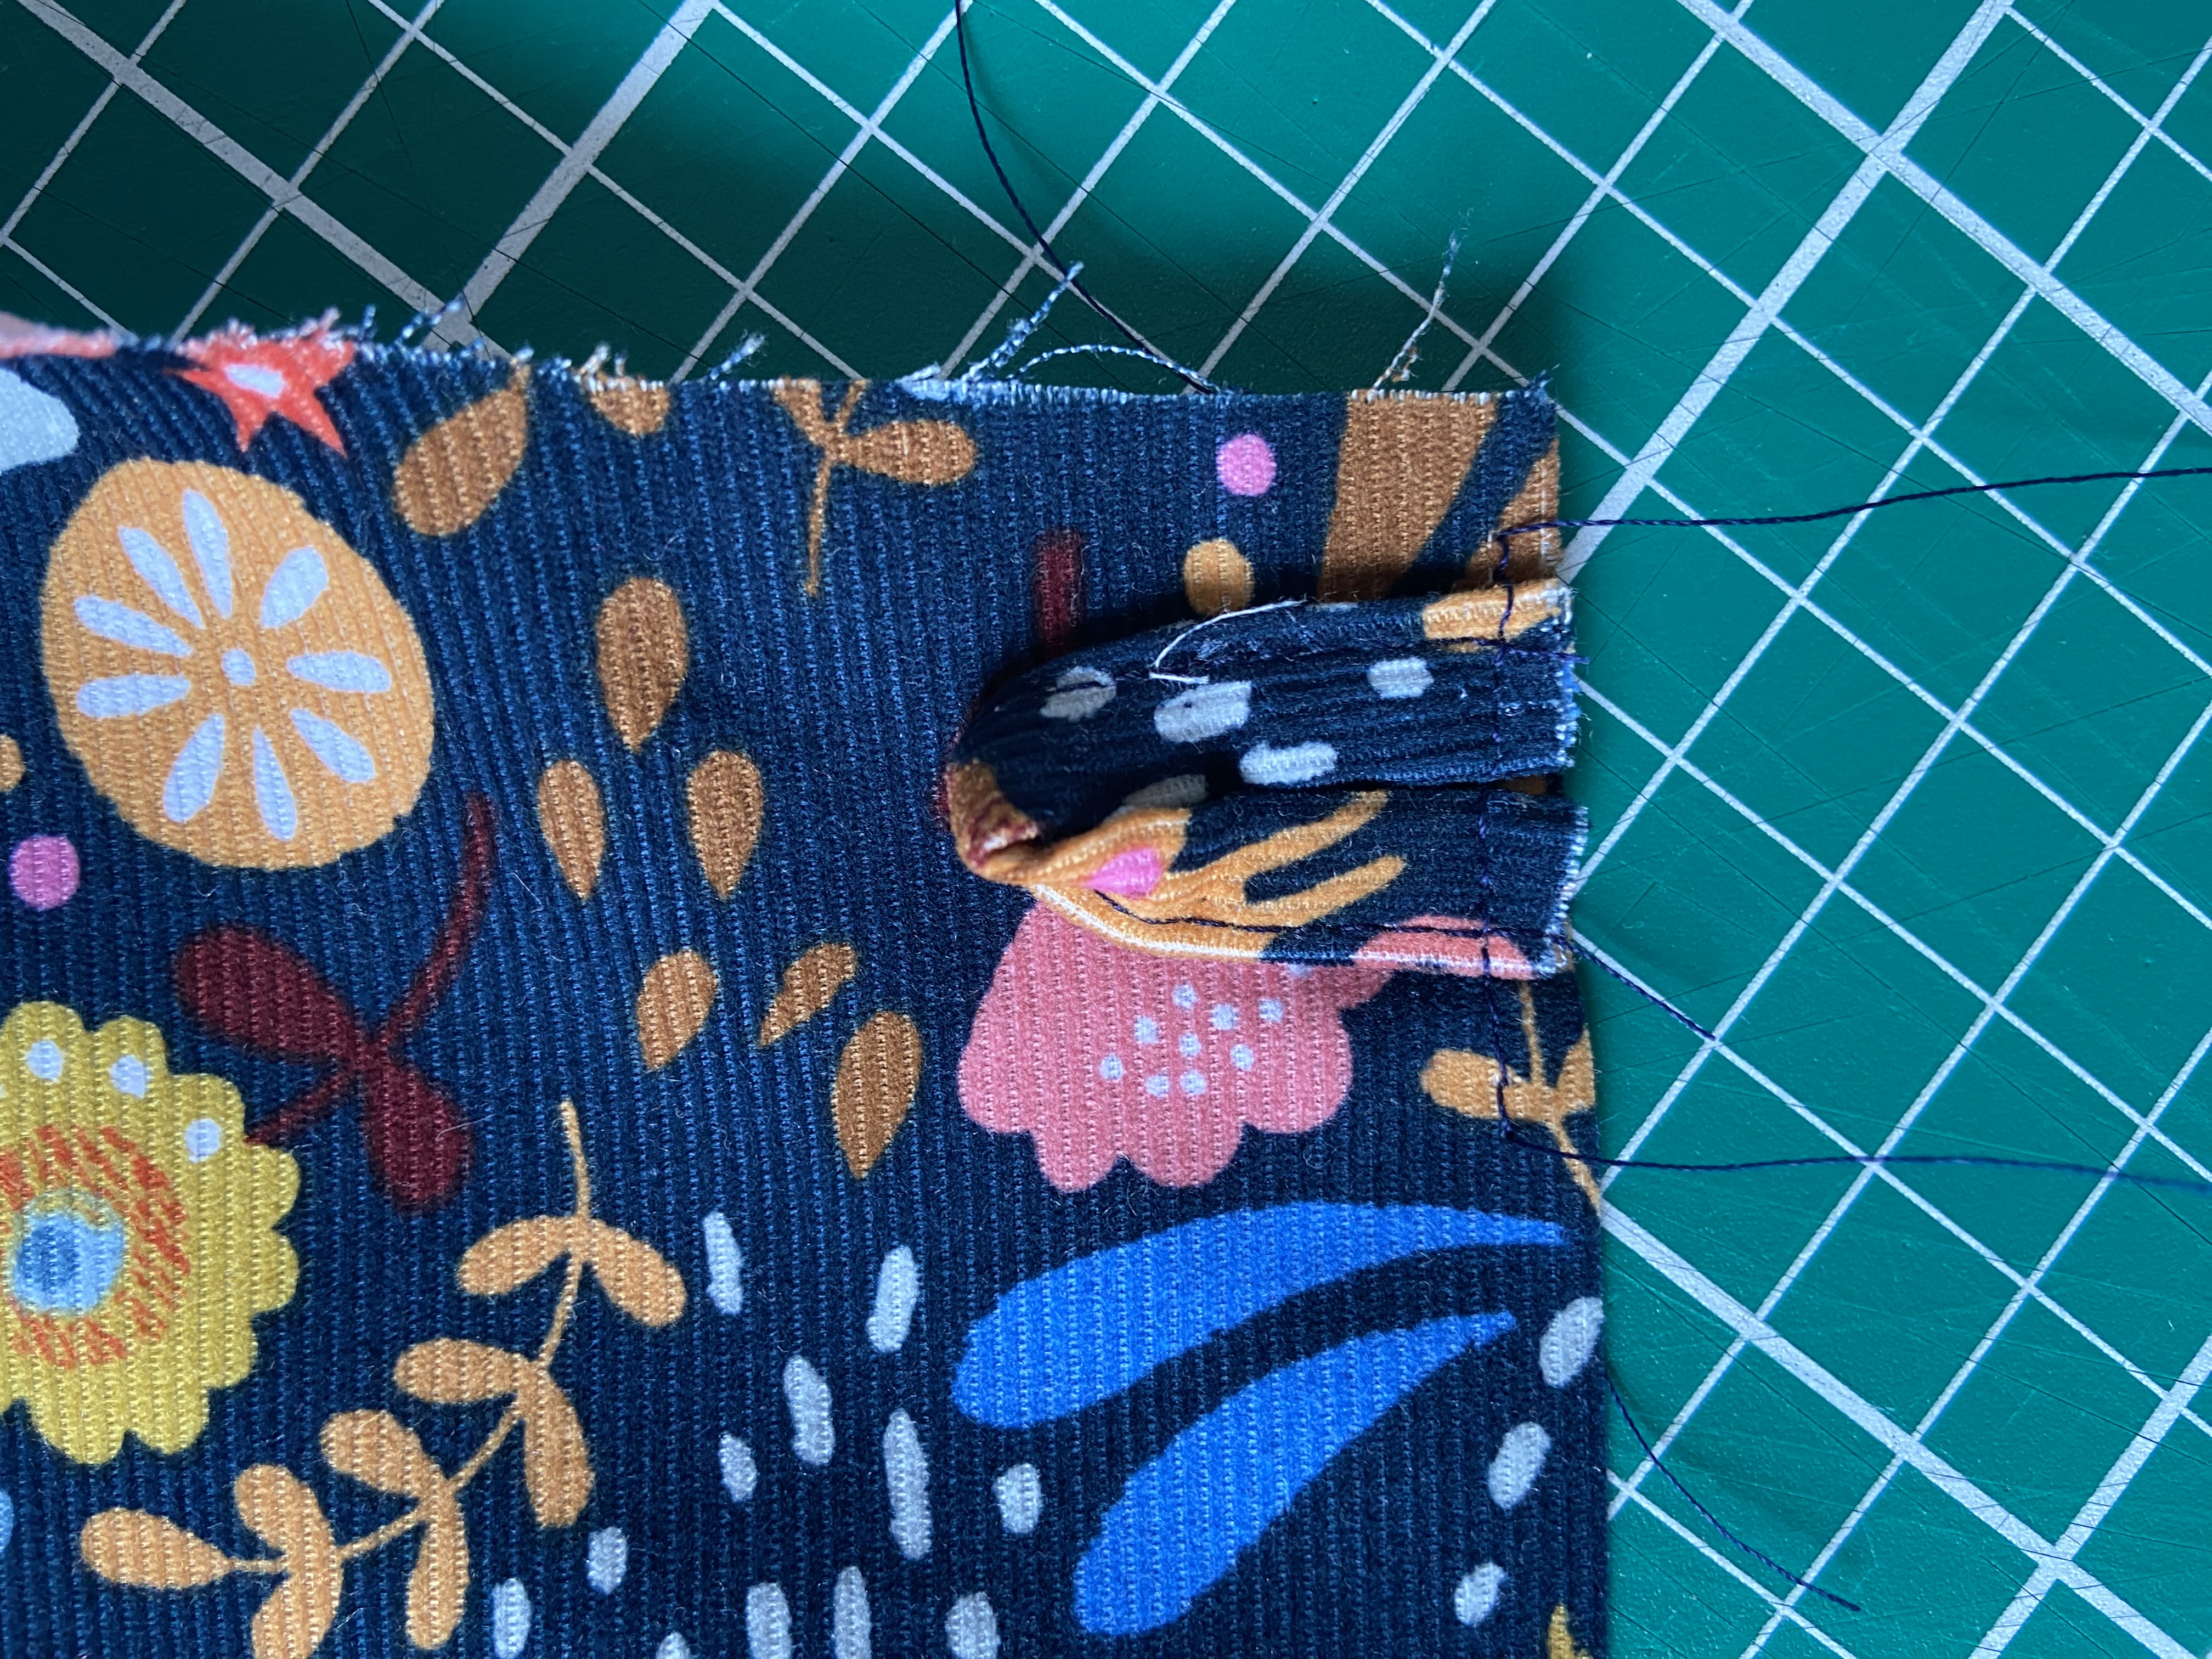
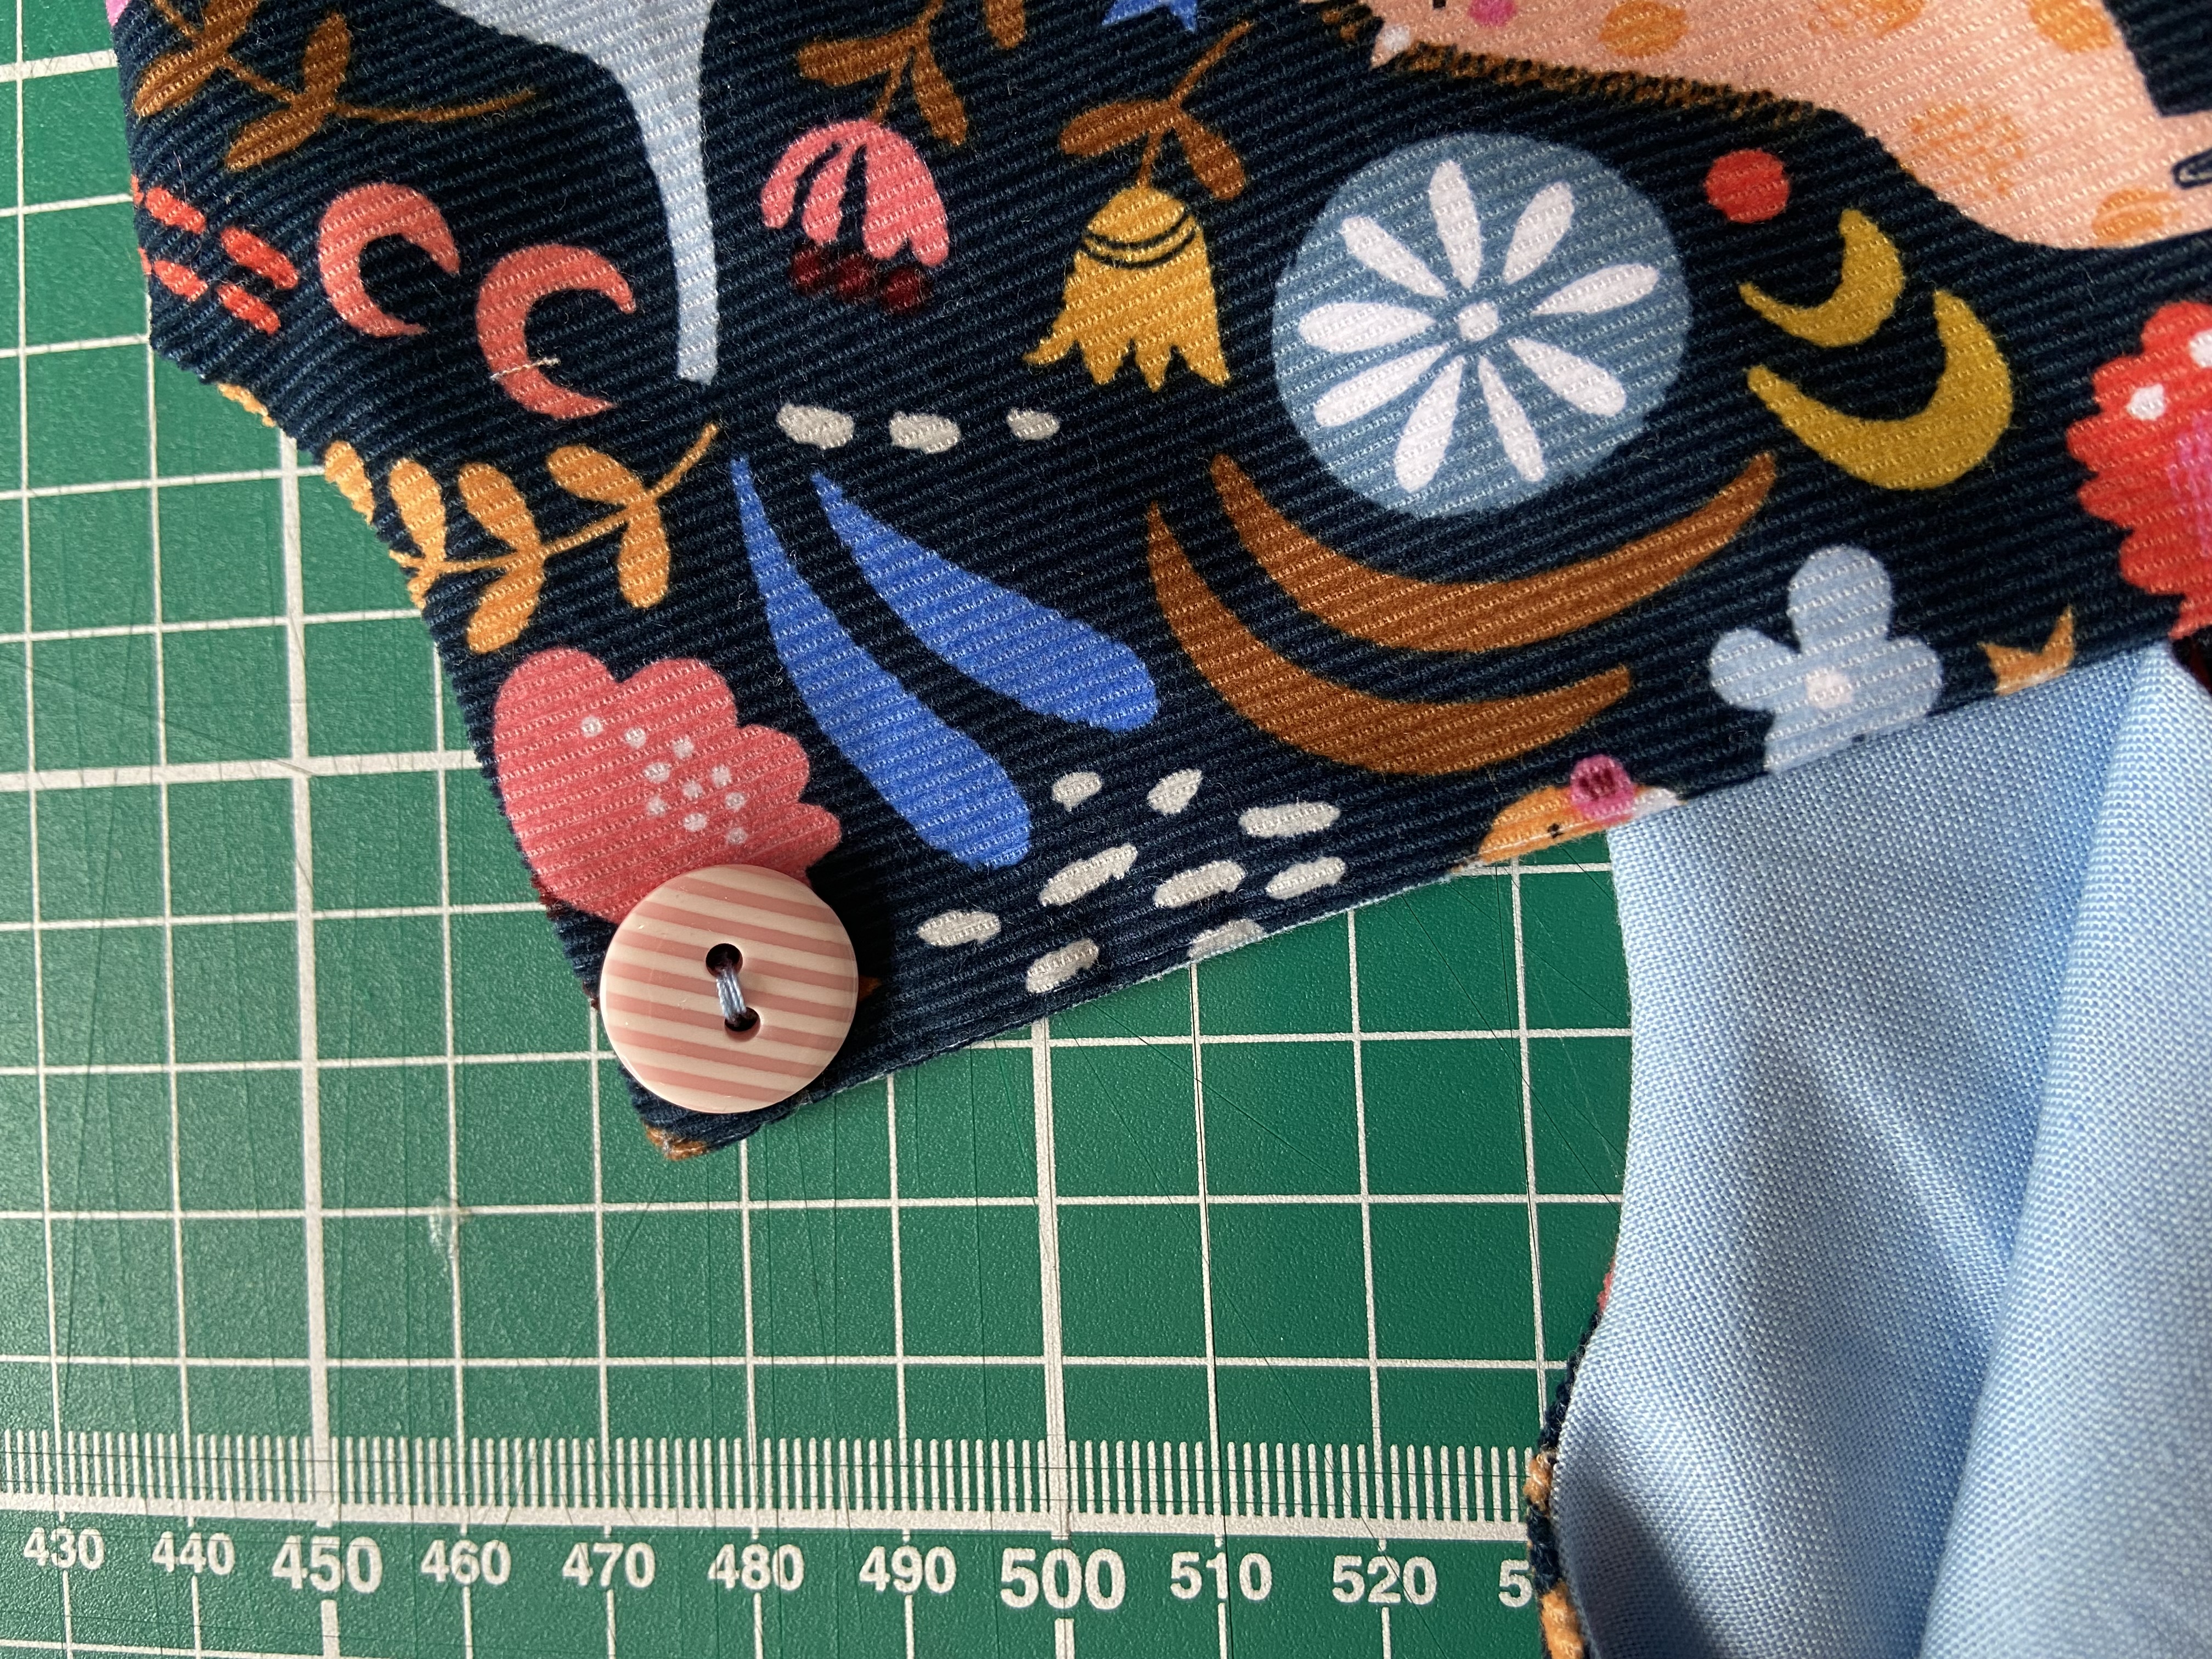
6,7 Making buttonhole loop

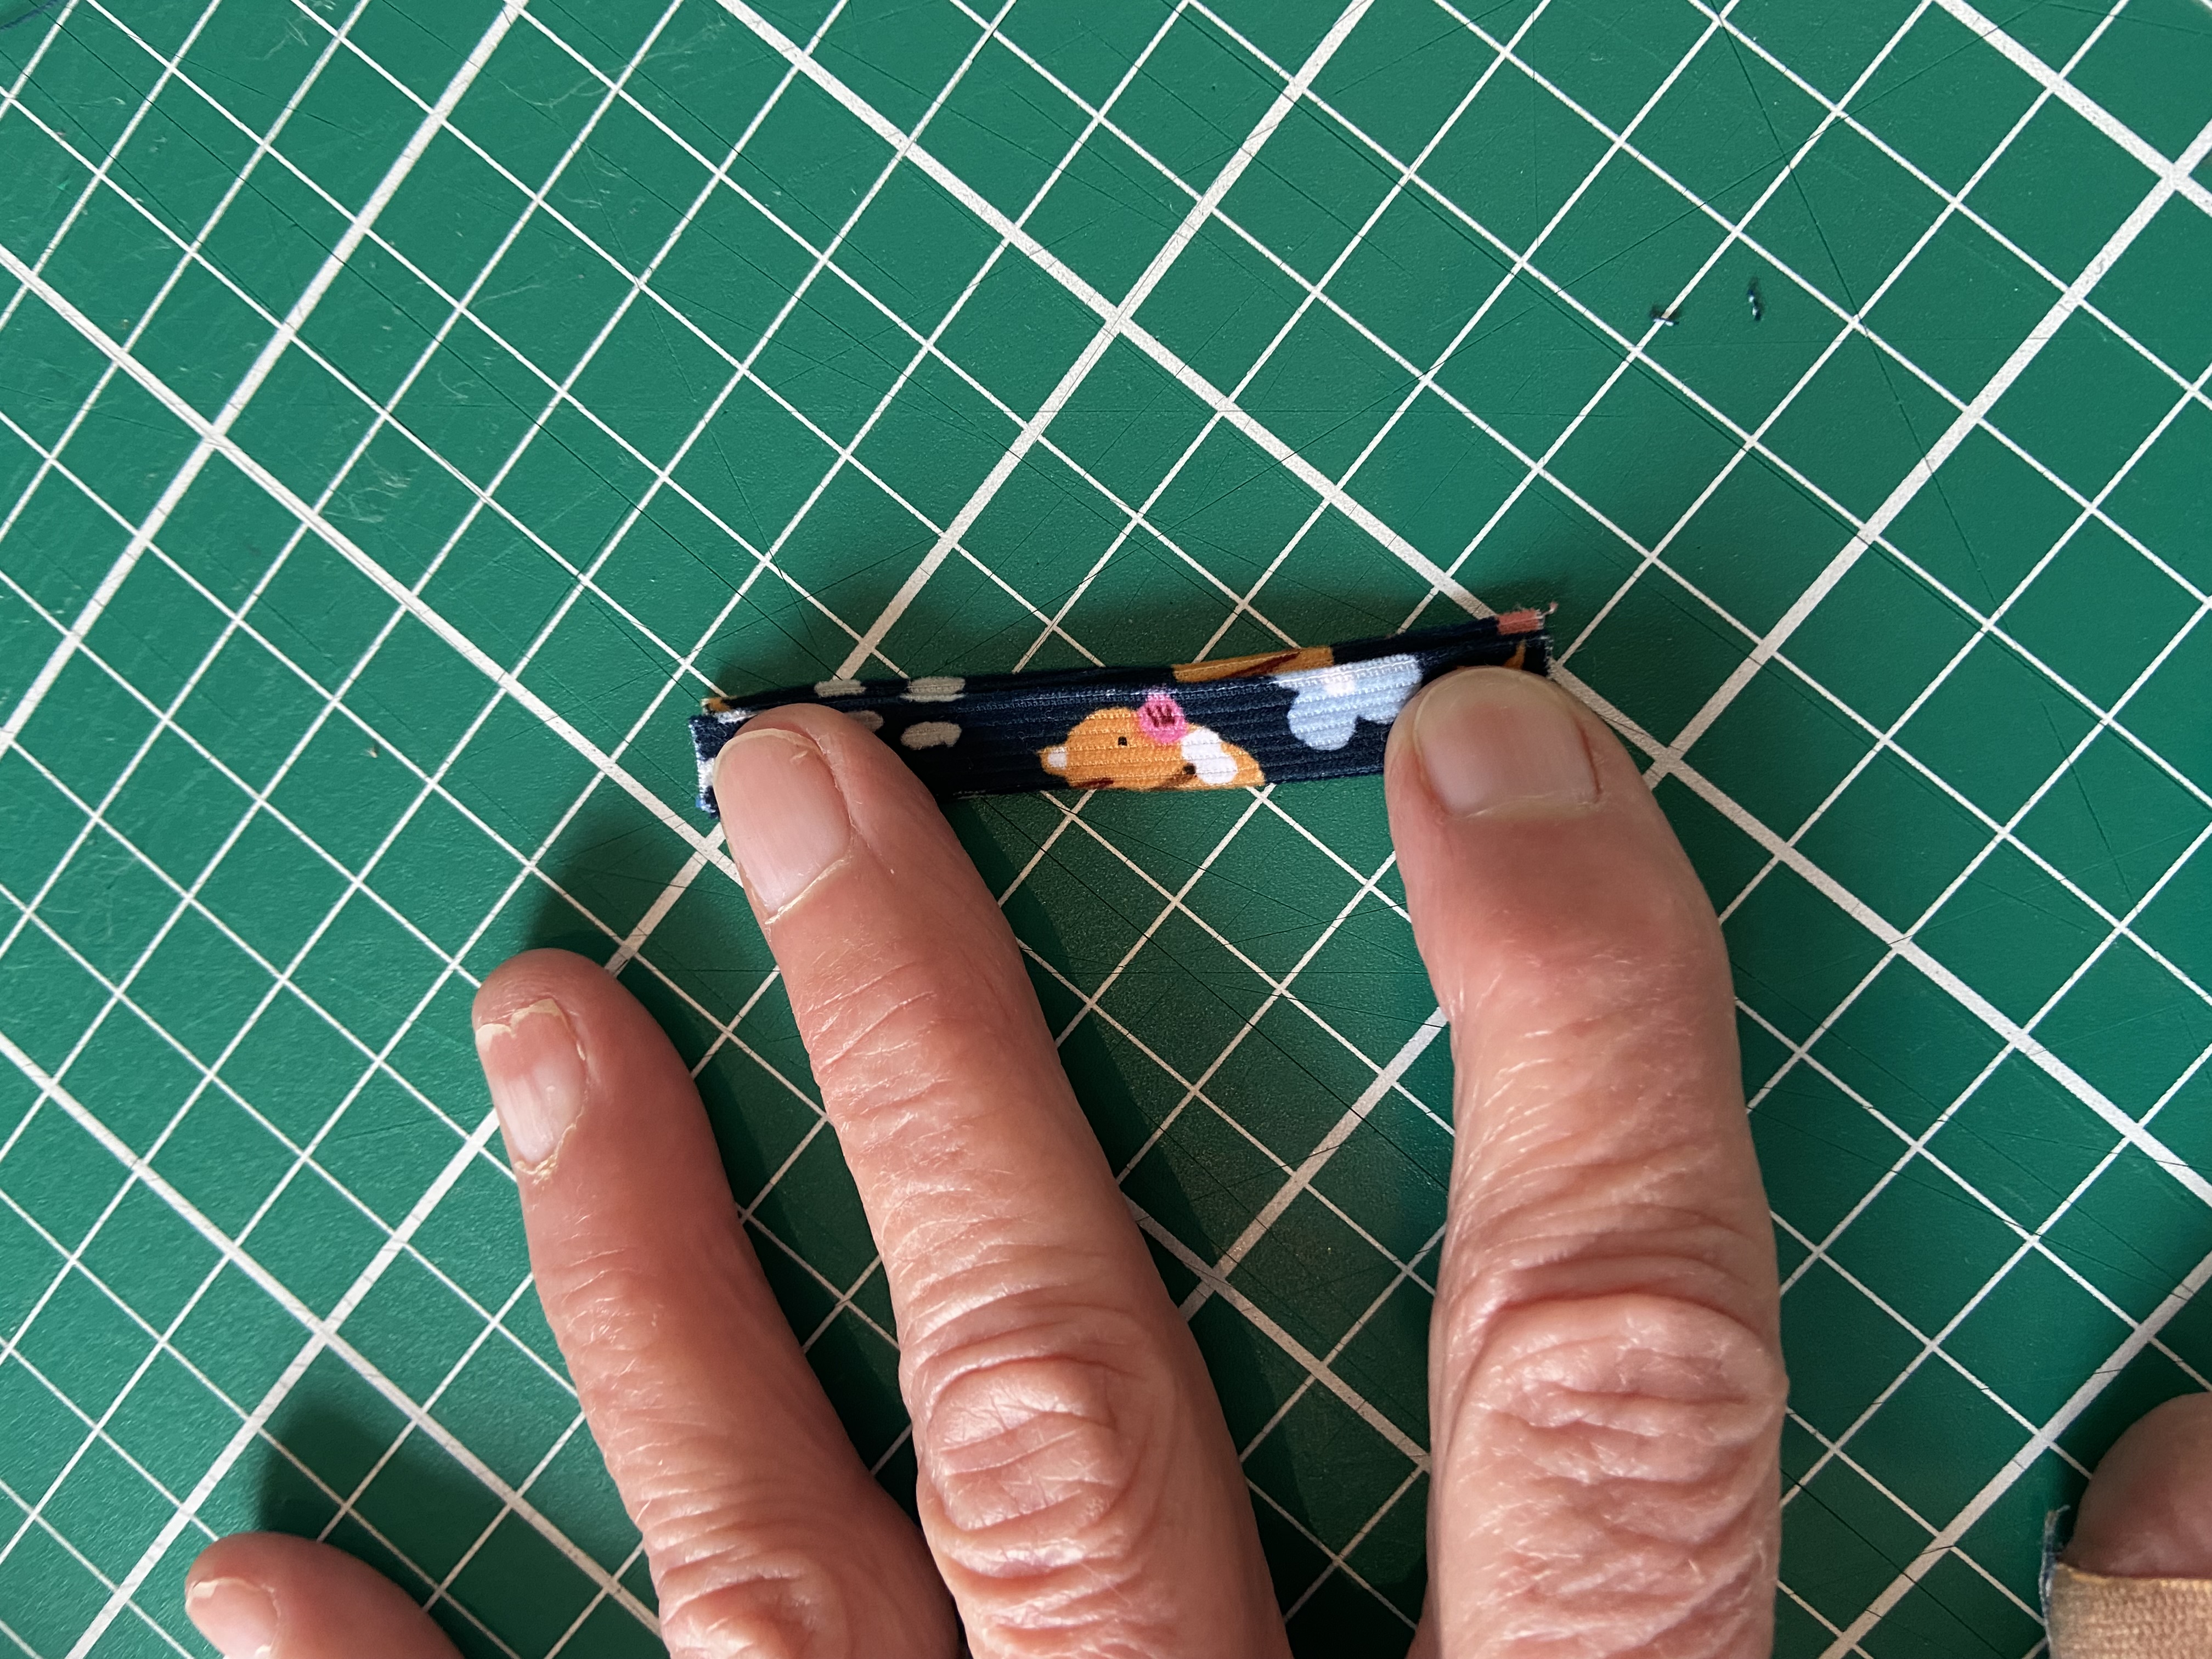
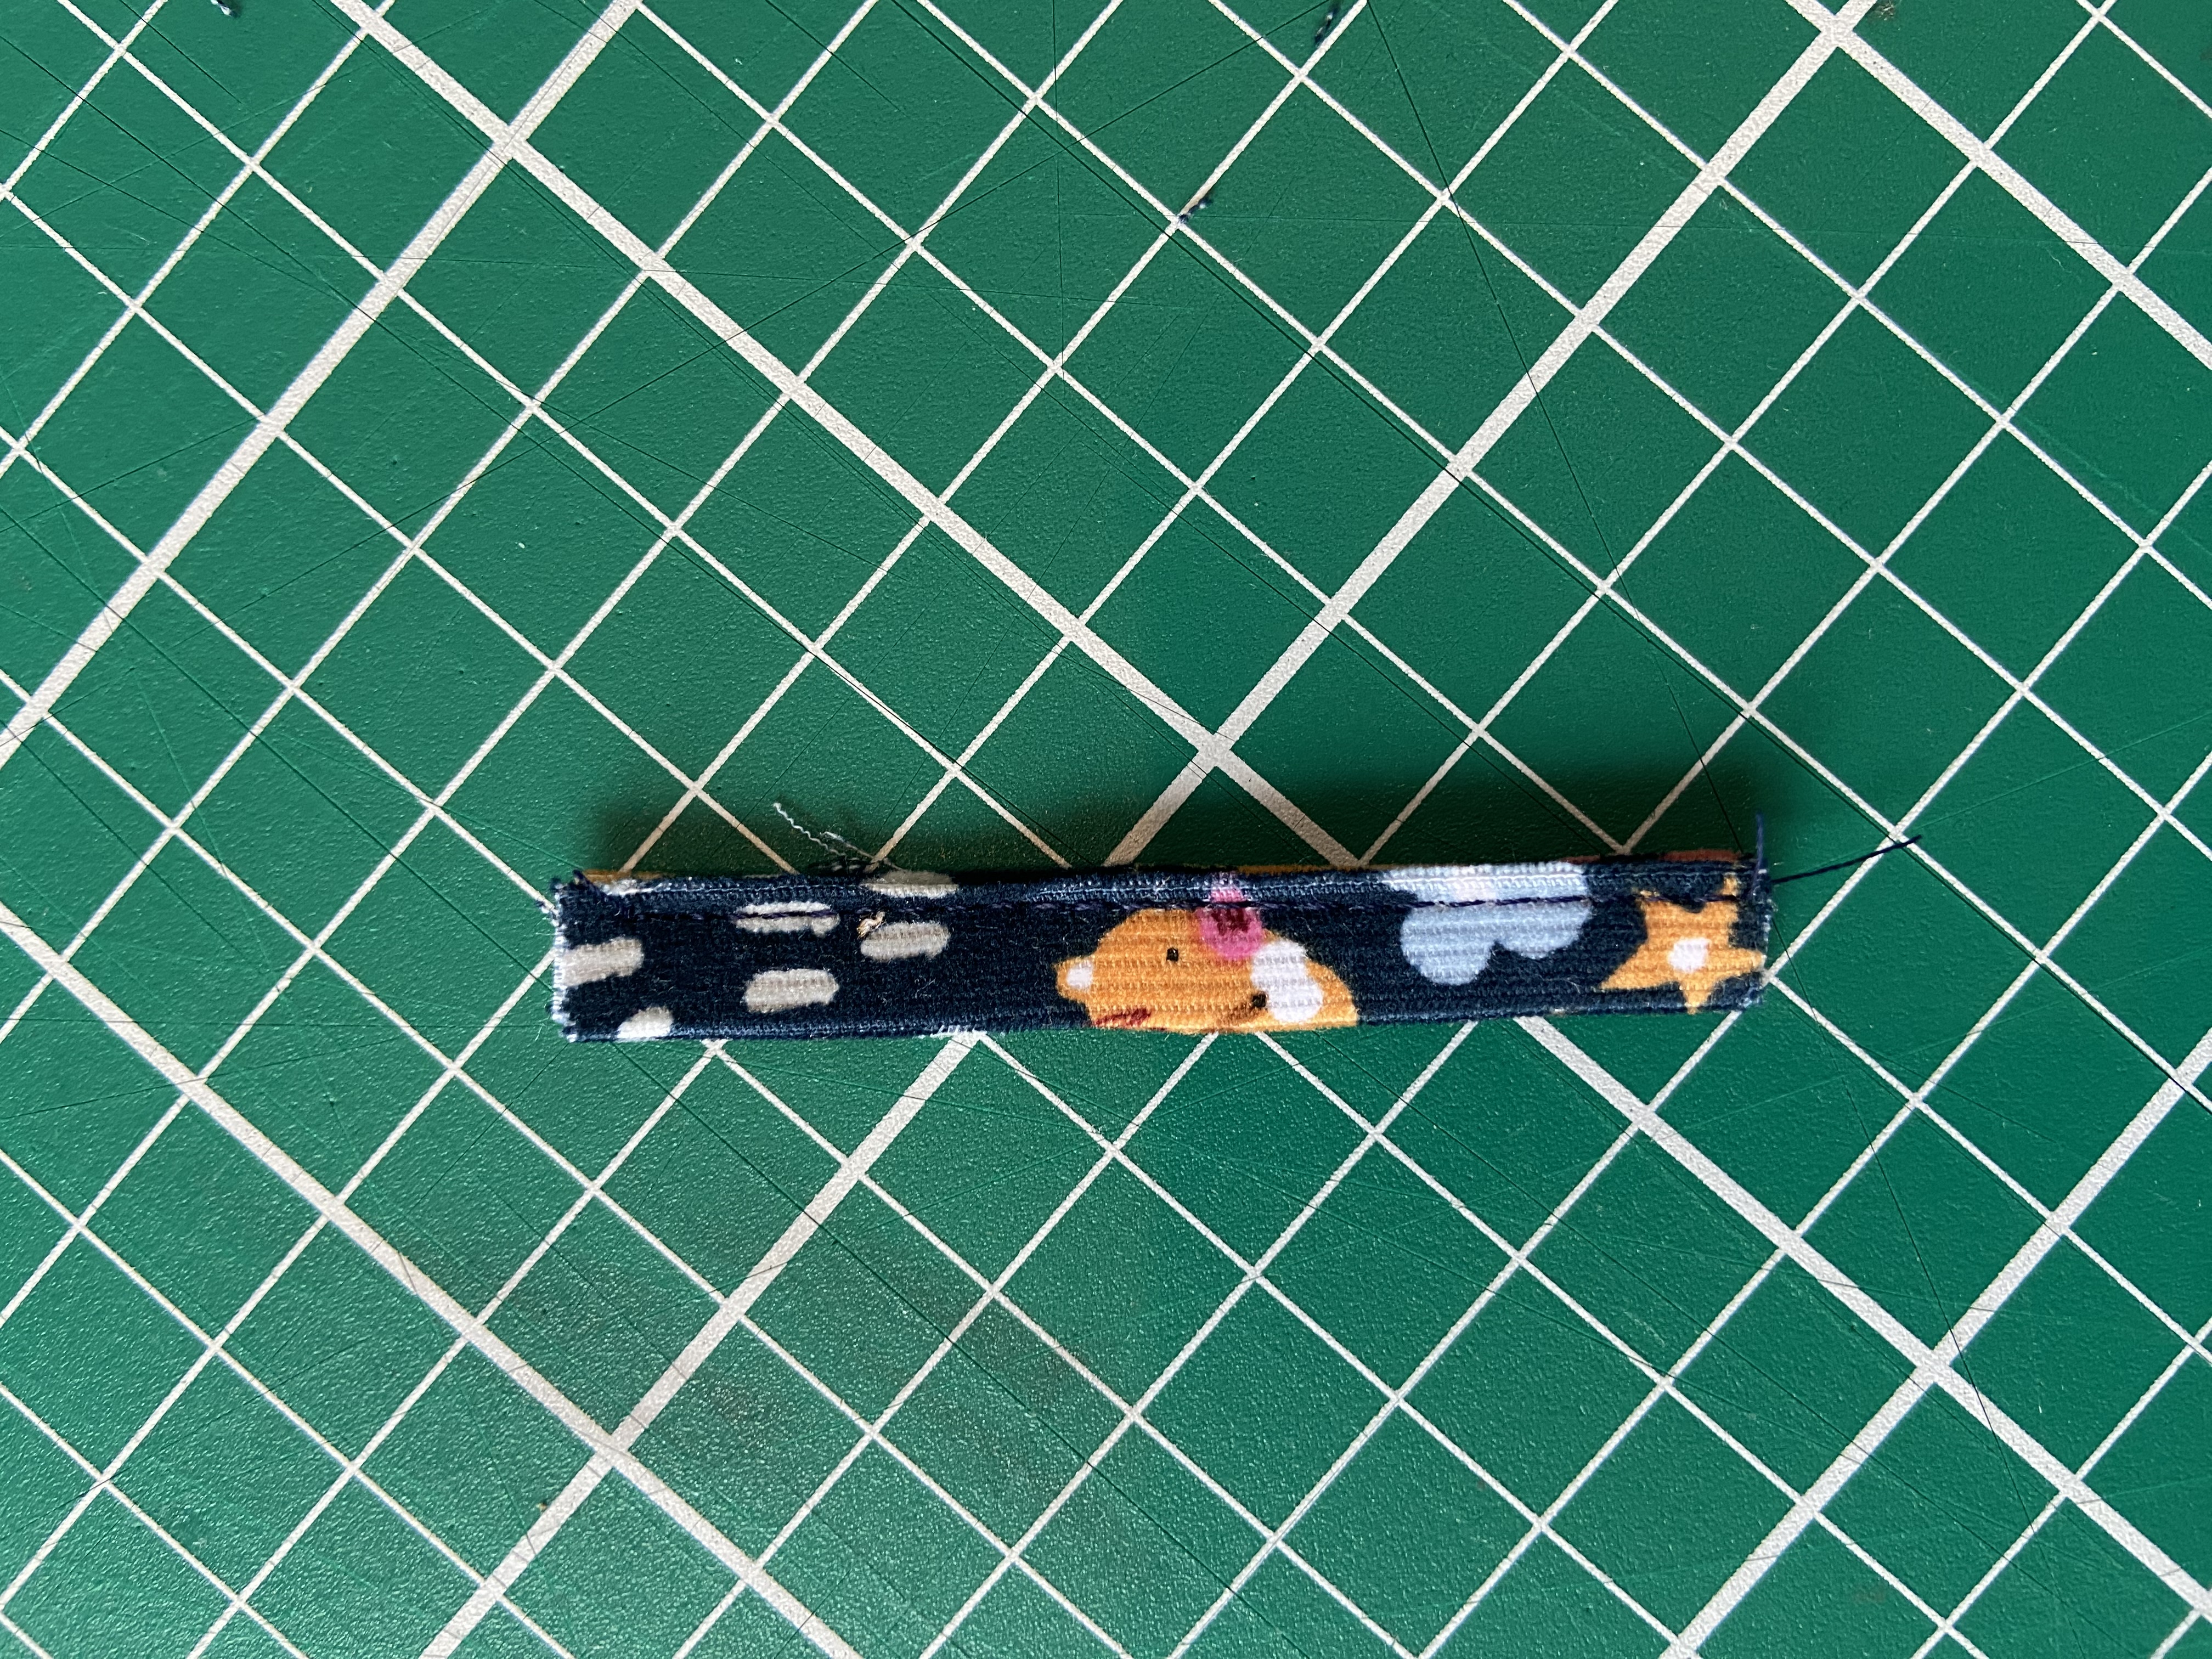
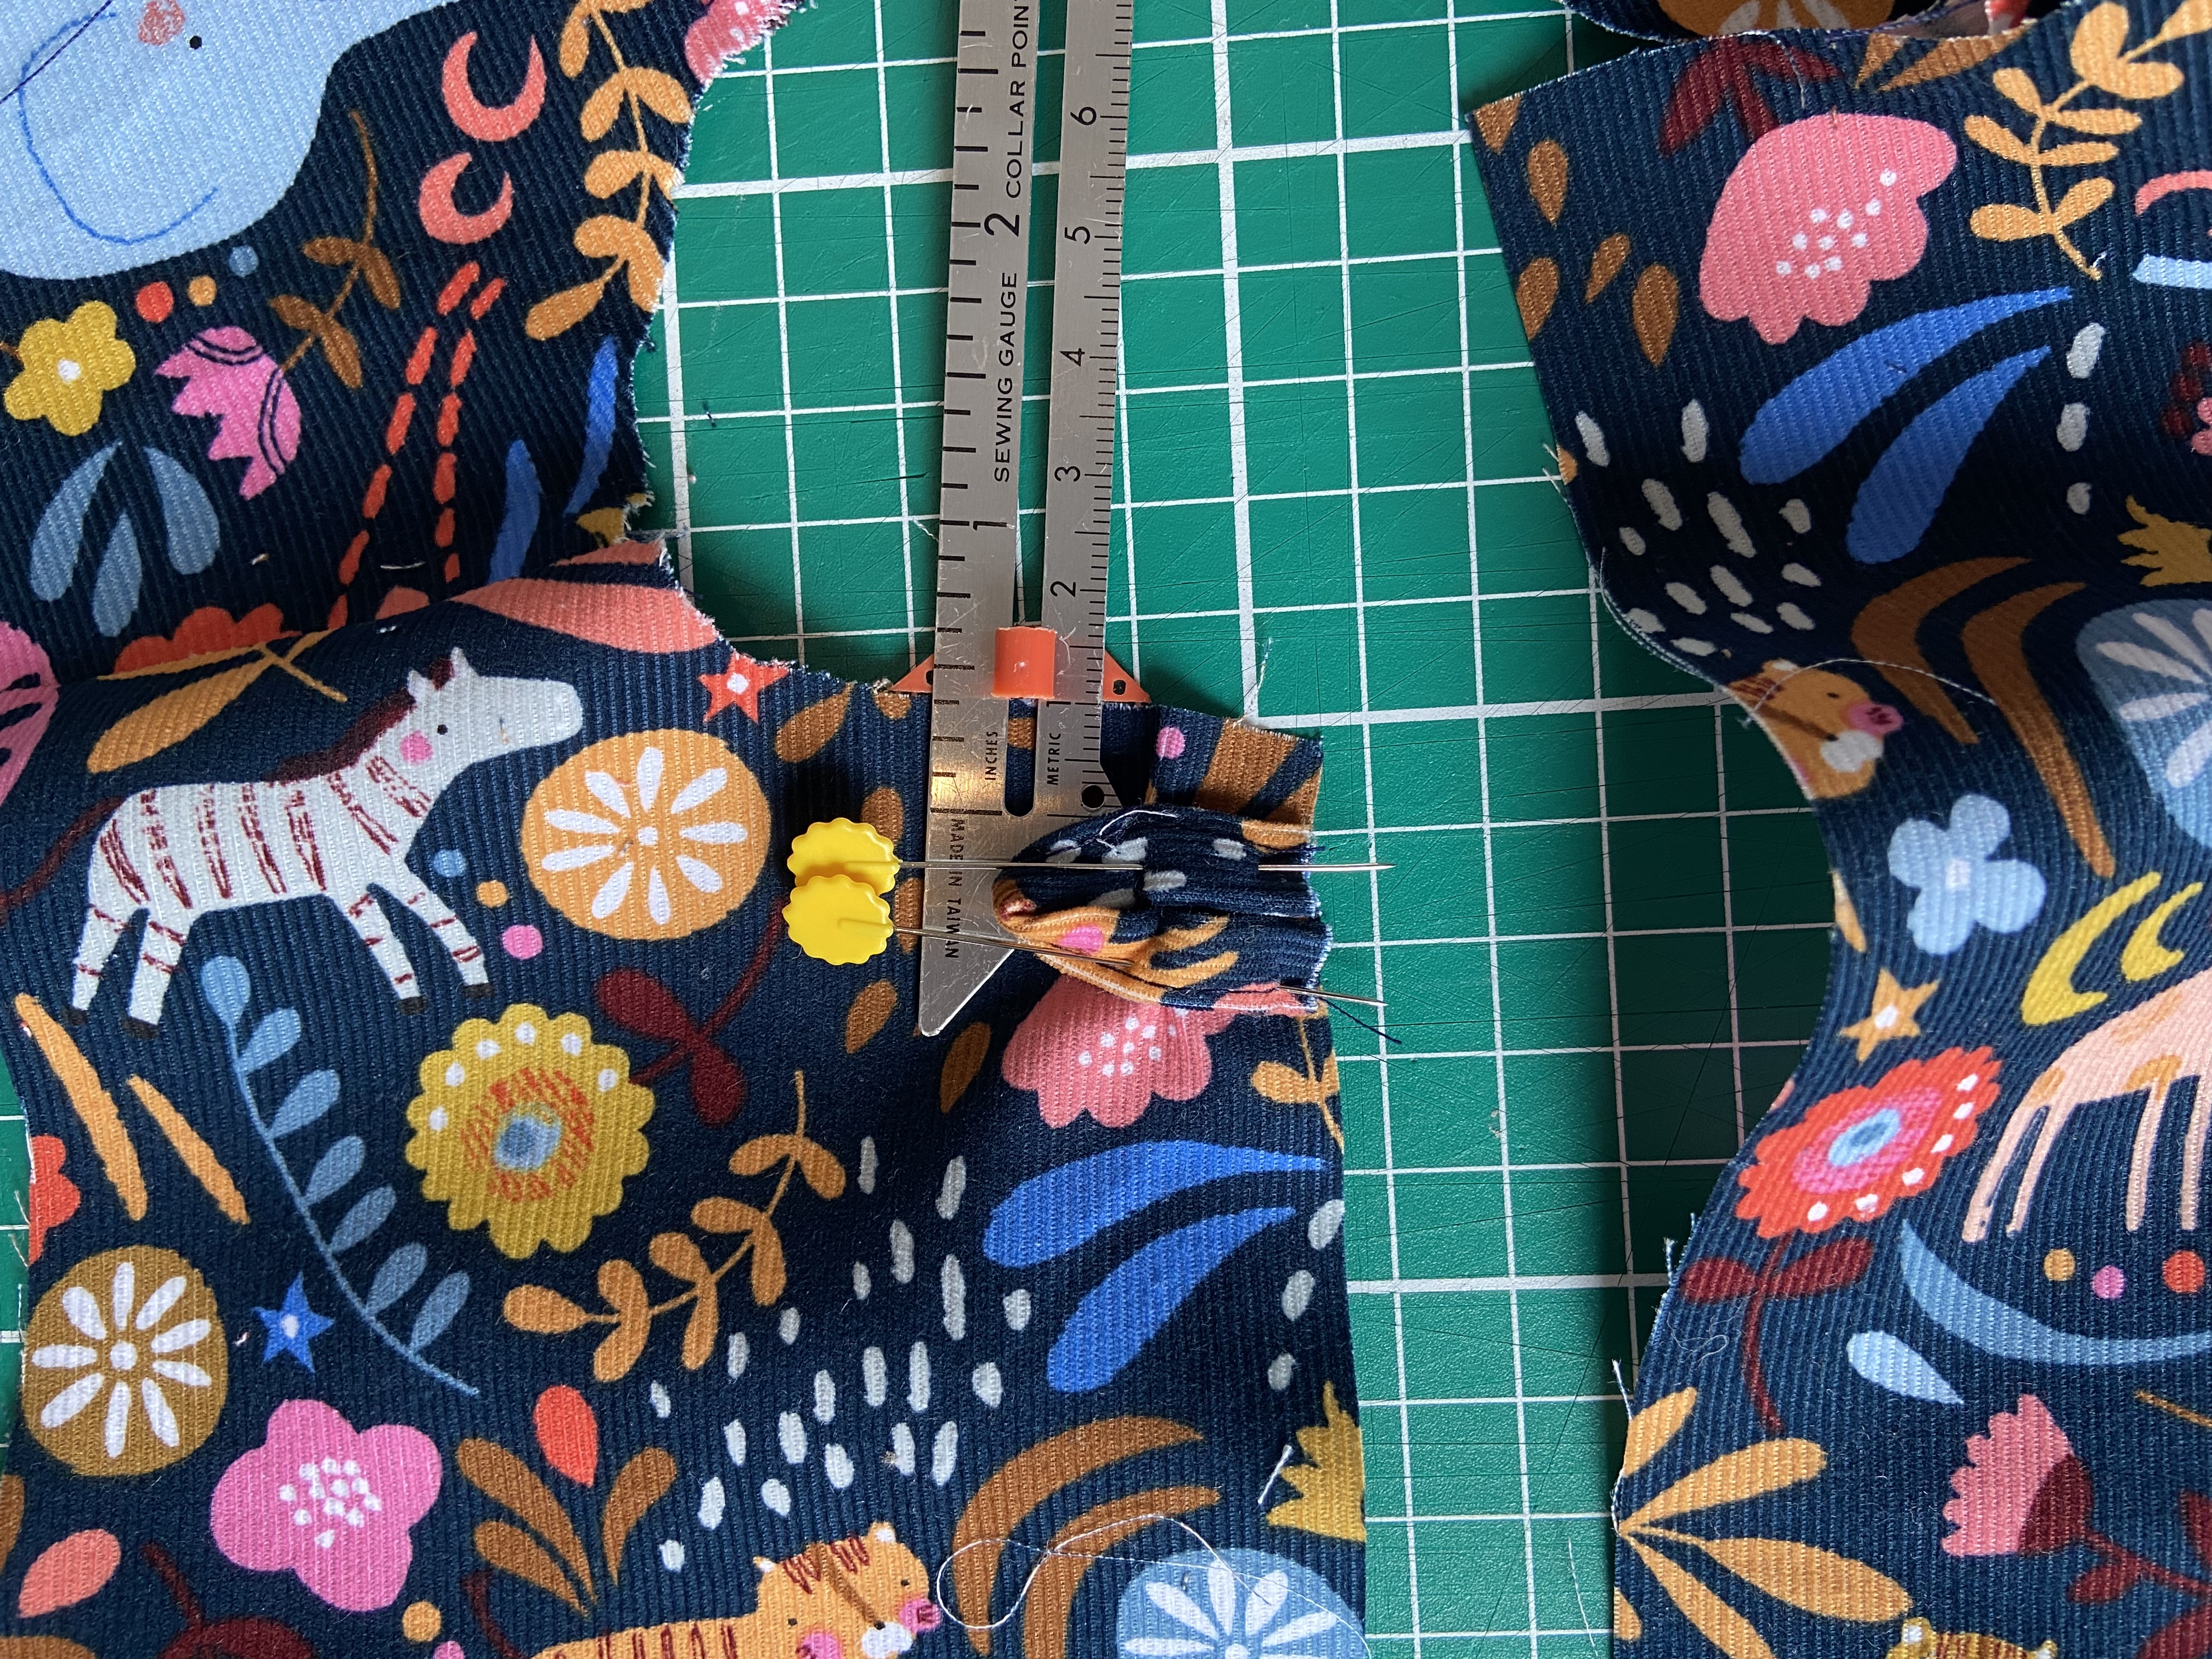
Tip: Pin the loop in place as described but then sew a row of stitches close to the edge to hold the loop in place, you can remove the pins and this makes step 9 easier.
9 Sewing the facing and dress together.
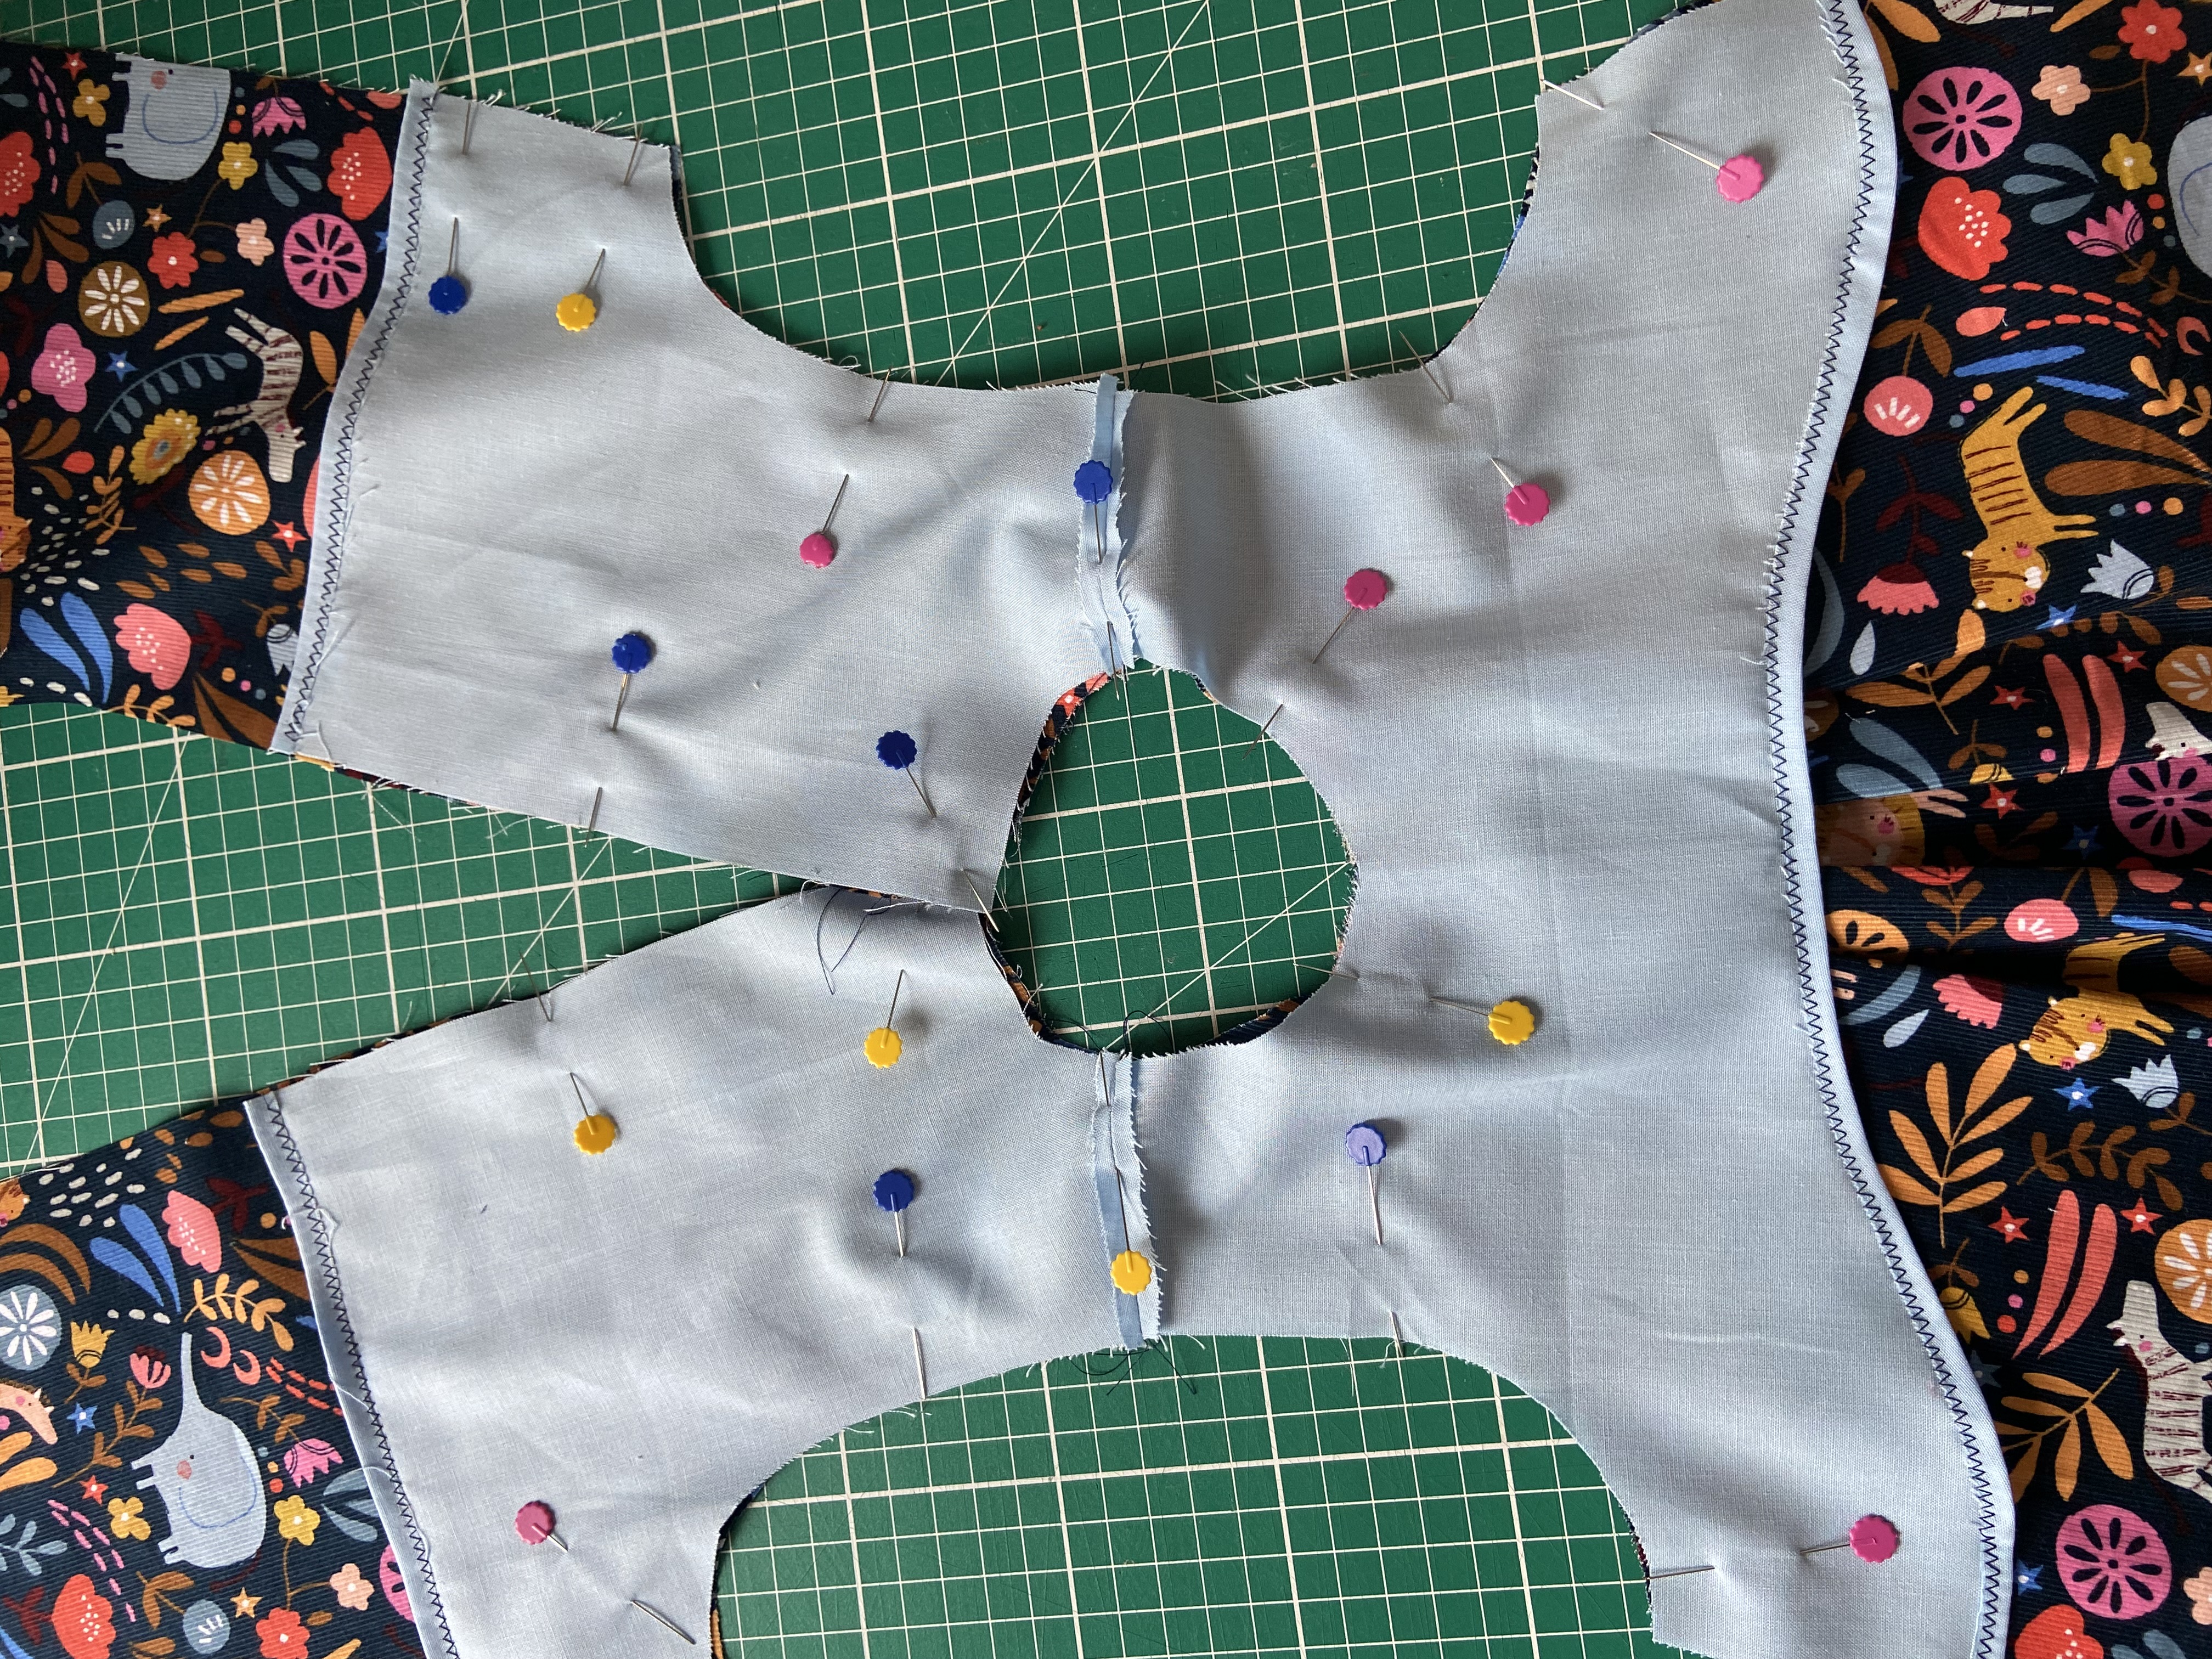
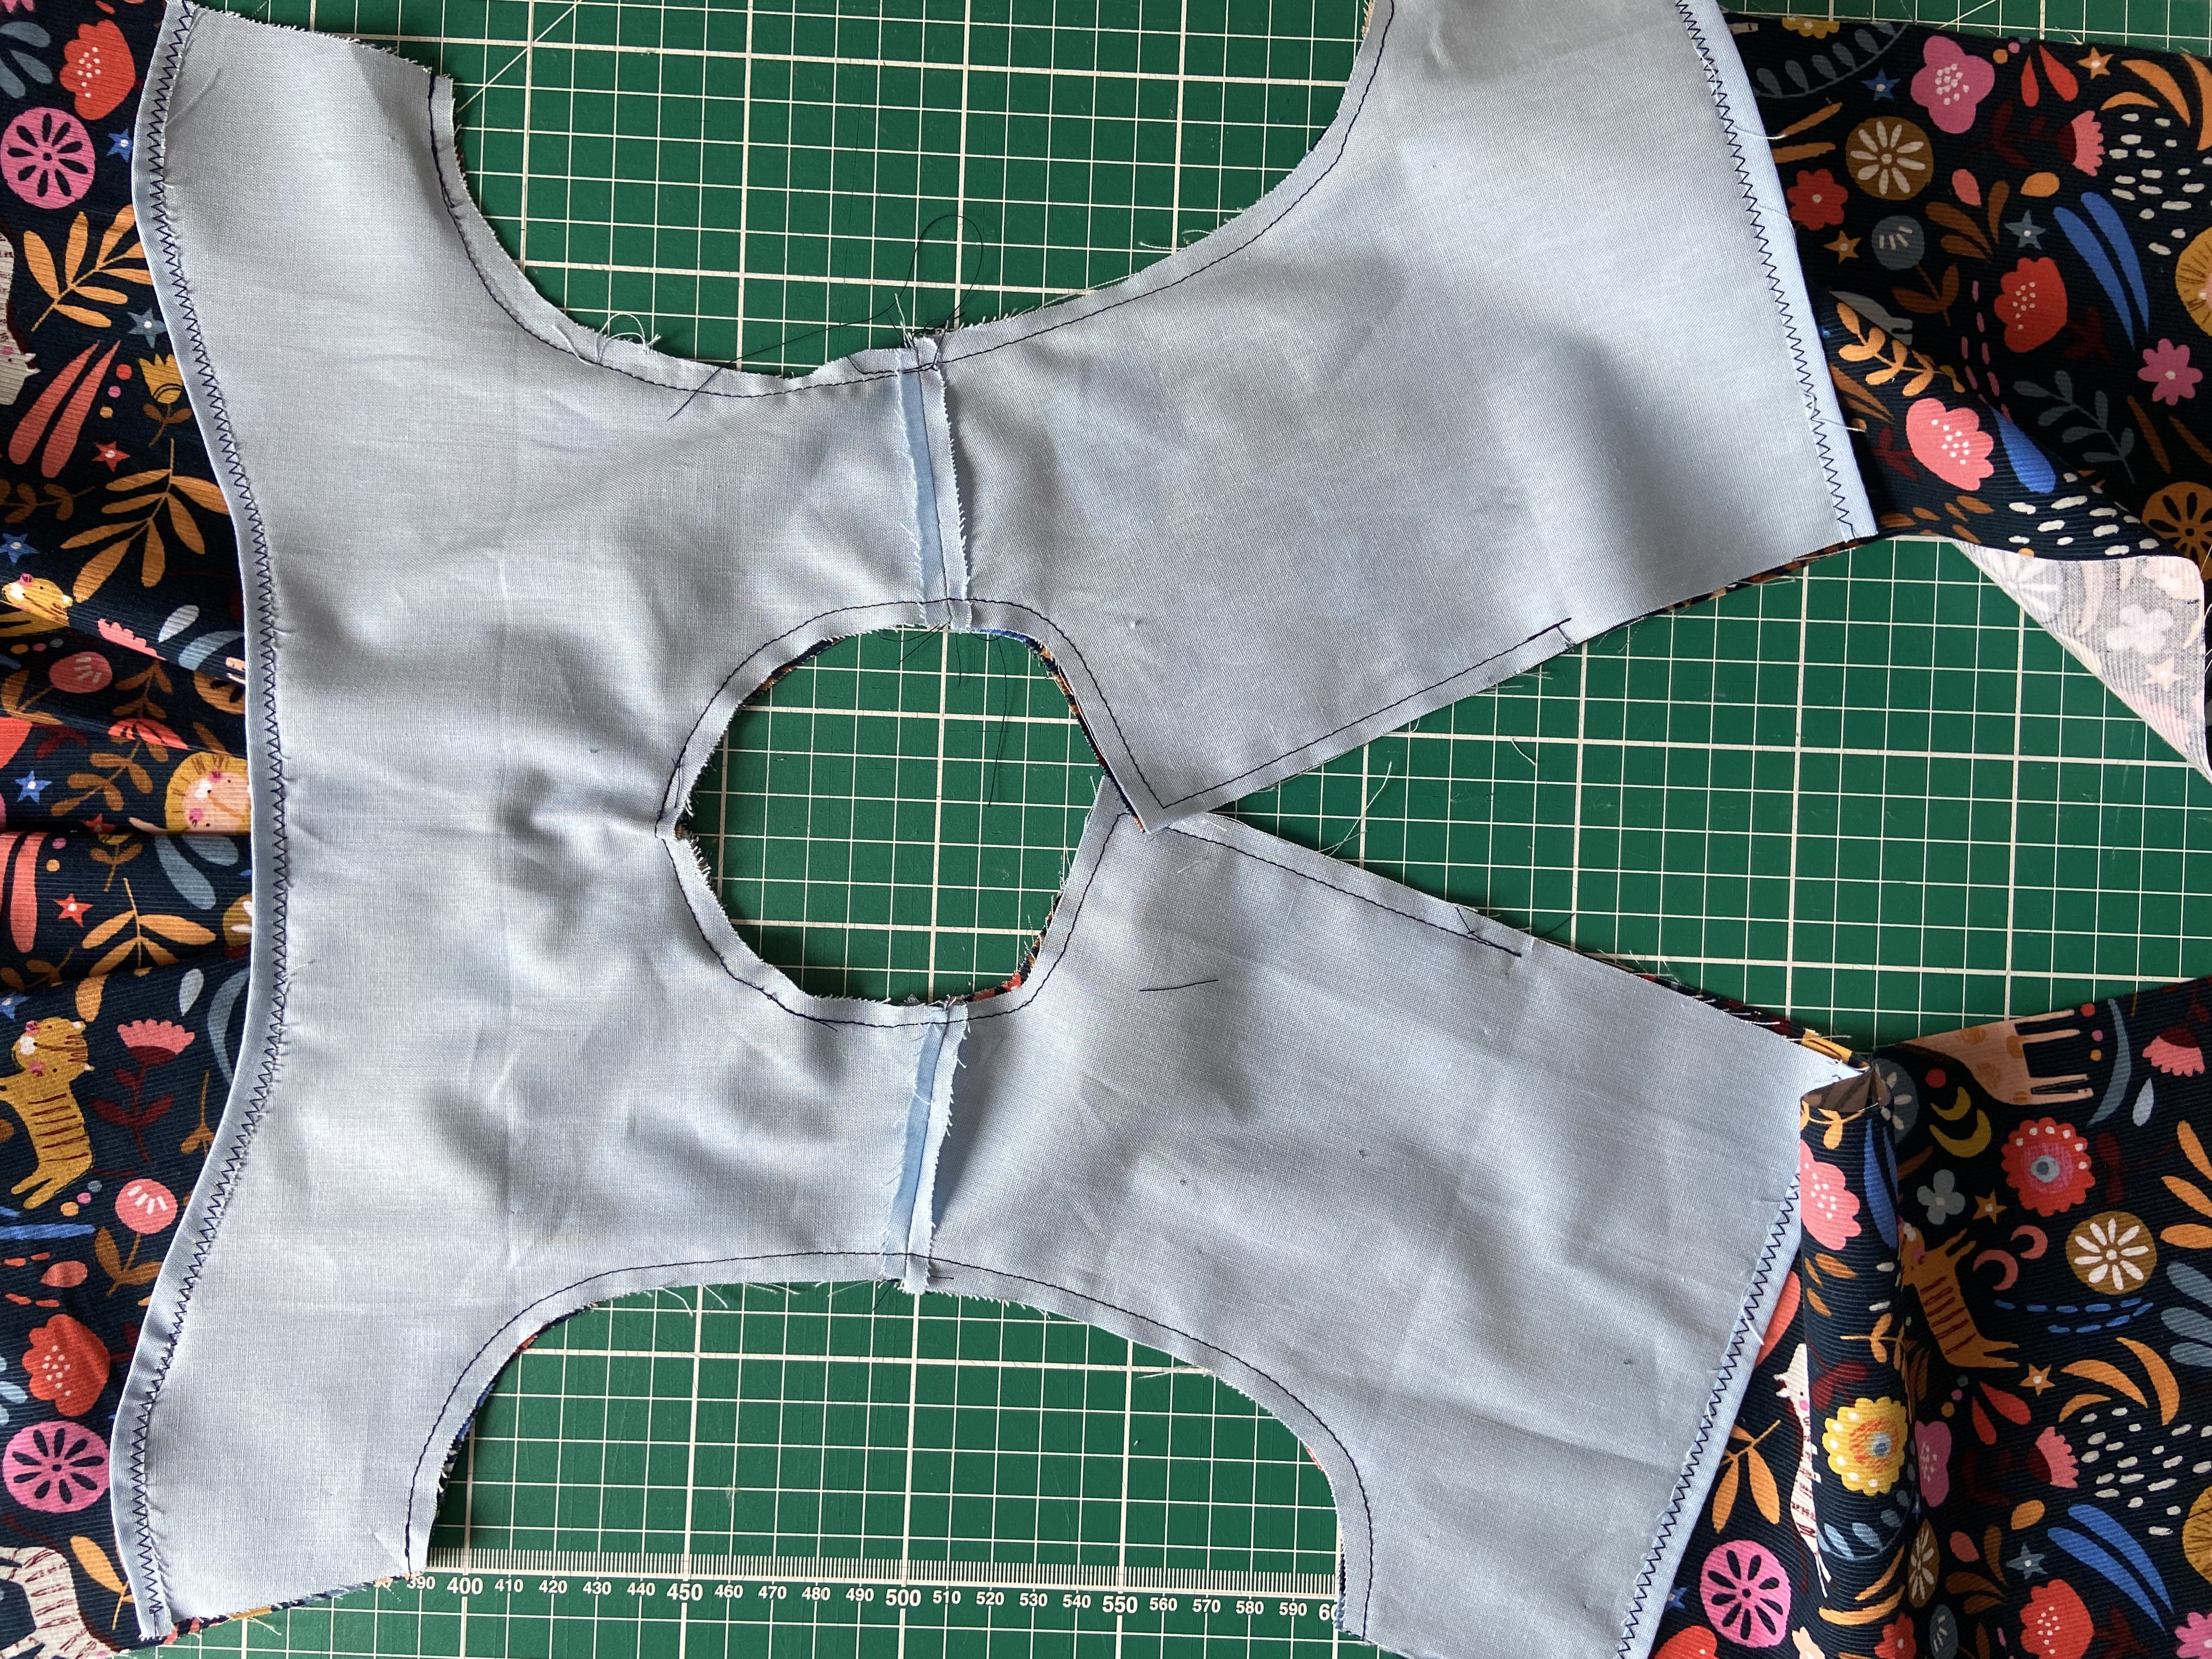
10 &11 Clip the curves and trim the corners.


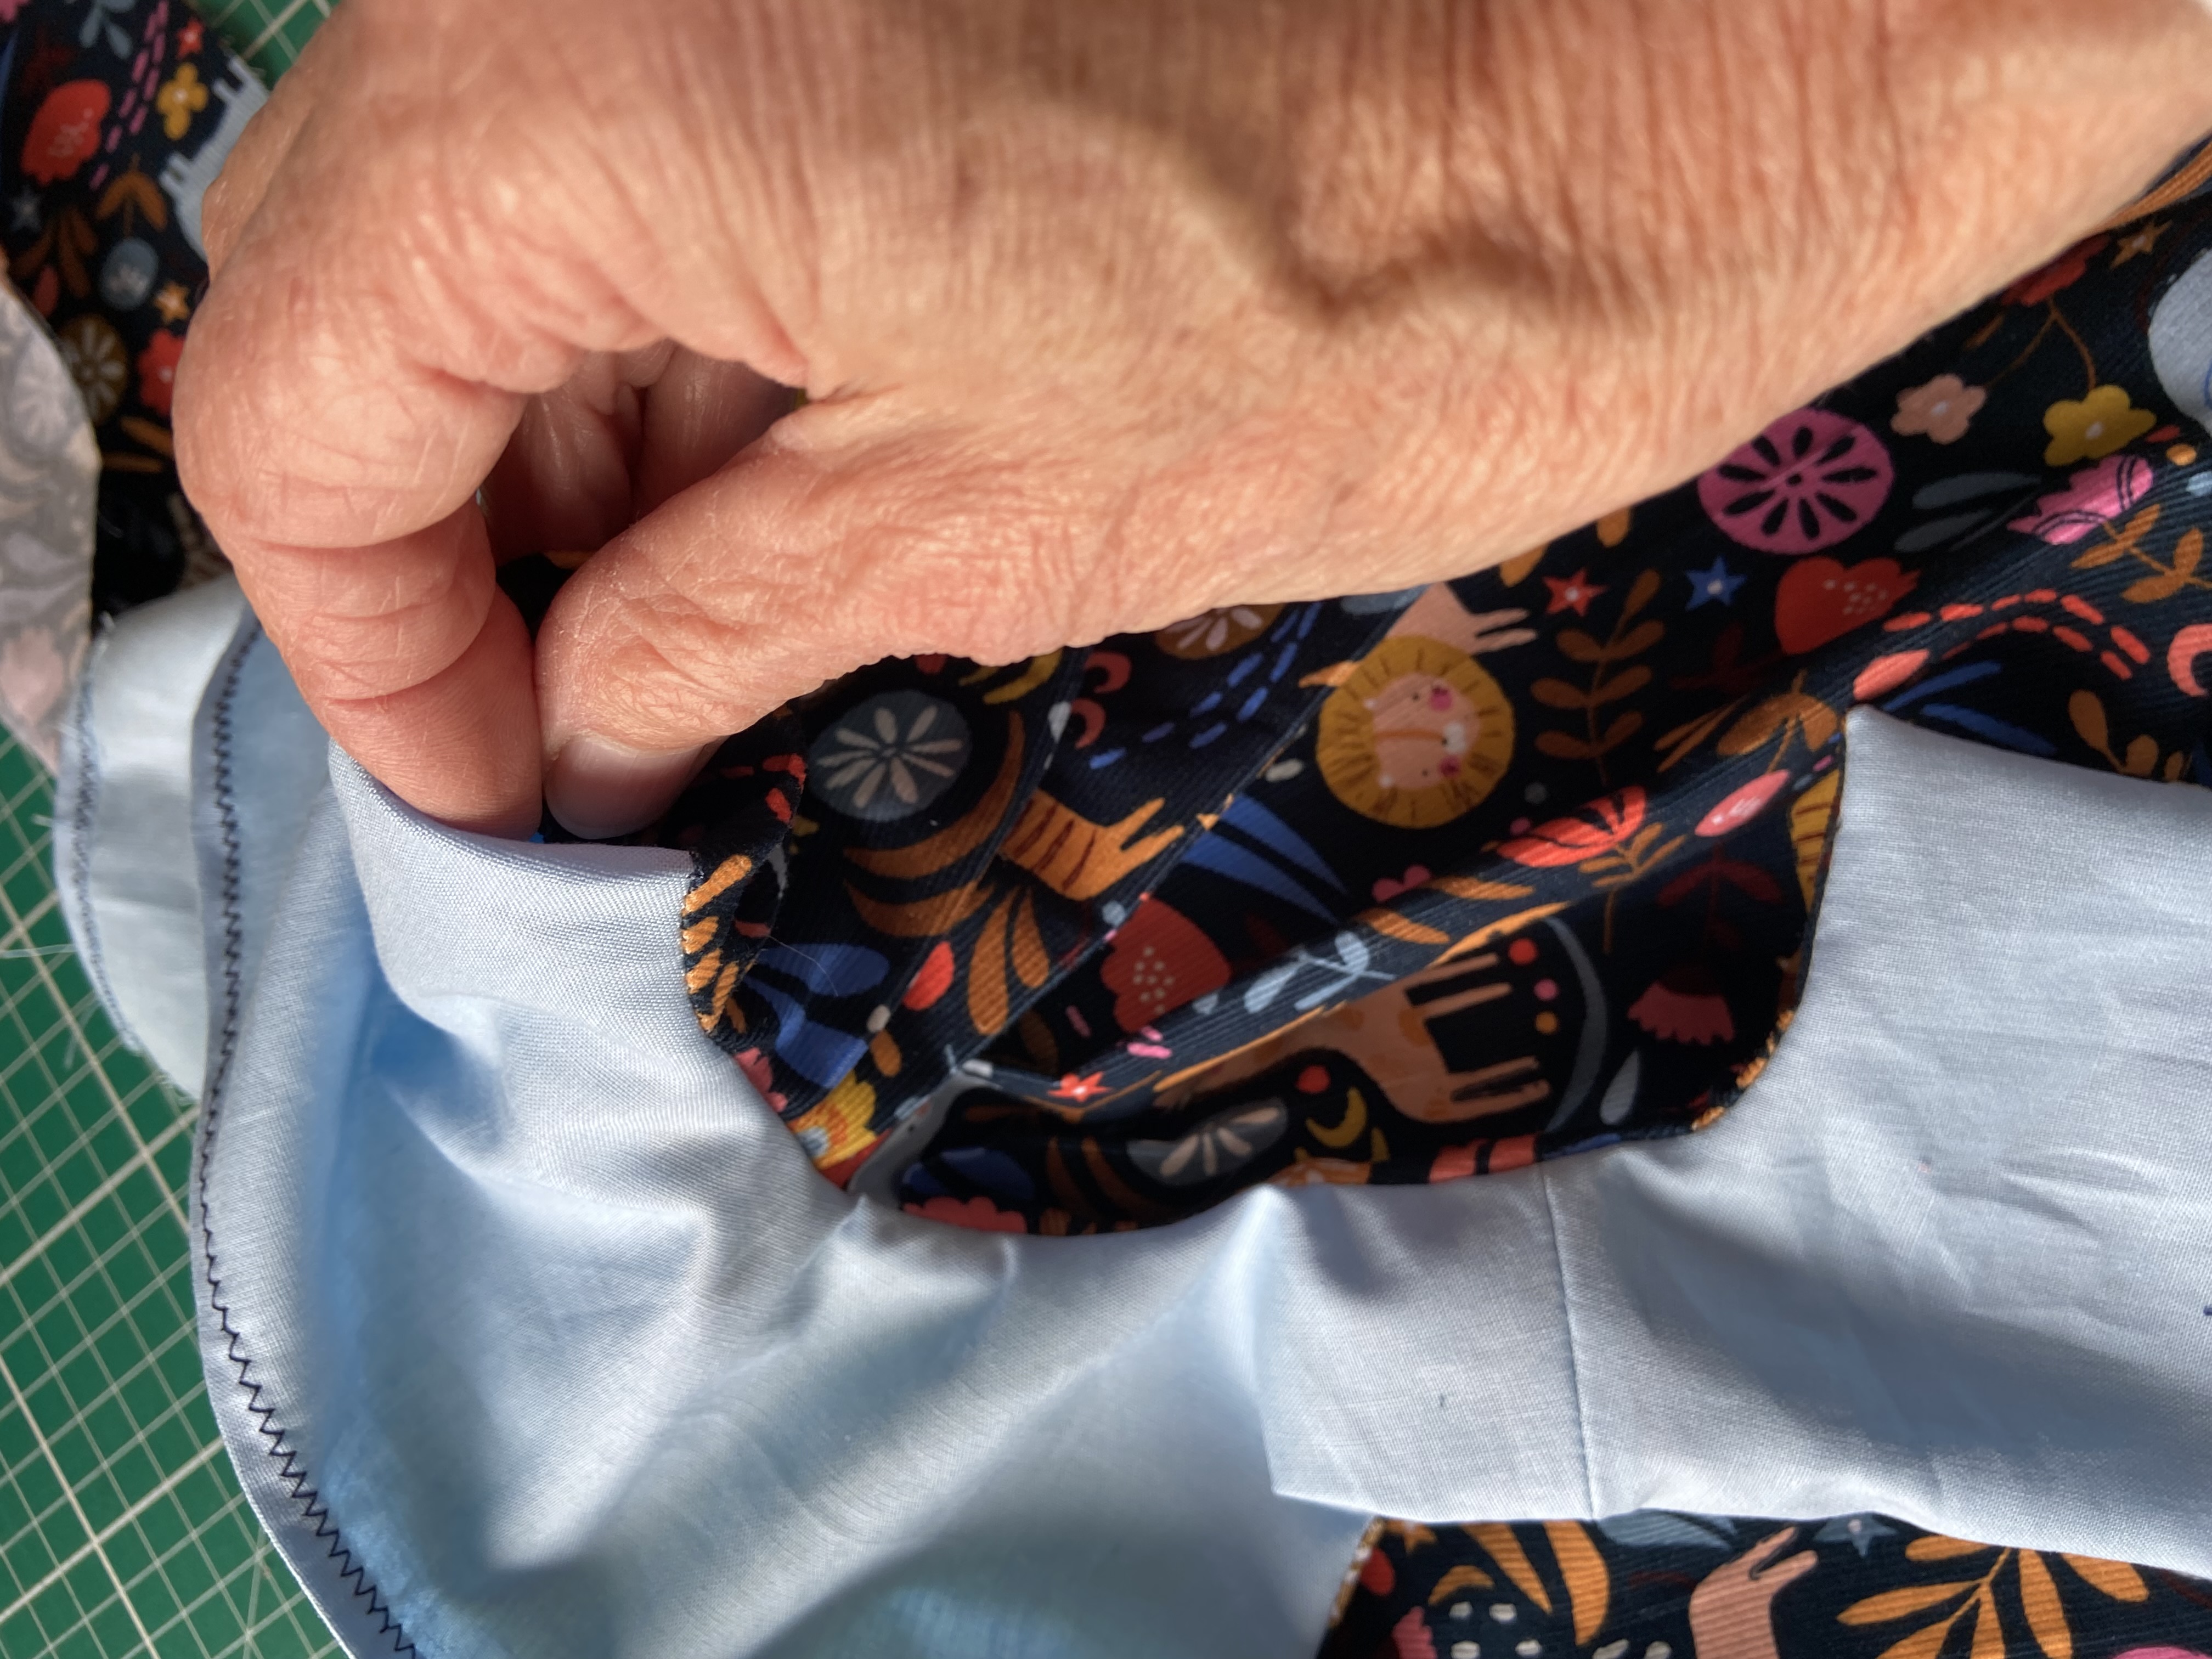
12 Turning out and pressing
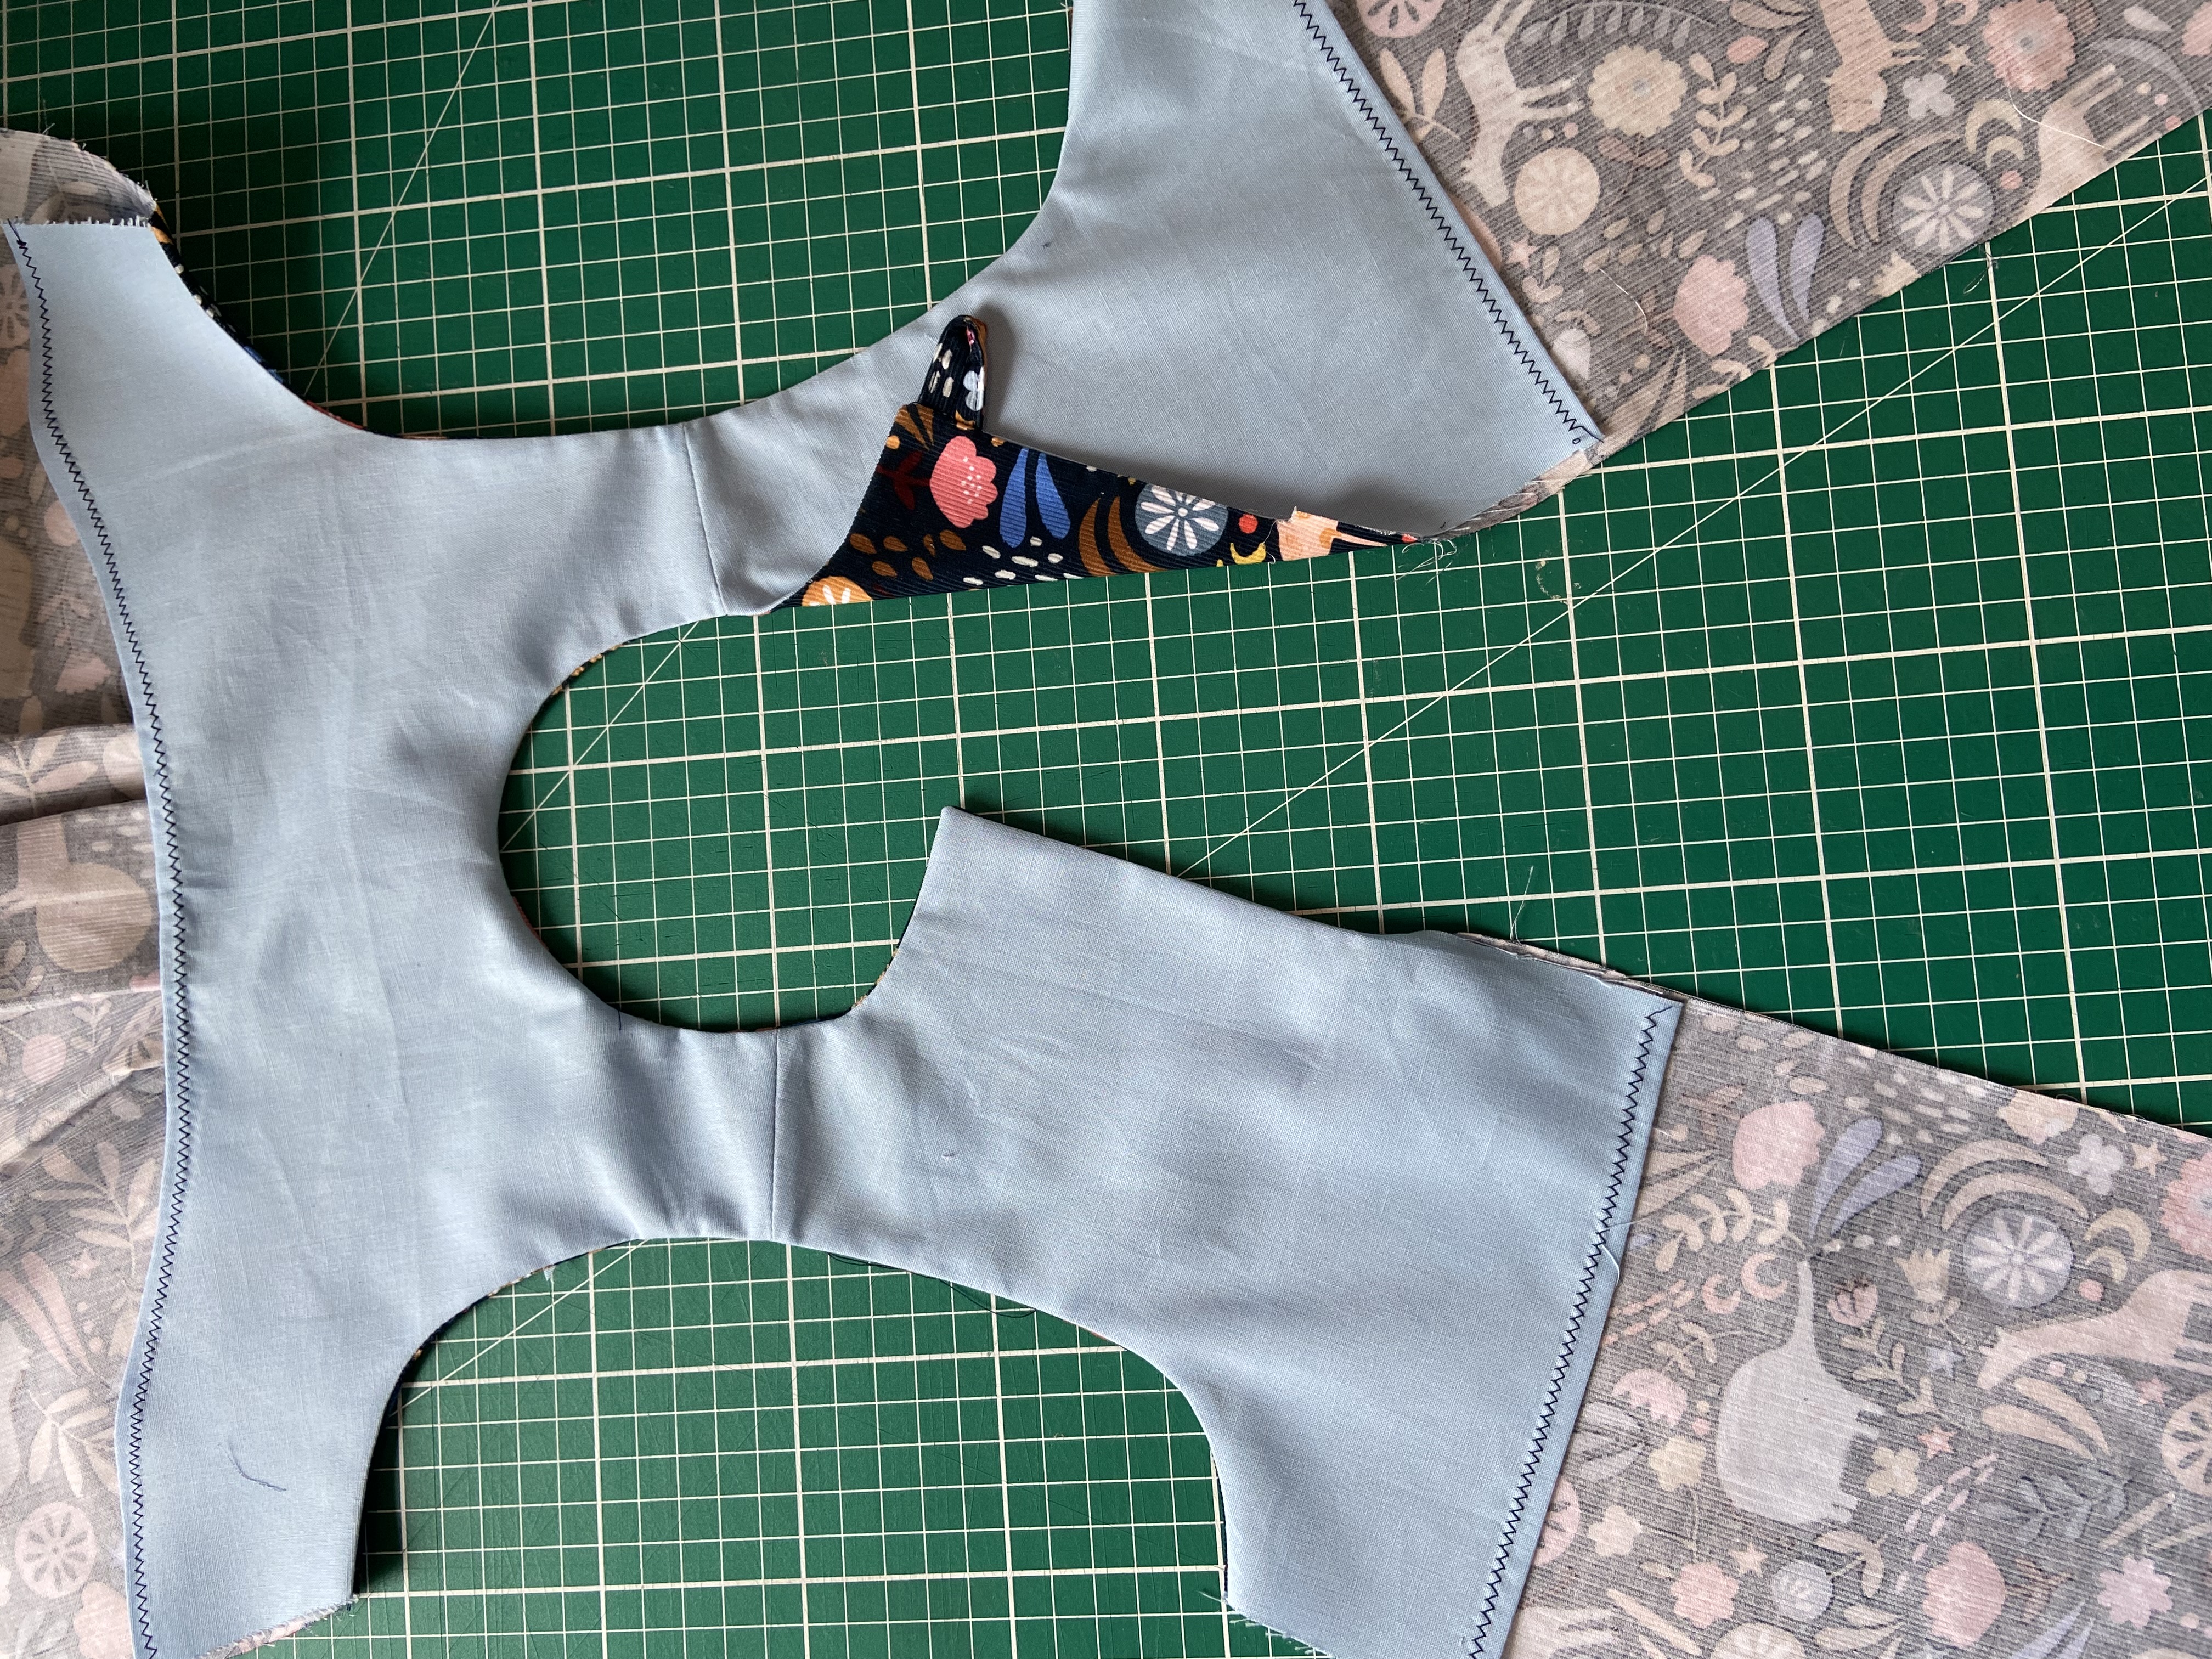
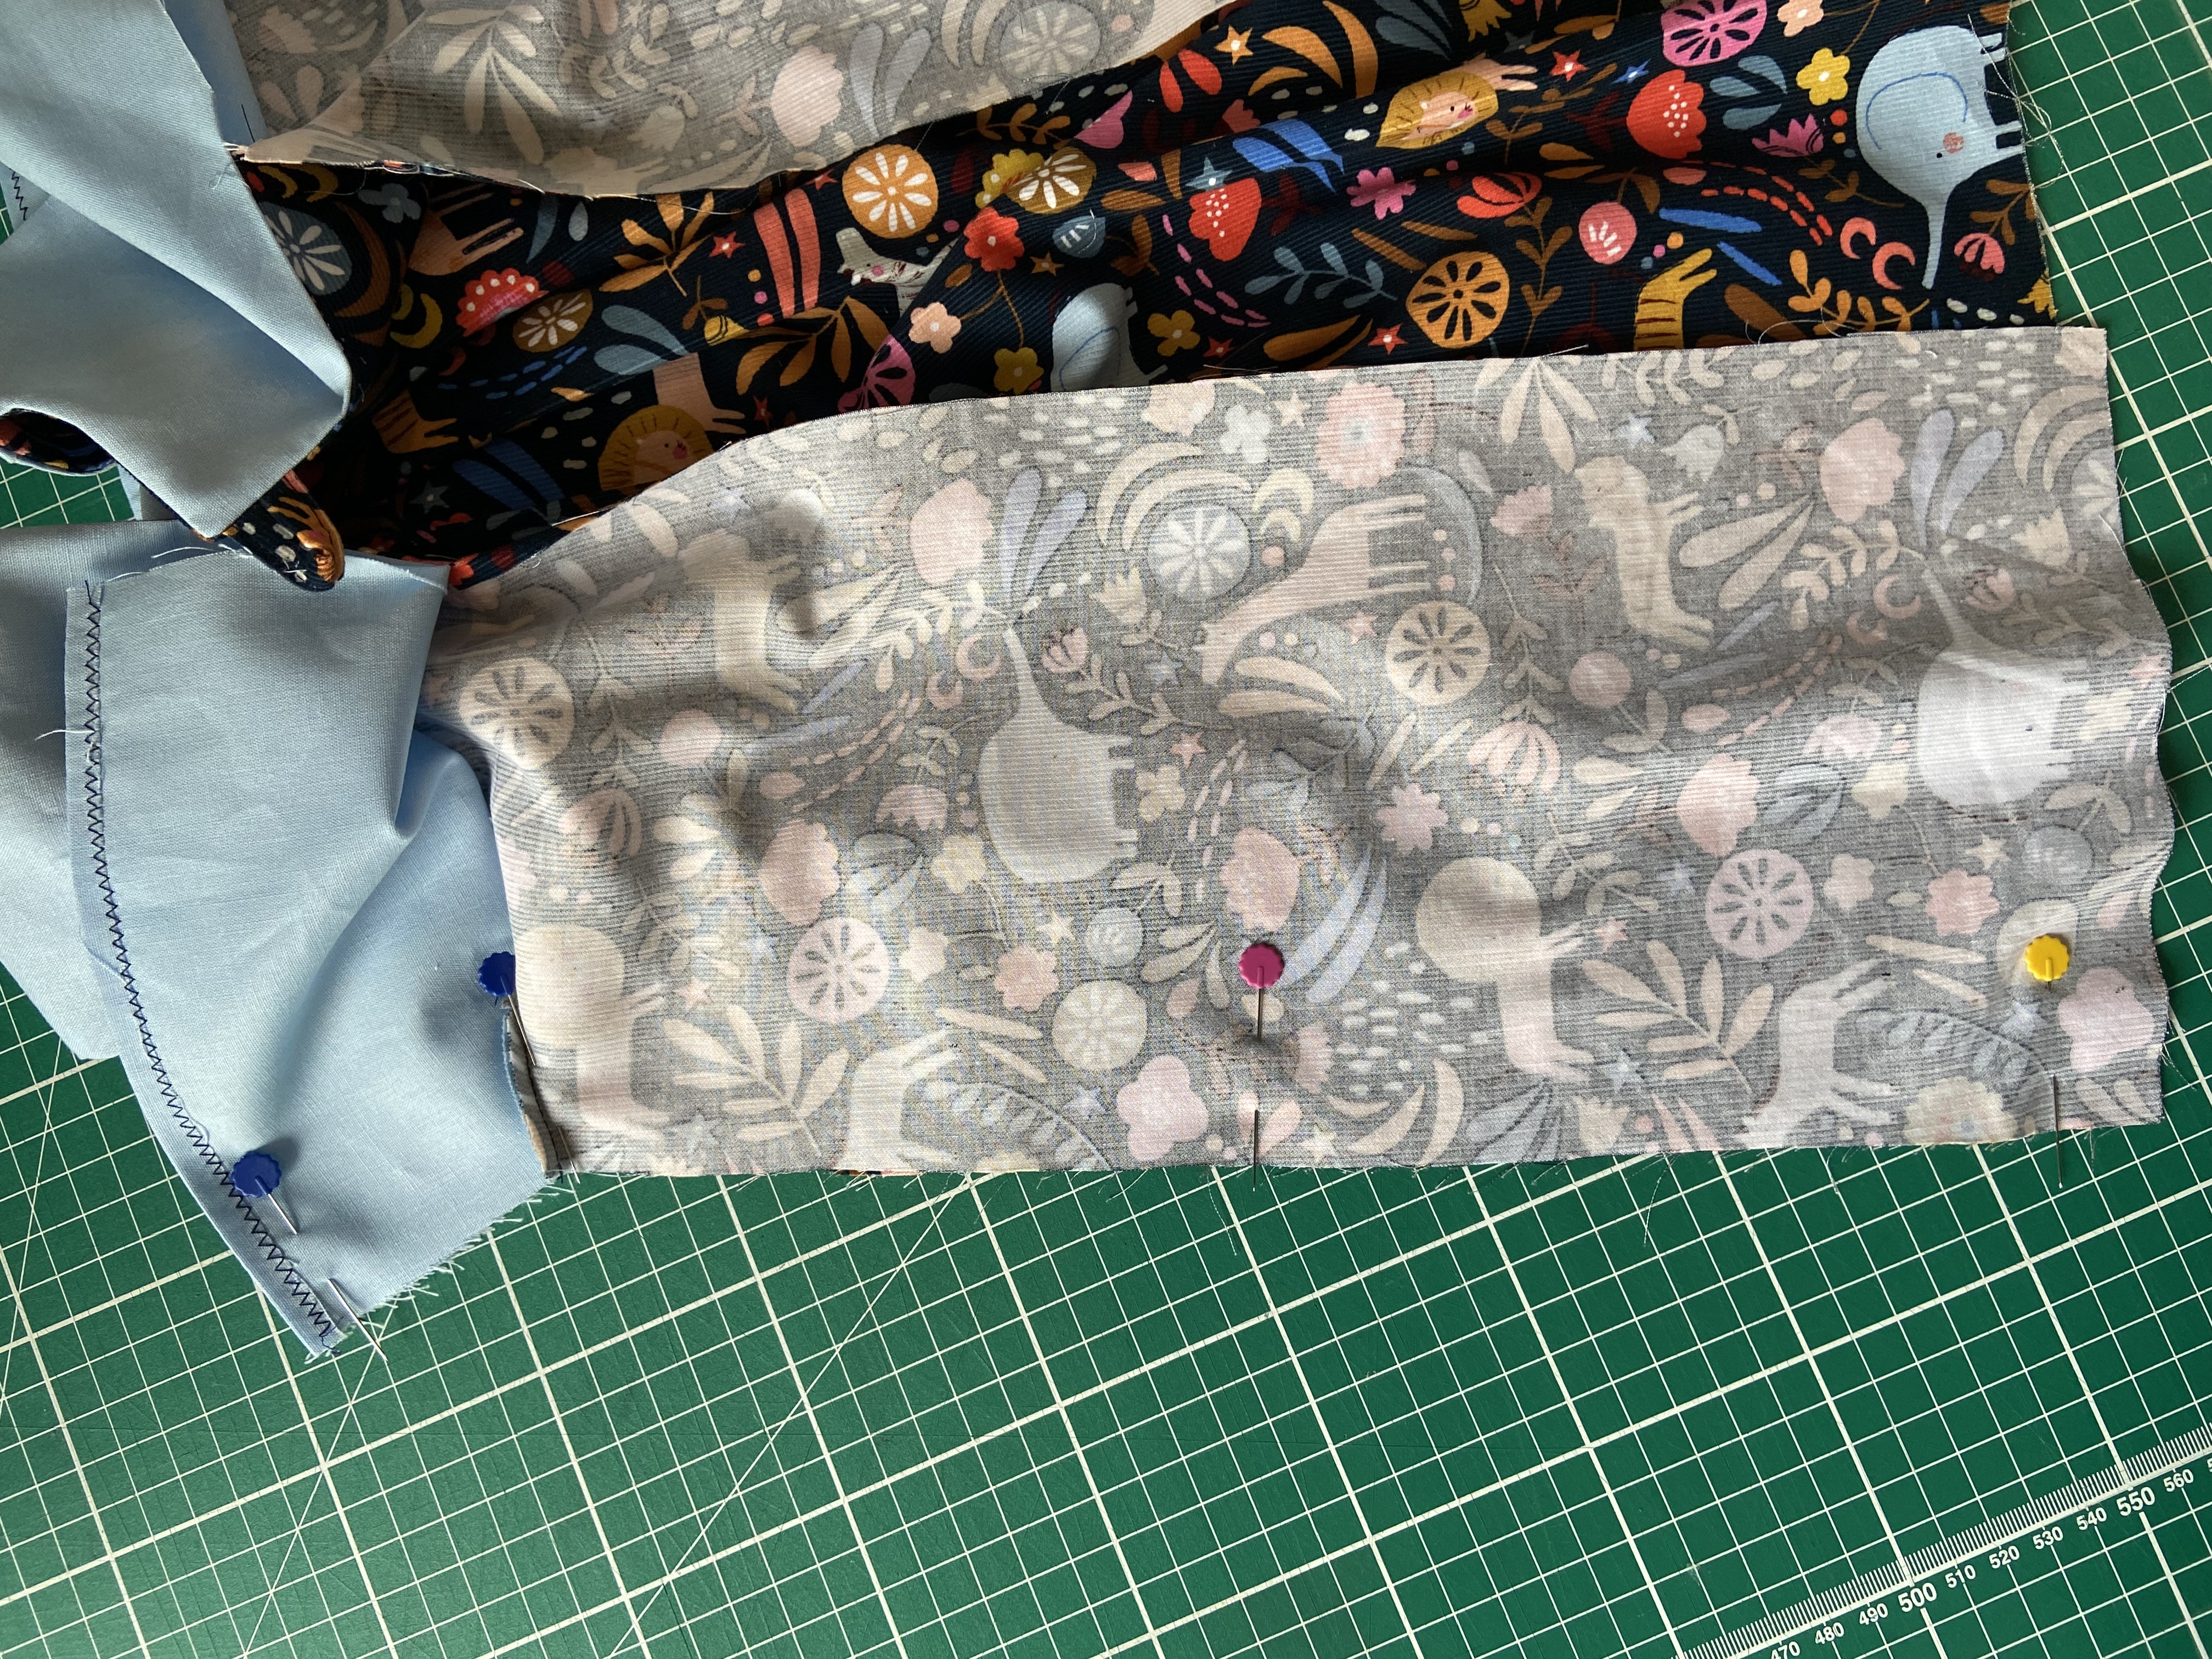
13 &14 Side and back seams
Side seams
Tip: Match the armhole seam first then pin the rest of the seam. Stitch from the bottom of the dress towards the armhole, make sure the arm seam goes towards the facing. Neaten seams as before.
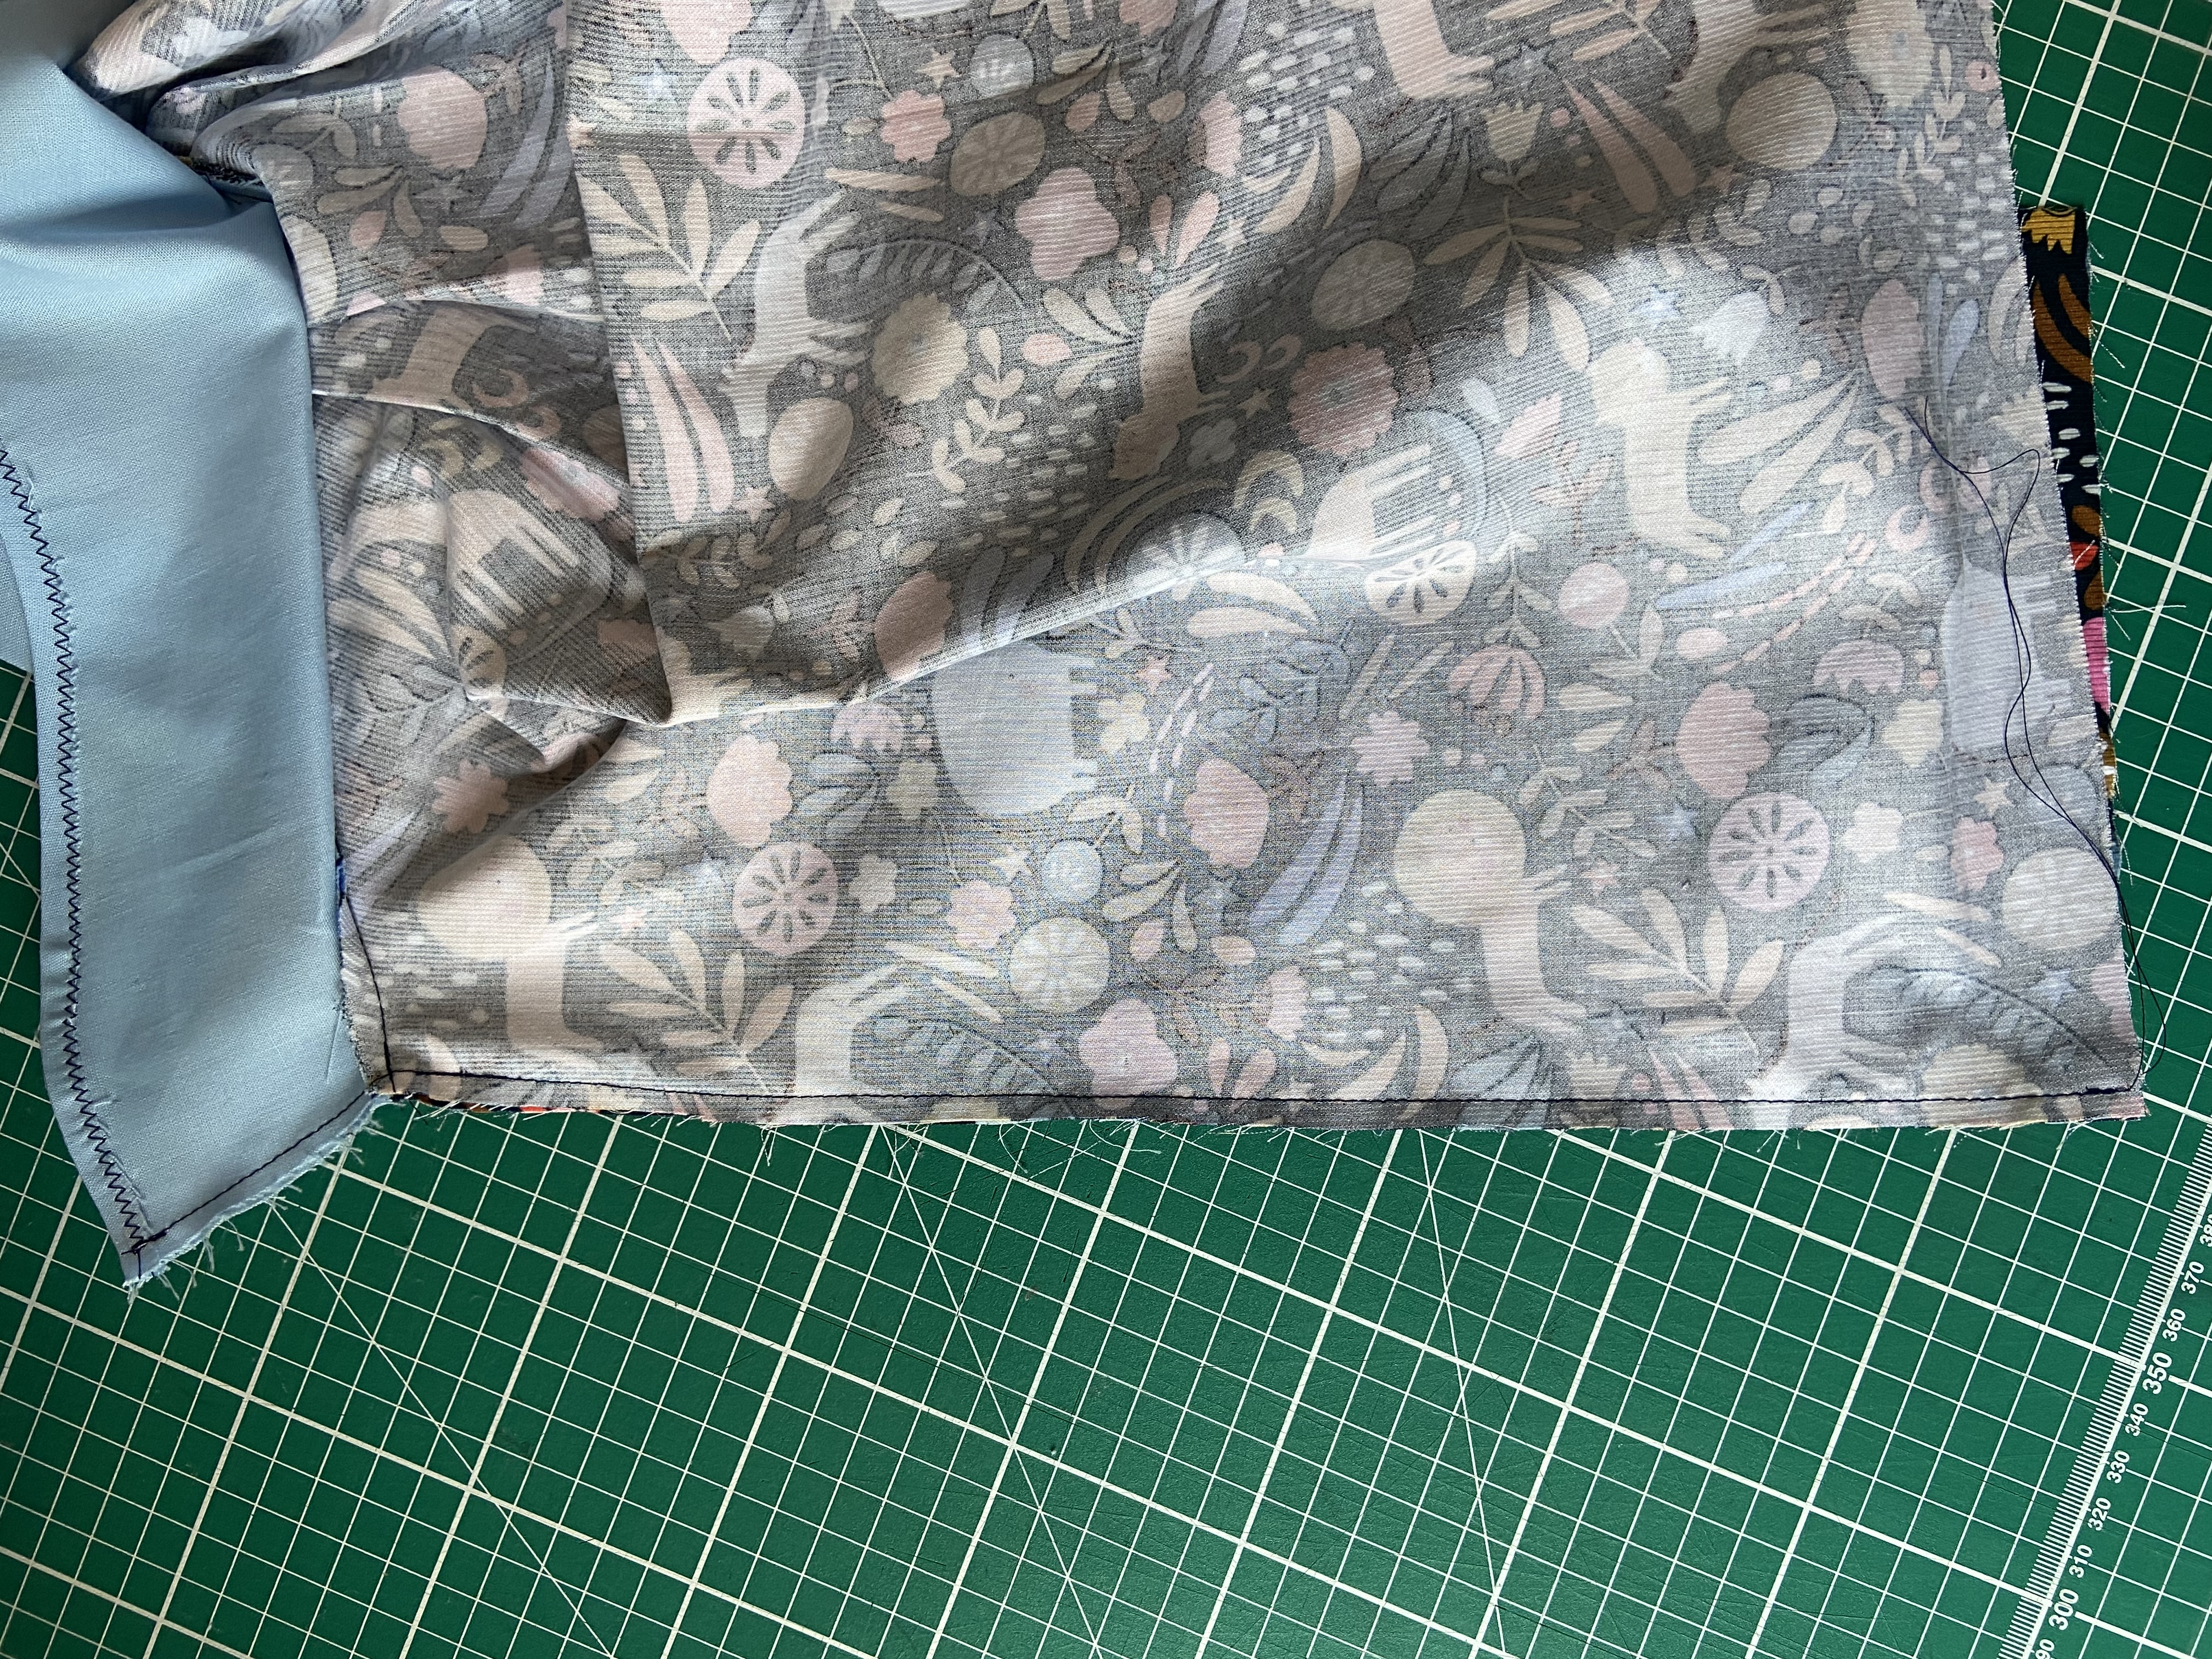
Back Seam
Sew the dress back seam first and then the facing
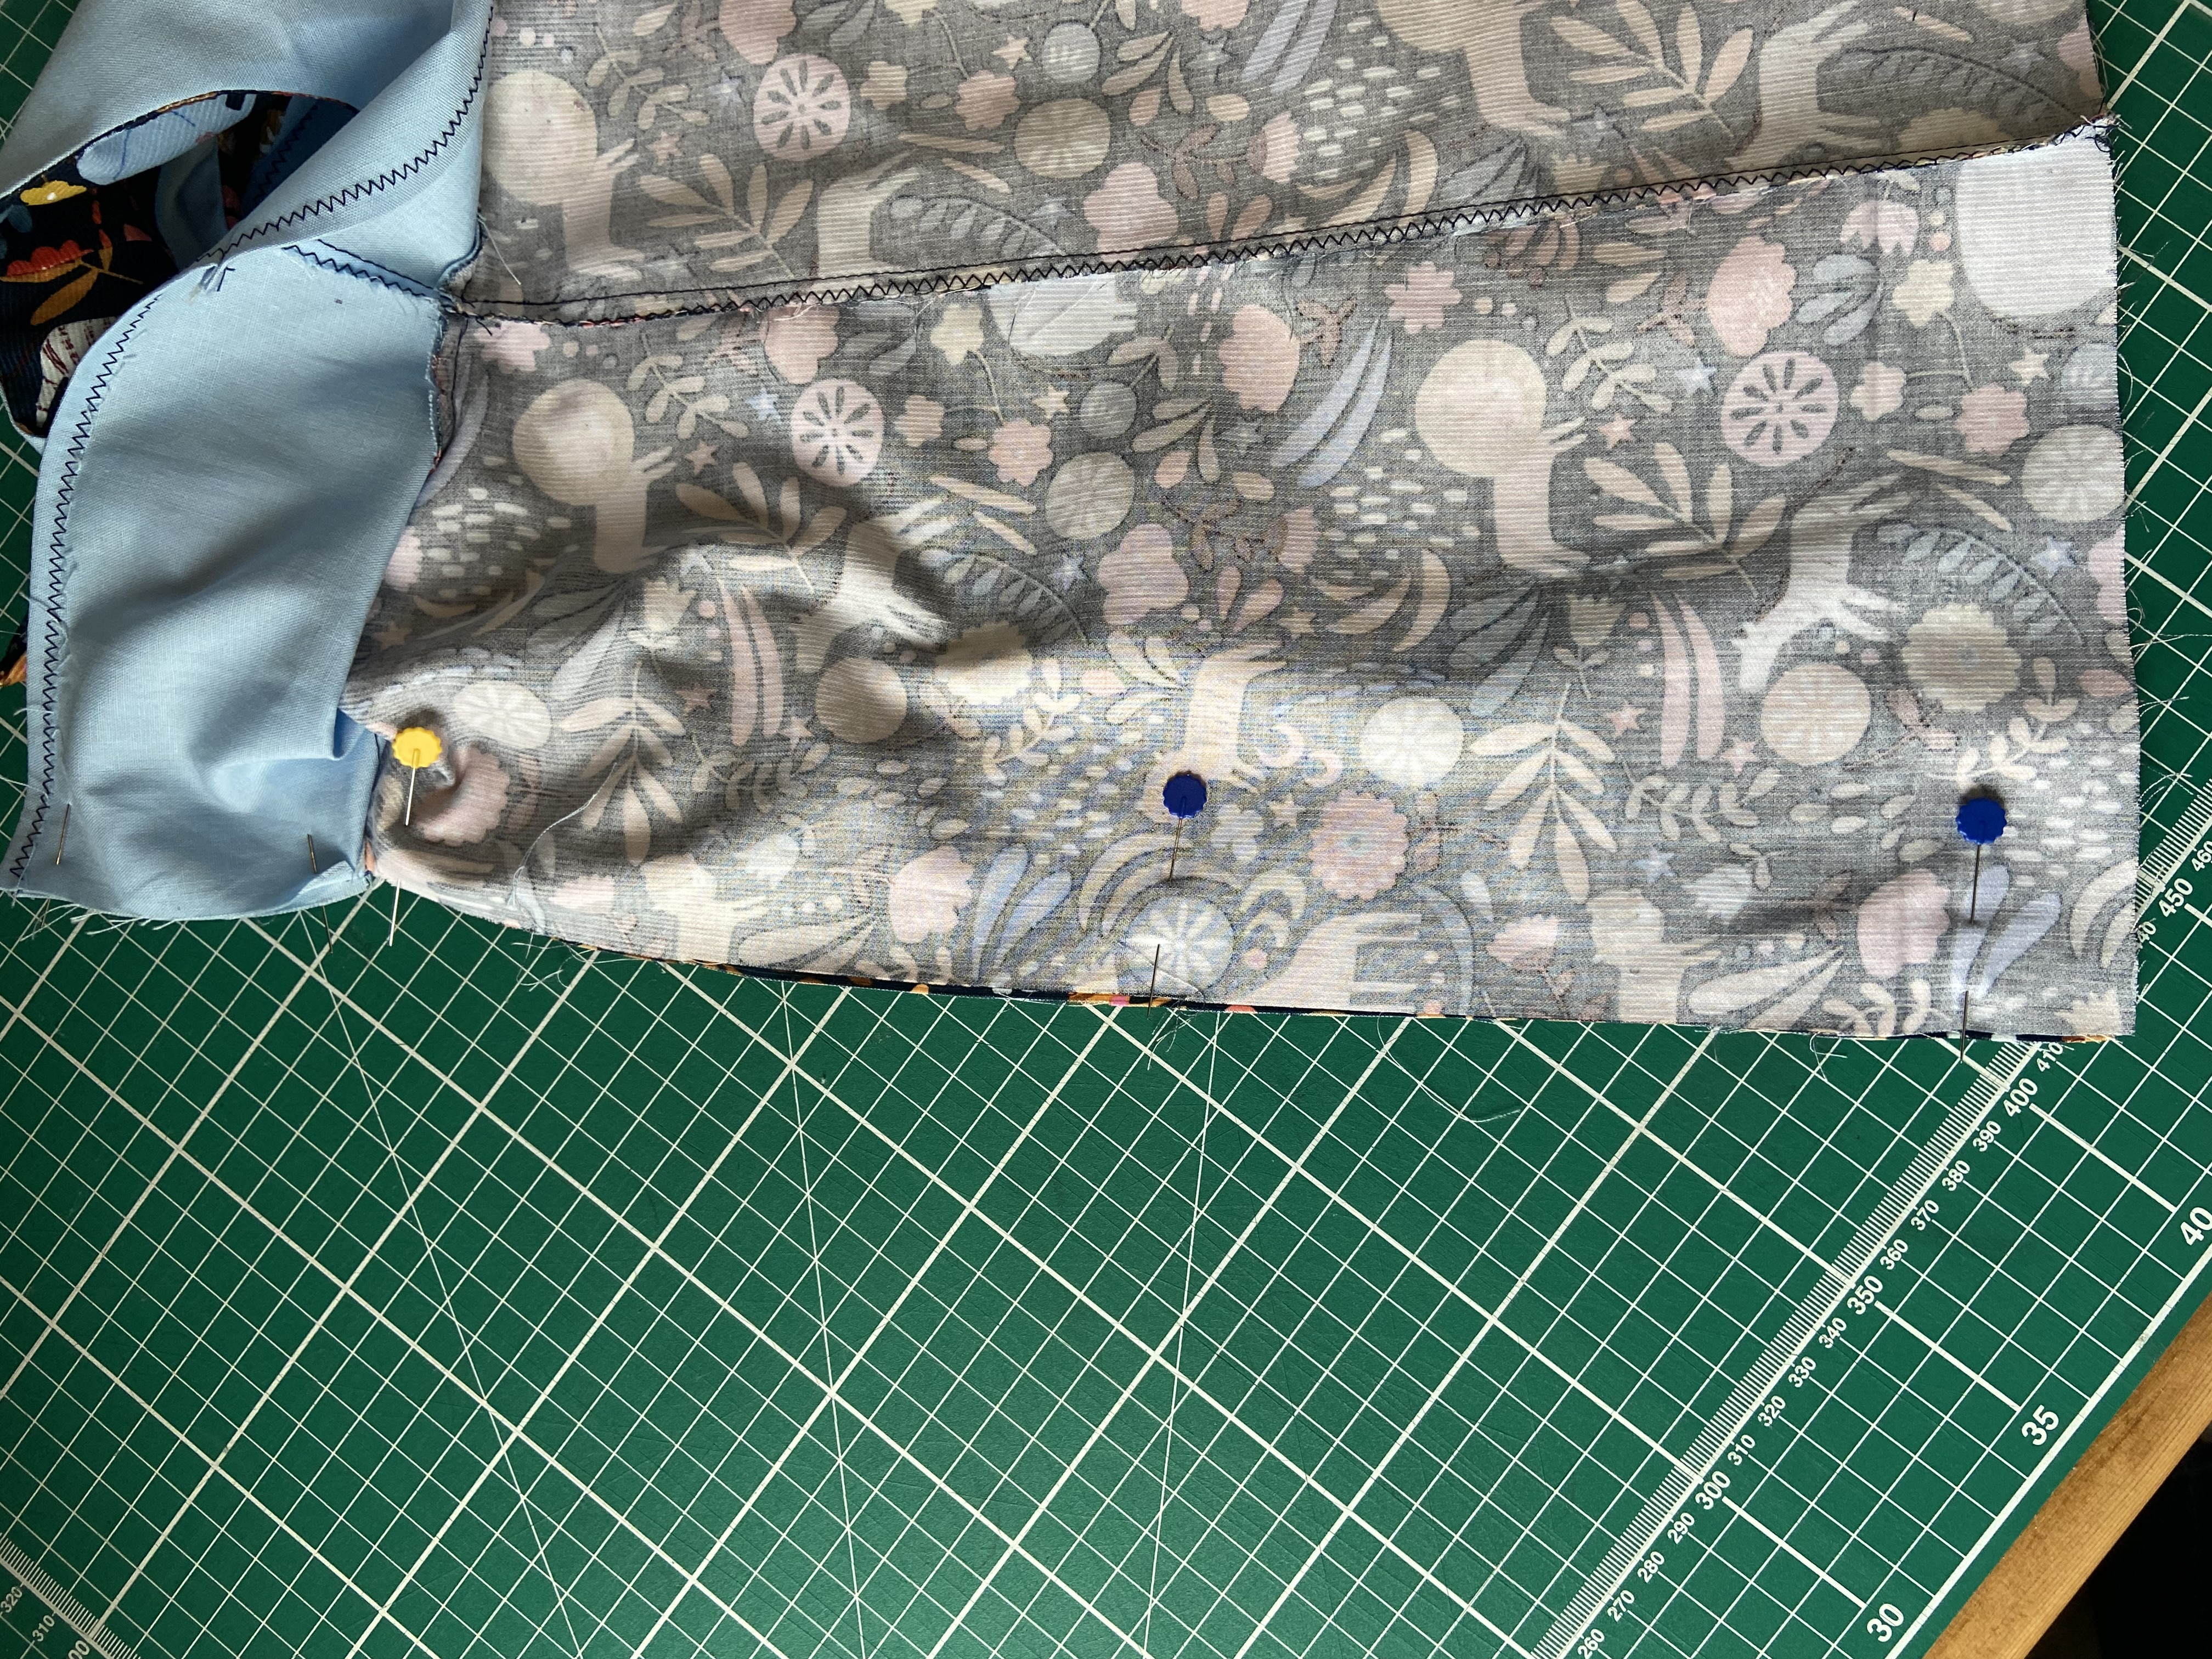

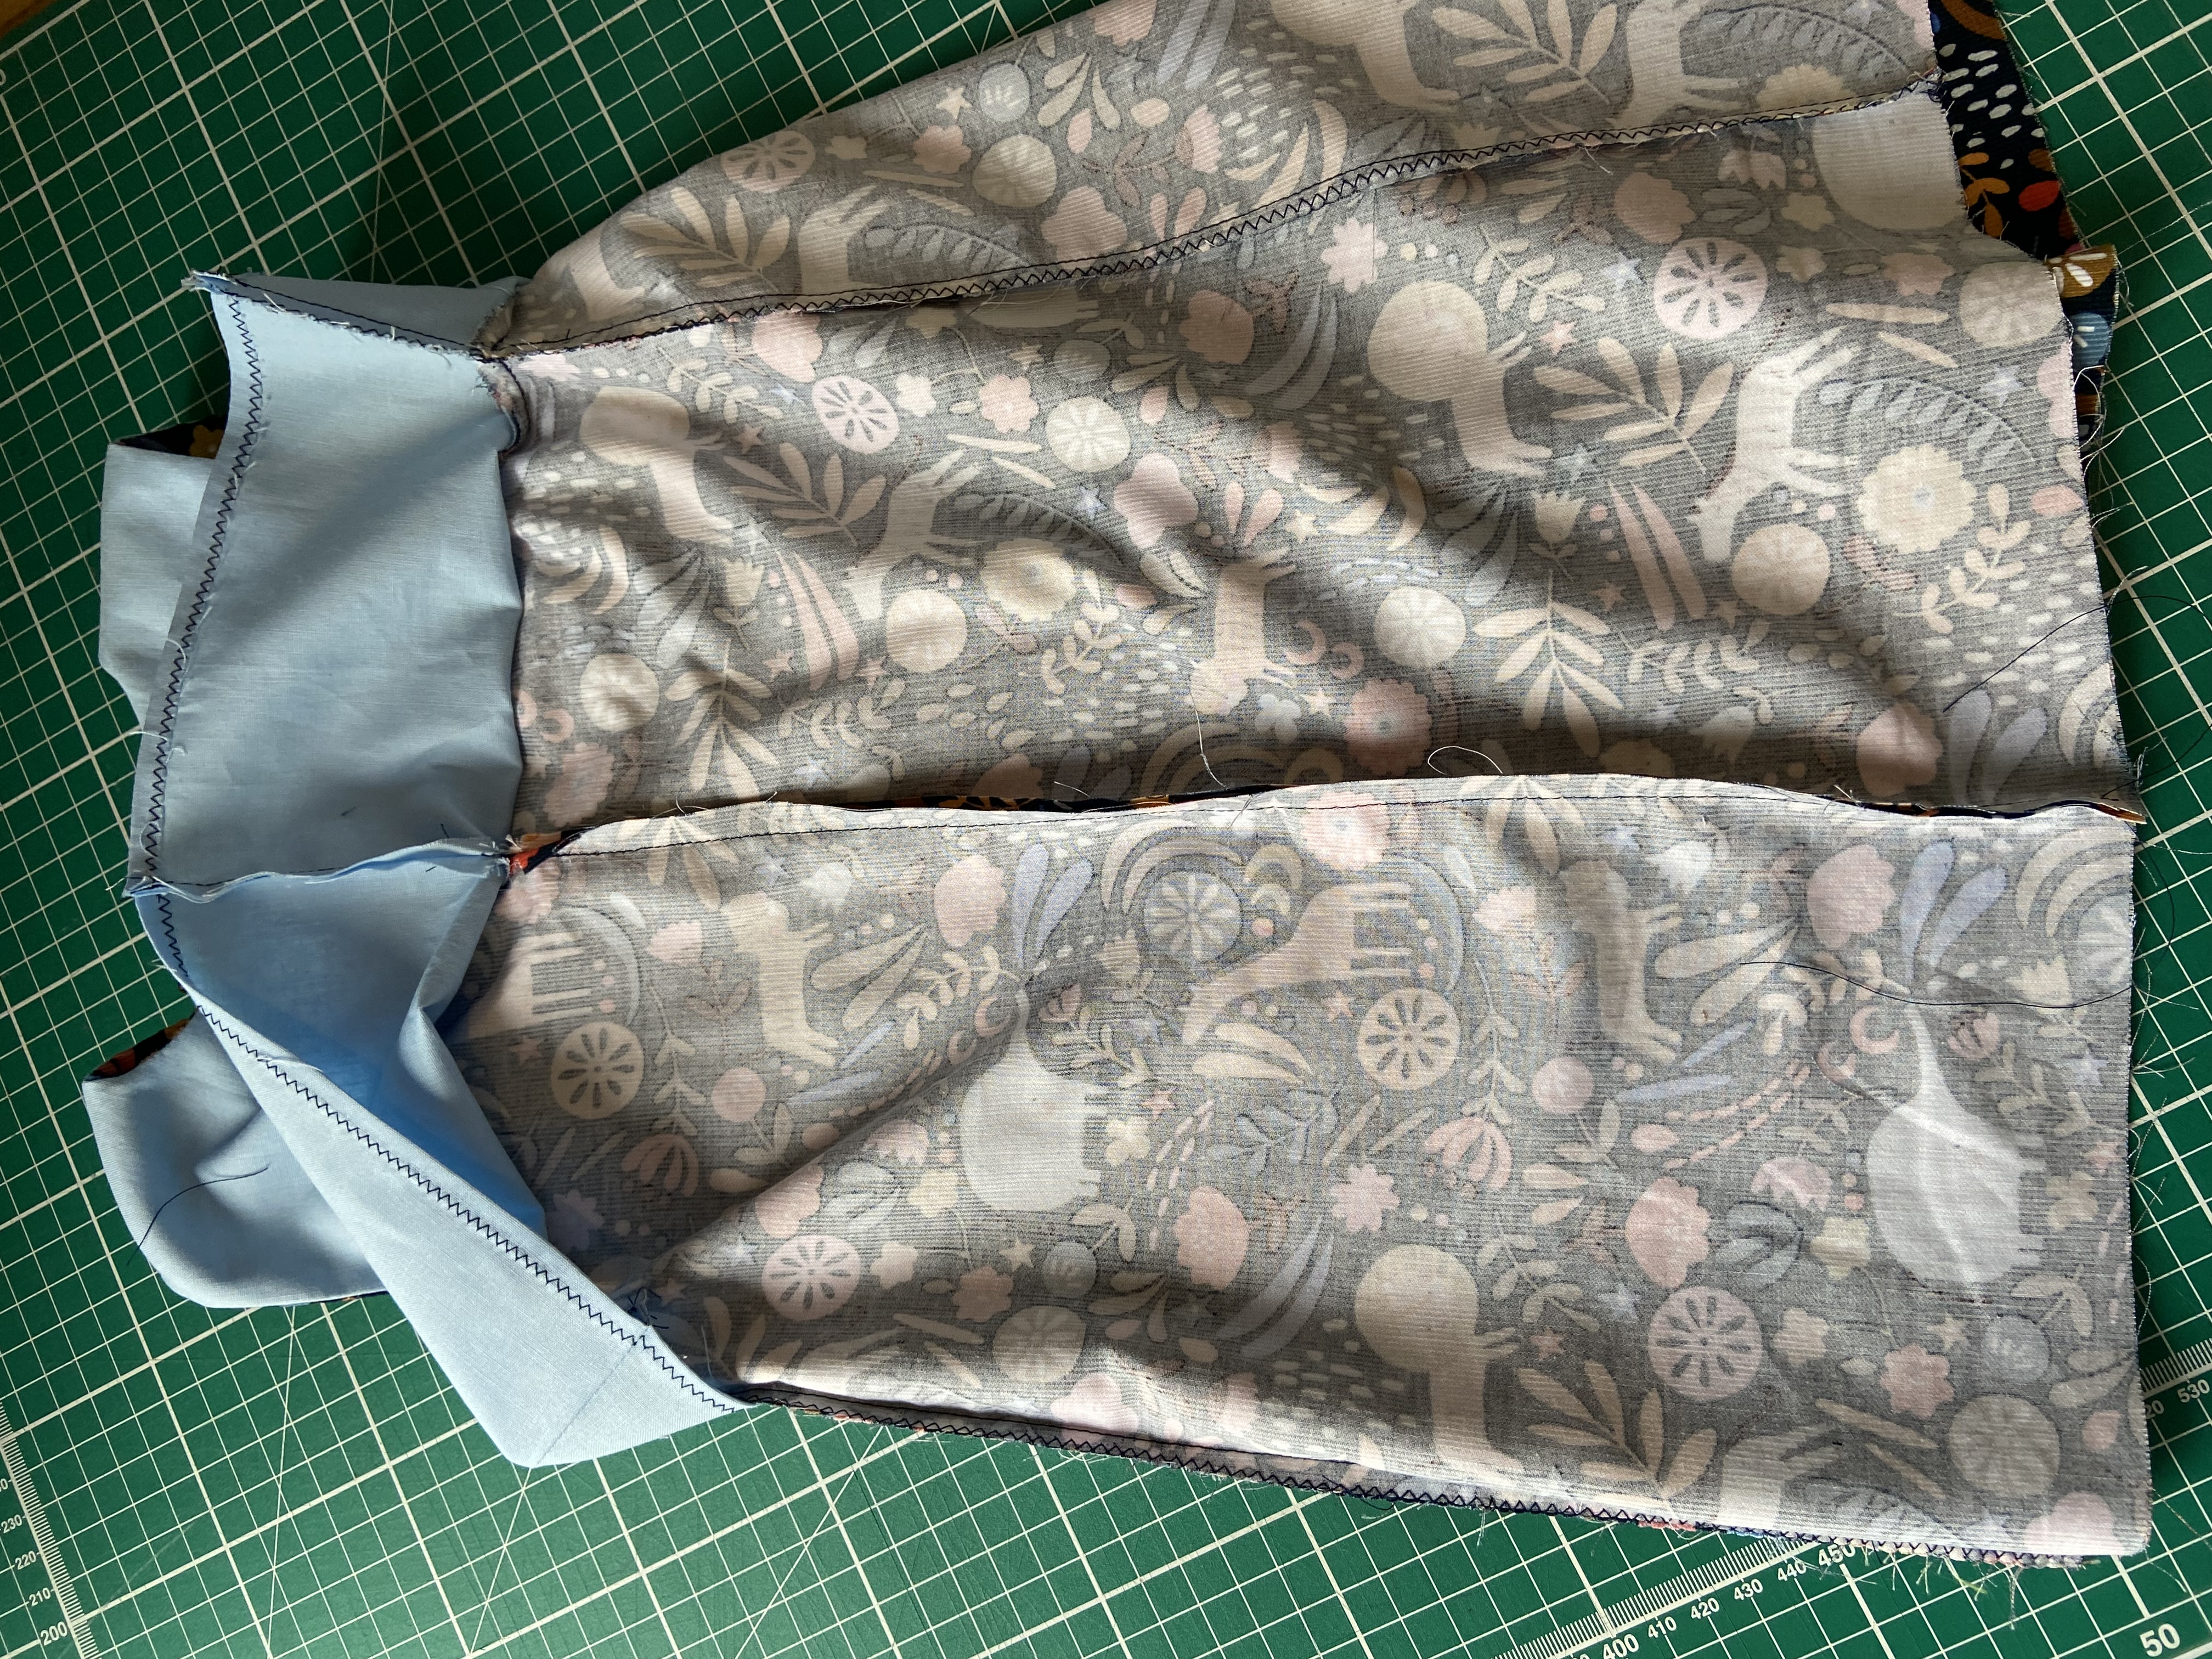
Neaten back seam and press
15 Hem
16 Add button
All finished! We also hope to have a video of making the dress available soon.