

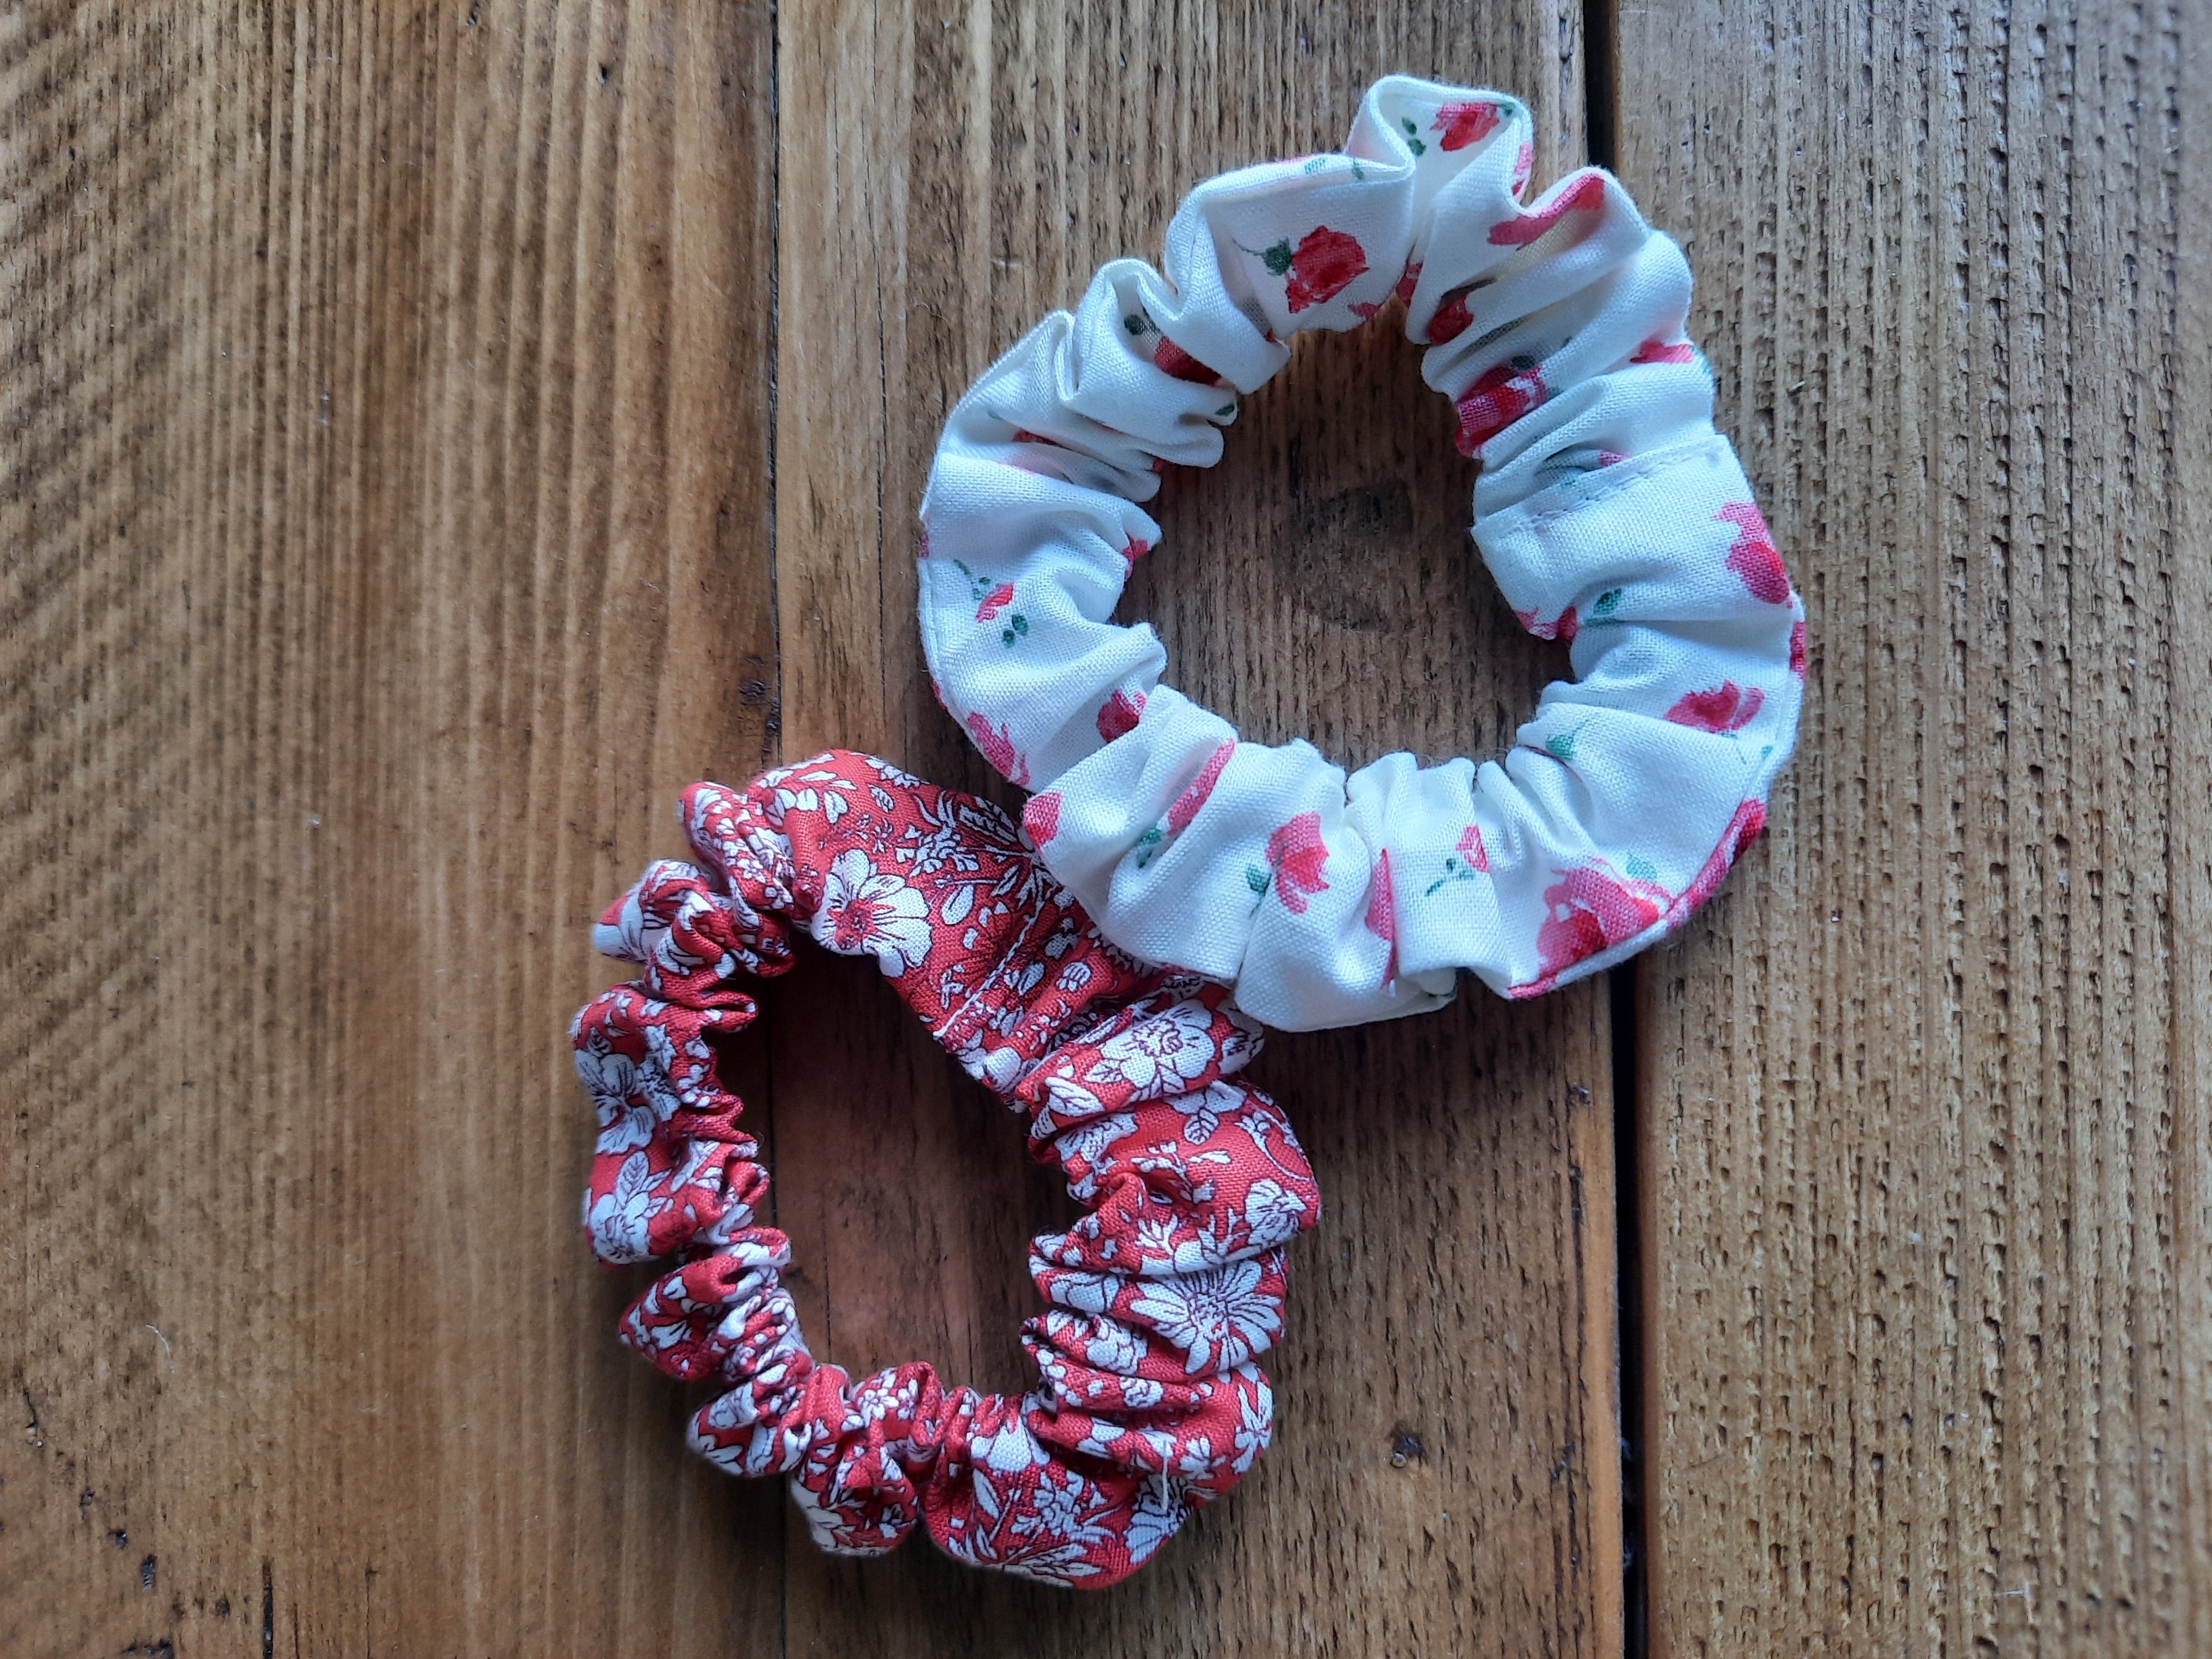
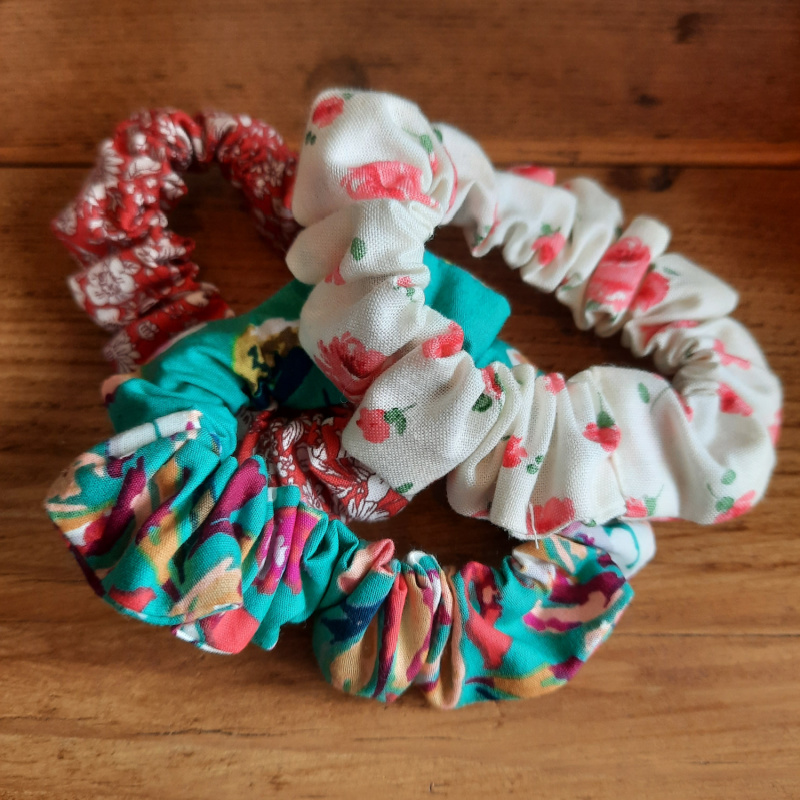
Hair Scrunchie Tutorial
A quick & easy little tutorial to make a hair scrunchie. Perfect for beginners and for using up scraps of fabrics. Great little gift for children to make for friends. Scrunchie Kits coming very soon....
You will need:
Scraps of fabric
21cm x 6mm Elastic (Any elastic will probably do!)
Seams are 1cm
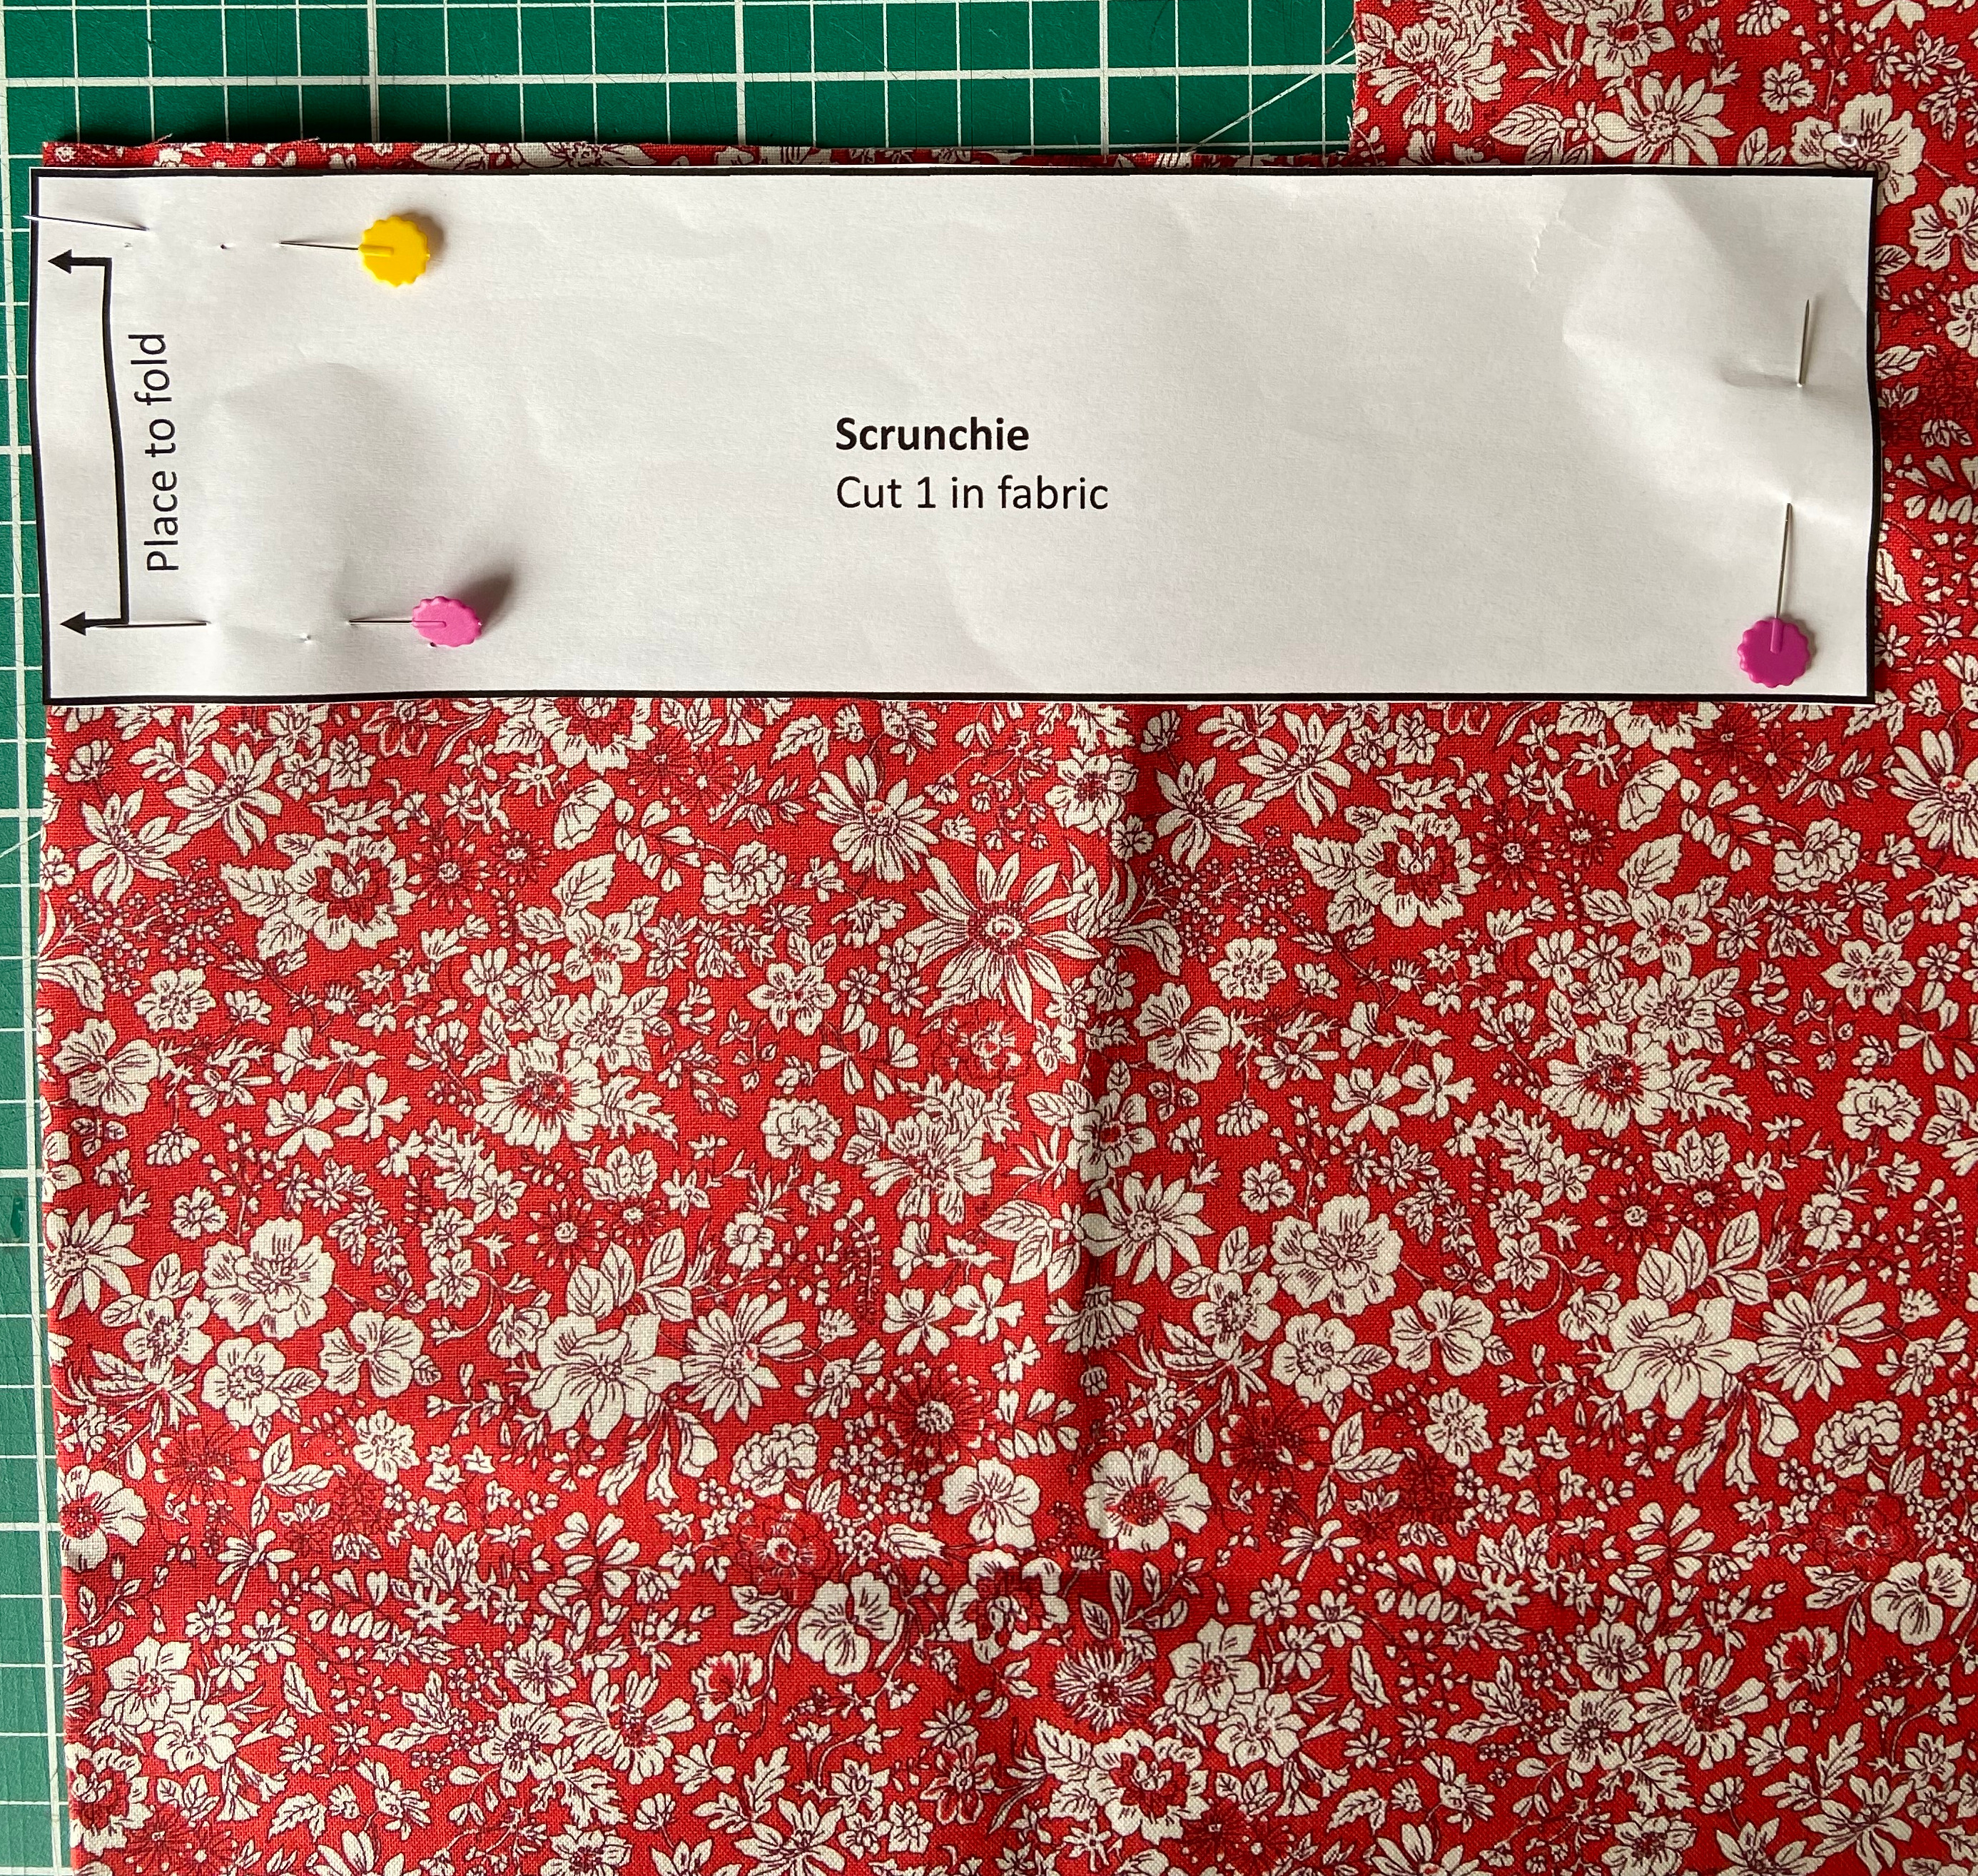
Pattern pieces:
You can make your own pattern piece with a piece of paper. We made ours 24.5cm x 7cm but cut on the fold so the fabric will be 49cm x 7cm. See pattern example below. You can make it bigger or smaller depending on your preference.
Cutting Out:
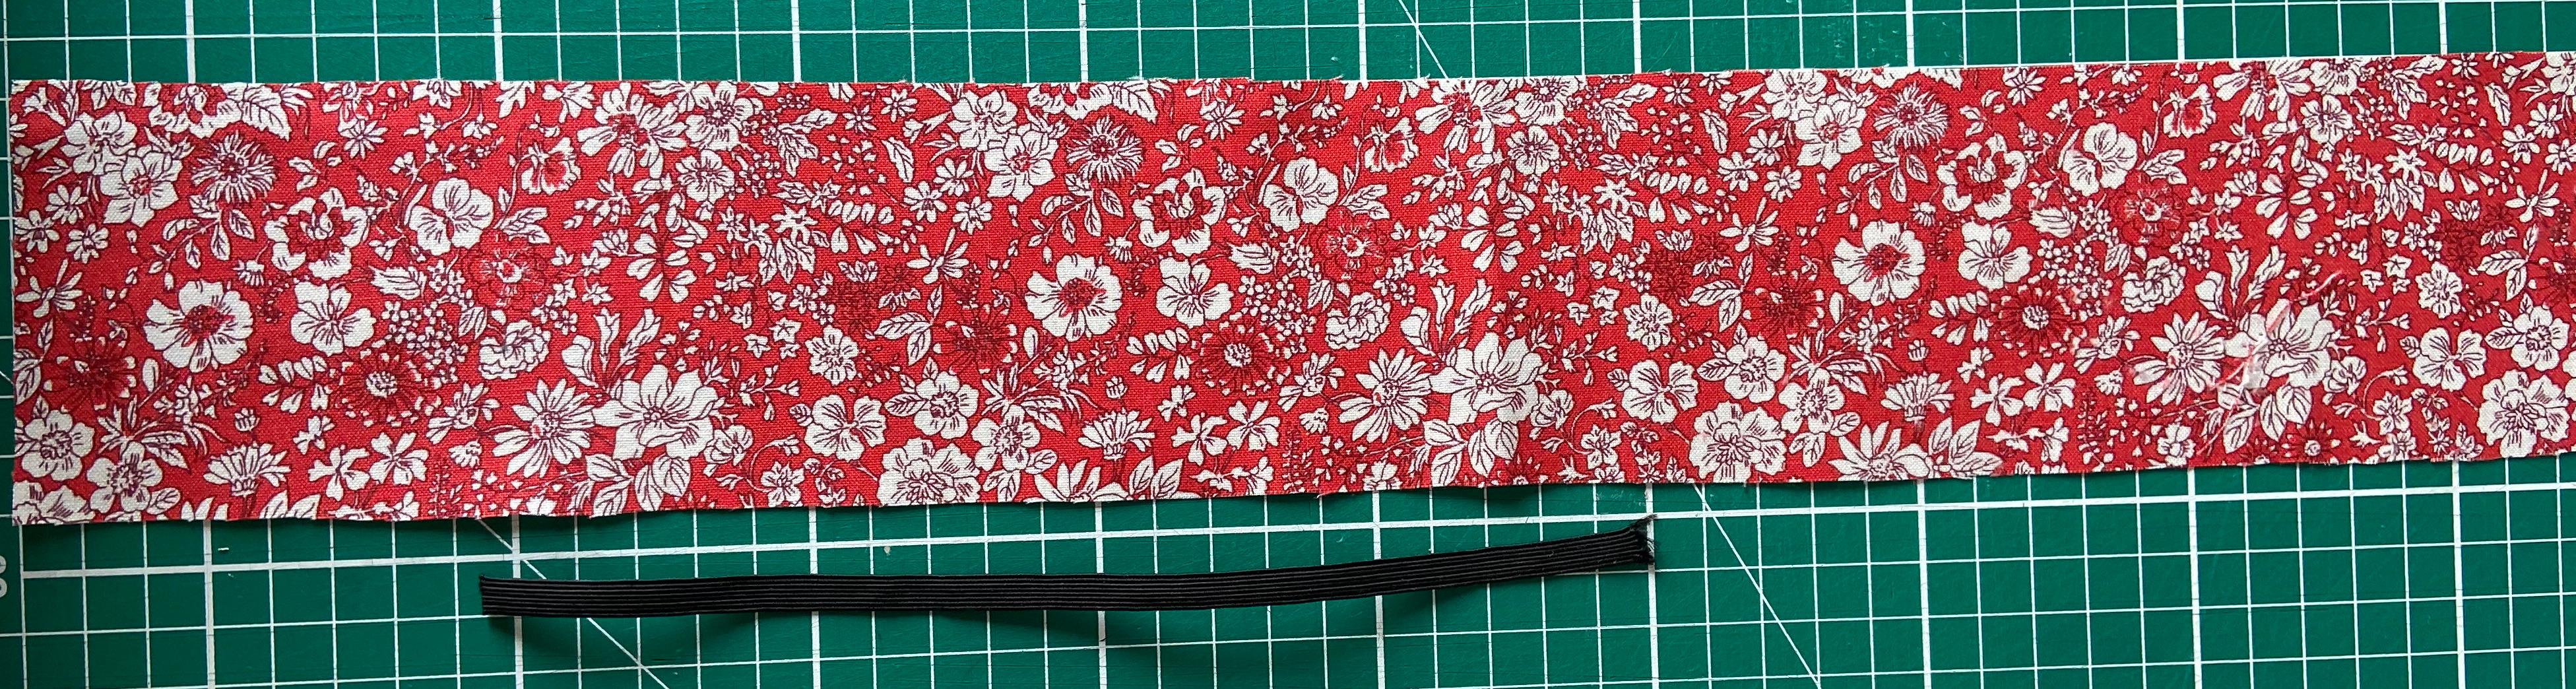
- Cut one piece from chosen fabric placing end of pattern with arrows to fold of fabric so that when cut out you have one piece twice the length of the pattern piece
- Cut a piece of 6mm elastic 21cm long
Sewing Instructions:
- Fold 1cm along one short end of scrunchie to wrong side of fabric and press
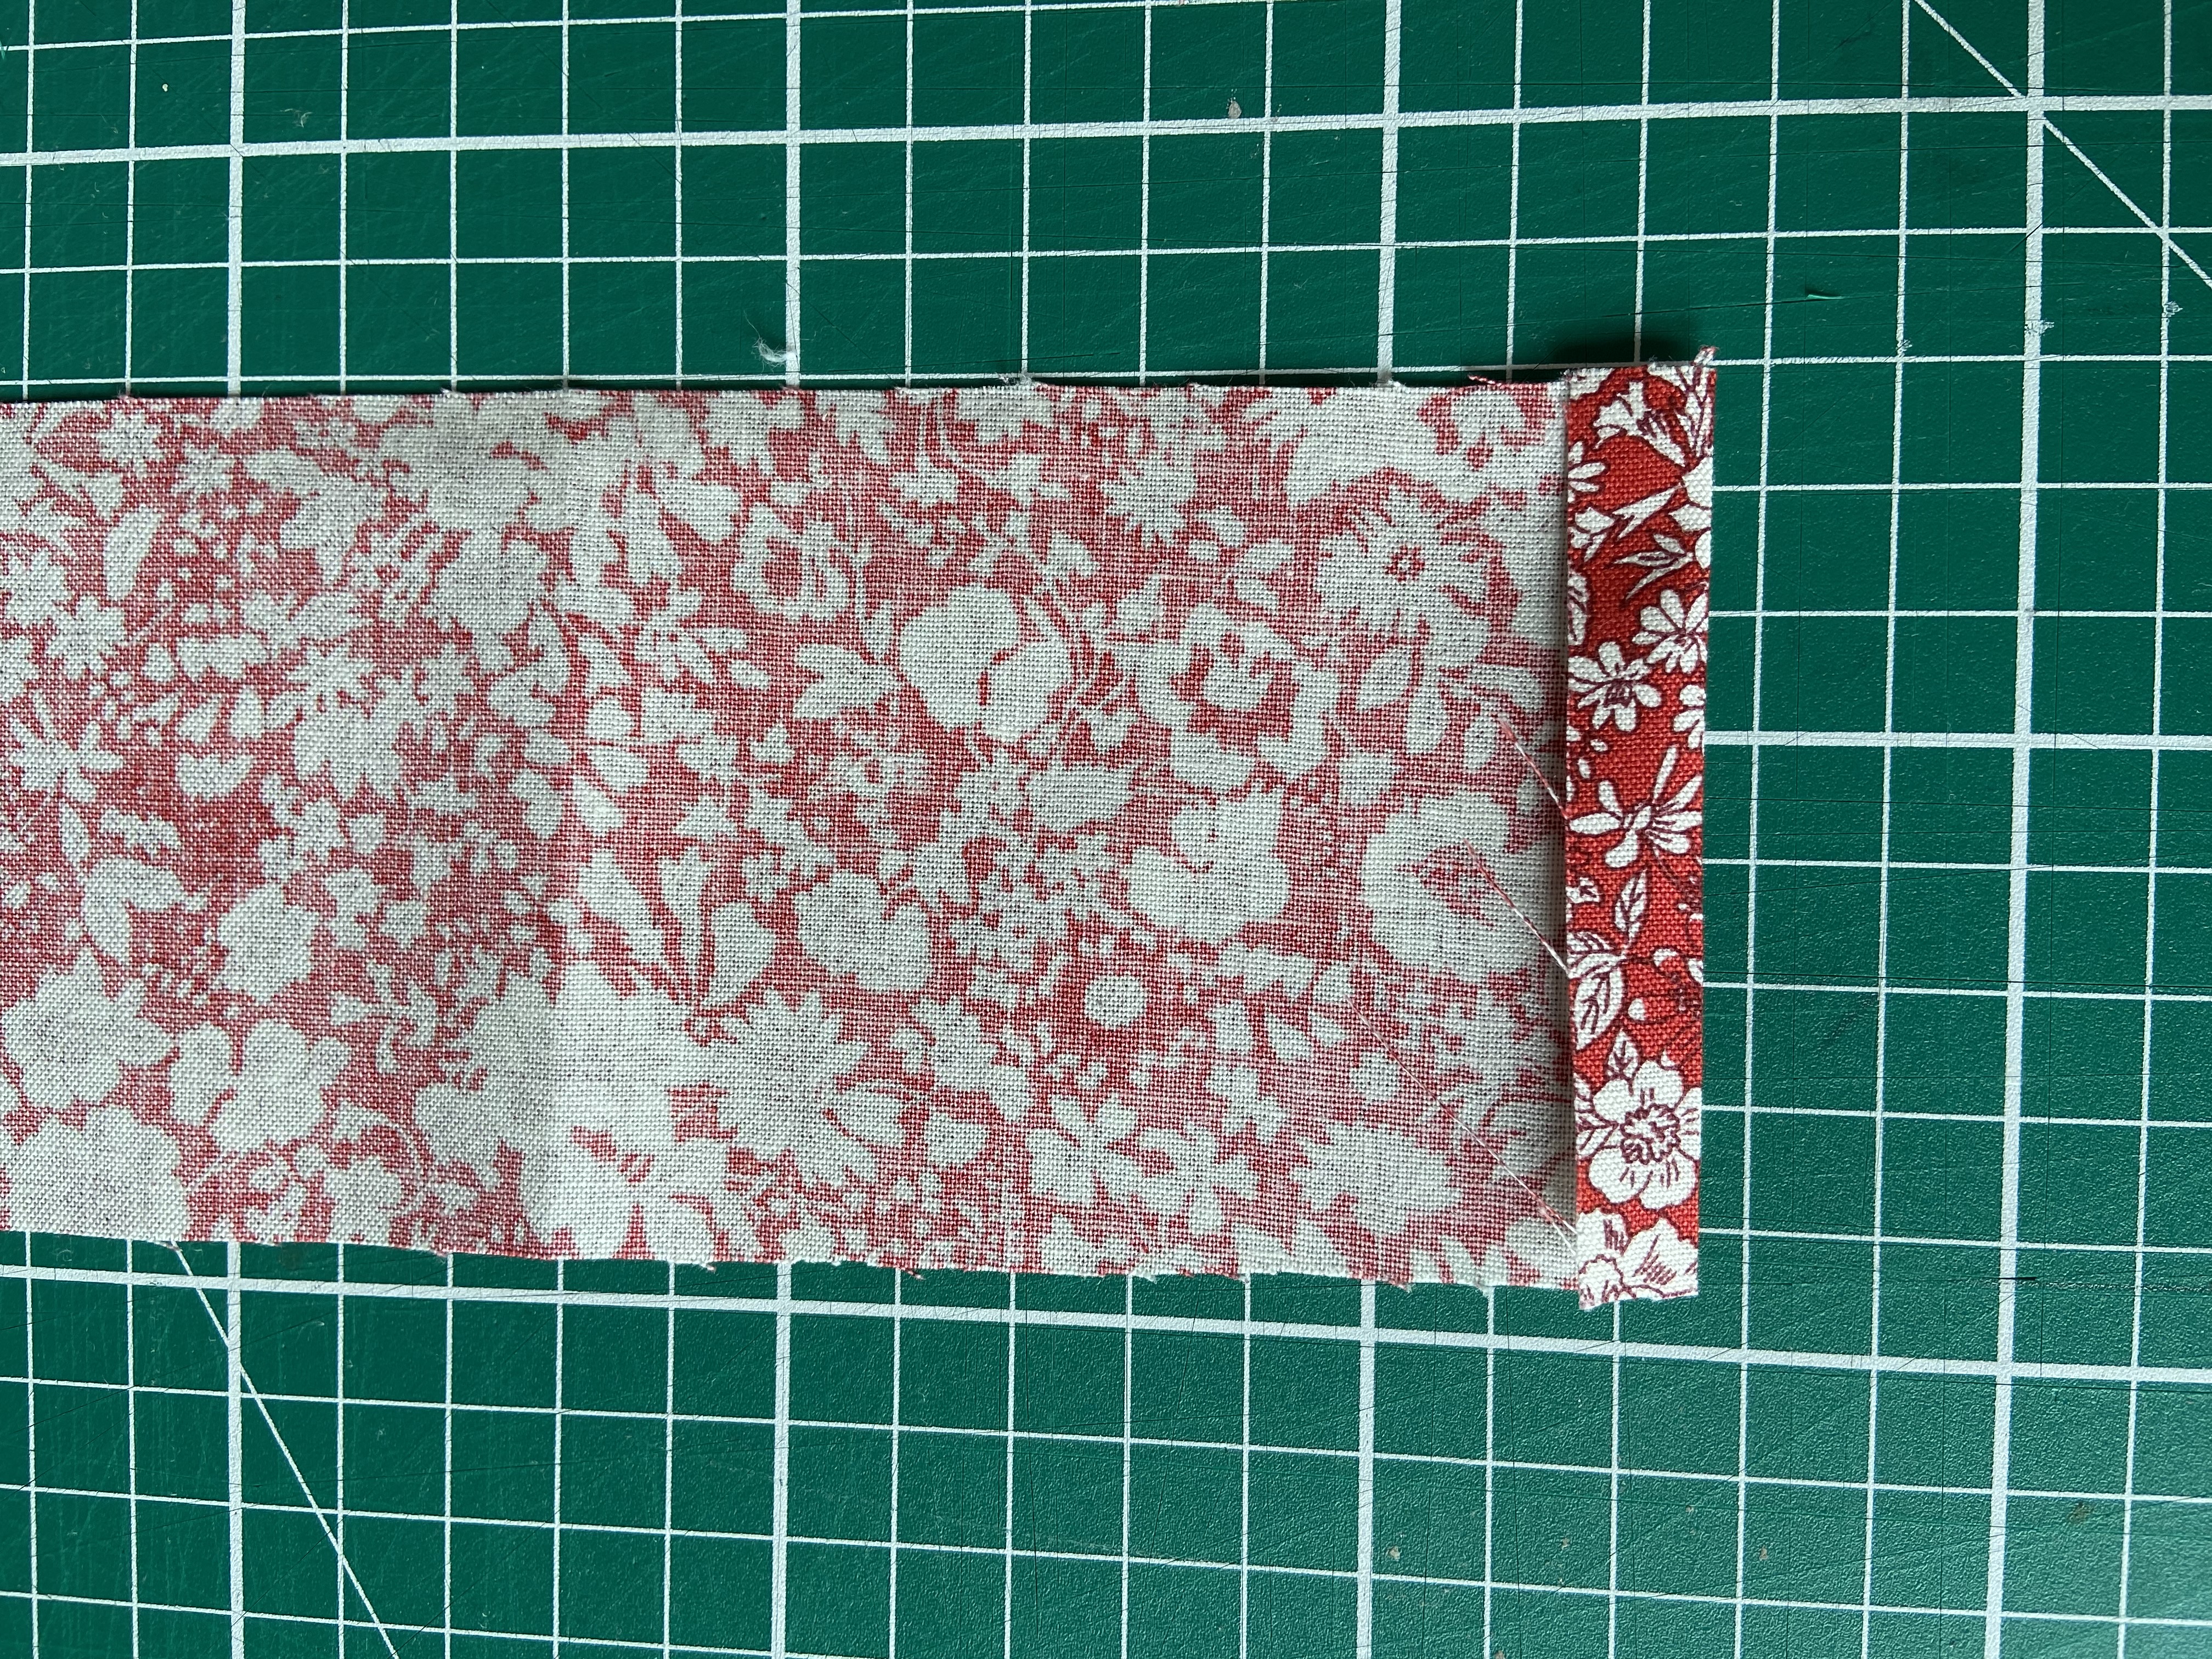
- Fold scrunchie in half right sides together along the length

- Sew together along length
- Turn right side out – to do this pin the large safety pin through a single thickness at one end of tube with the pin facing up, turn pin and thread back through tube, gradually push through the fabric tube, push fabric along as you go until safety pin emerges at other end of the tube and it is turned right side out.
- Press
- Thread elastic through tube and knot or sew ends of elastic together
*Tip – Hold elastic in place at one end with a pin to prevent it pulling all the way through before you knot or sew ends together


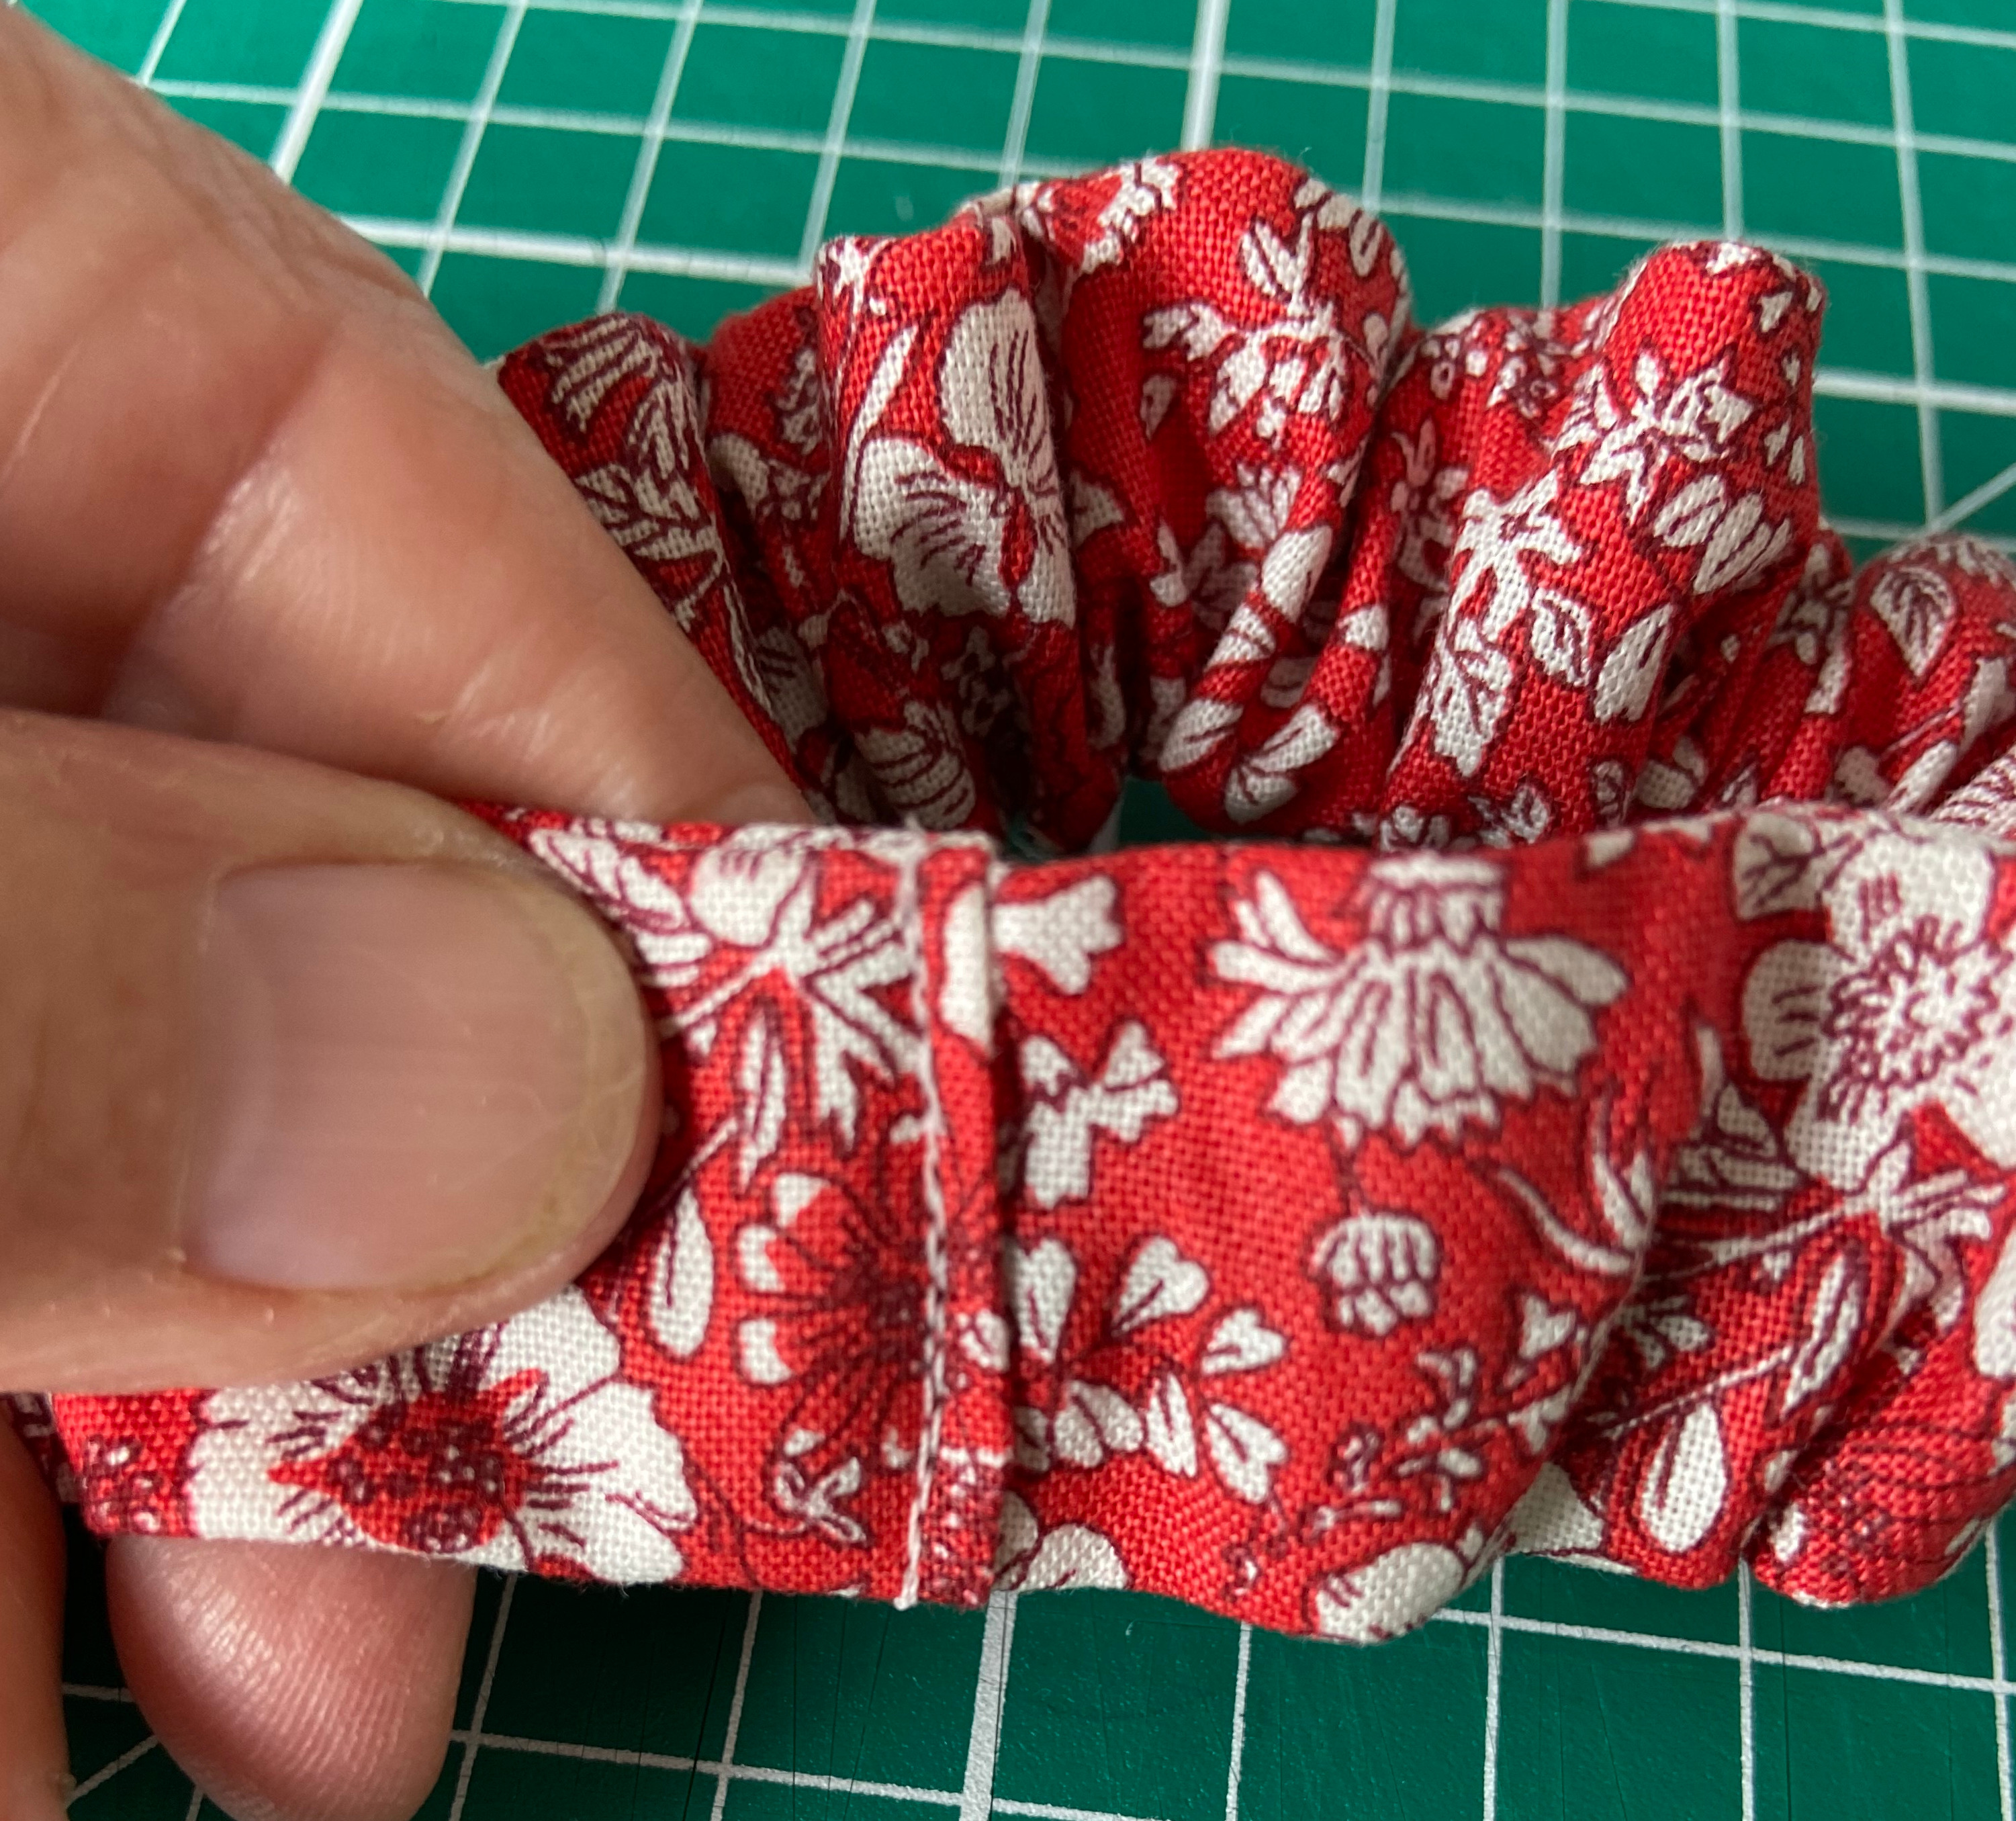
- Tuck the raw end of the fabric tube inside the end that you folded earlier. Stitch through all thicknesses and elastic by machine
Check out our little 'How To' Video