

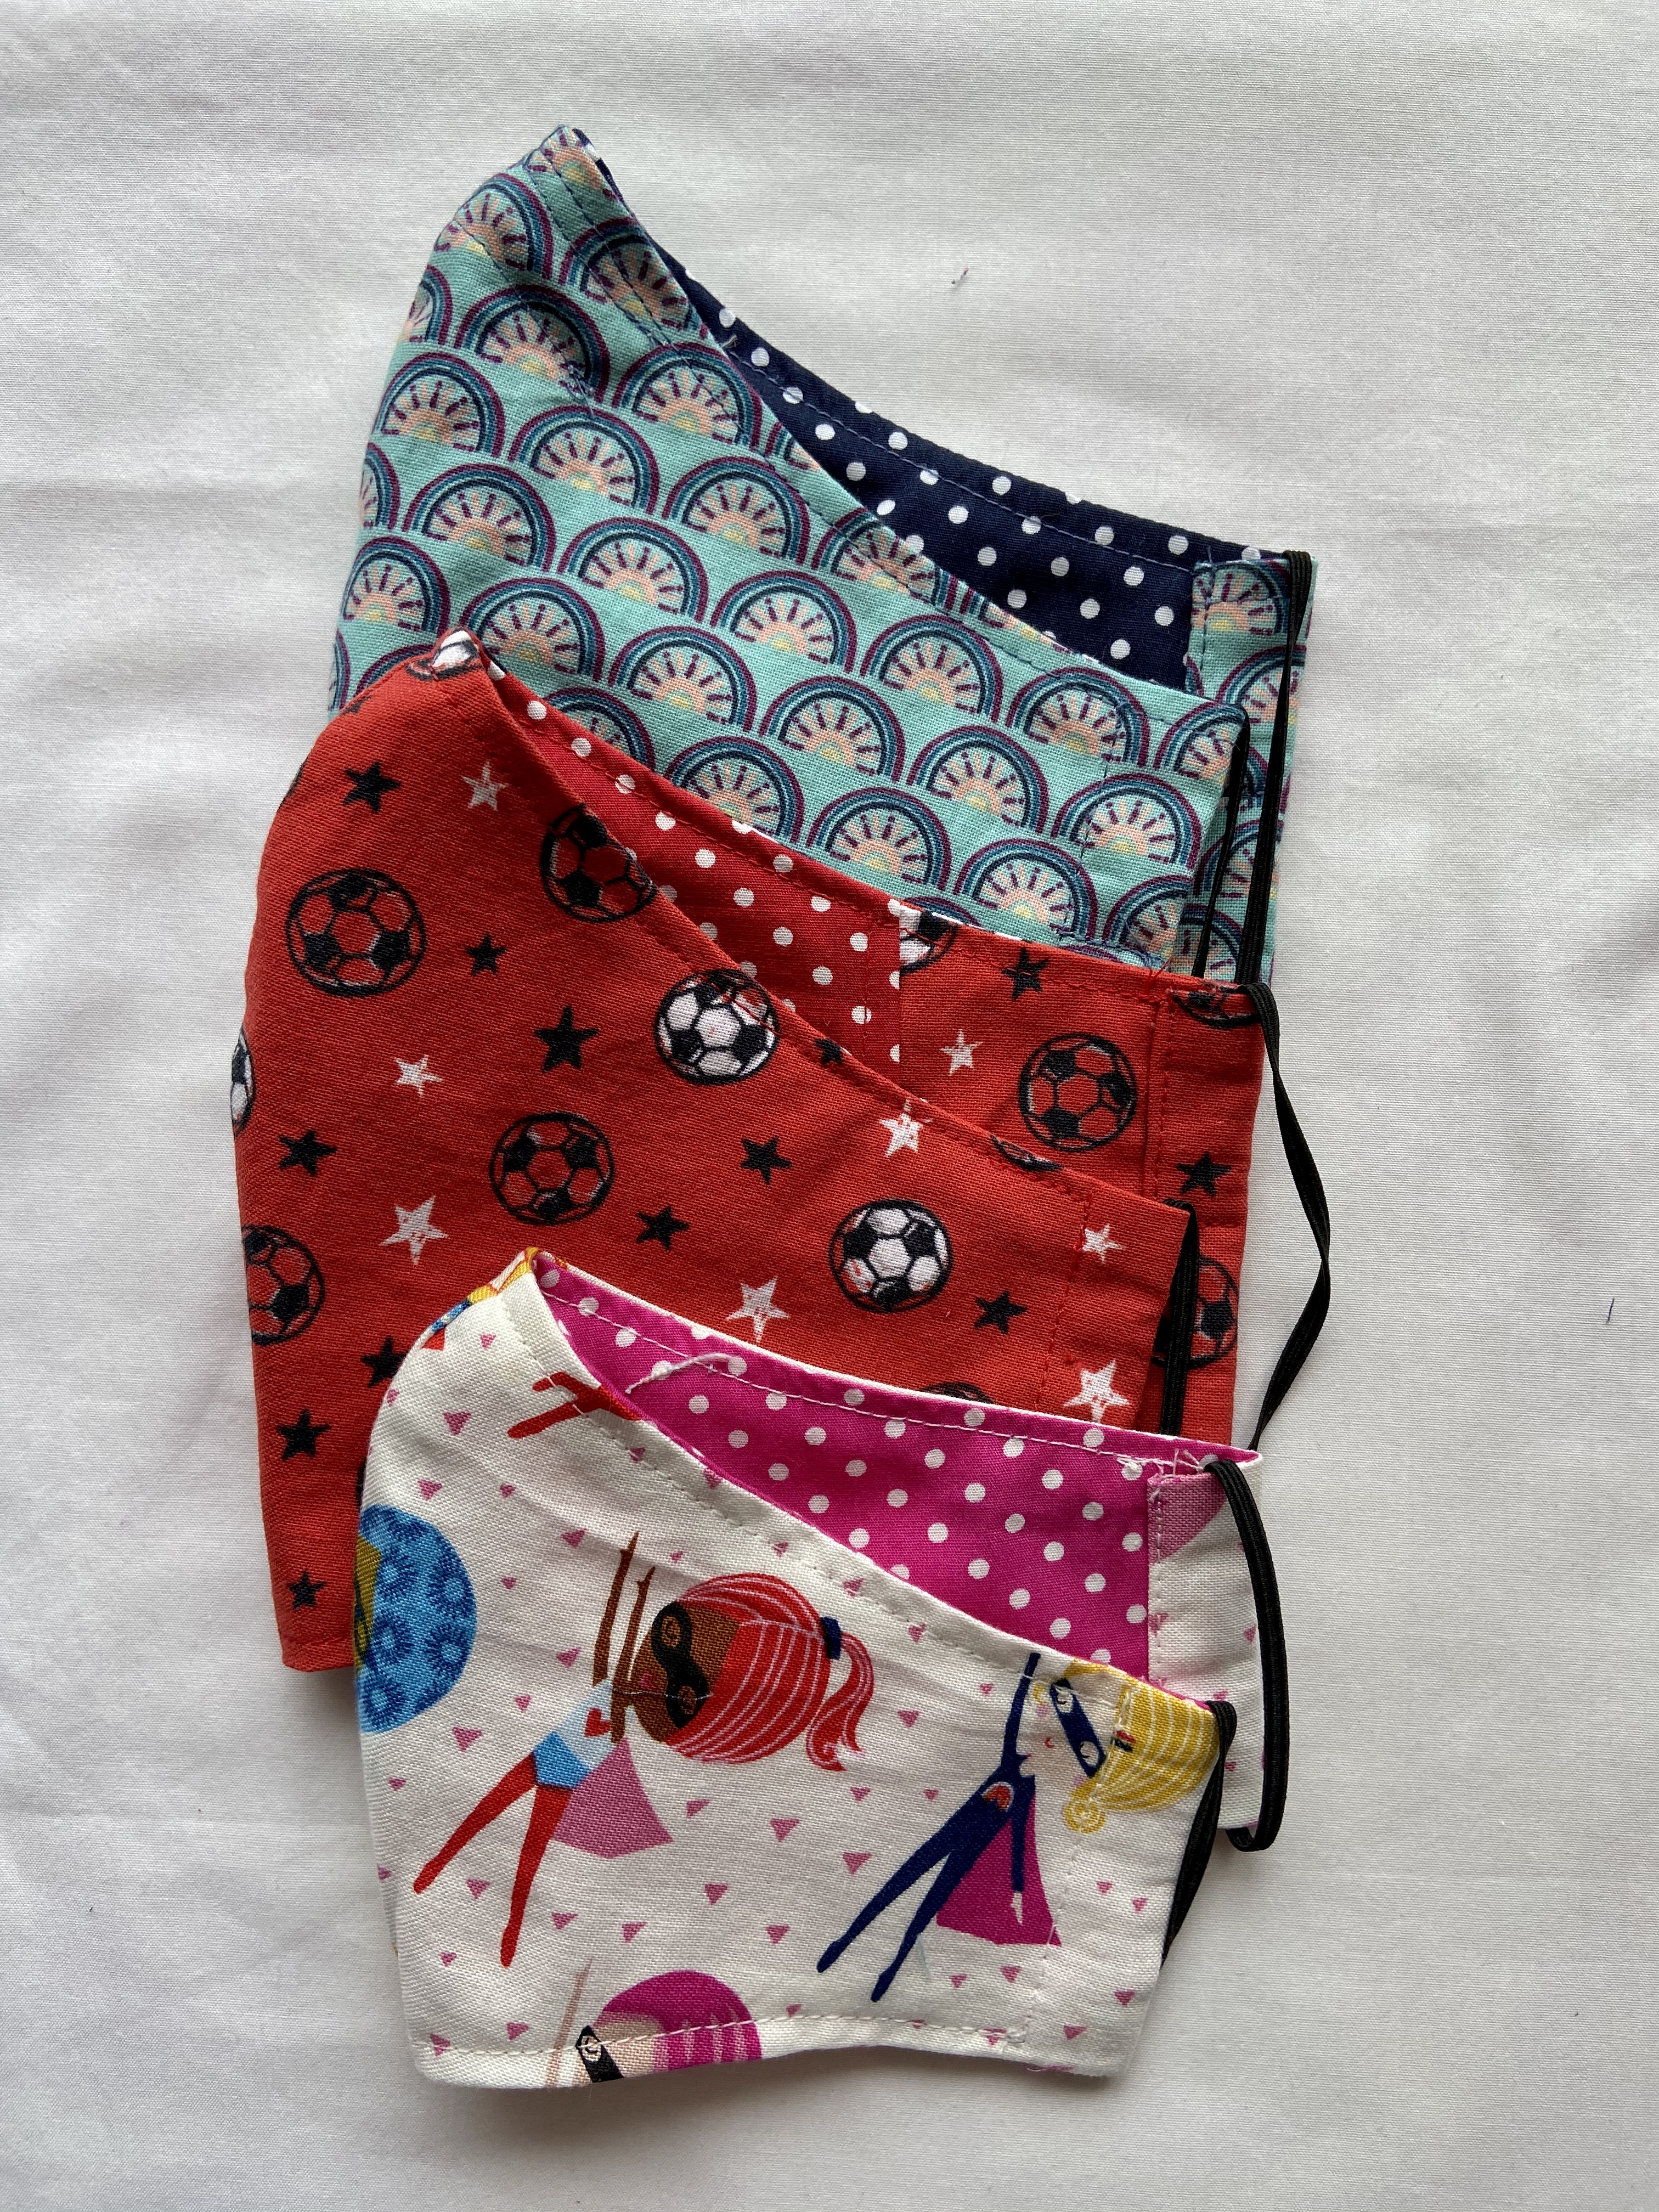
We have designed a great pattern for fitted face facemasks with a step by step tutorial below. You can download the pattern from our website and follow the step by step photo instructions below along with a little video to help. These masks are reusable (great for the planet!) and can be washed at 60 degrees. 2 different design options and 3 different sizes.
You can download the pattern for FREE on the website HERE
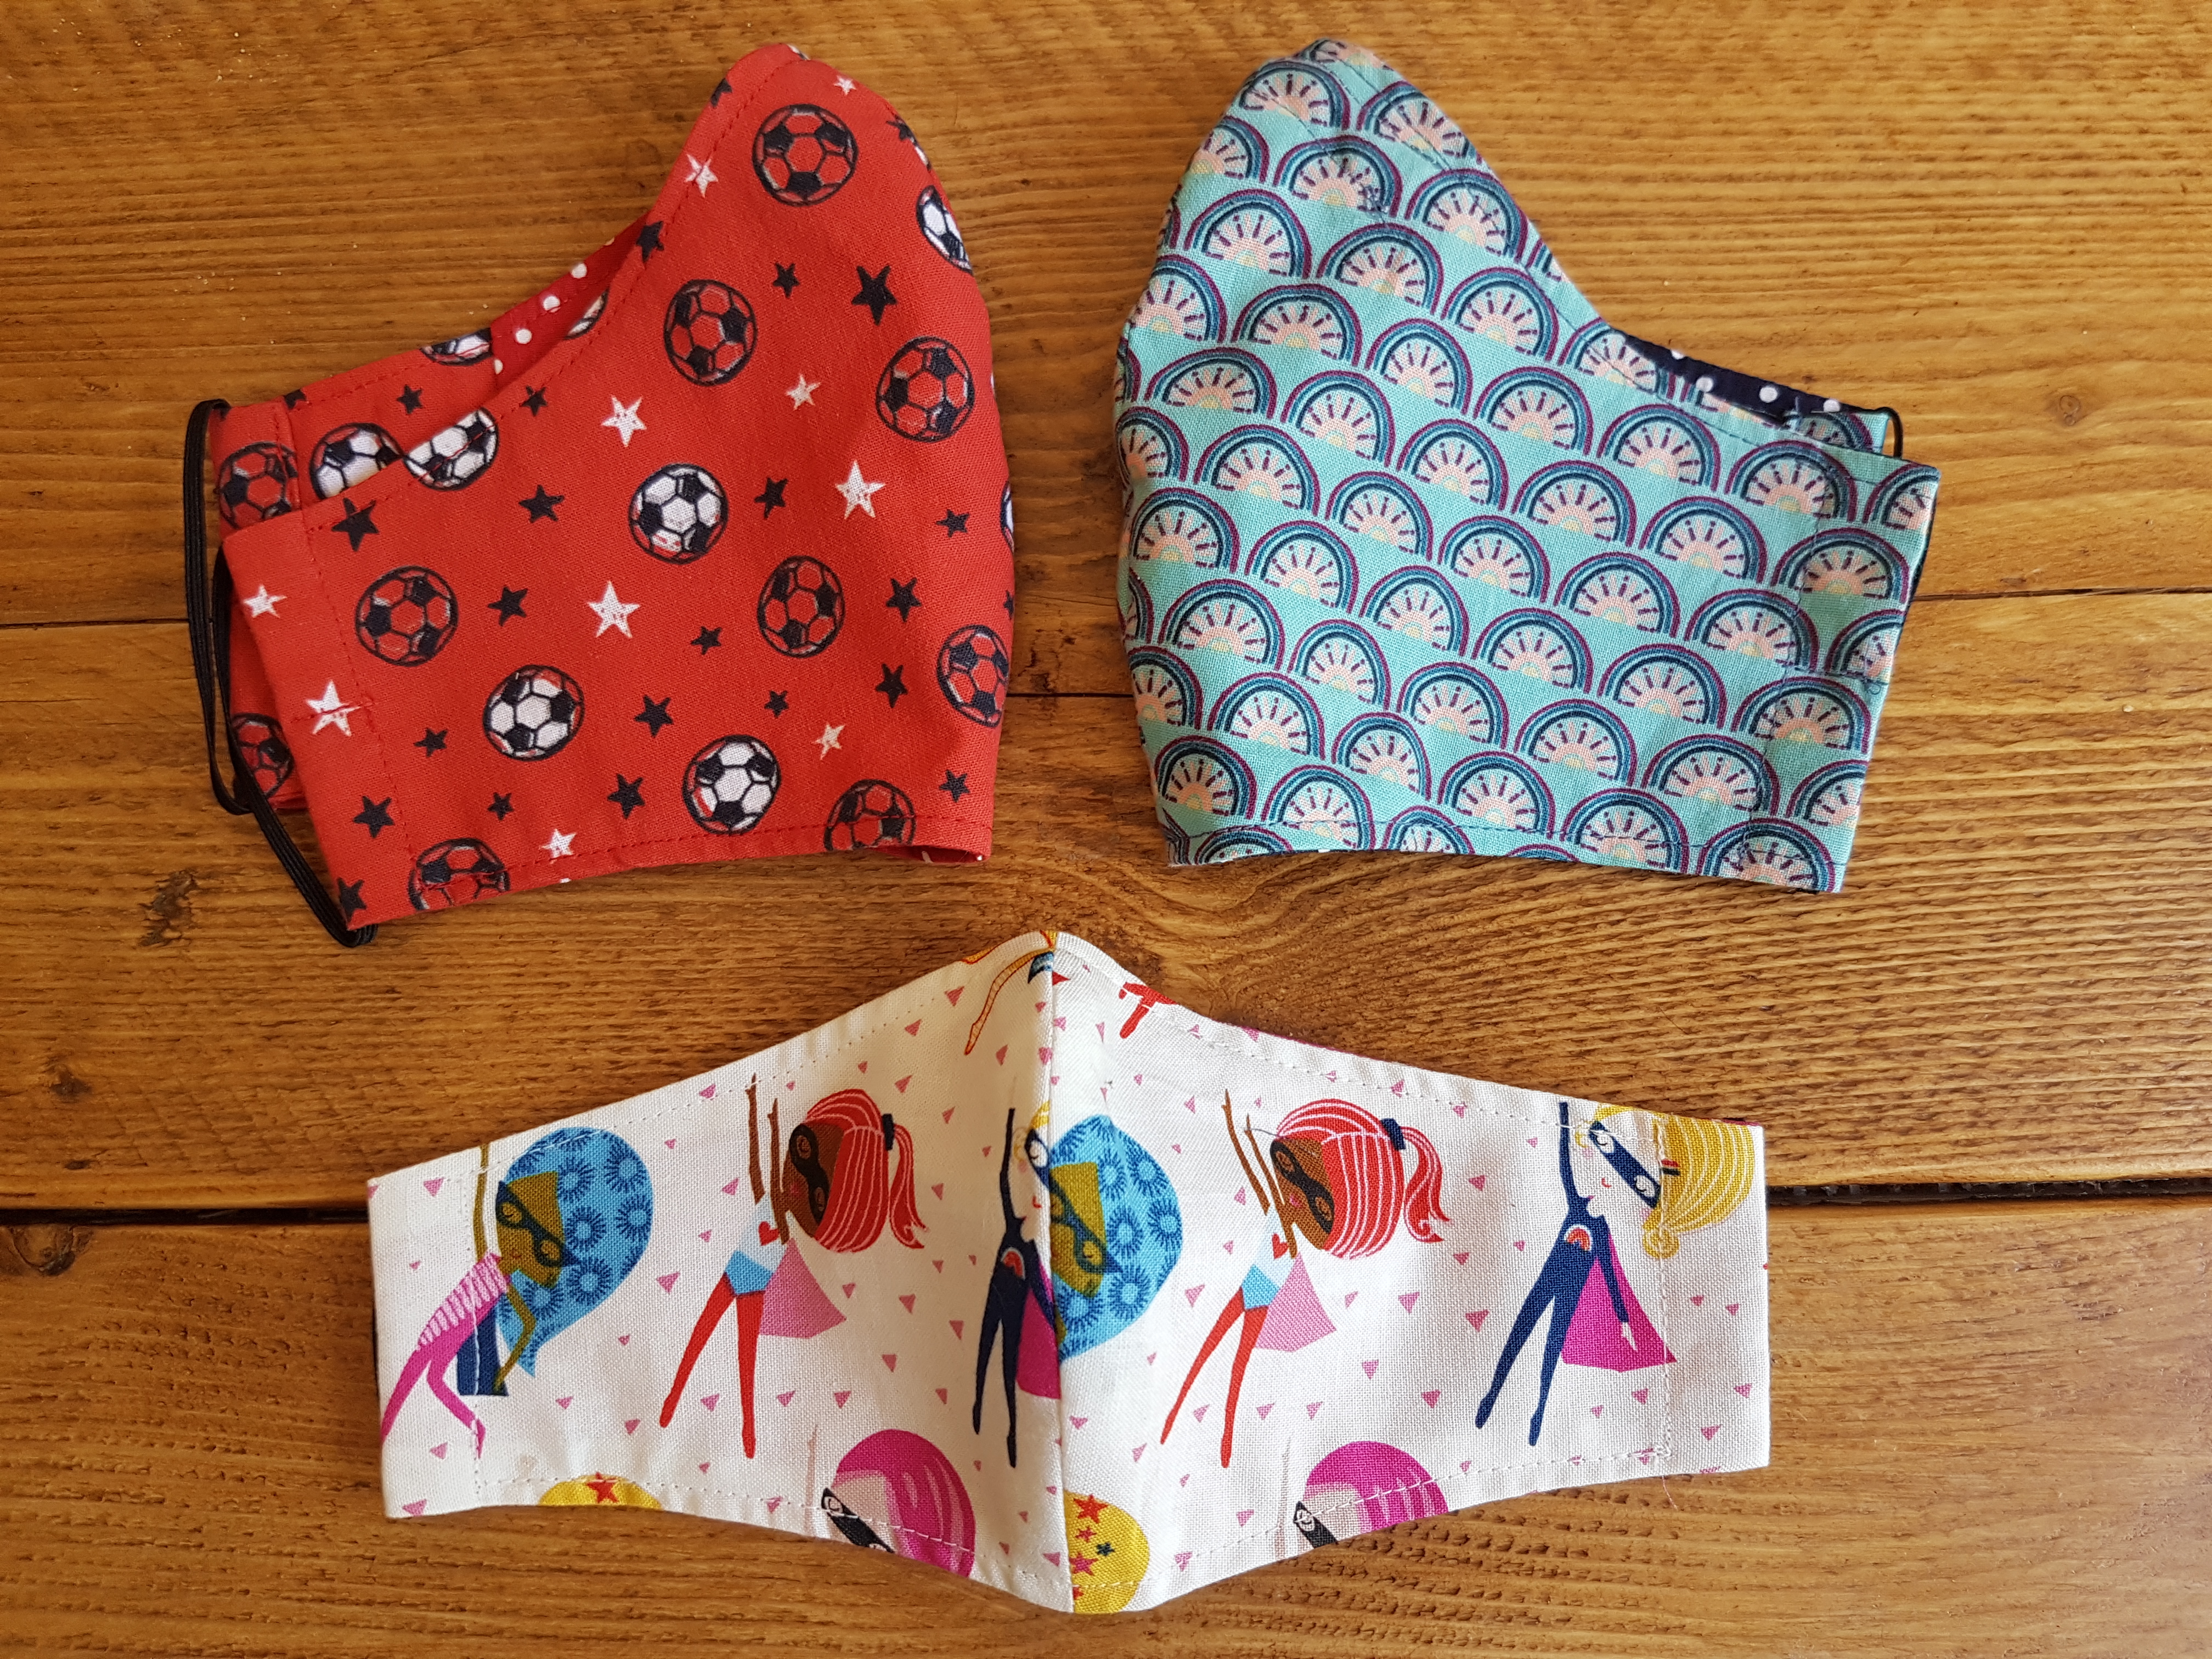
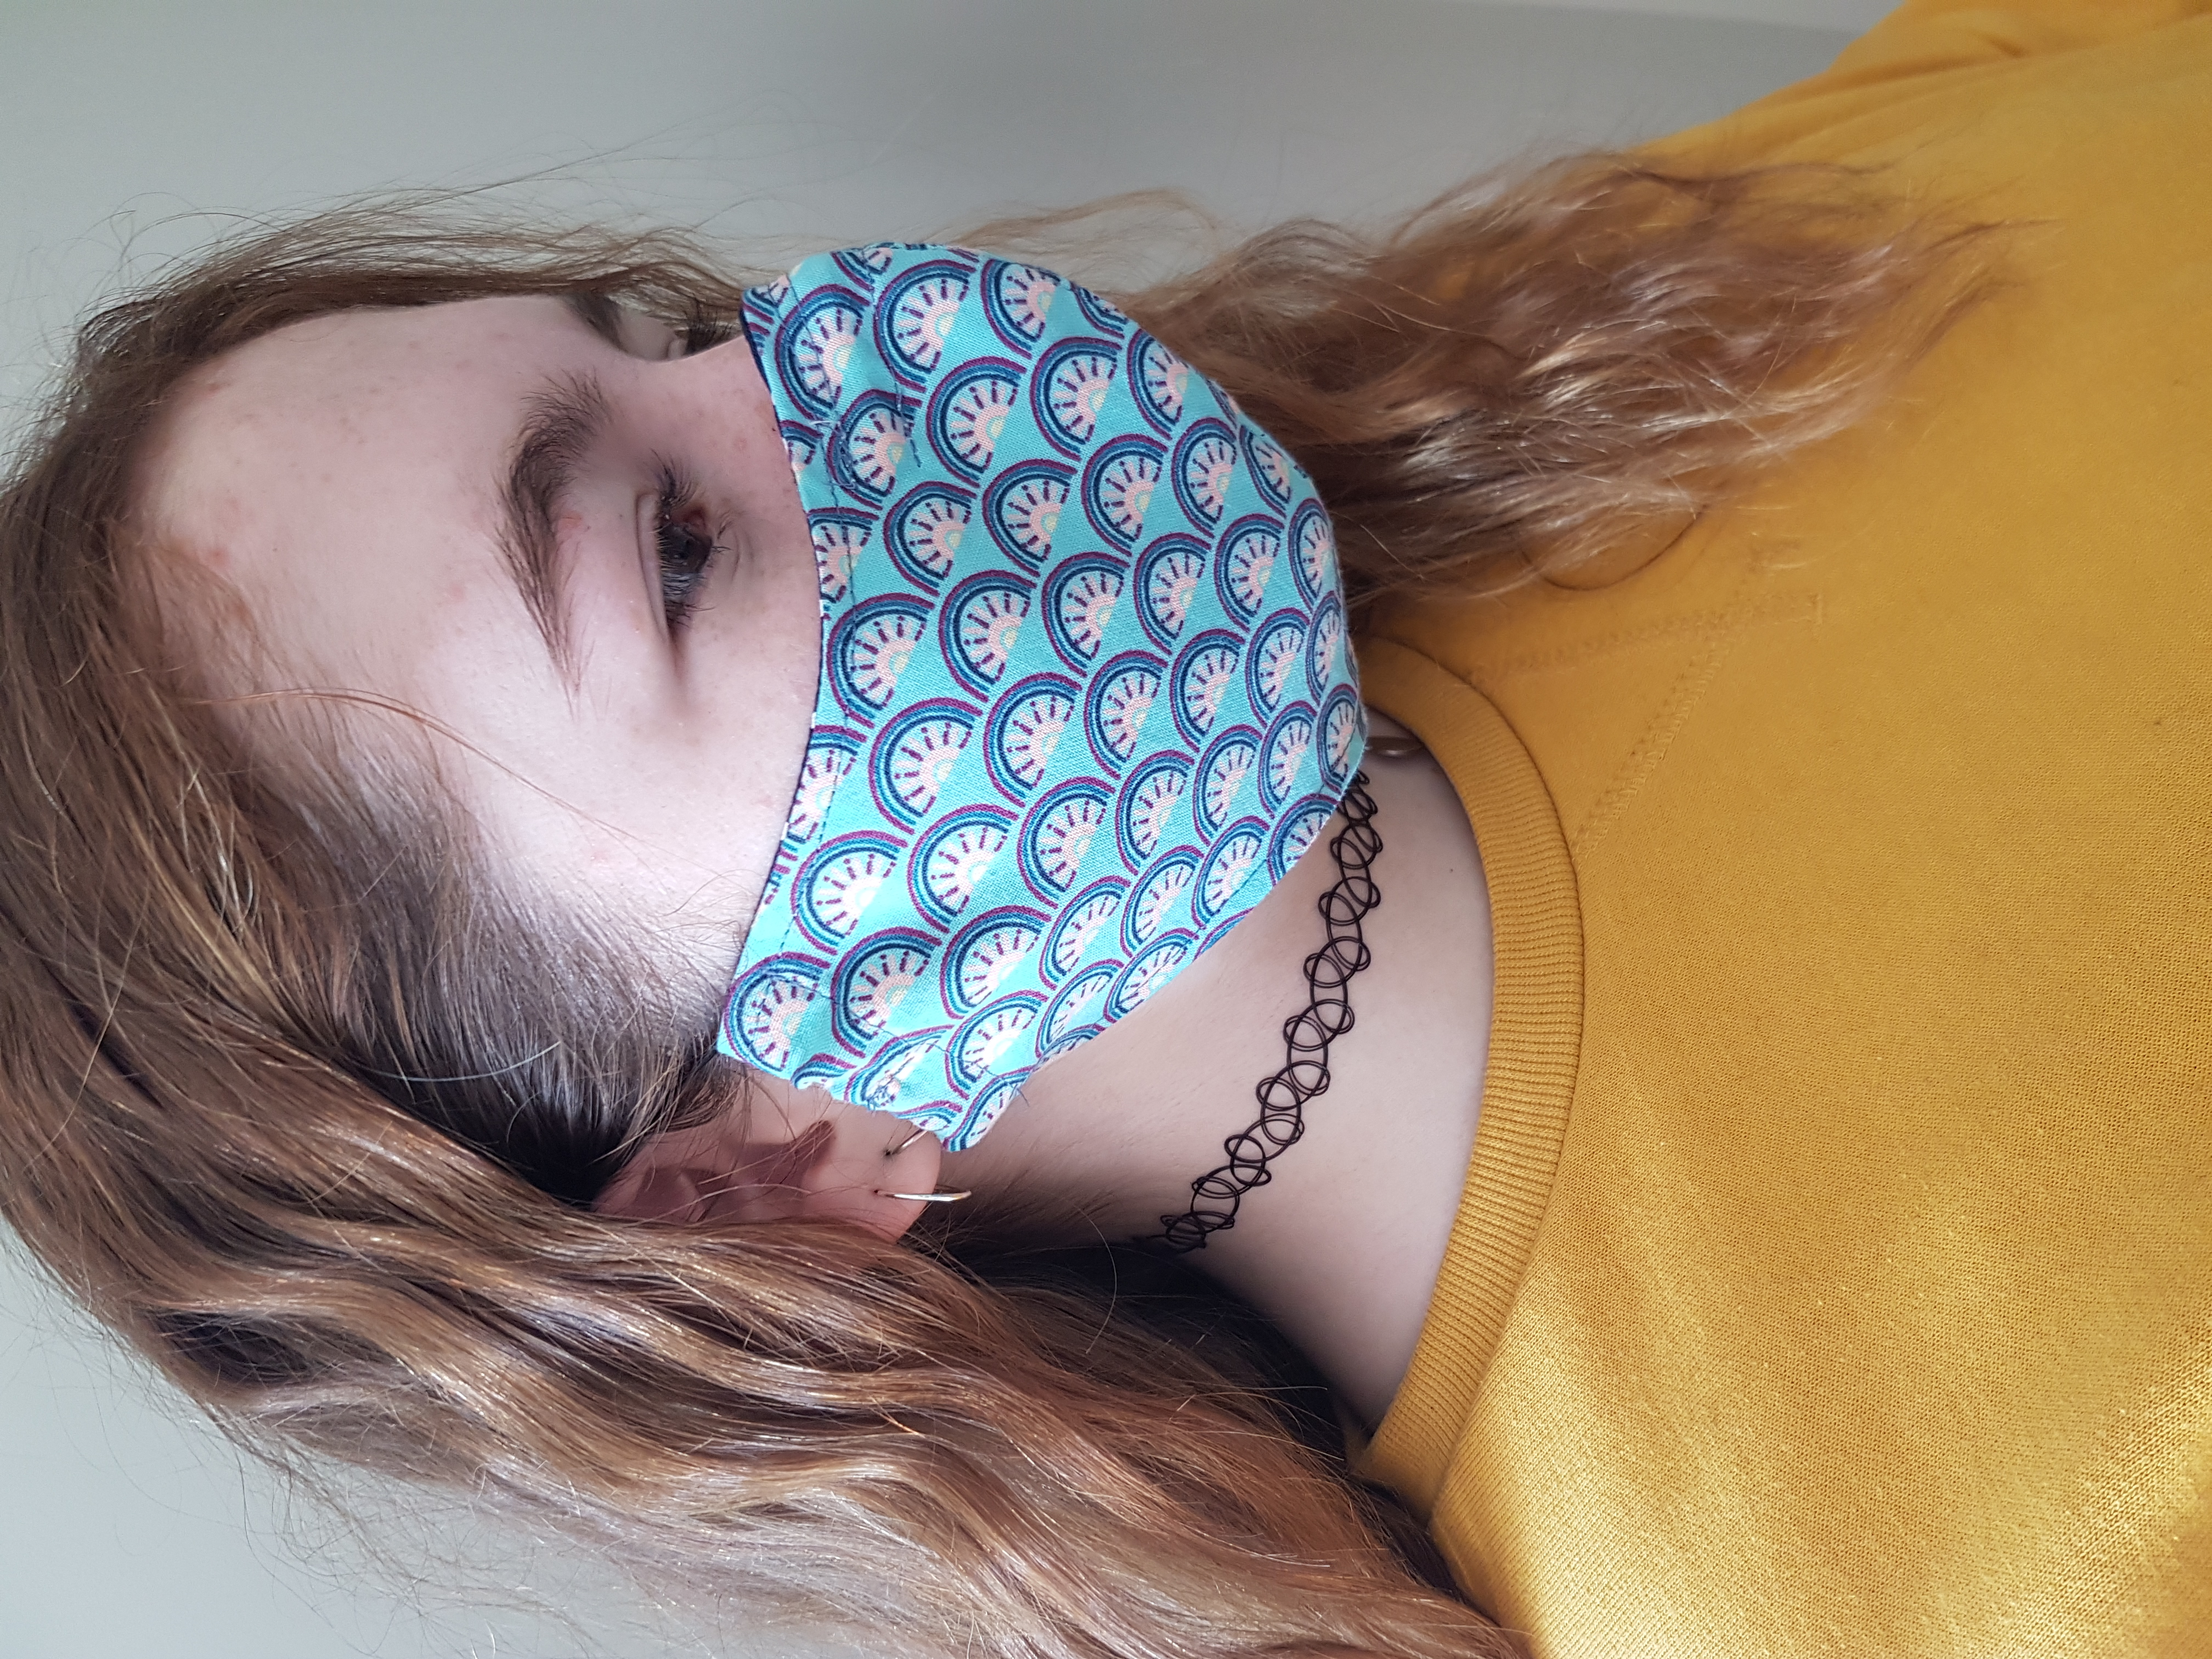
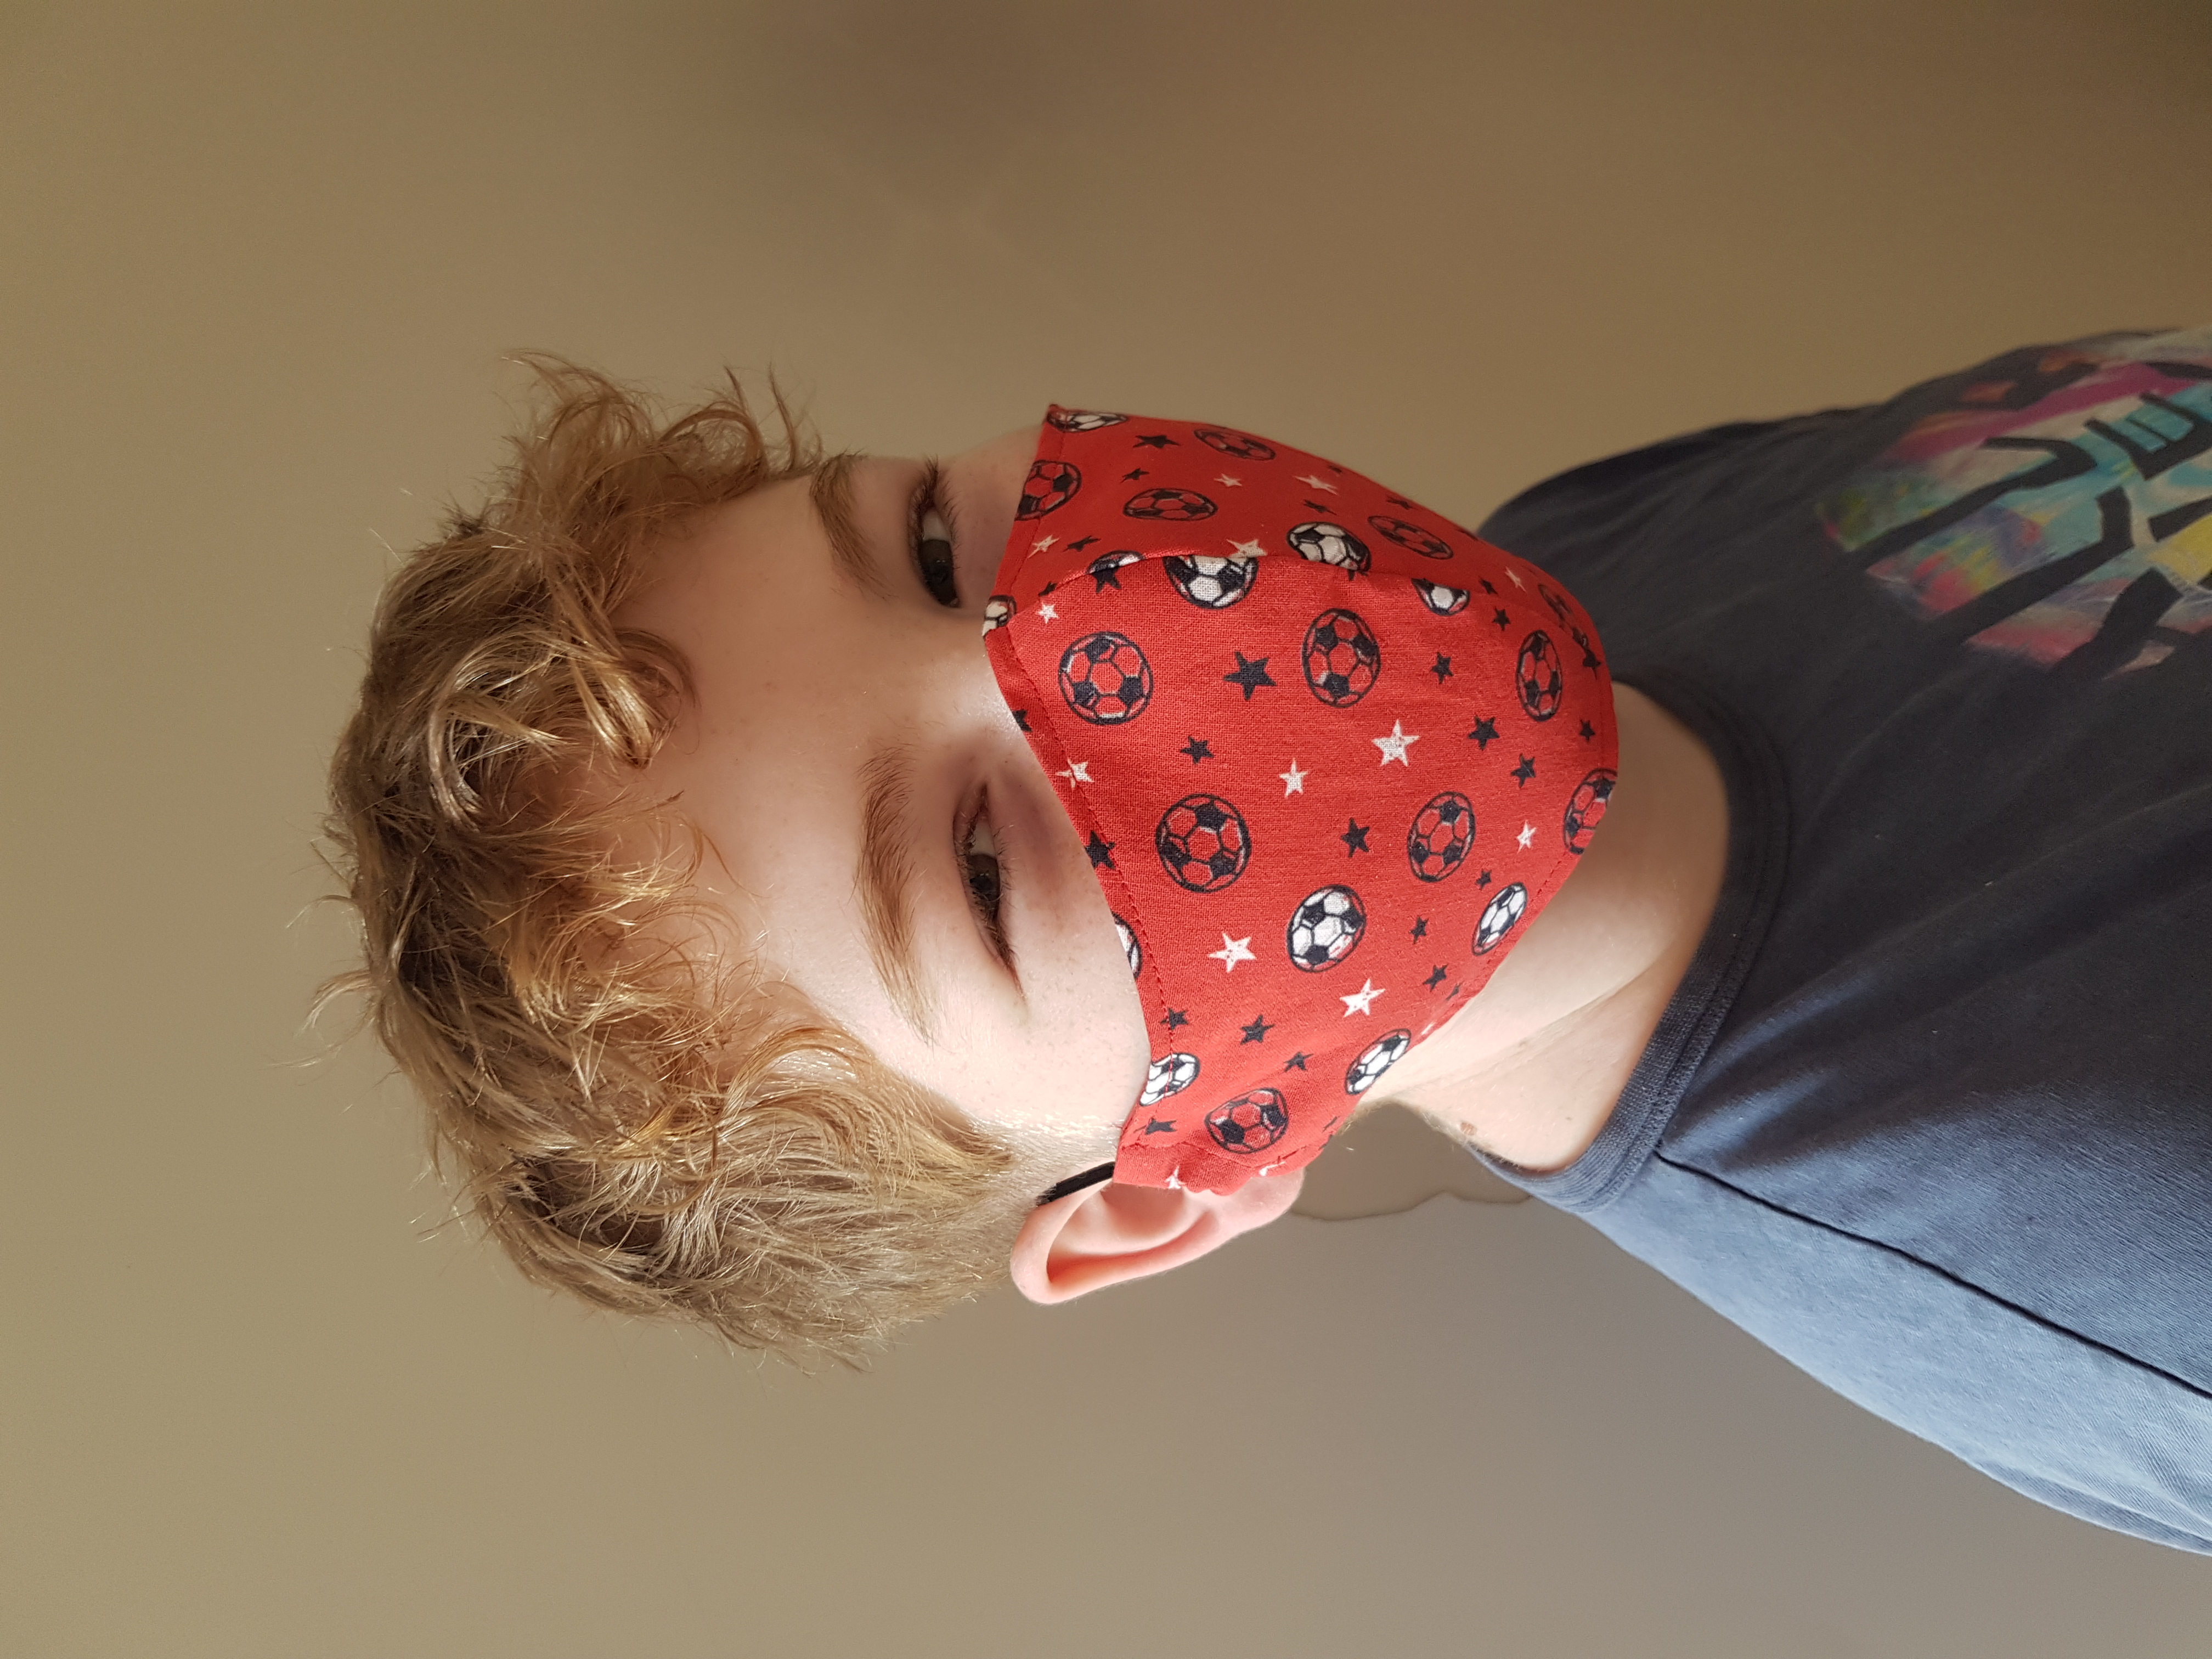
The pattern can make 3 different sizes of mask with 2 different versions. It also includes instructions for adding a nose bridge wire for extra fit. The design means that you can choose to have ear loops or a head band depending on which you find the most comfortable.
You will need:
Pattern & instructions - can be downloaded from our website
1 FQ - Cotton Main Fabric
1 FQ - Cotton Lining Fabric
Elastic
Useful Info
All seams are 1cm
Fold fabric before cutting pieces so that you cut 2 at the same time (left and right side)
Cut round the pattern pieces carefully before you start
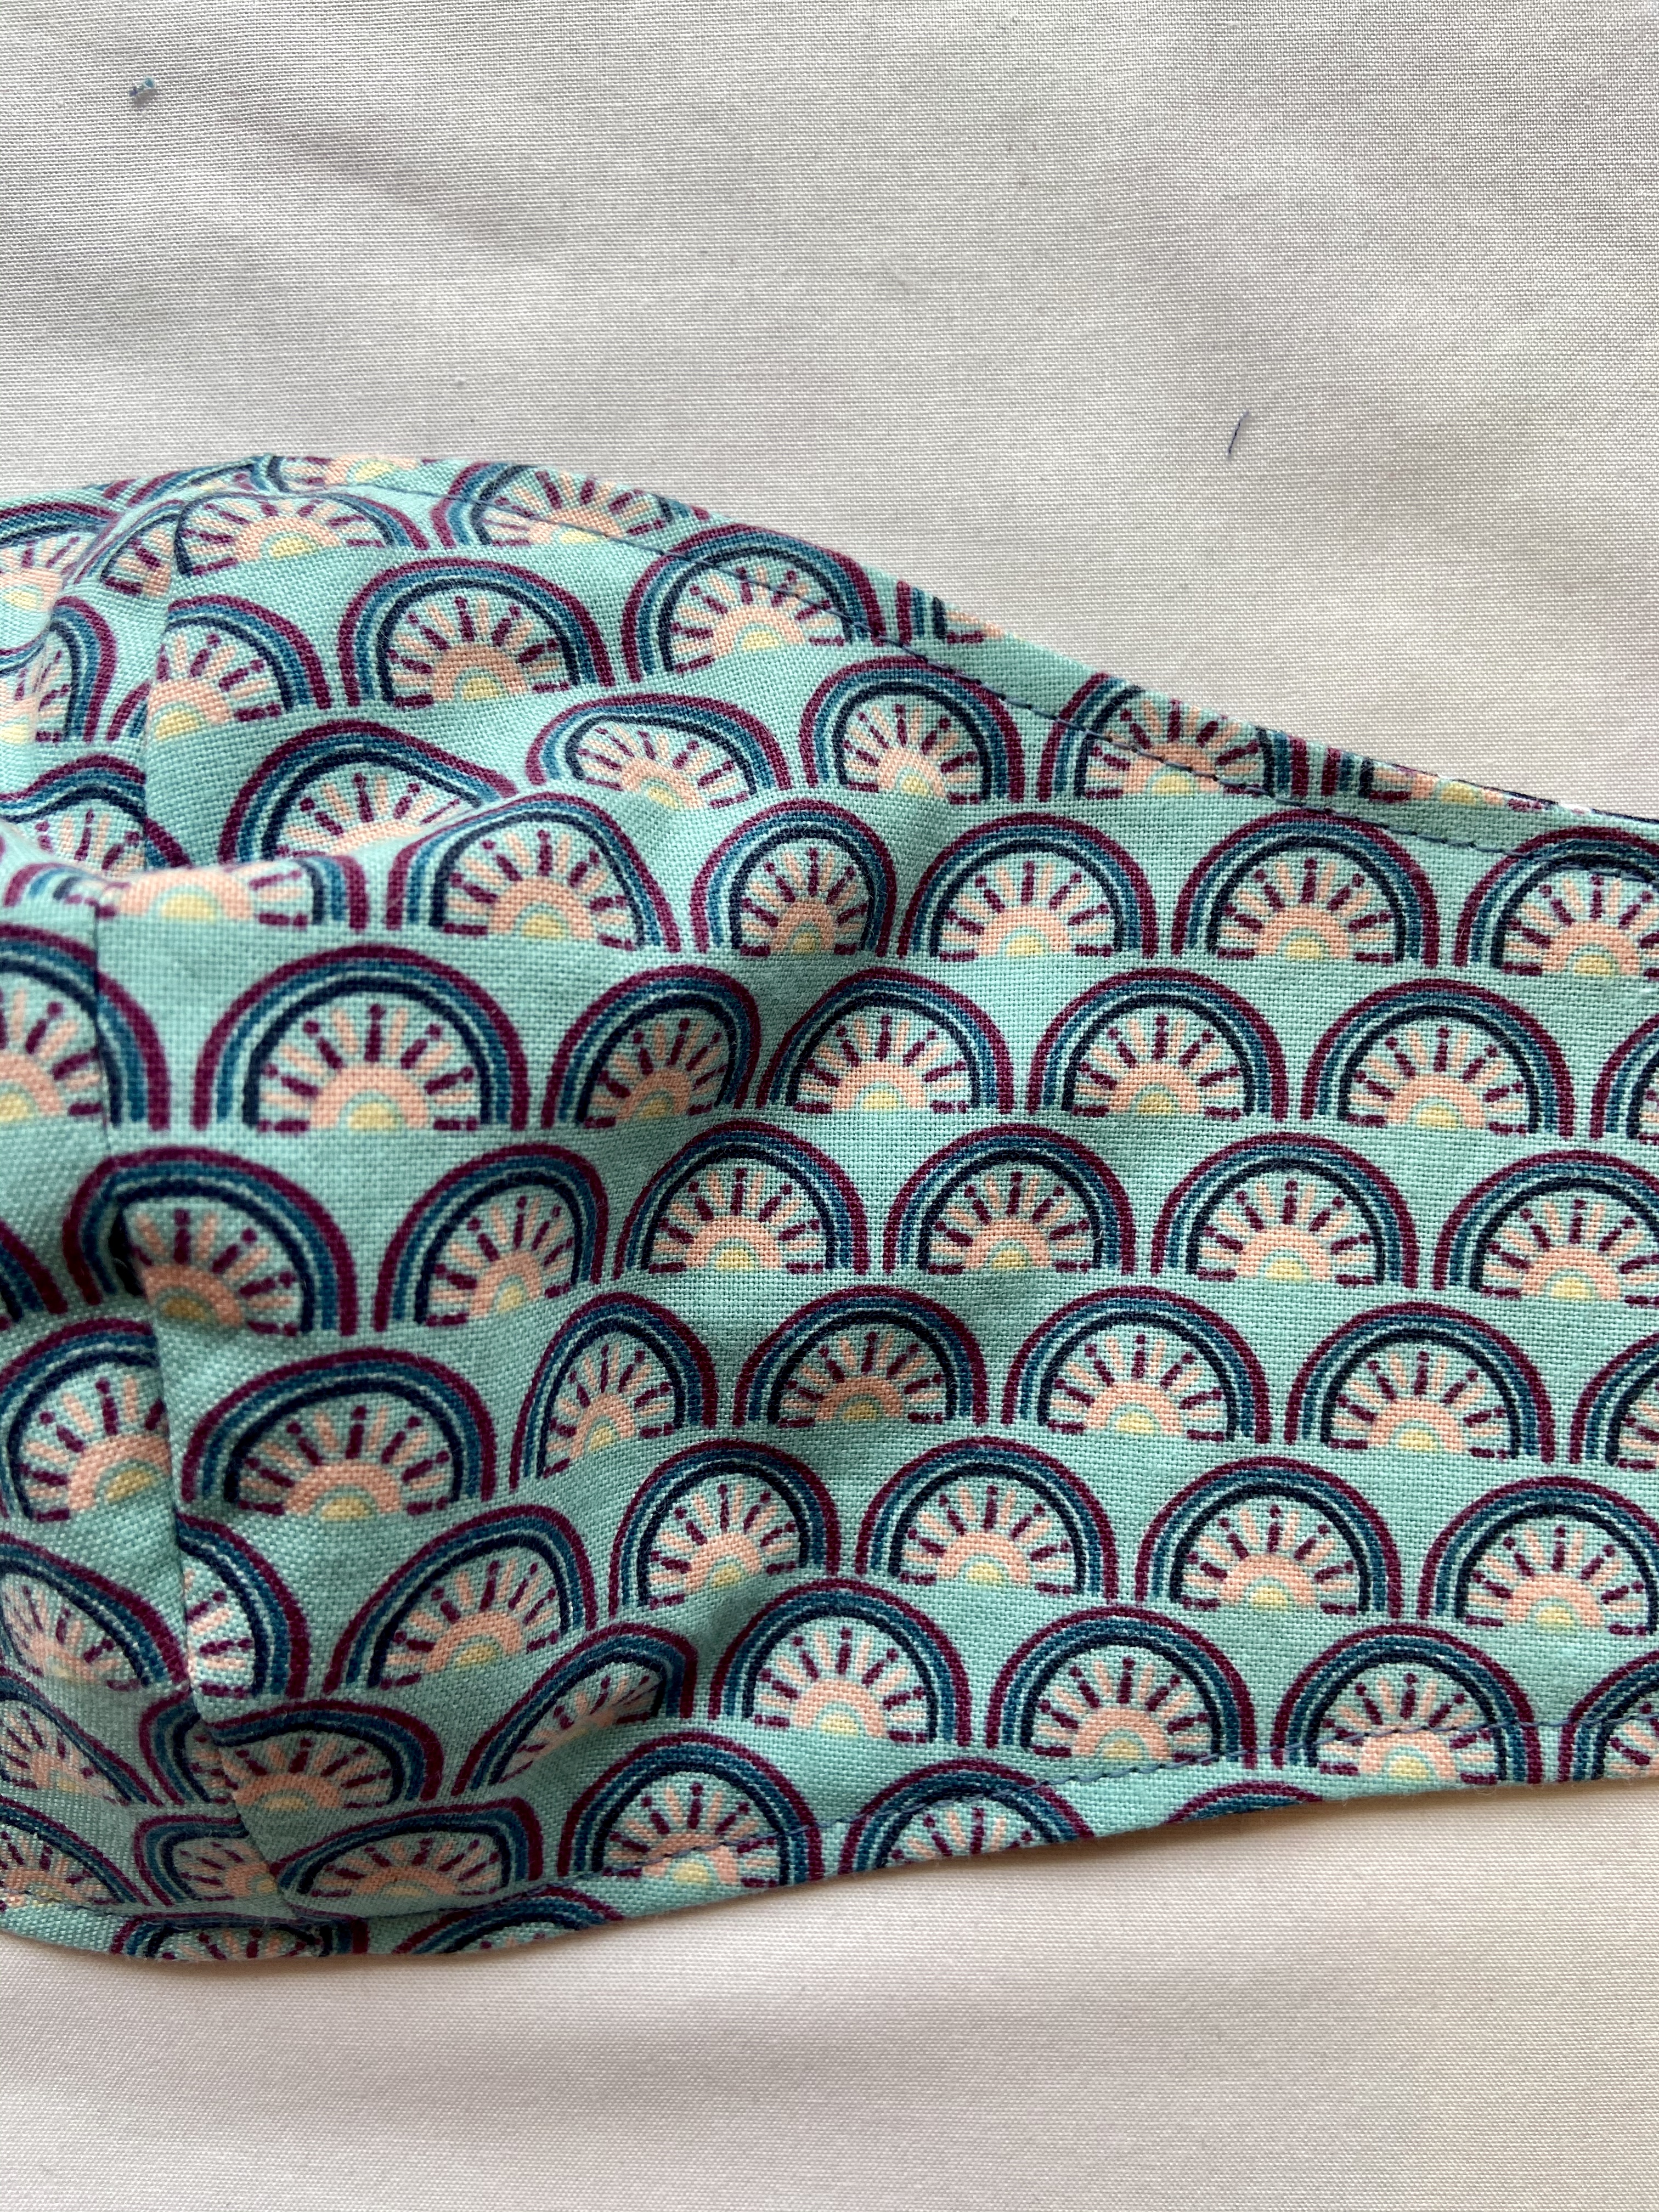
Simple lined face mask
1.Use pattern piece A only
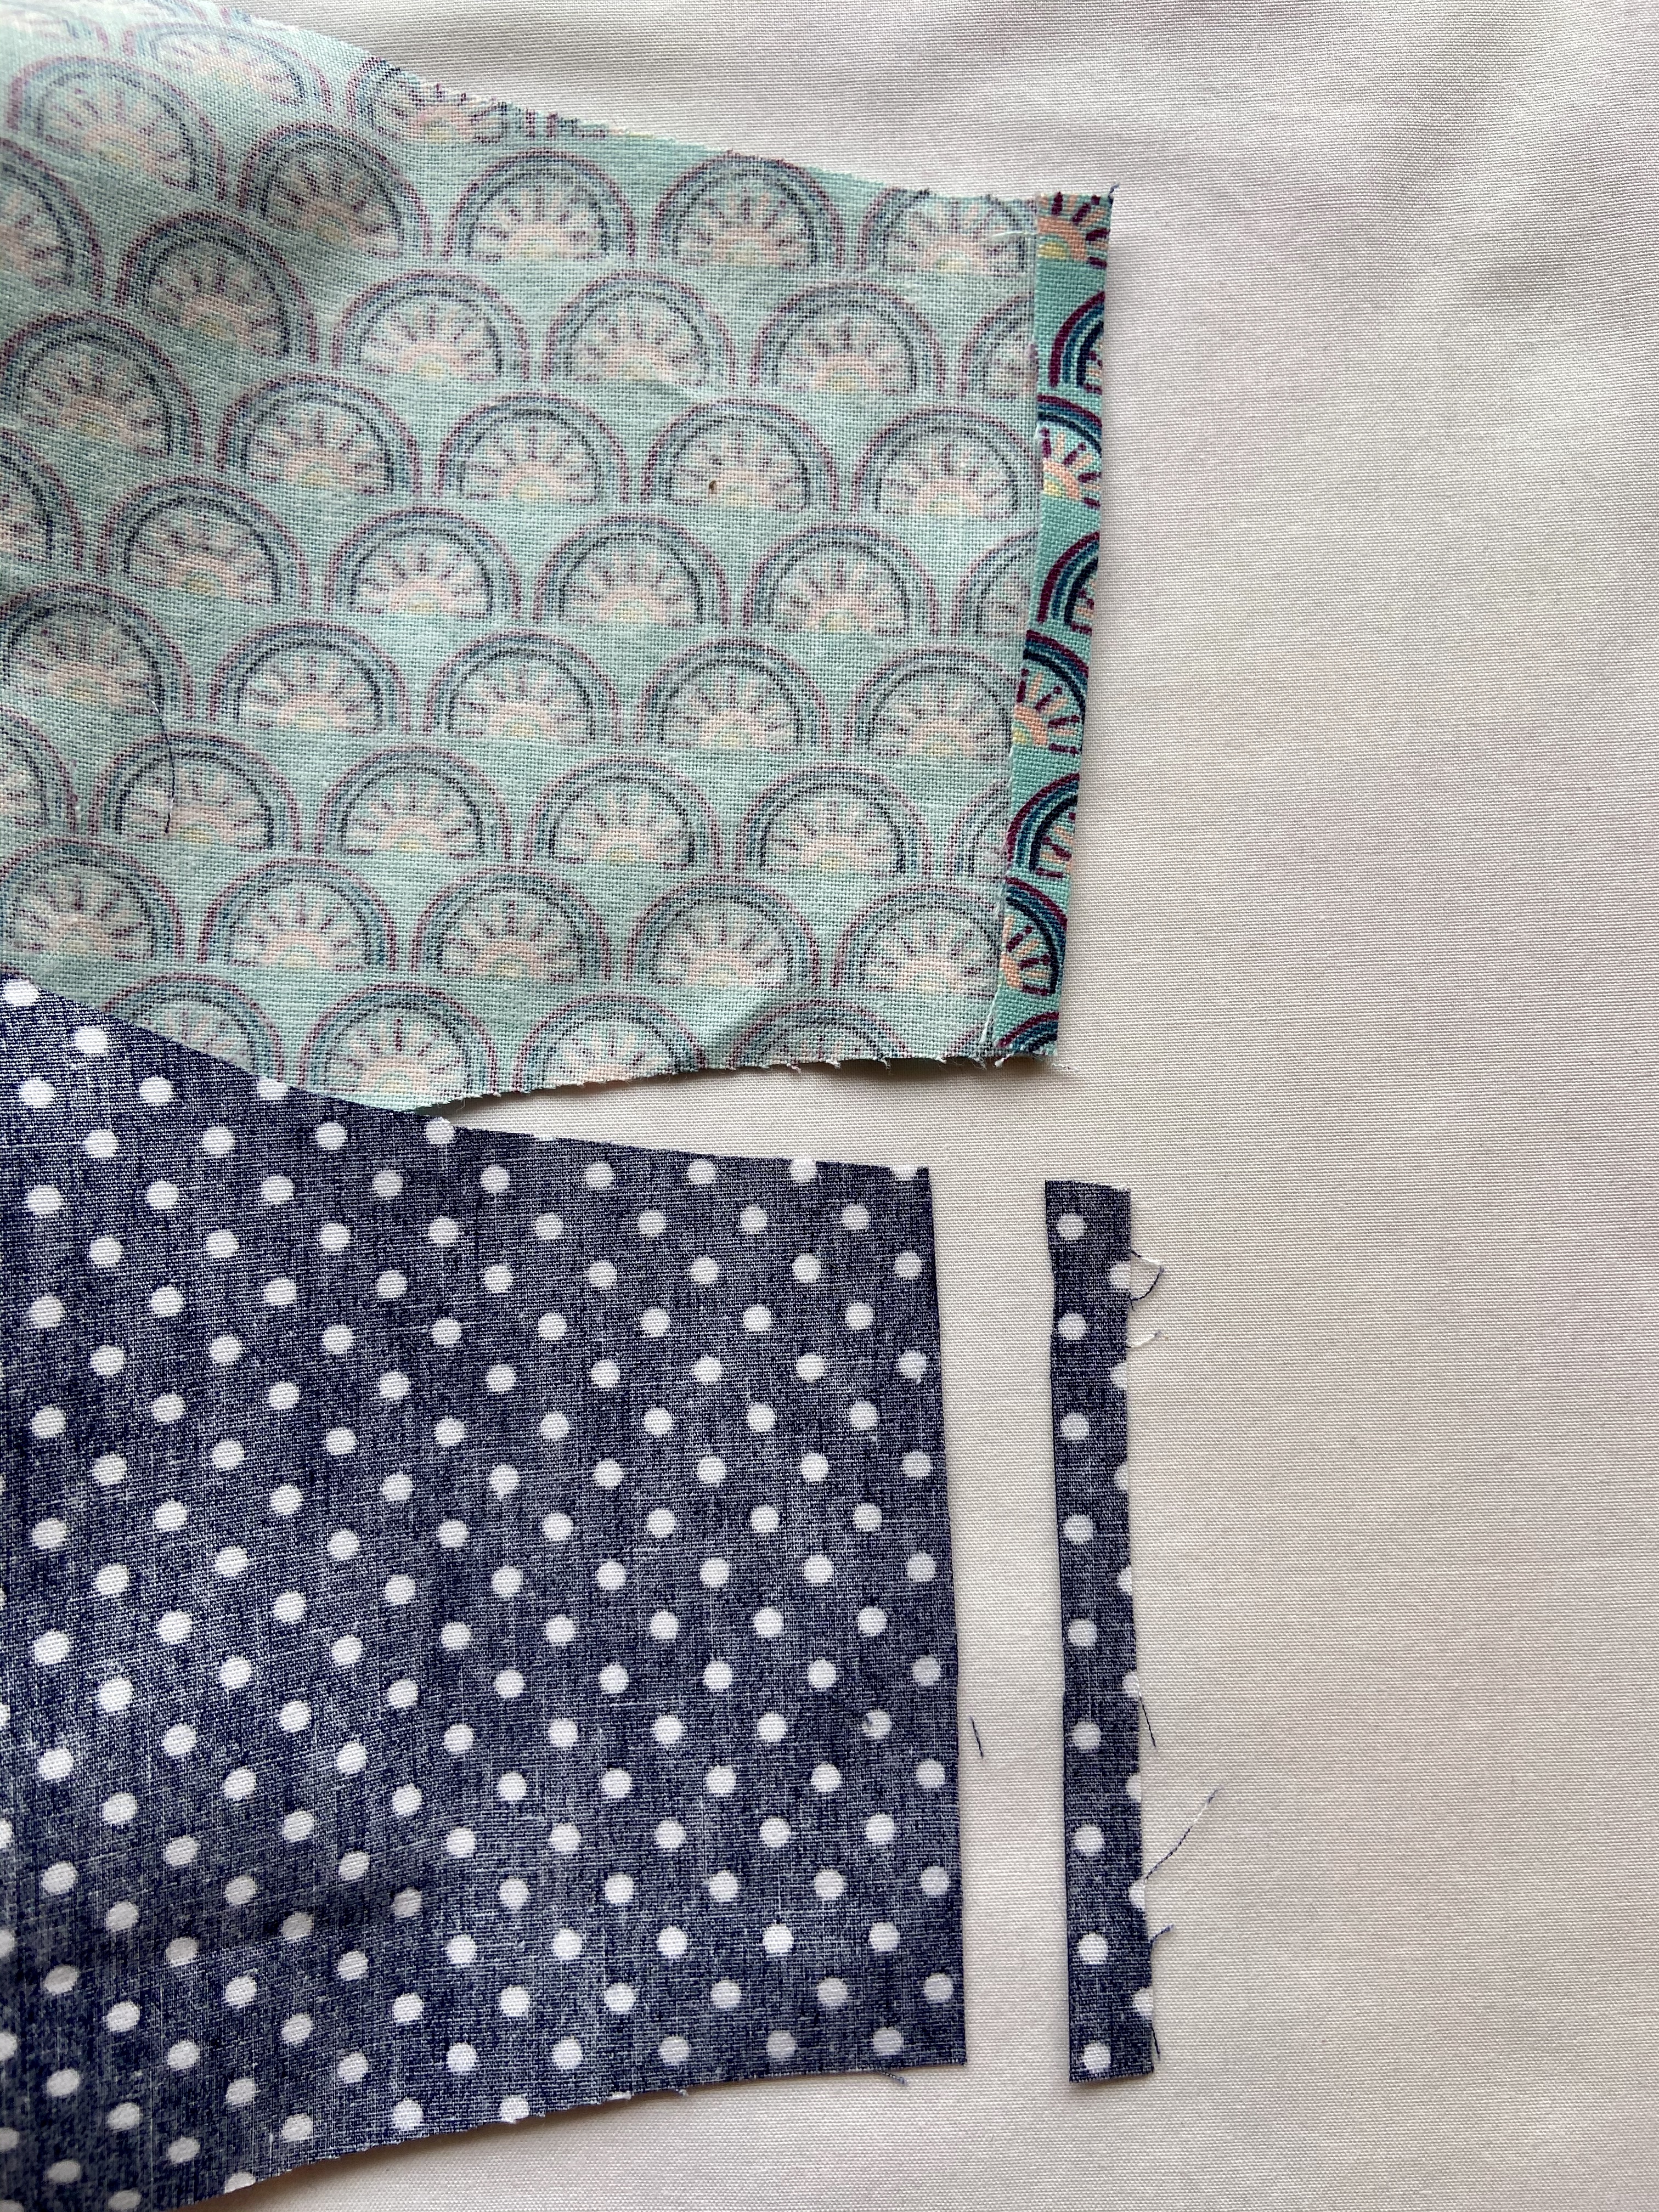
2.Cut two from main outer fabric and two from lining fabric
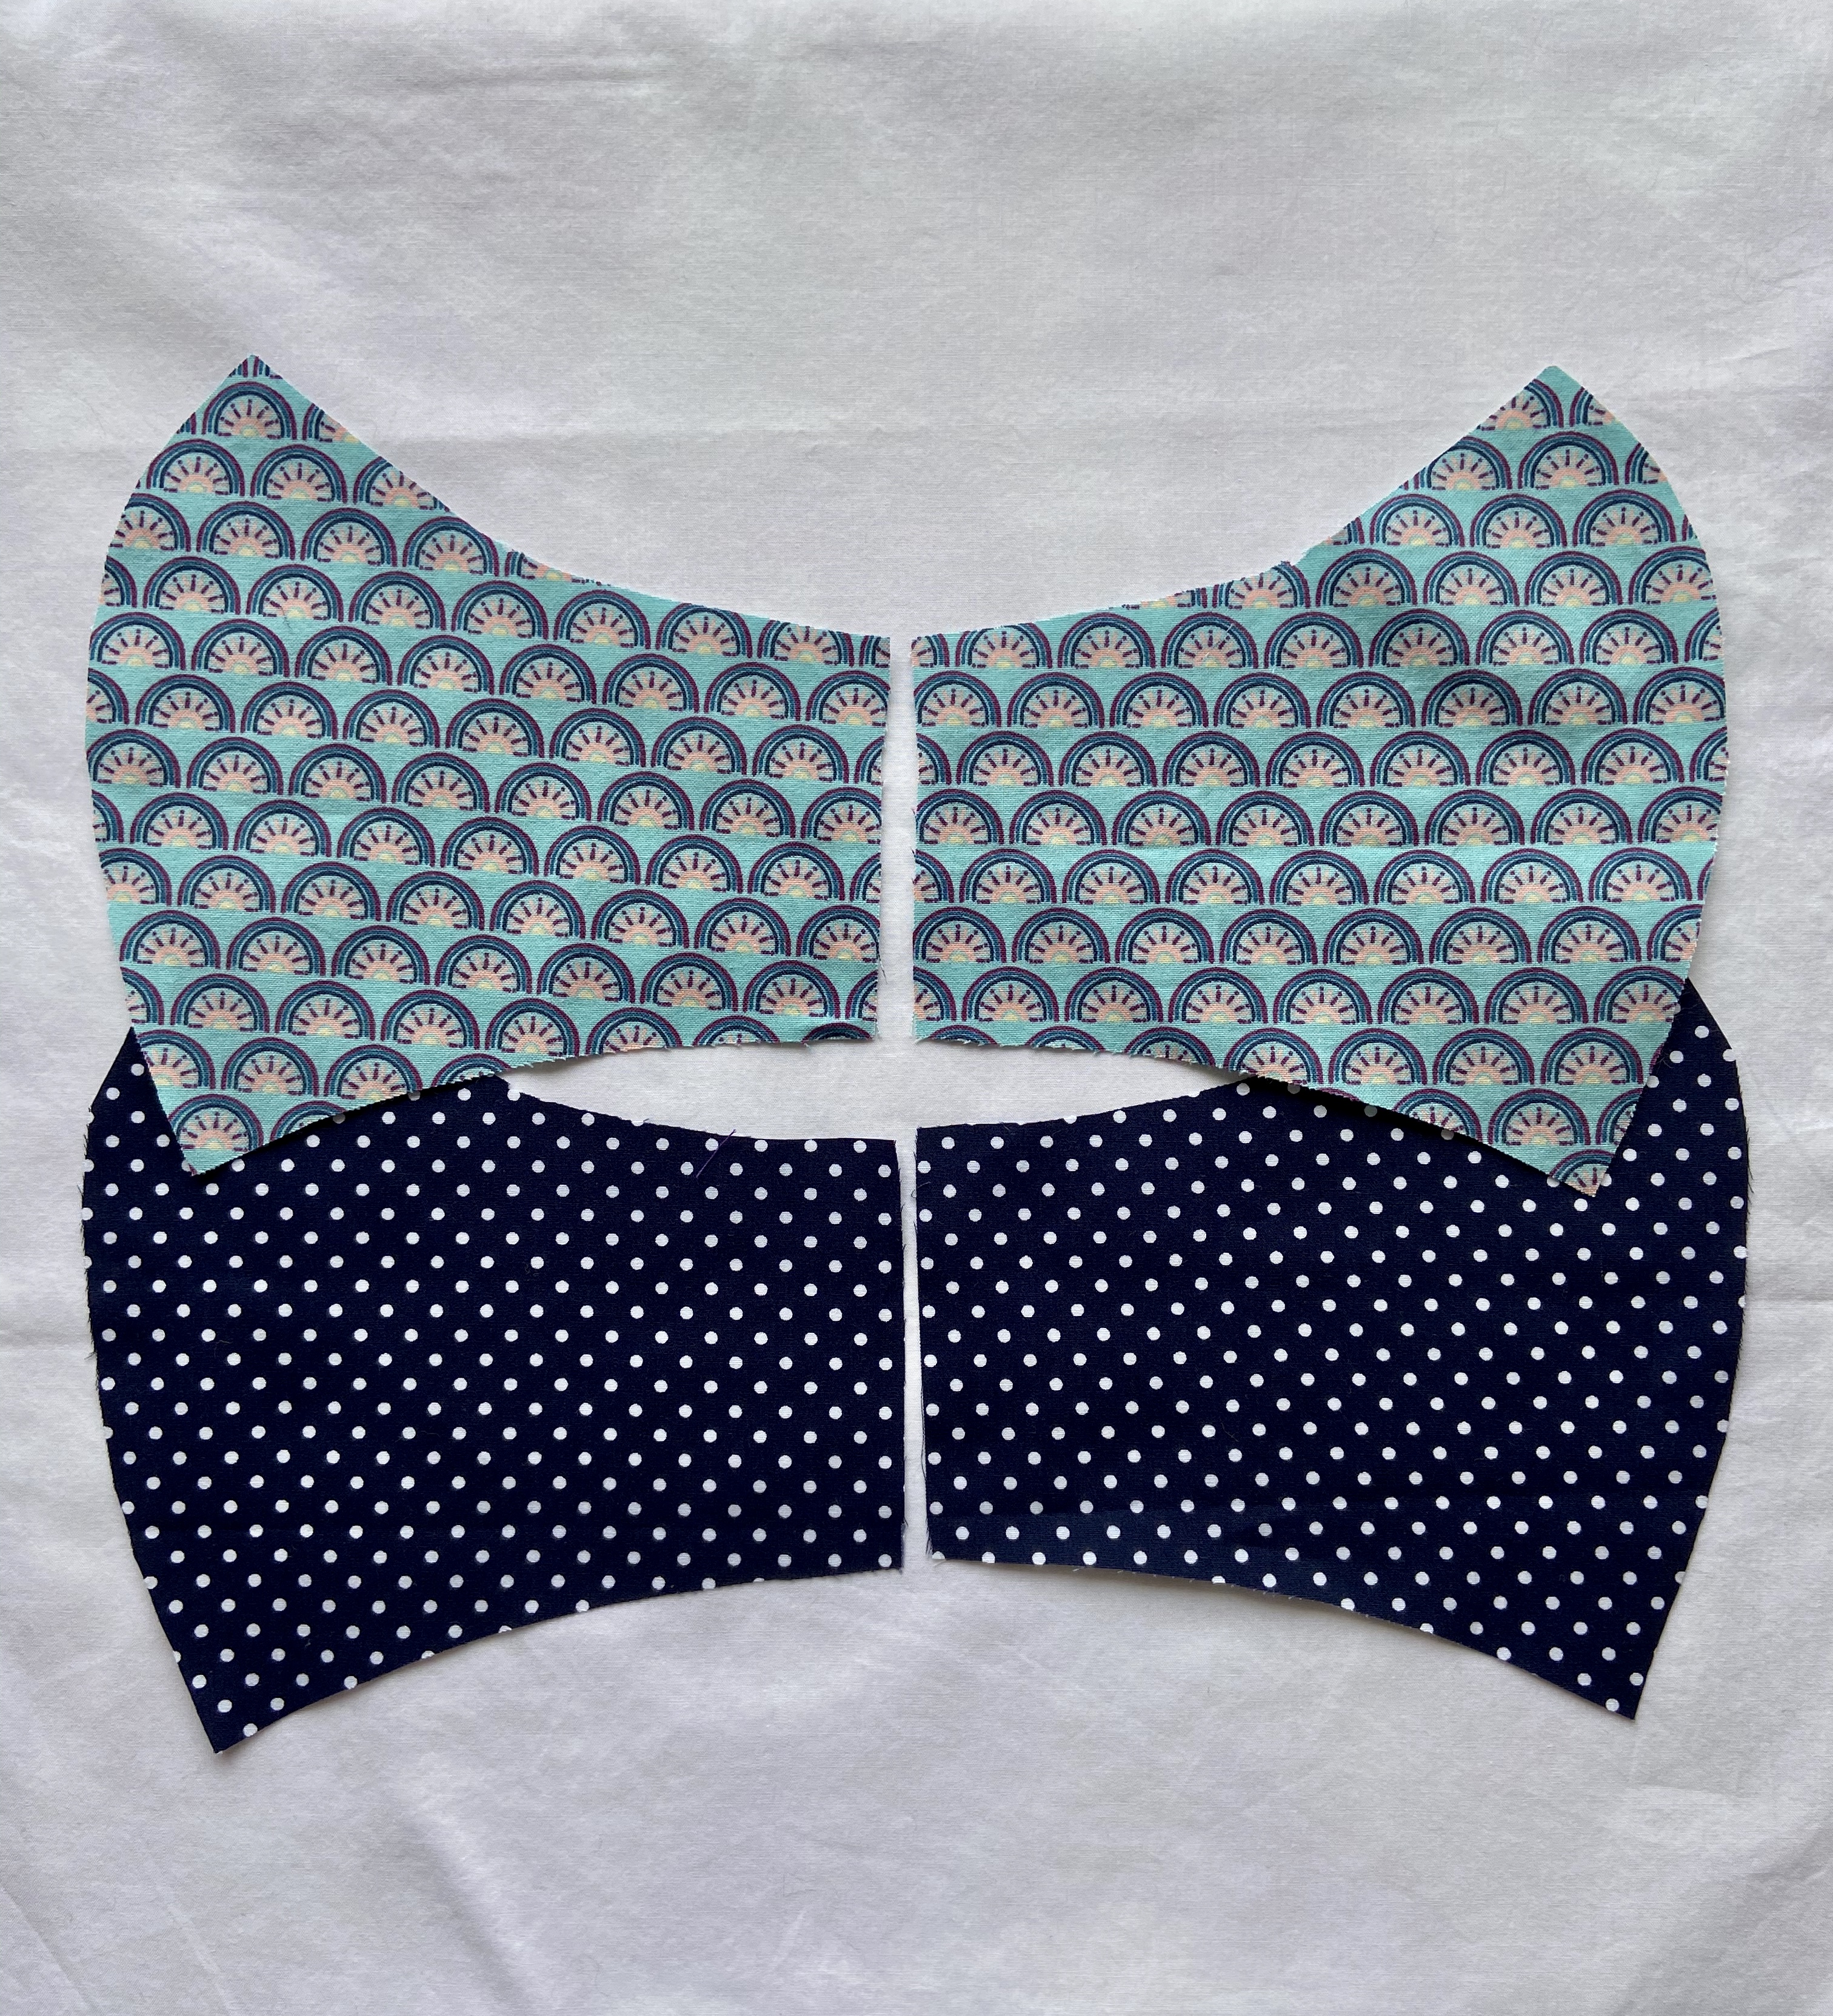
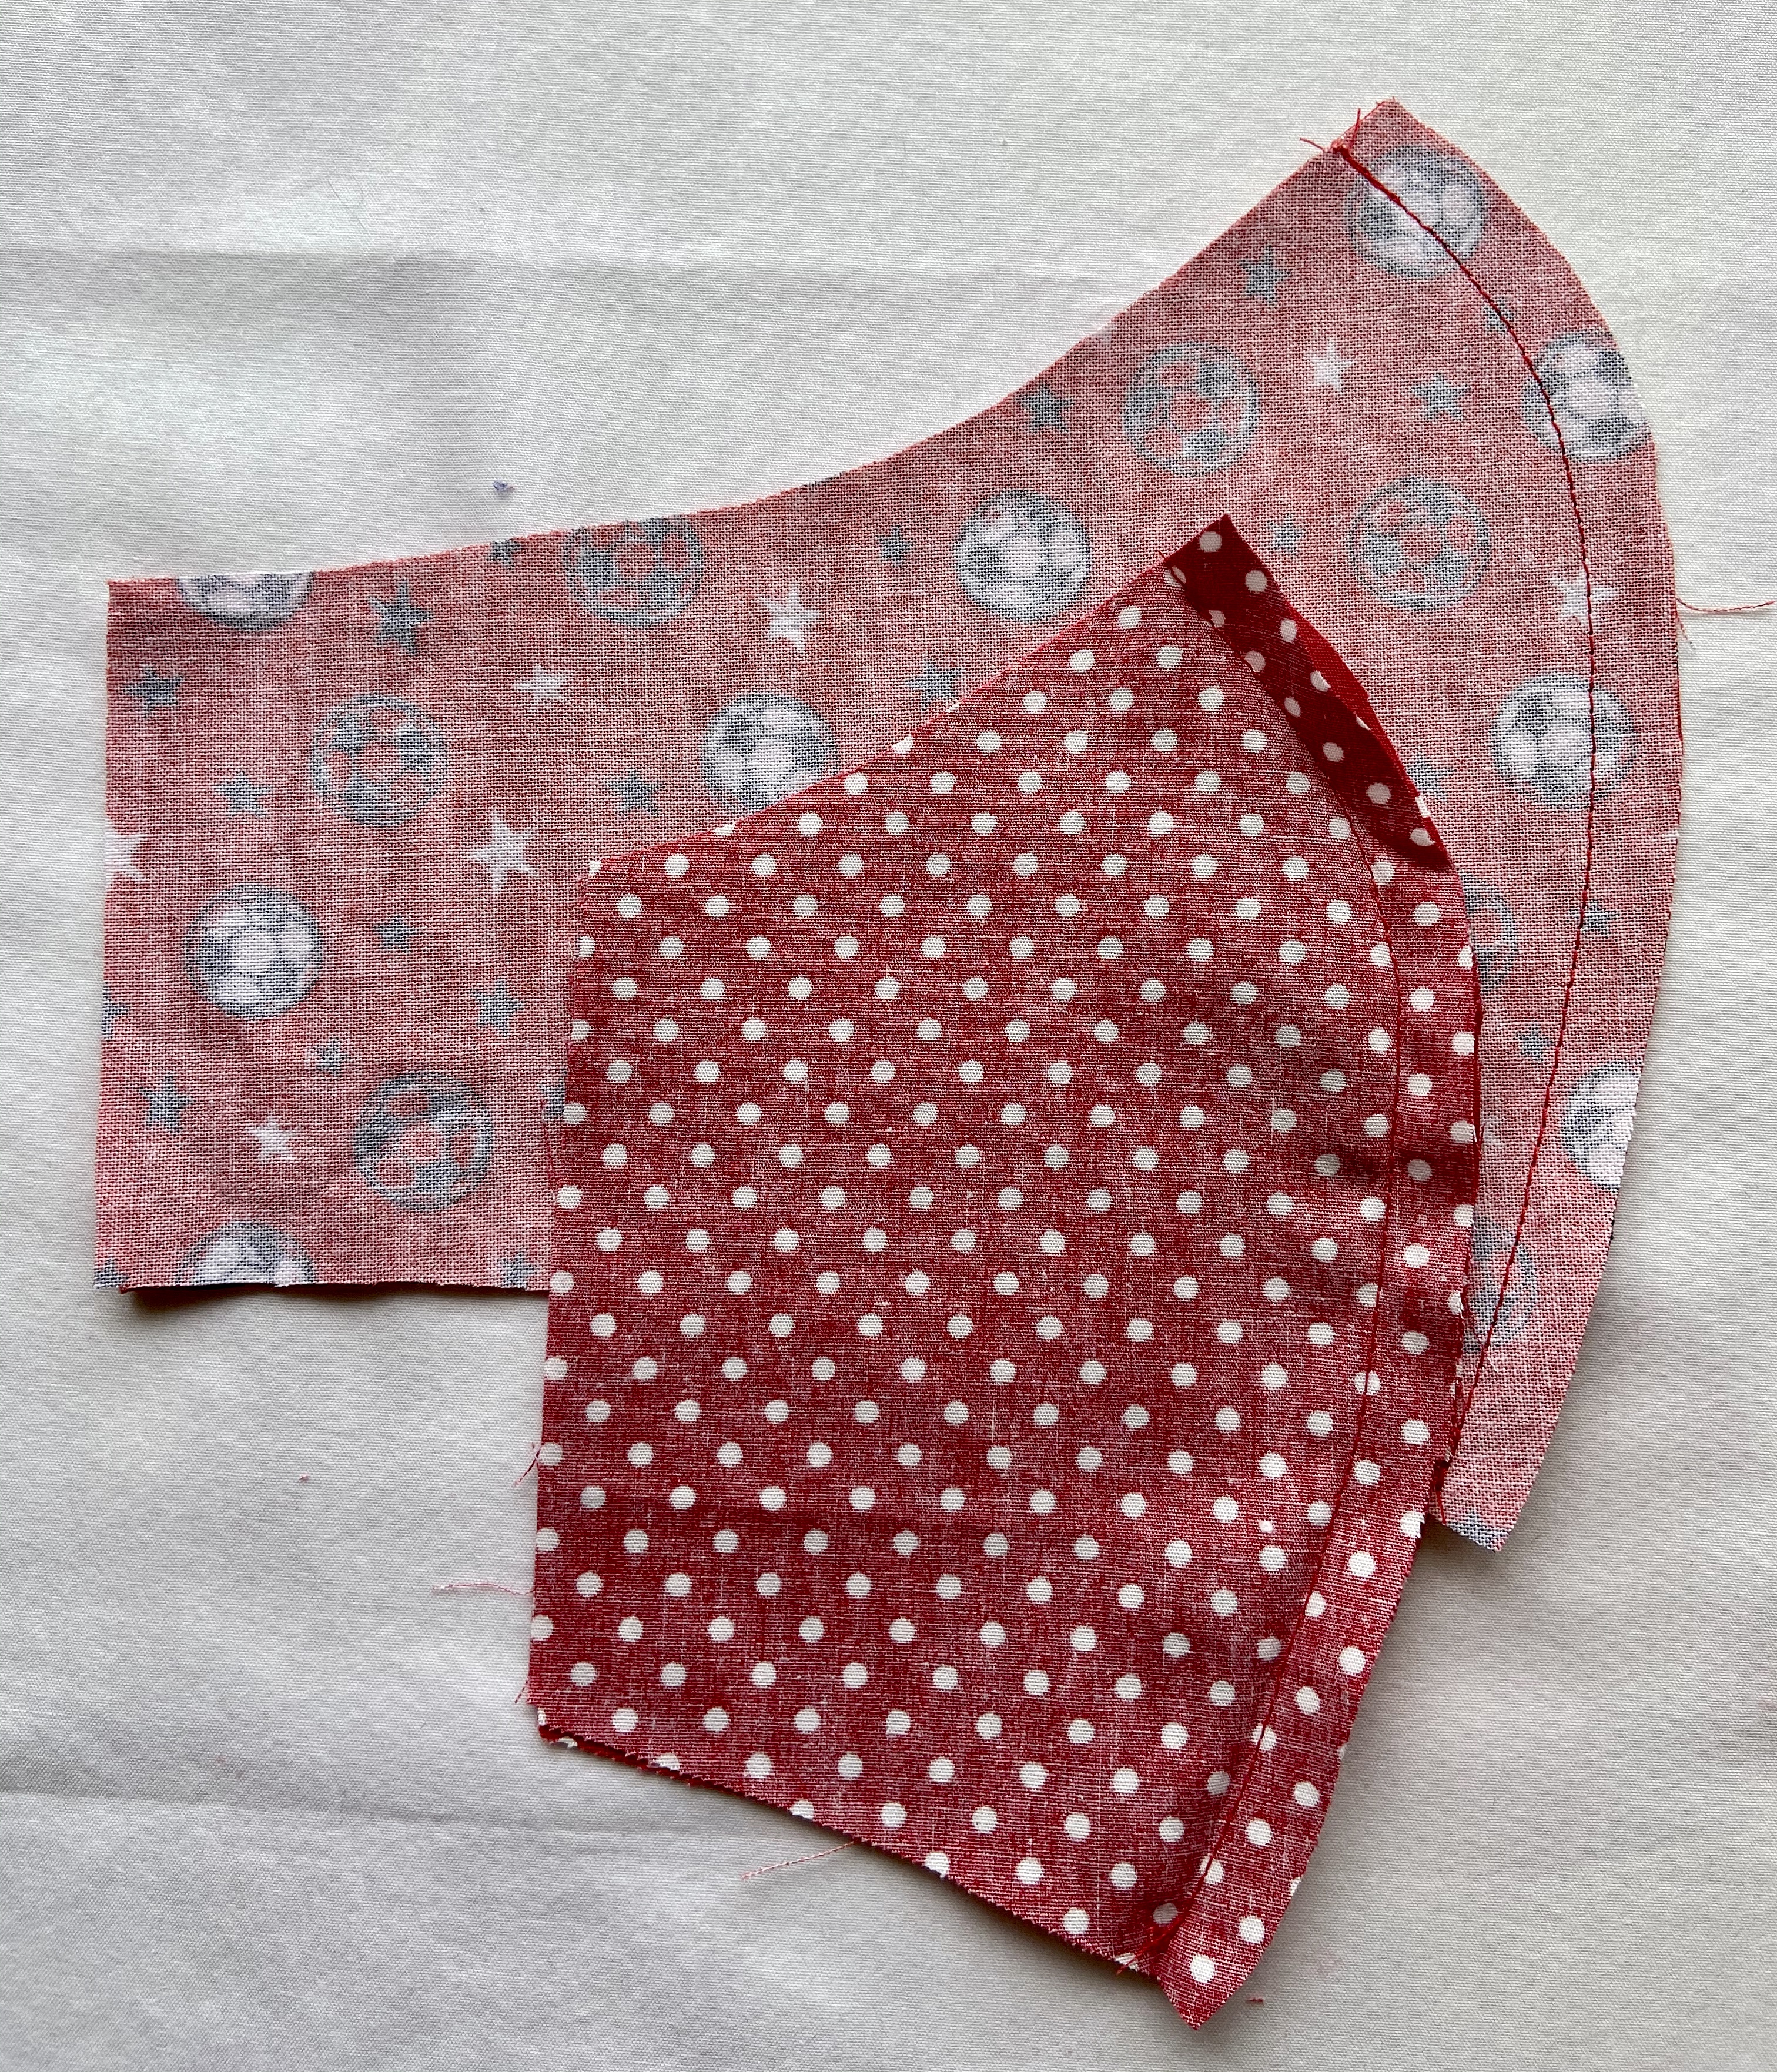
3.Right sides together stitch centre front curved seam of main fabric and repeat for lining fabric
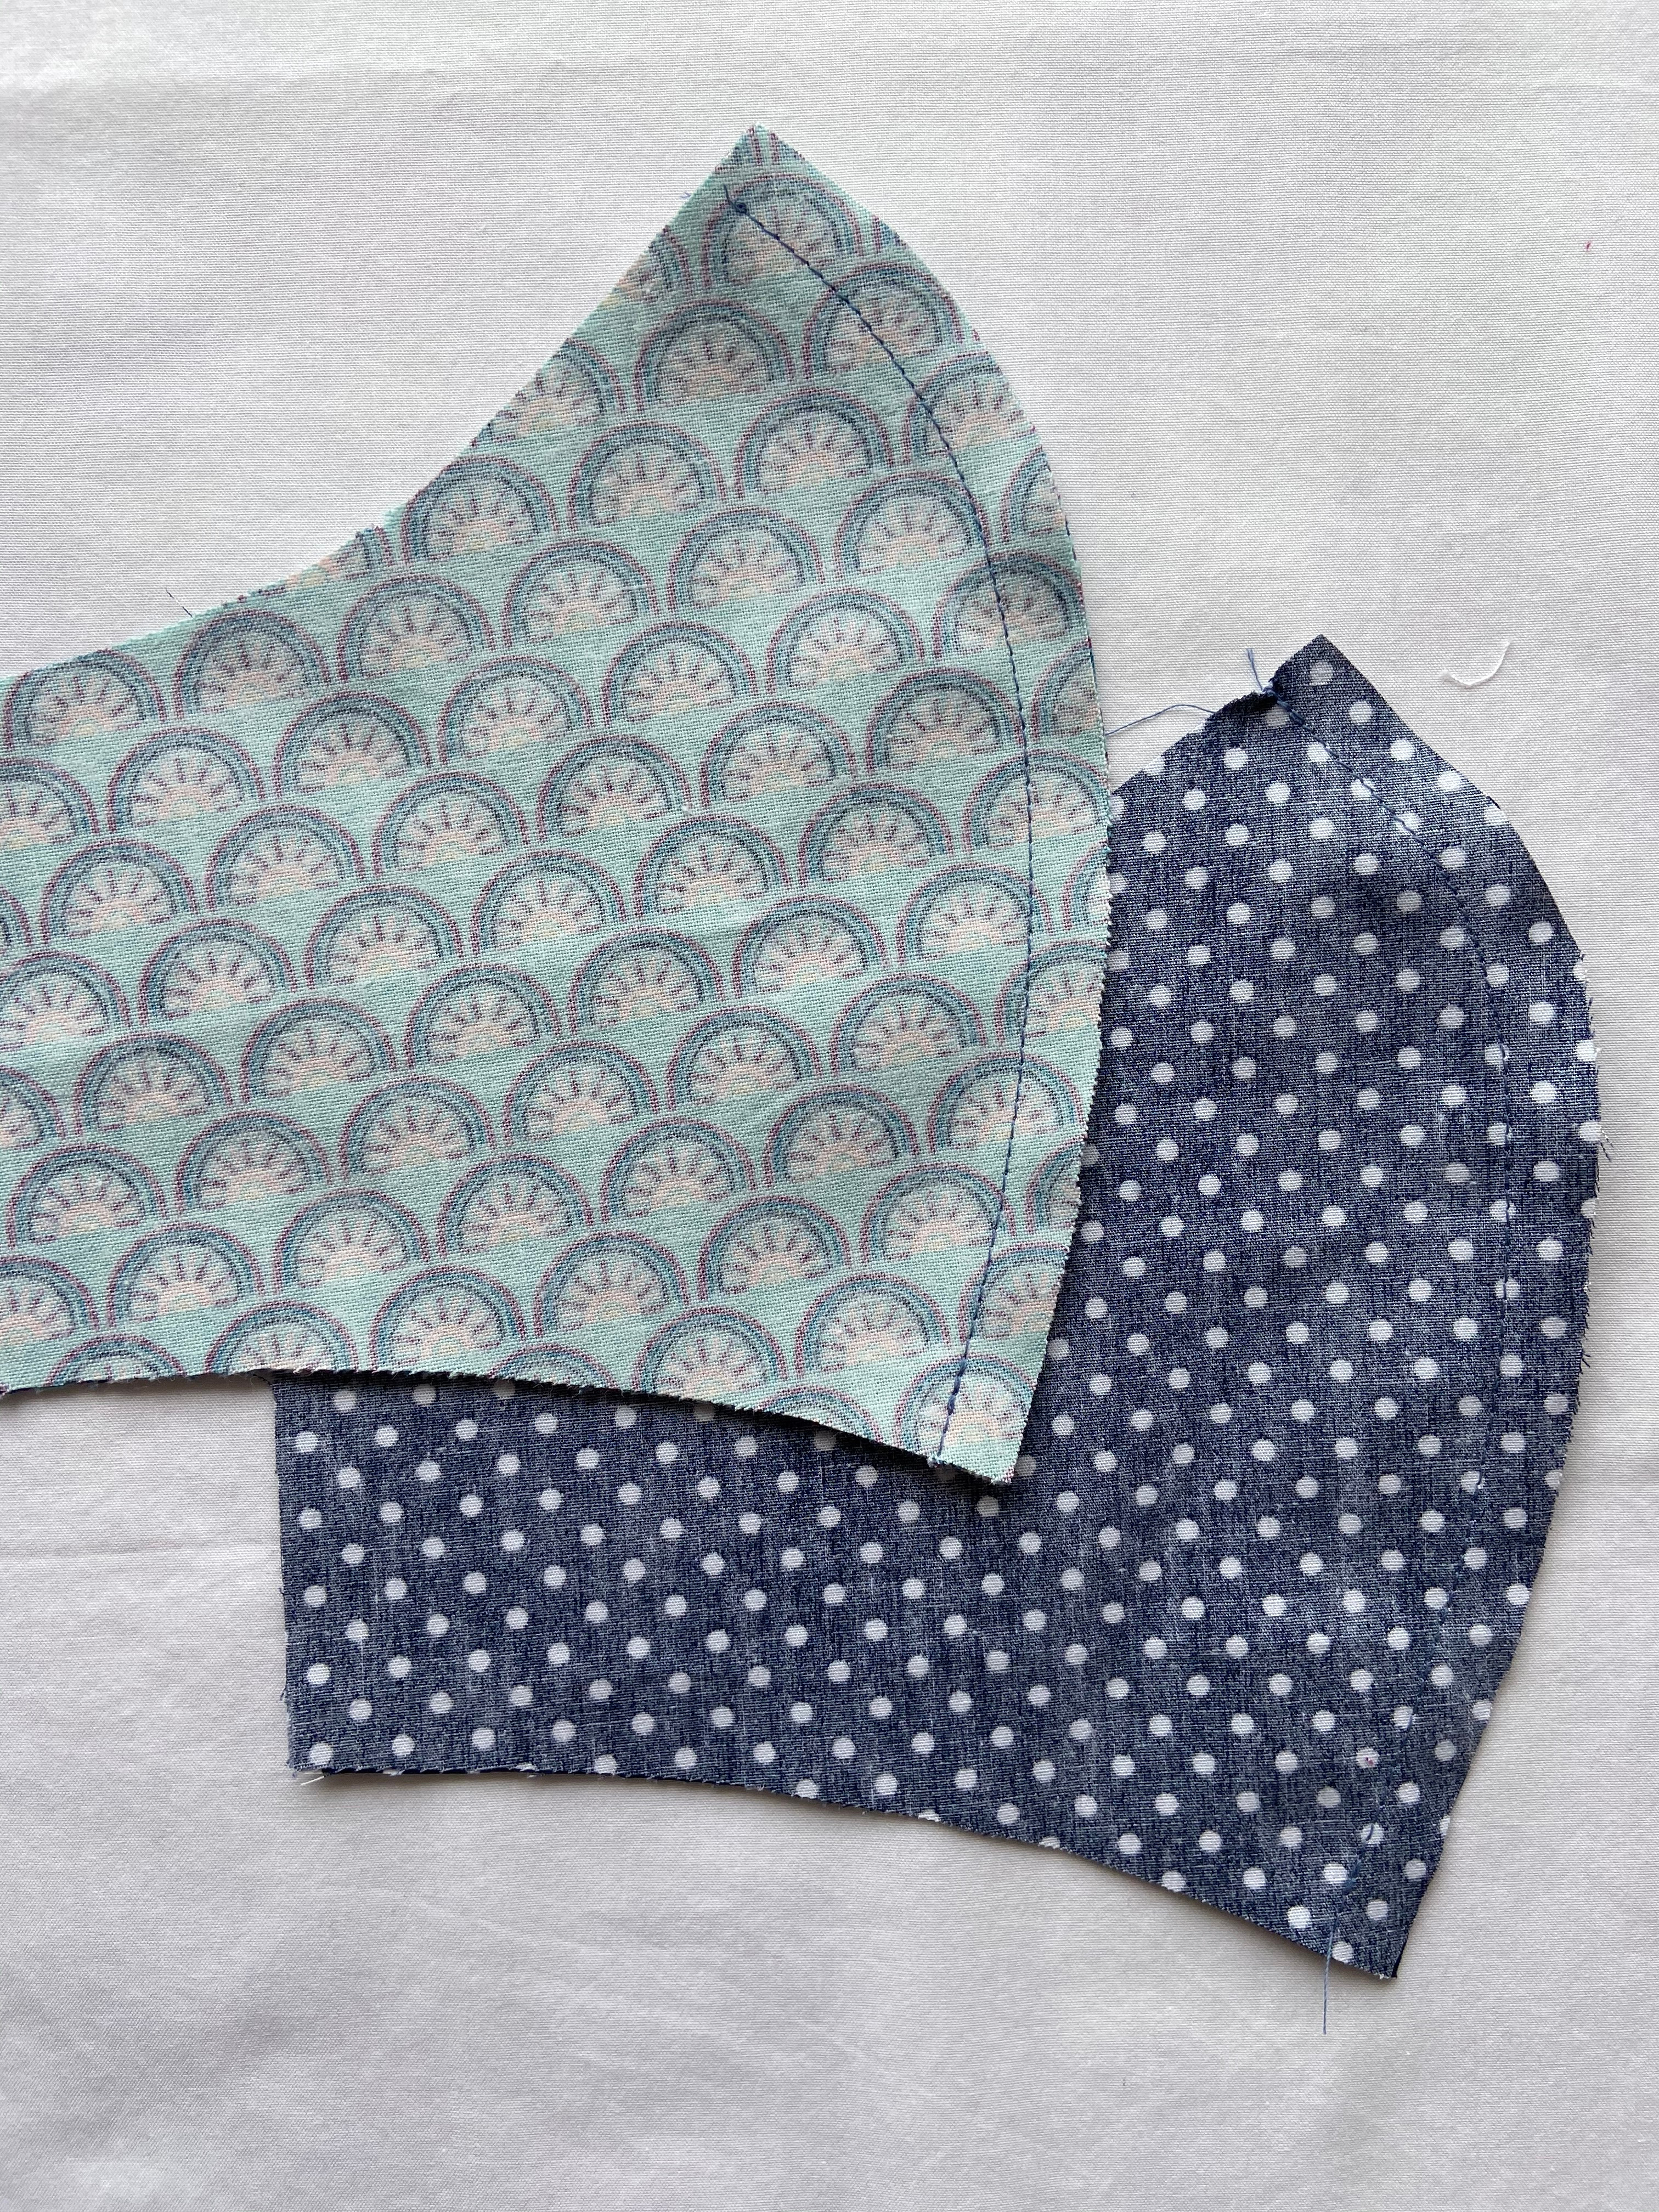
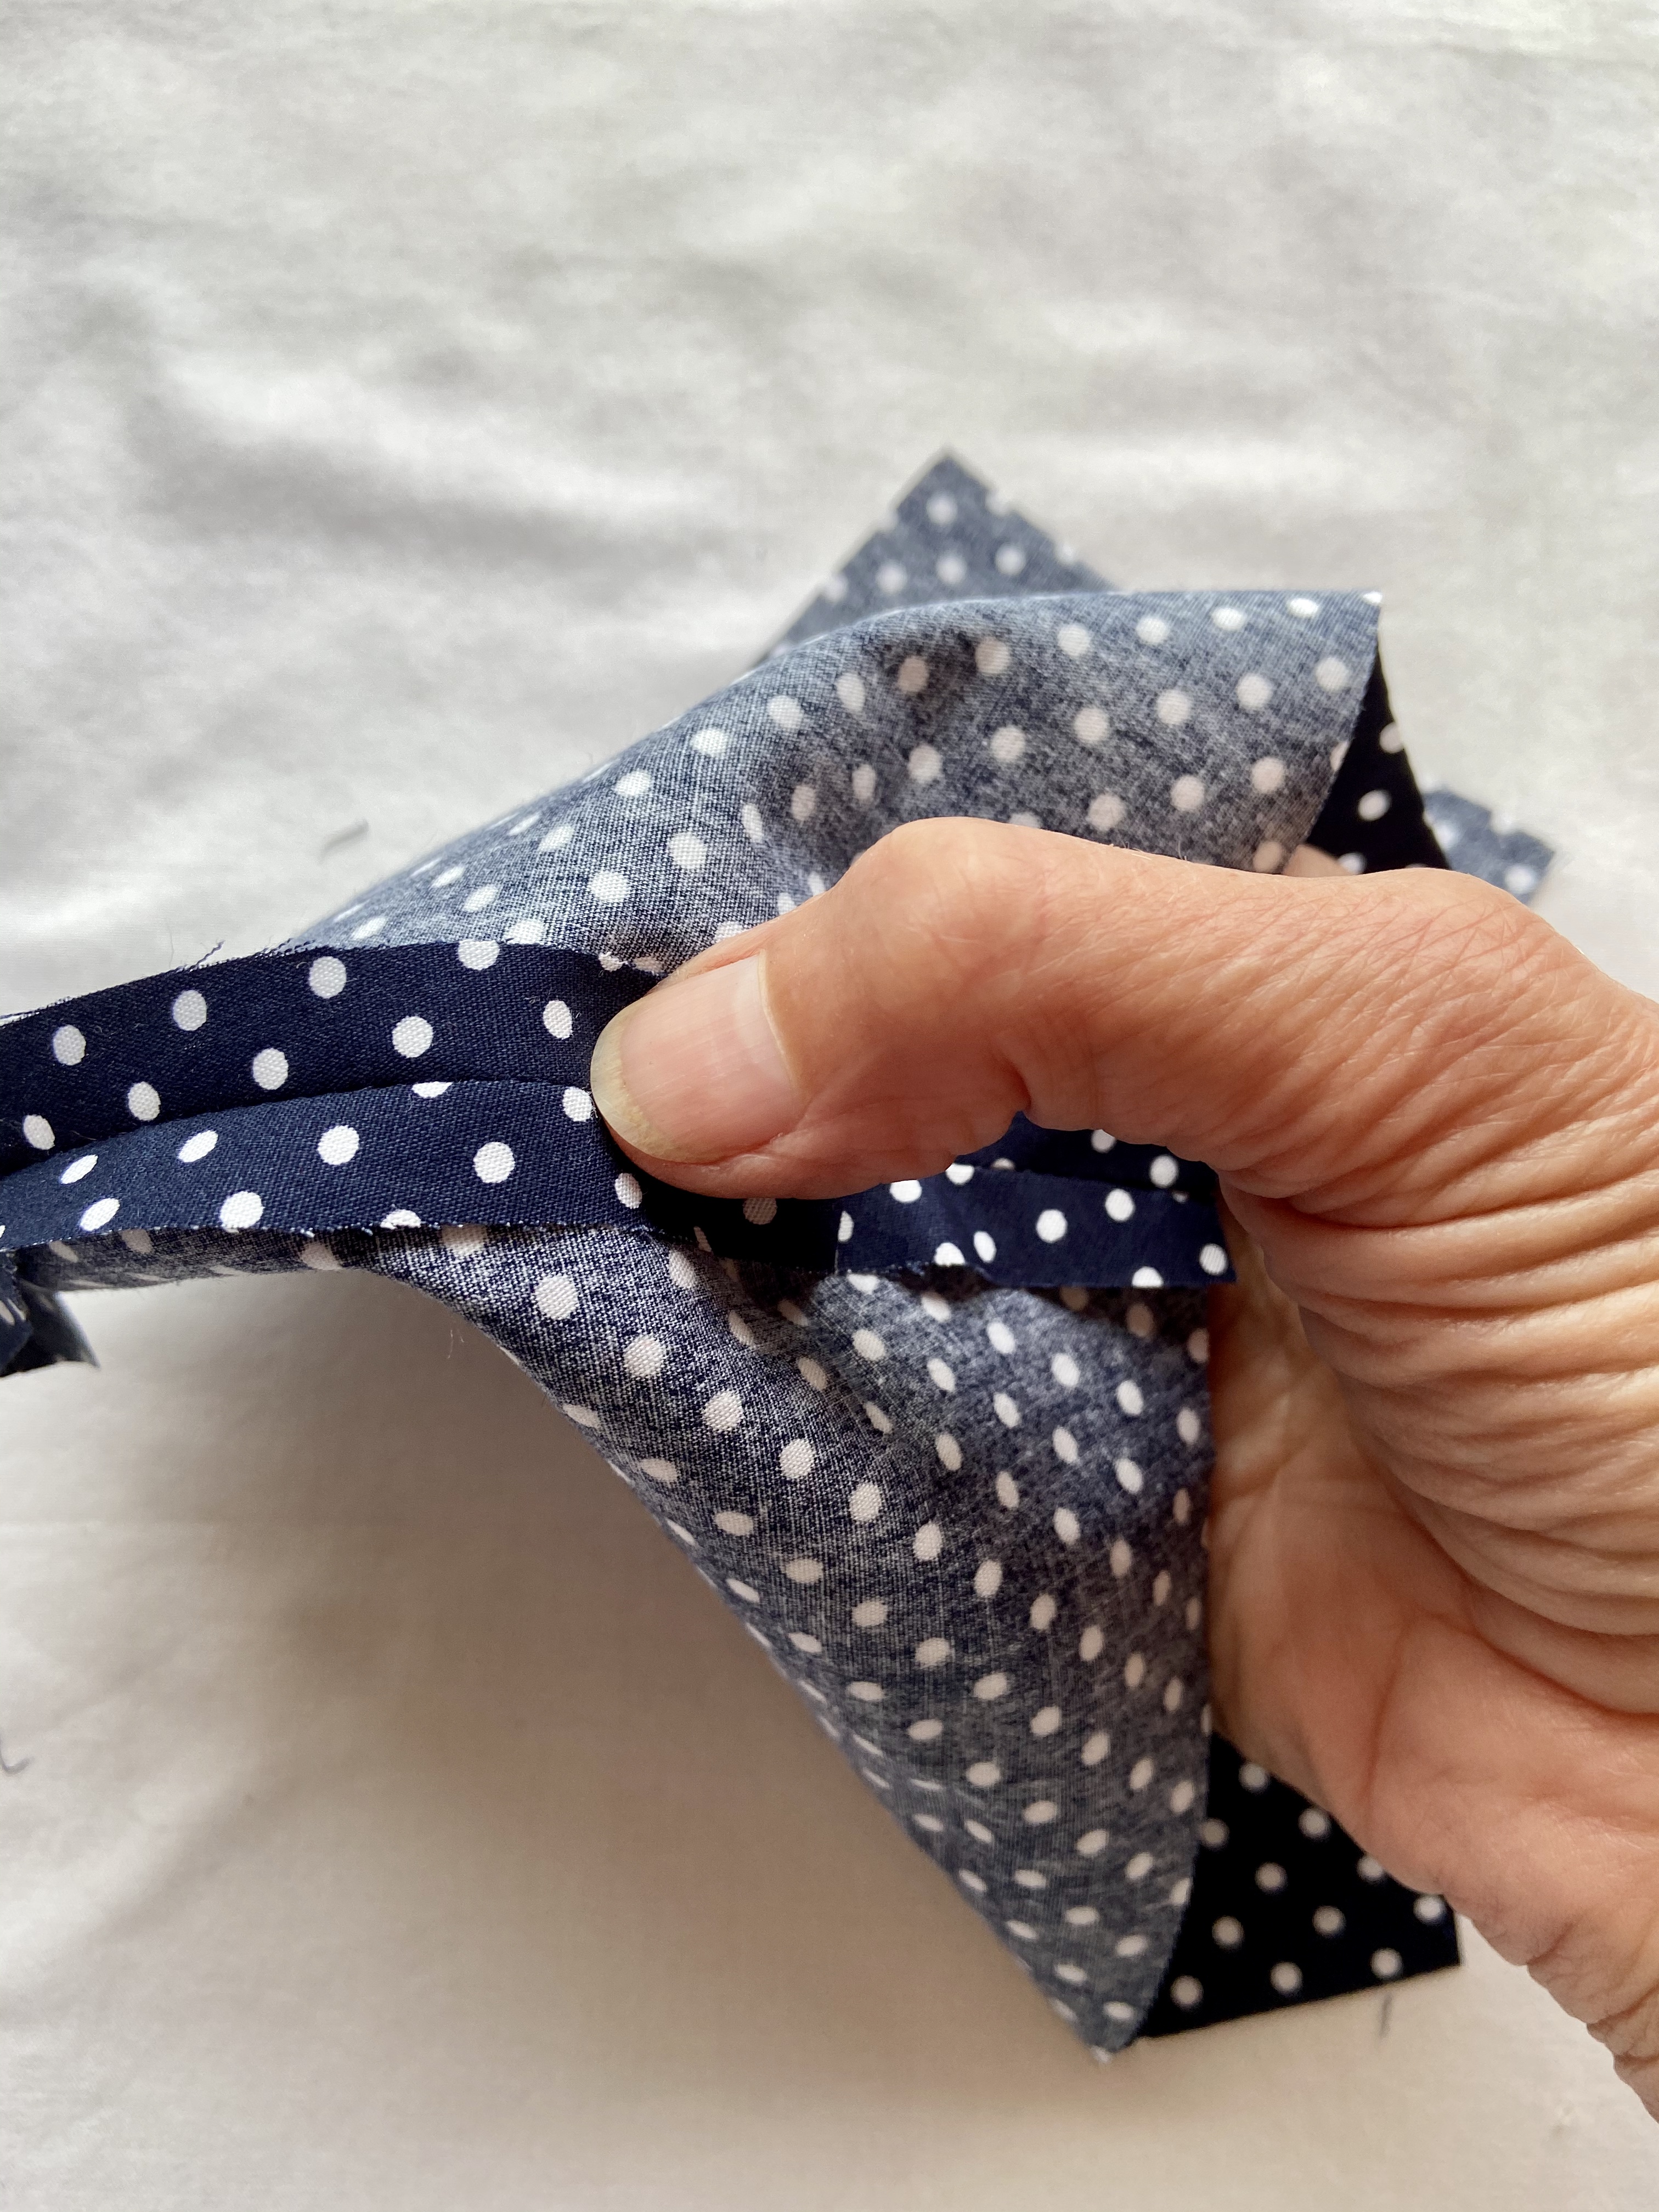
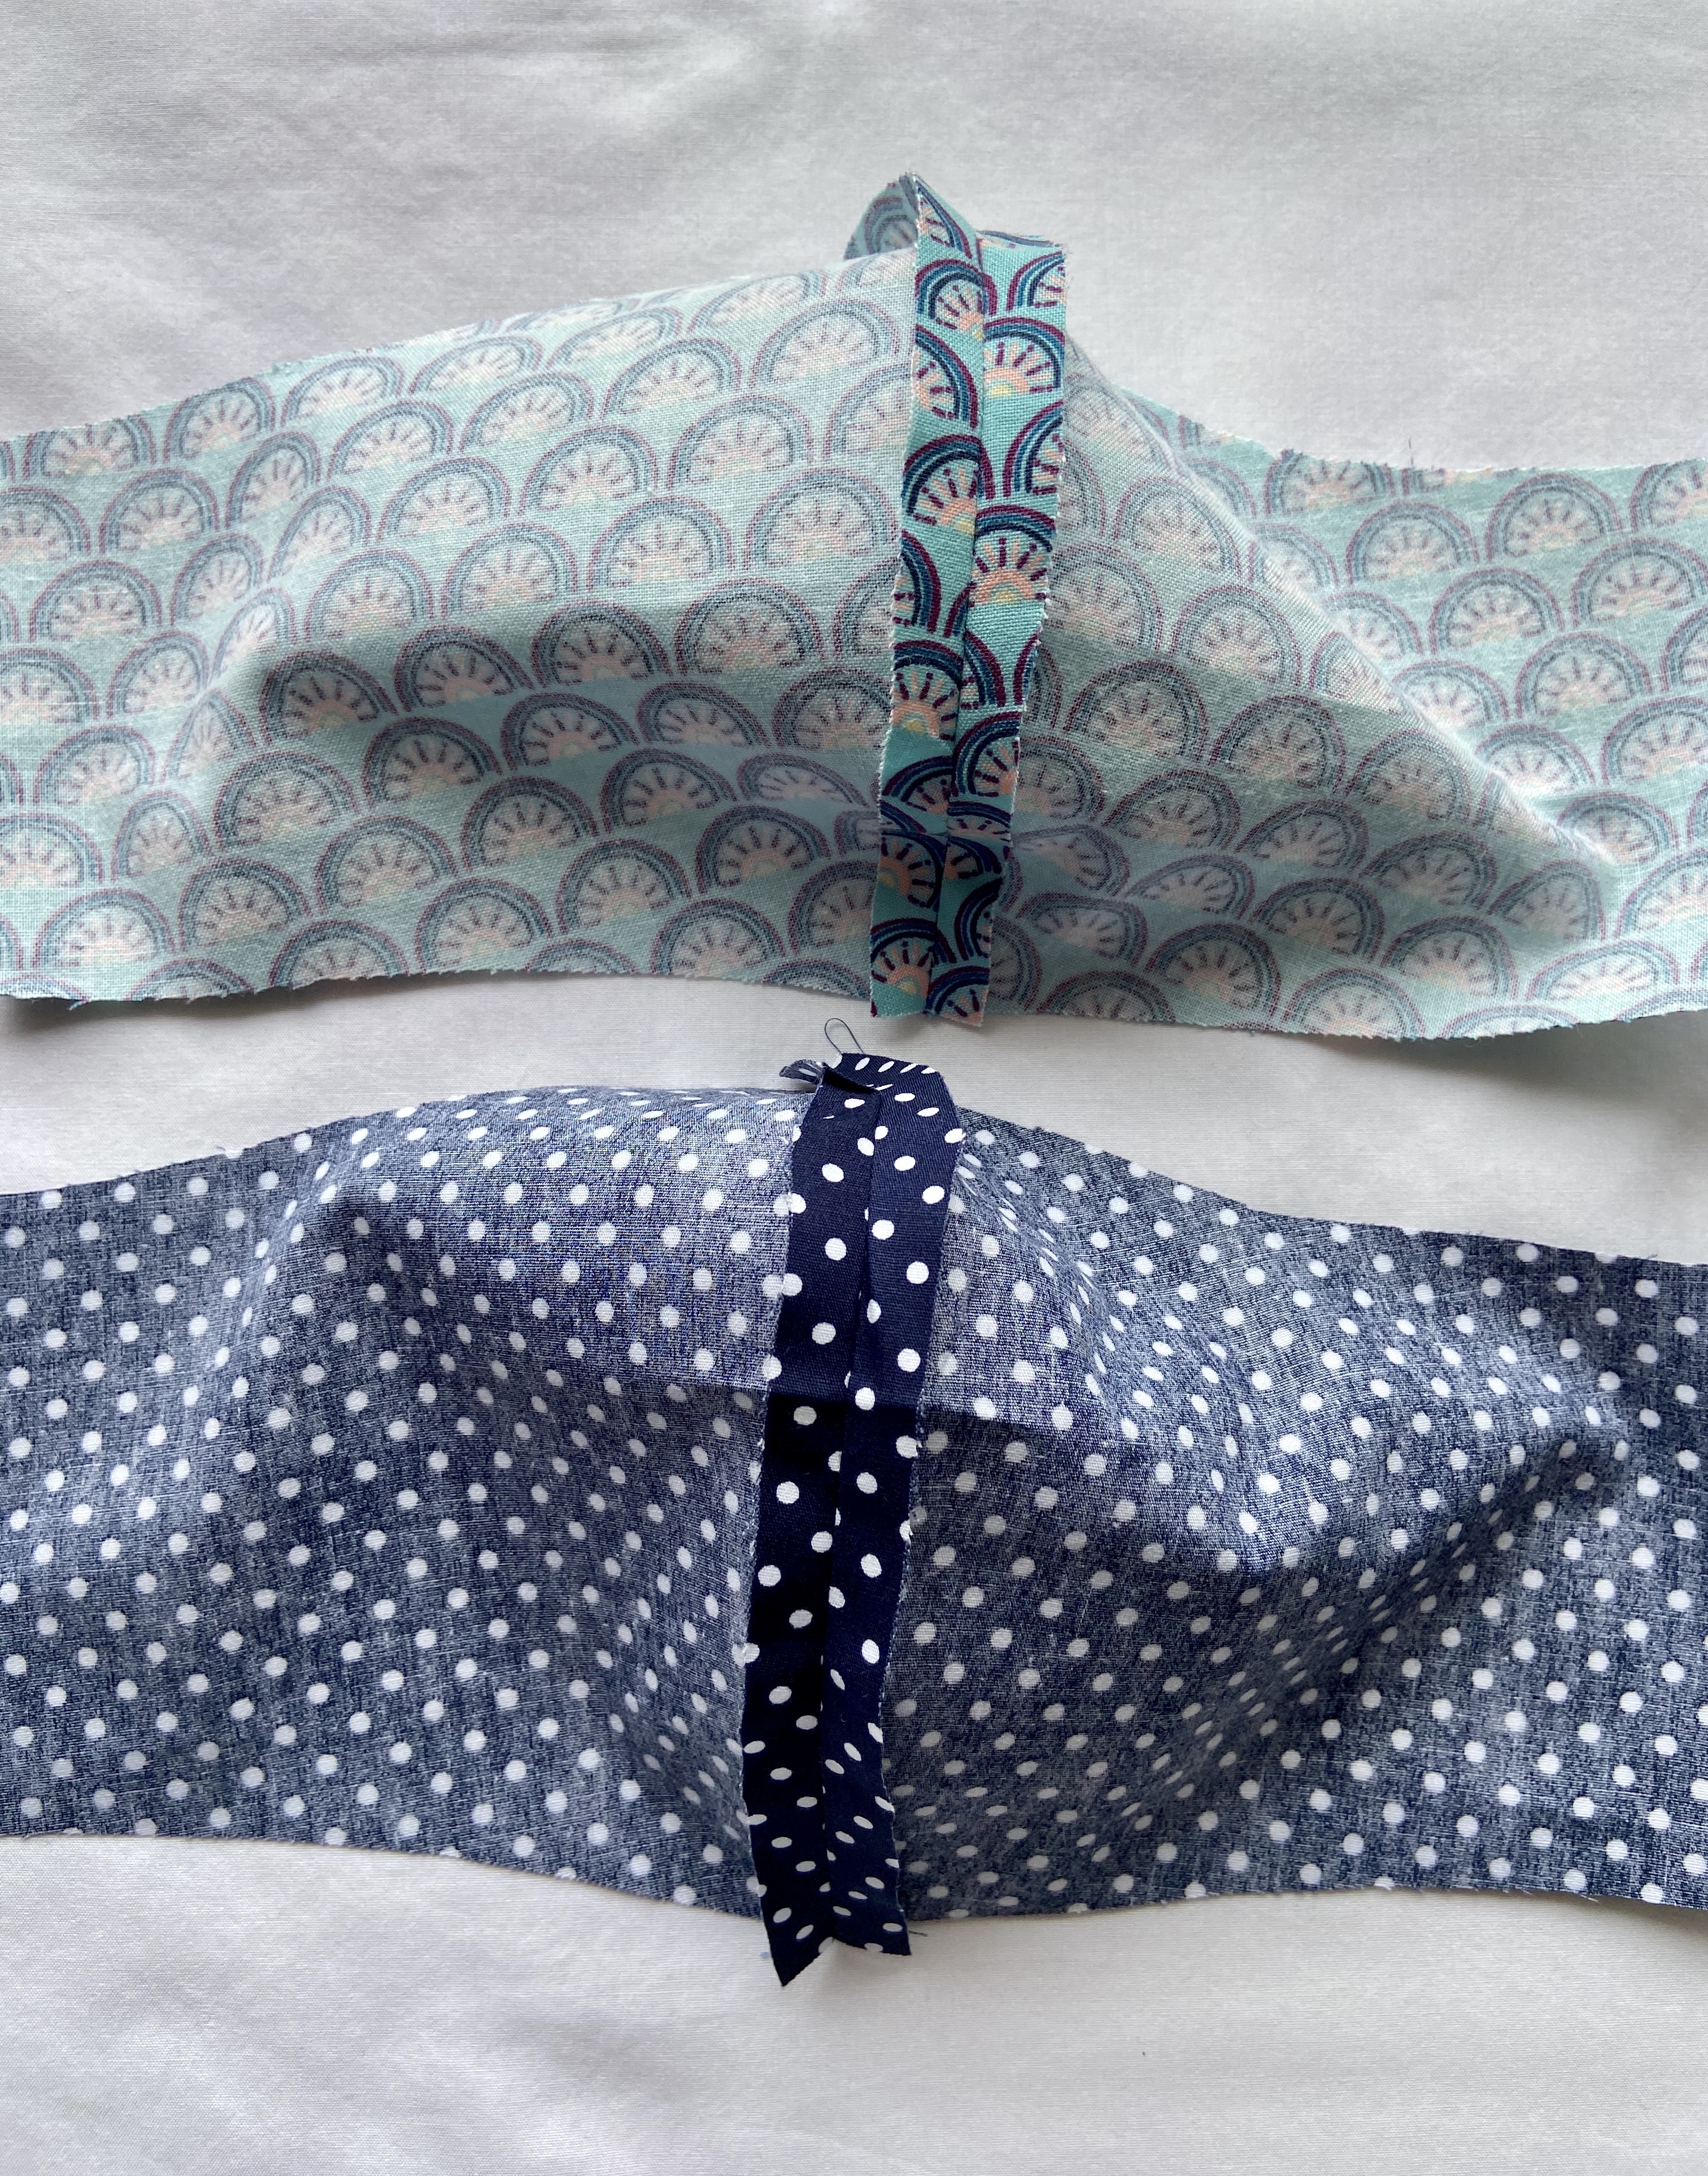
4.Press seams open
Tip: Use your iron at either end of the seam and your thumb and finger to press open the central curved area
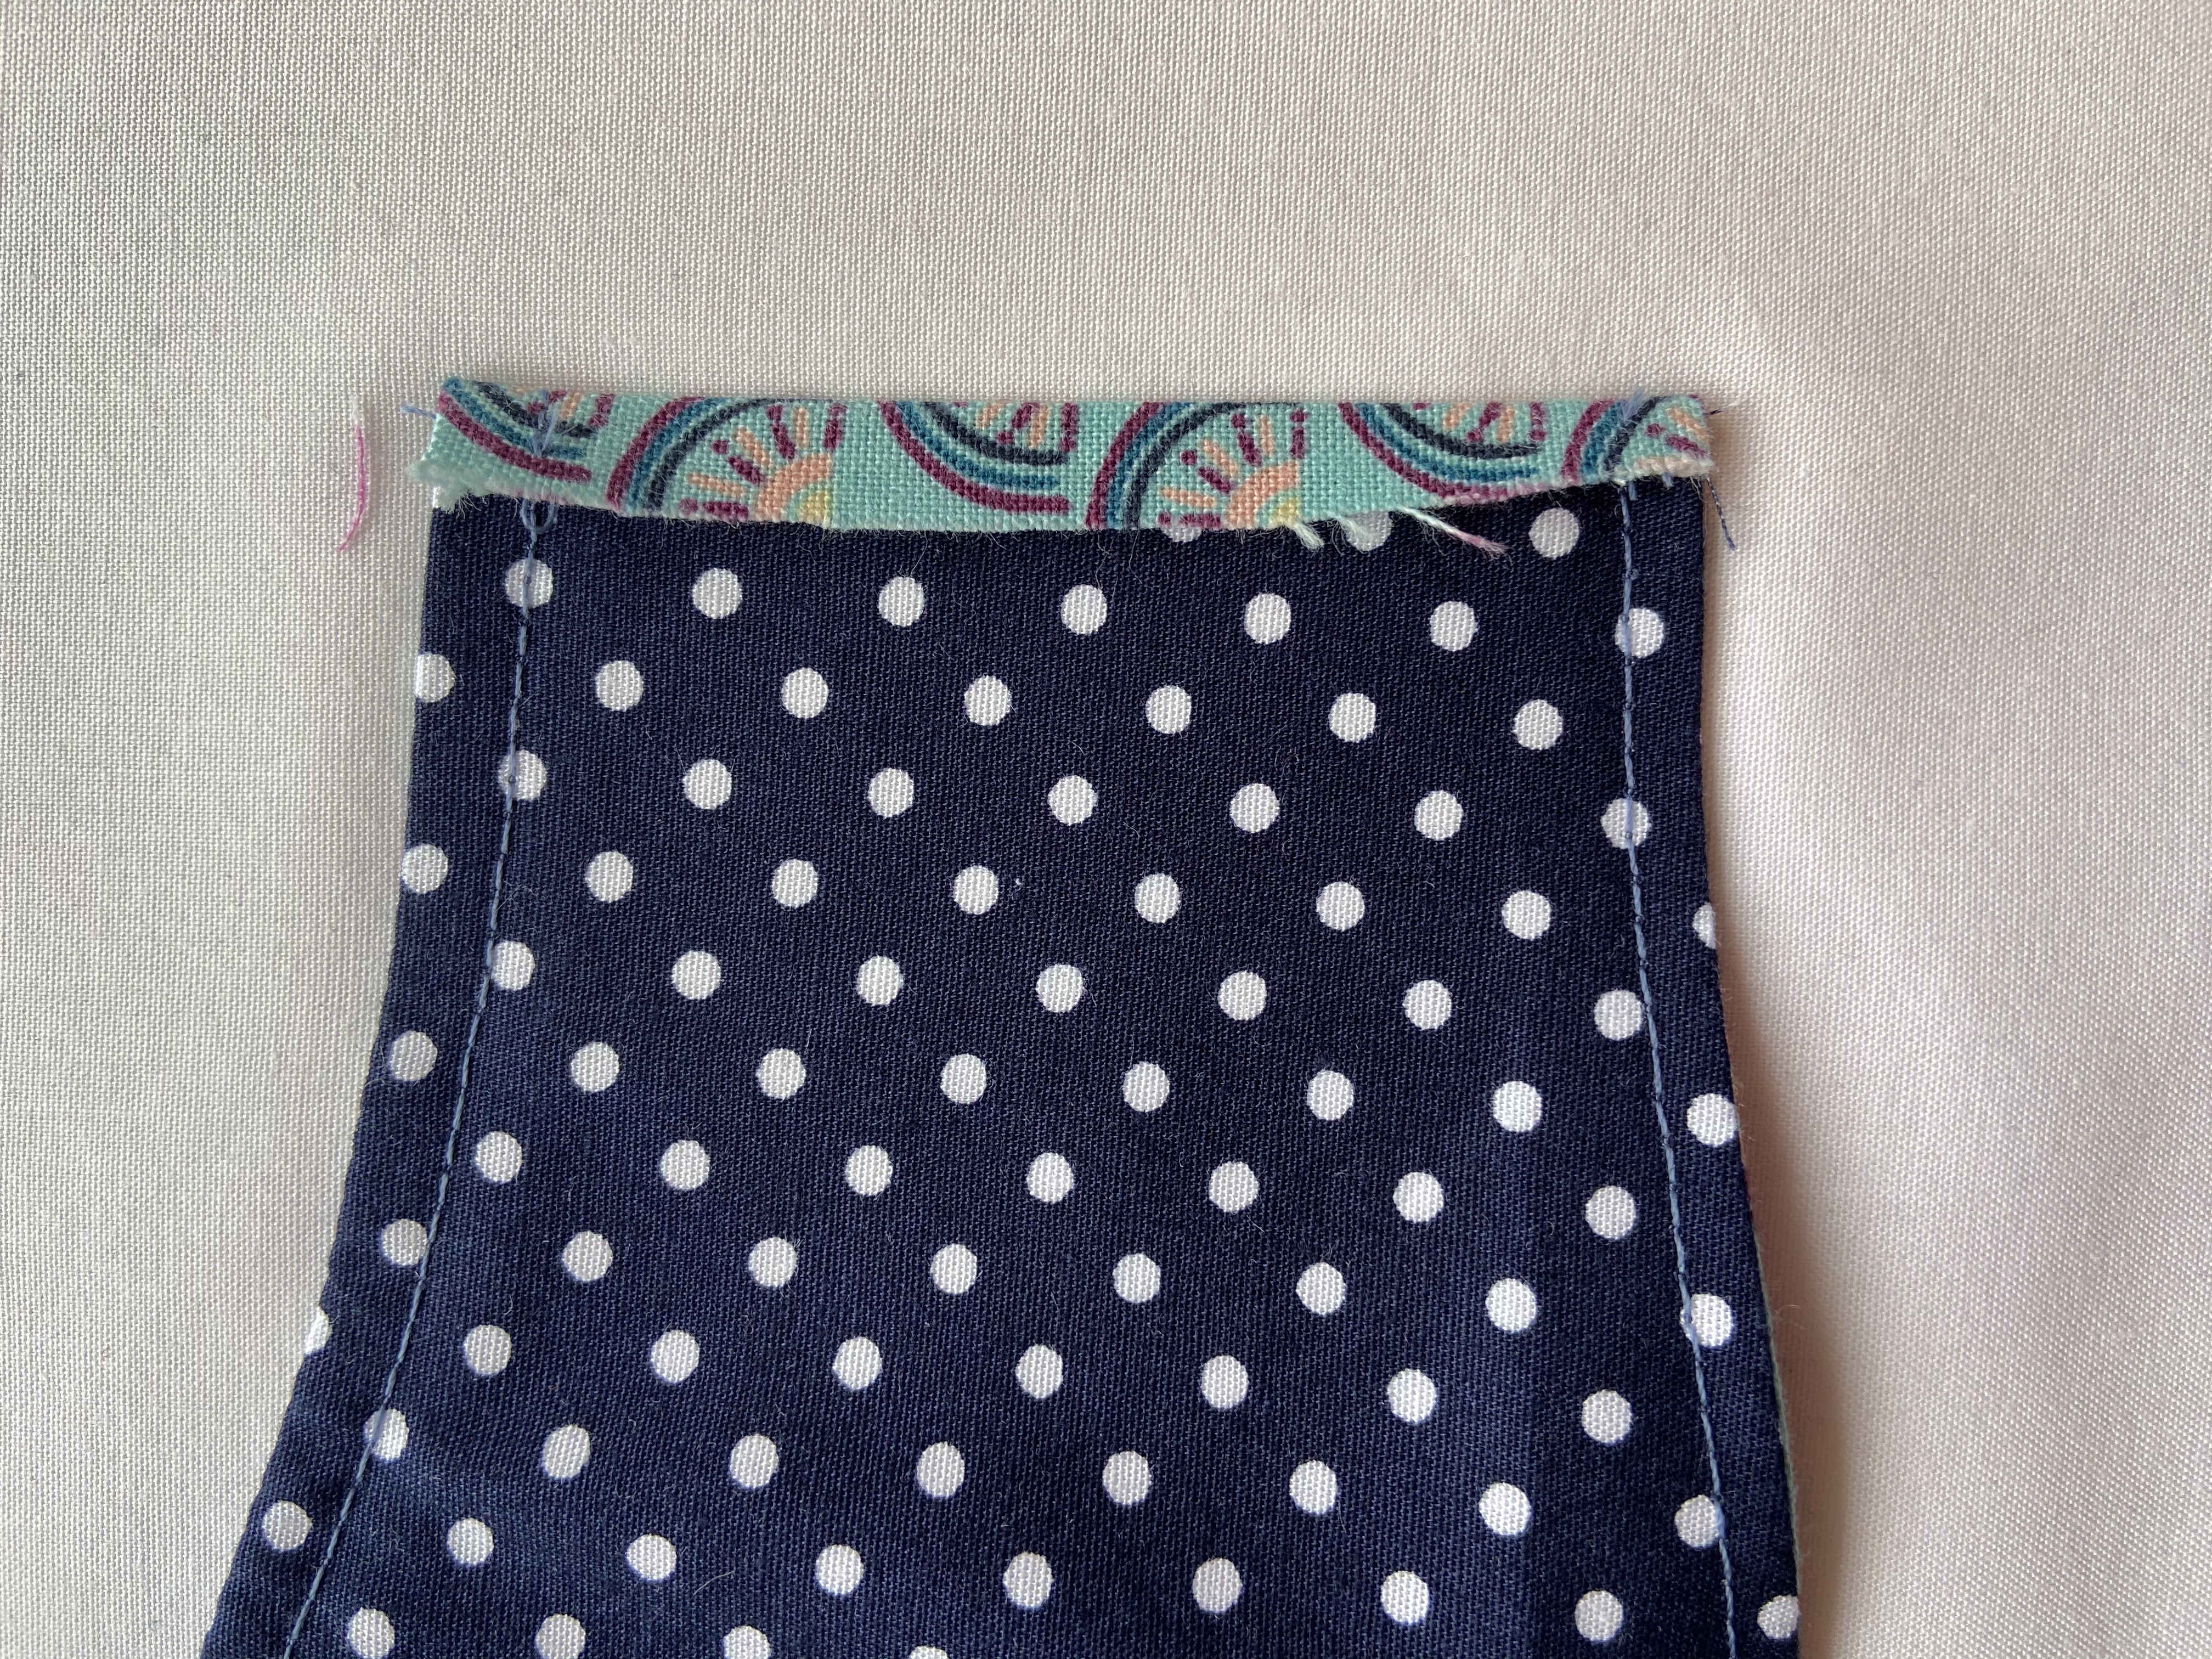
5.On both the outer mask and the lining fold 0.5cm on the straight edges to the wrong side, press in place
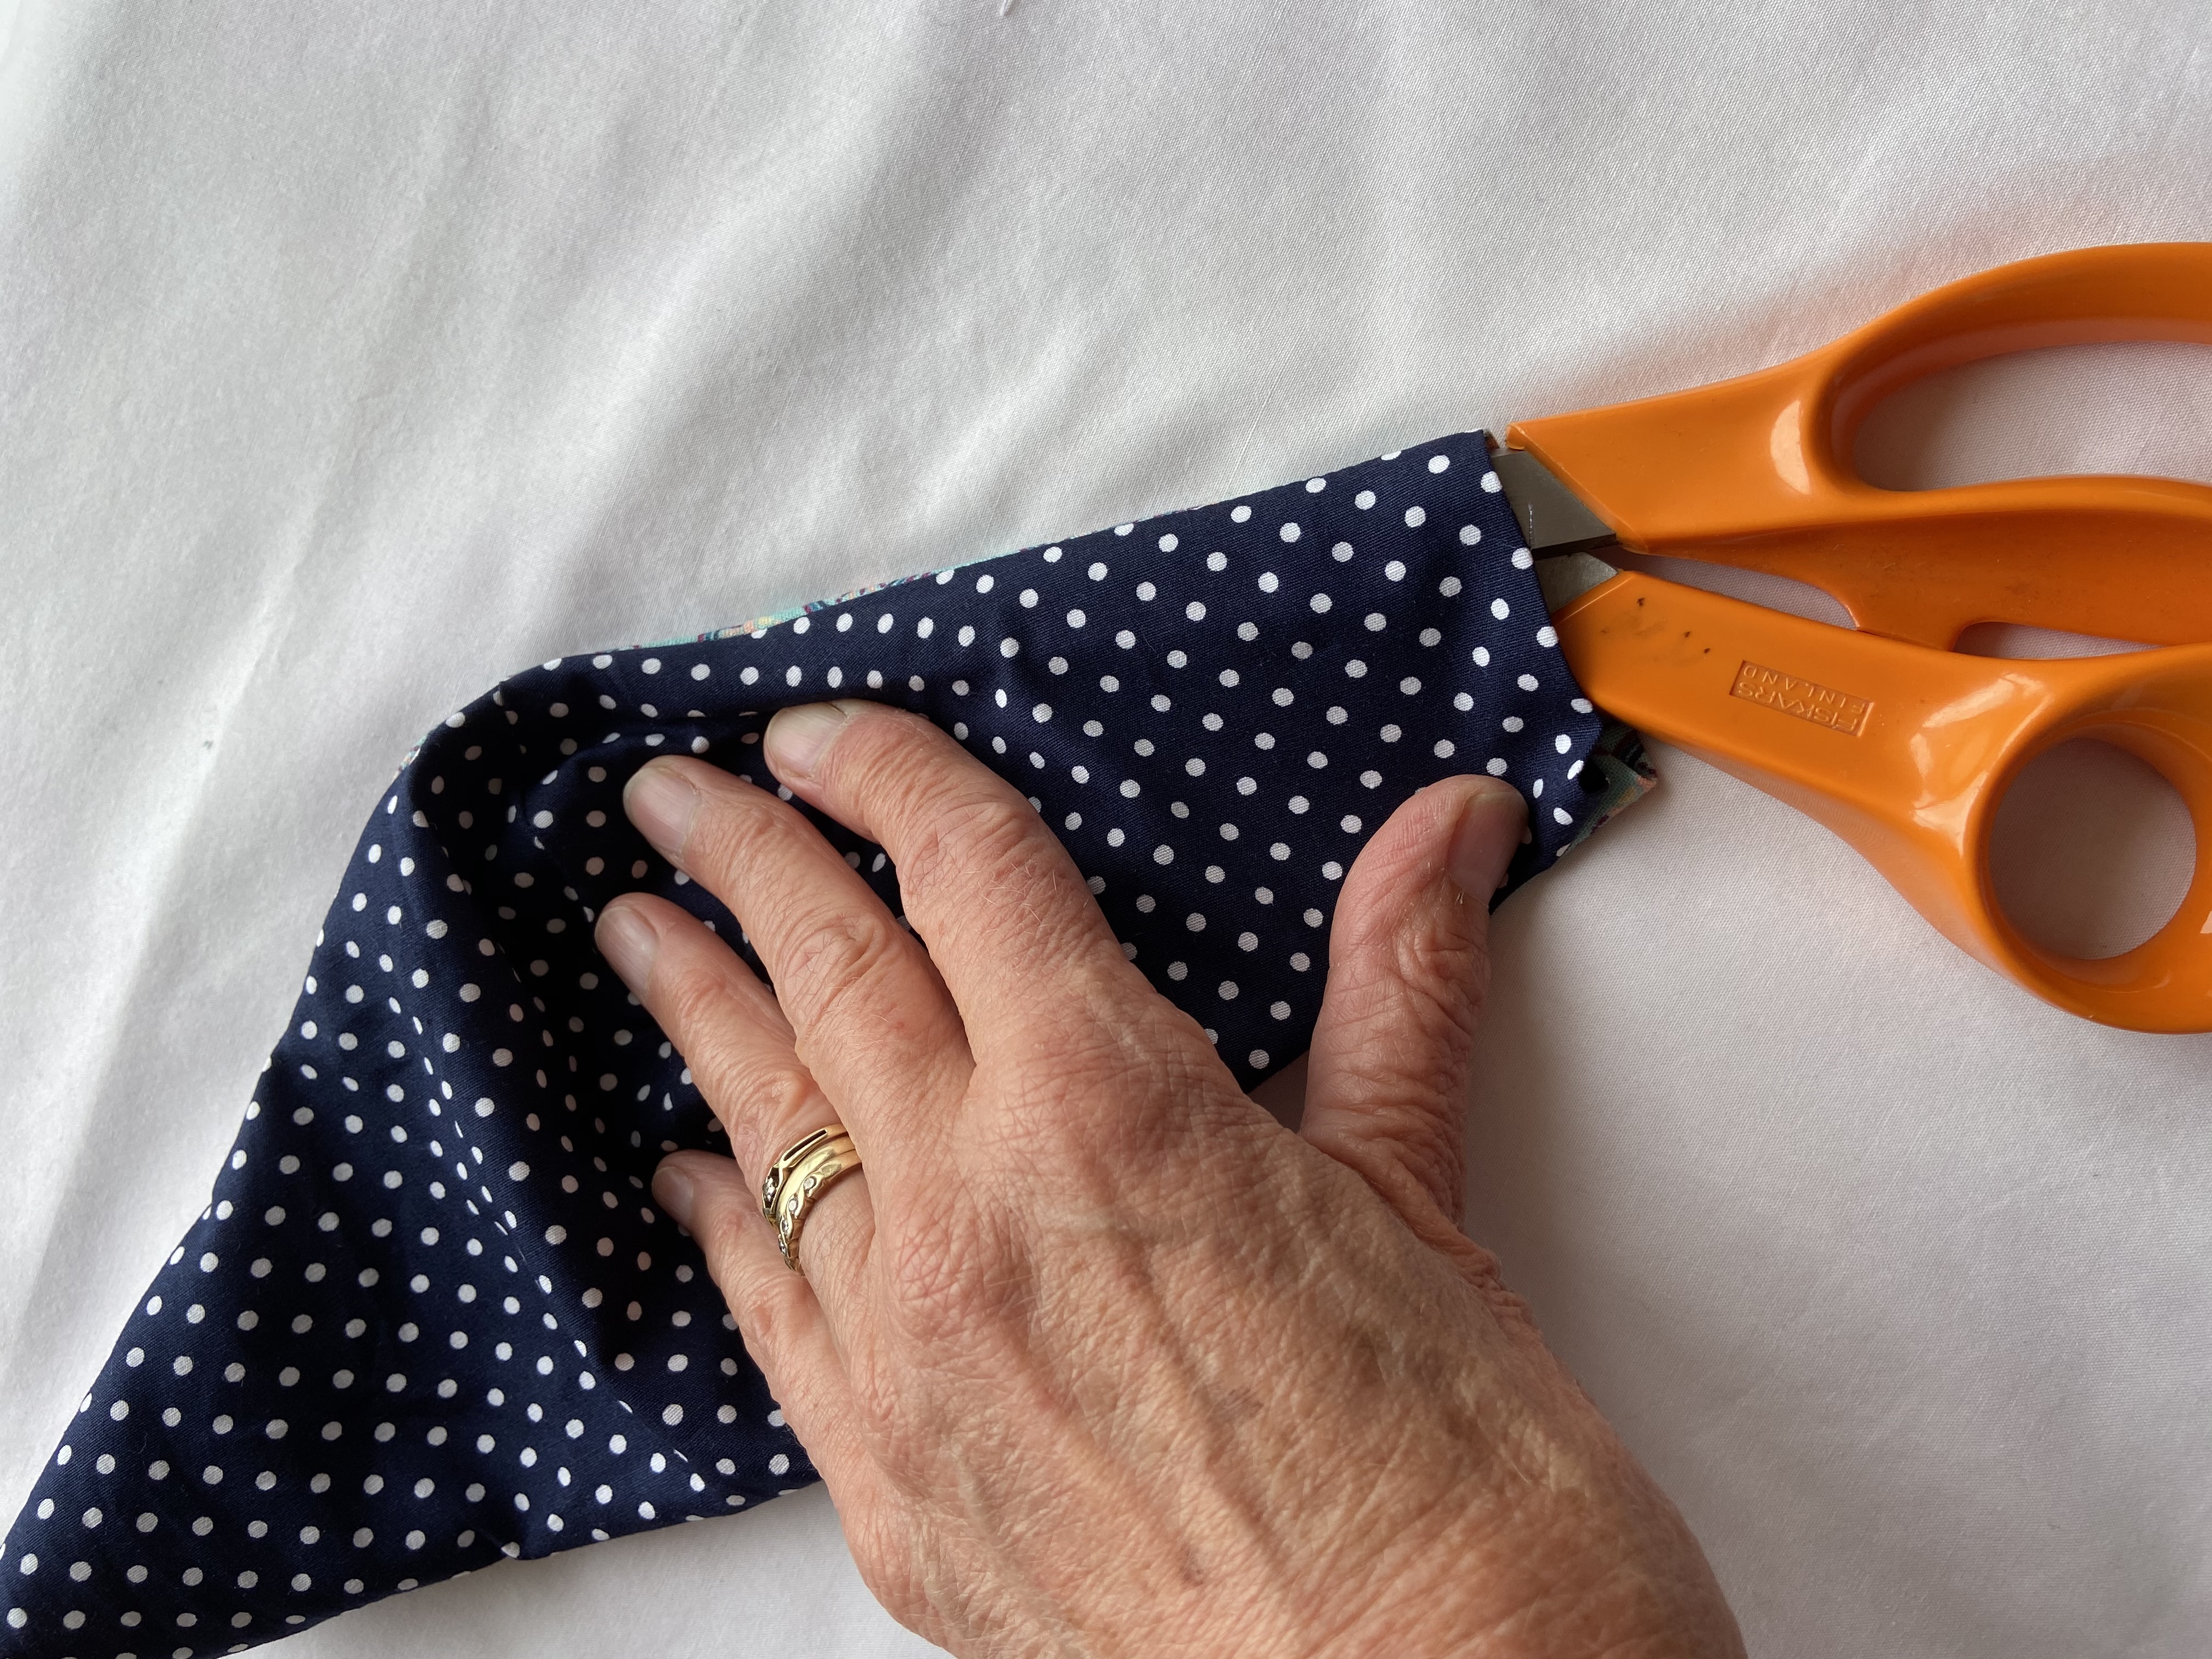
6.On the lining piece only trim away the fabric along the fold line you made
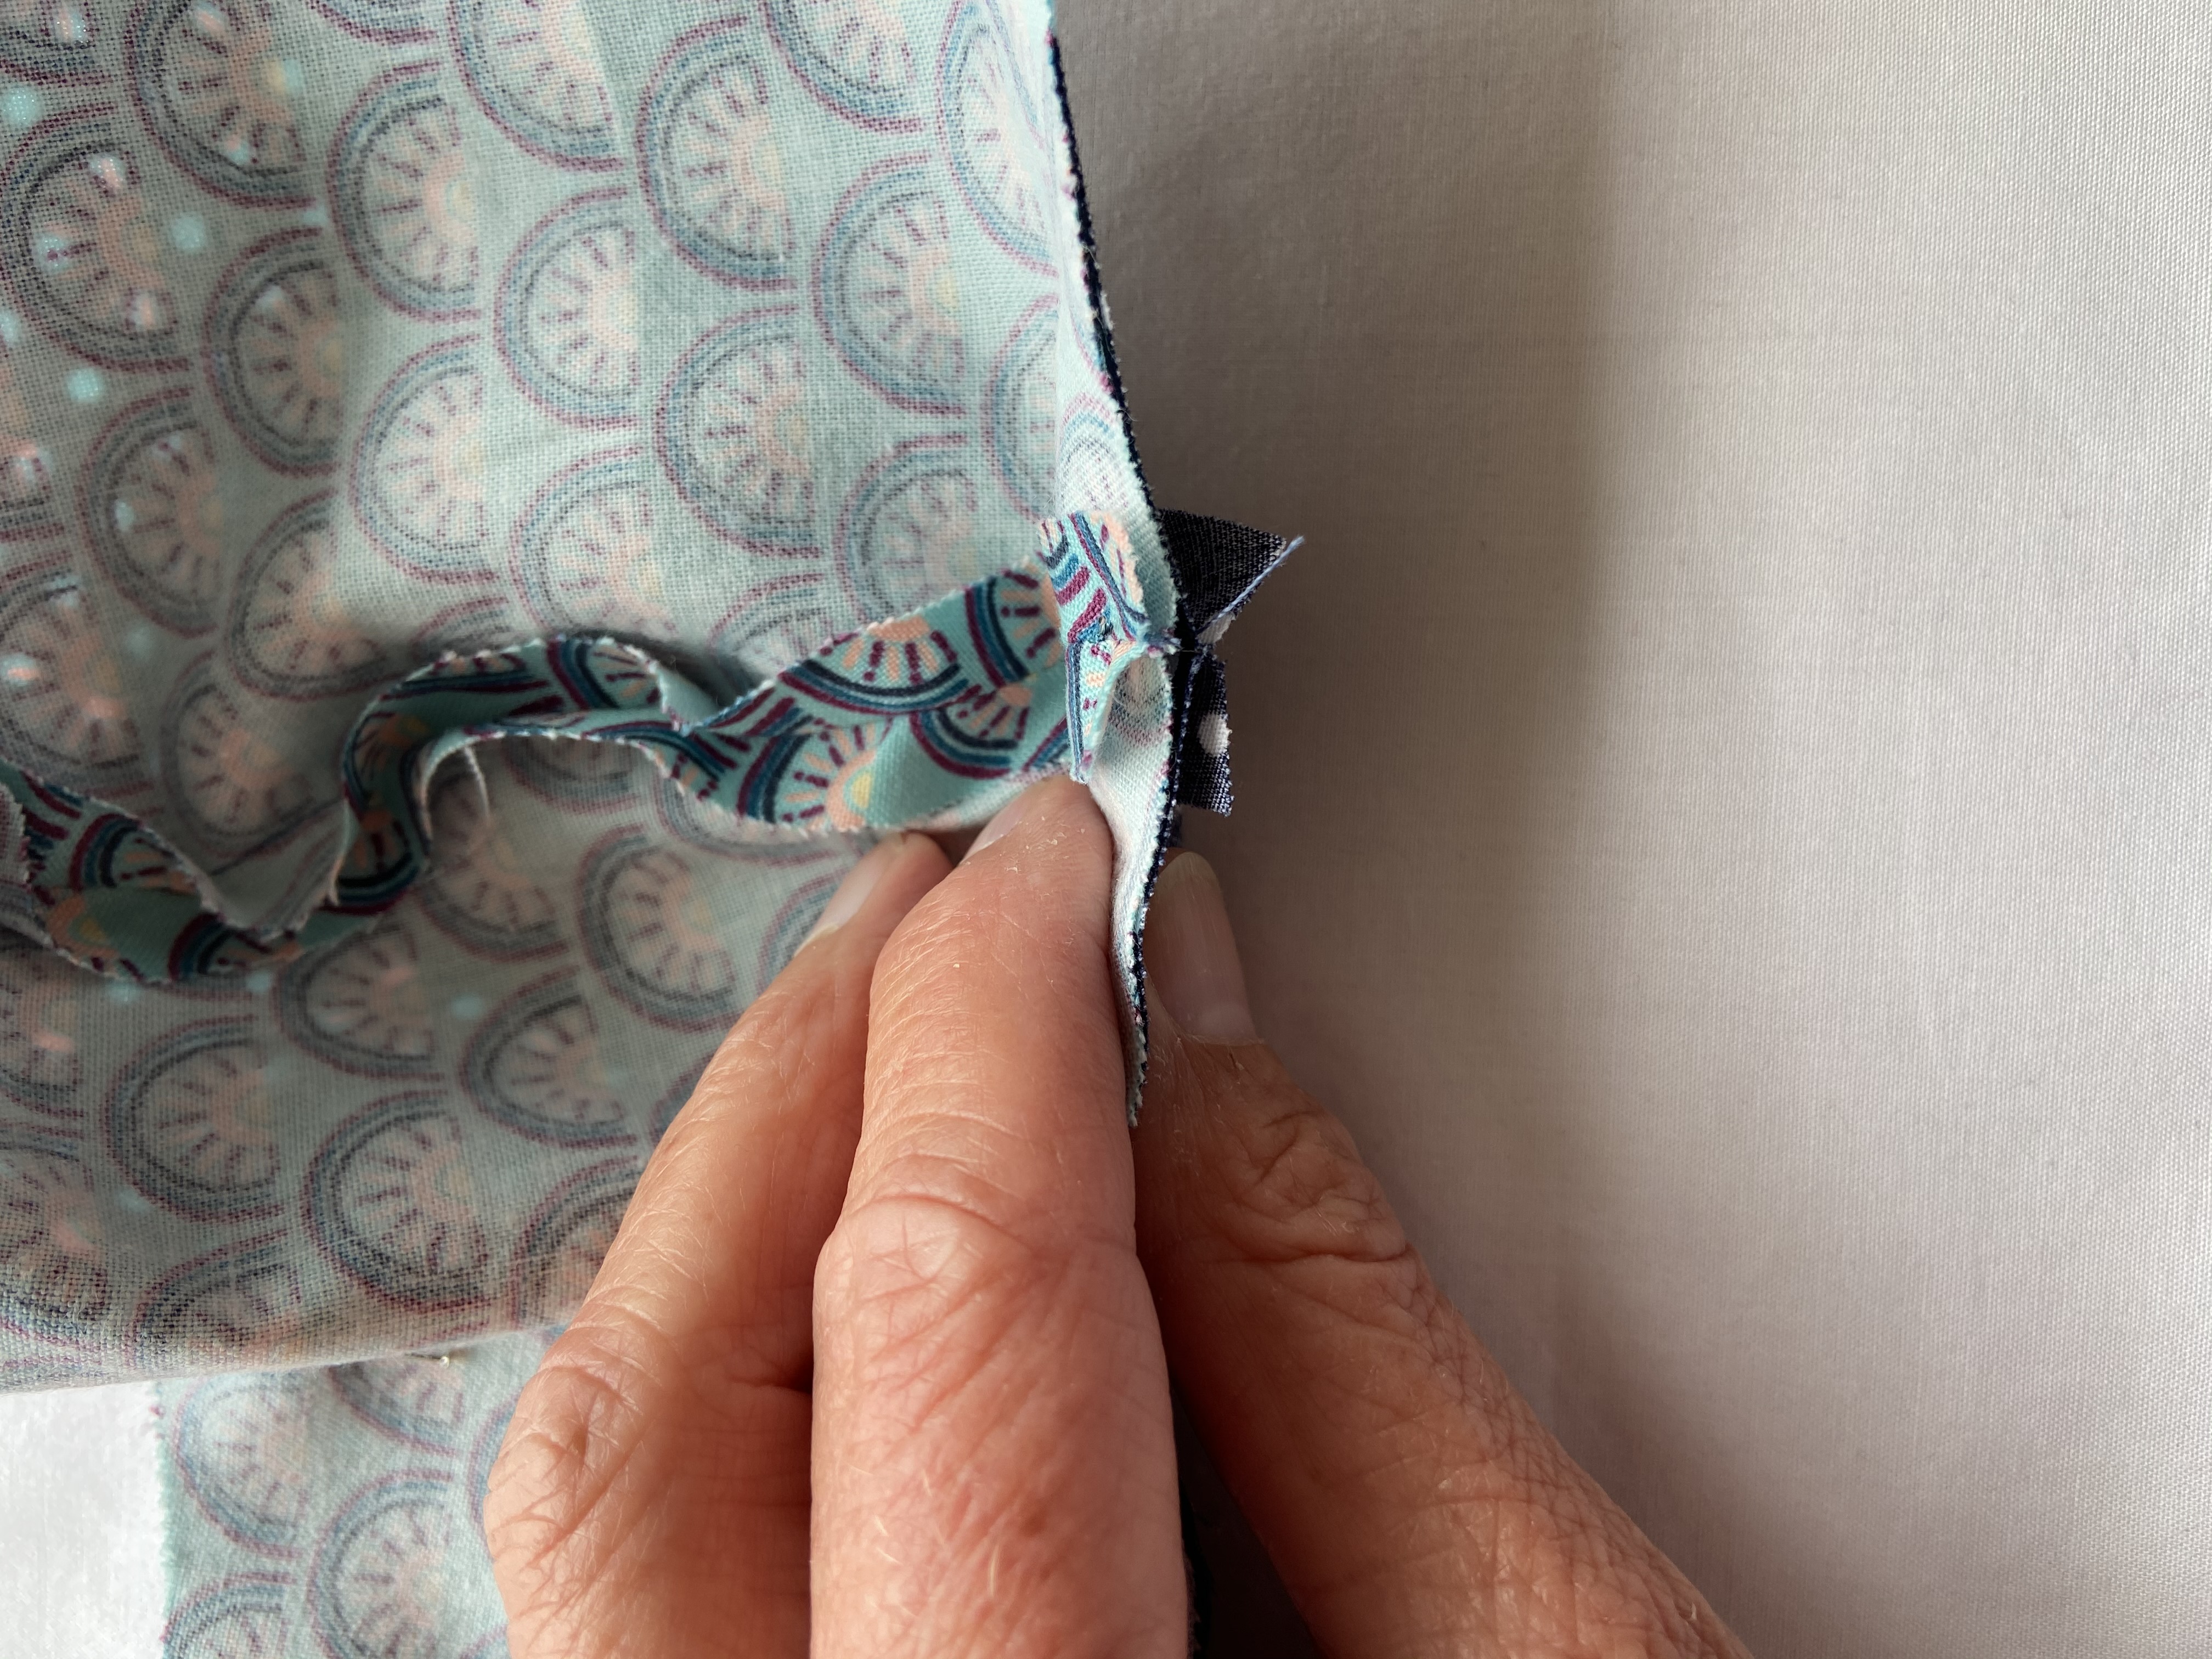
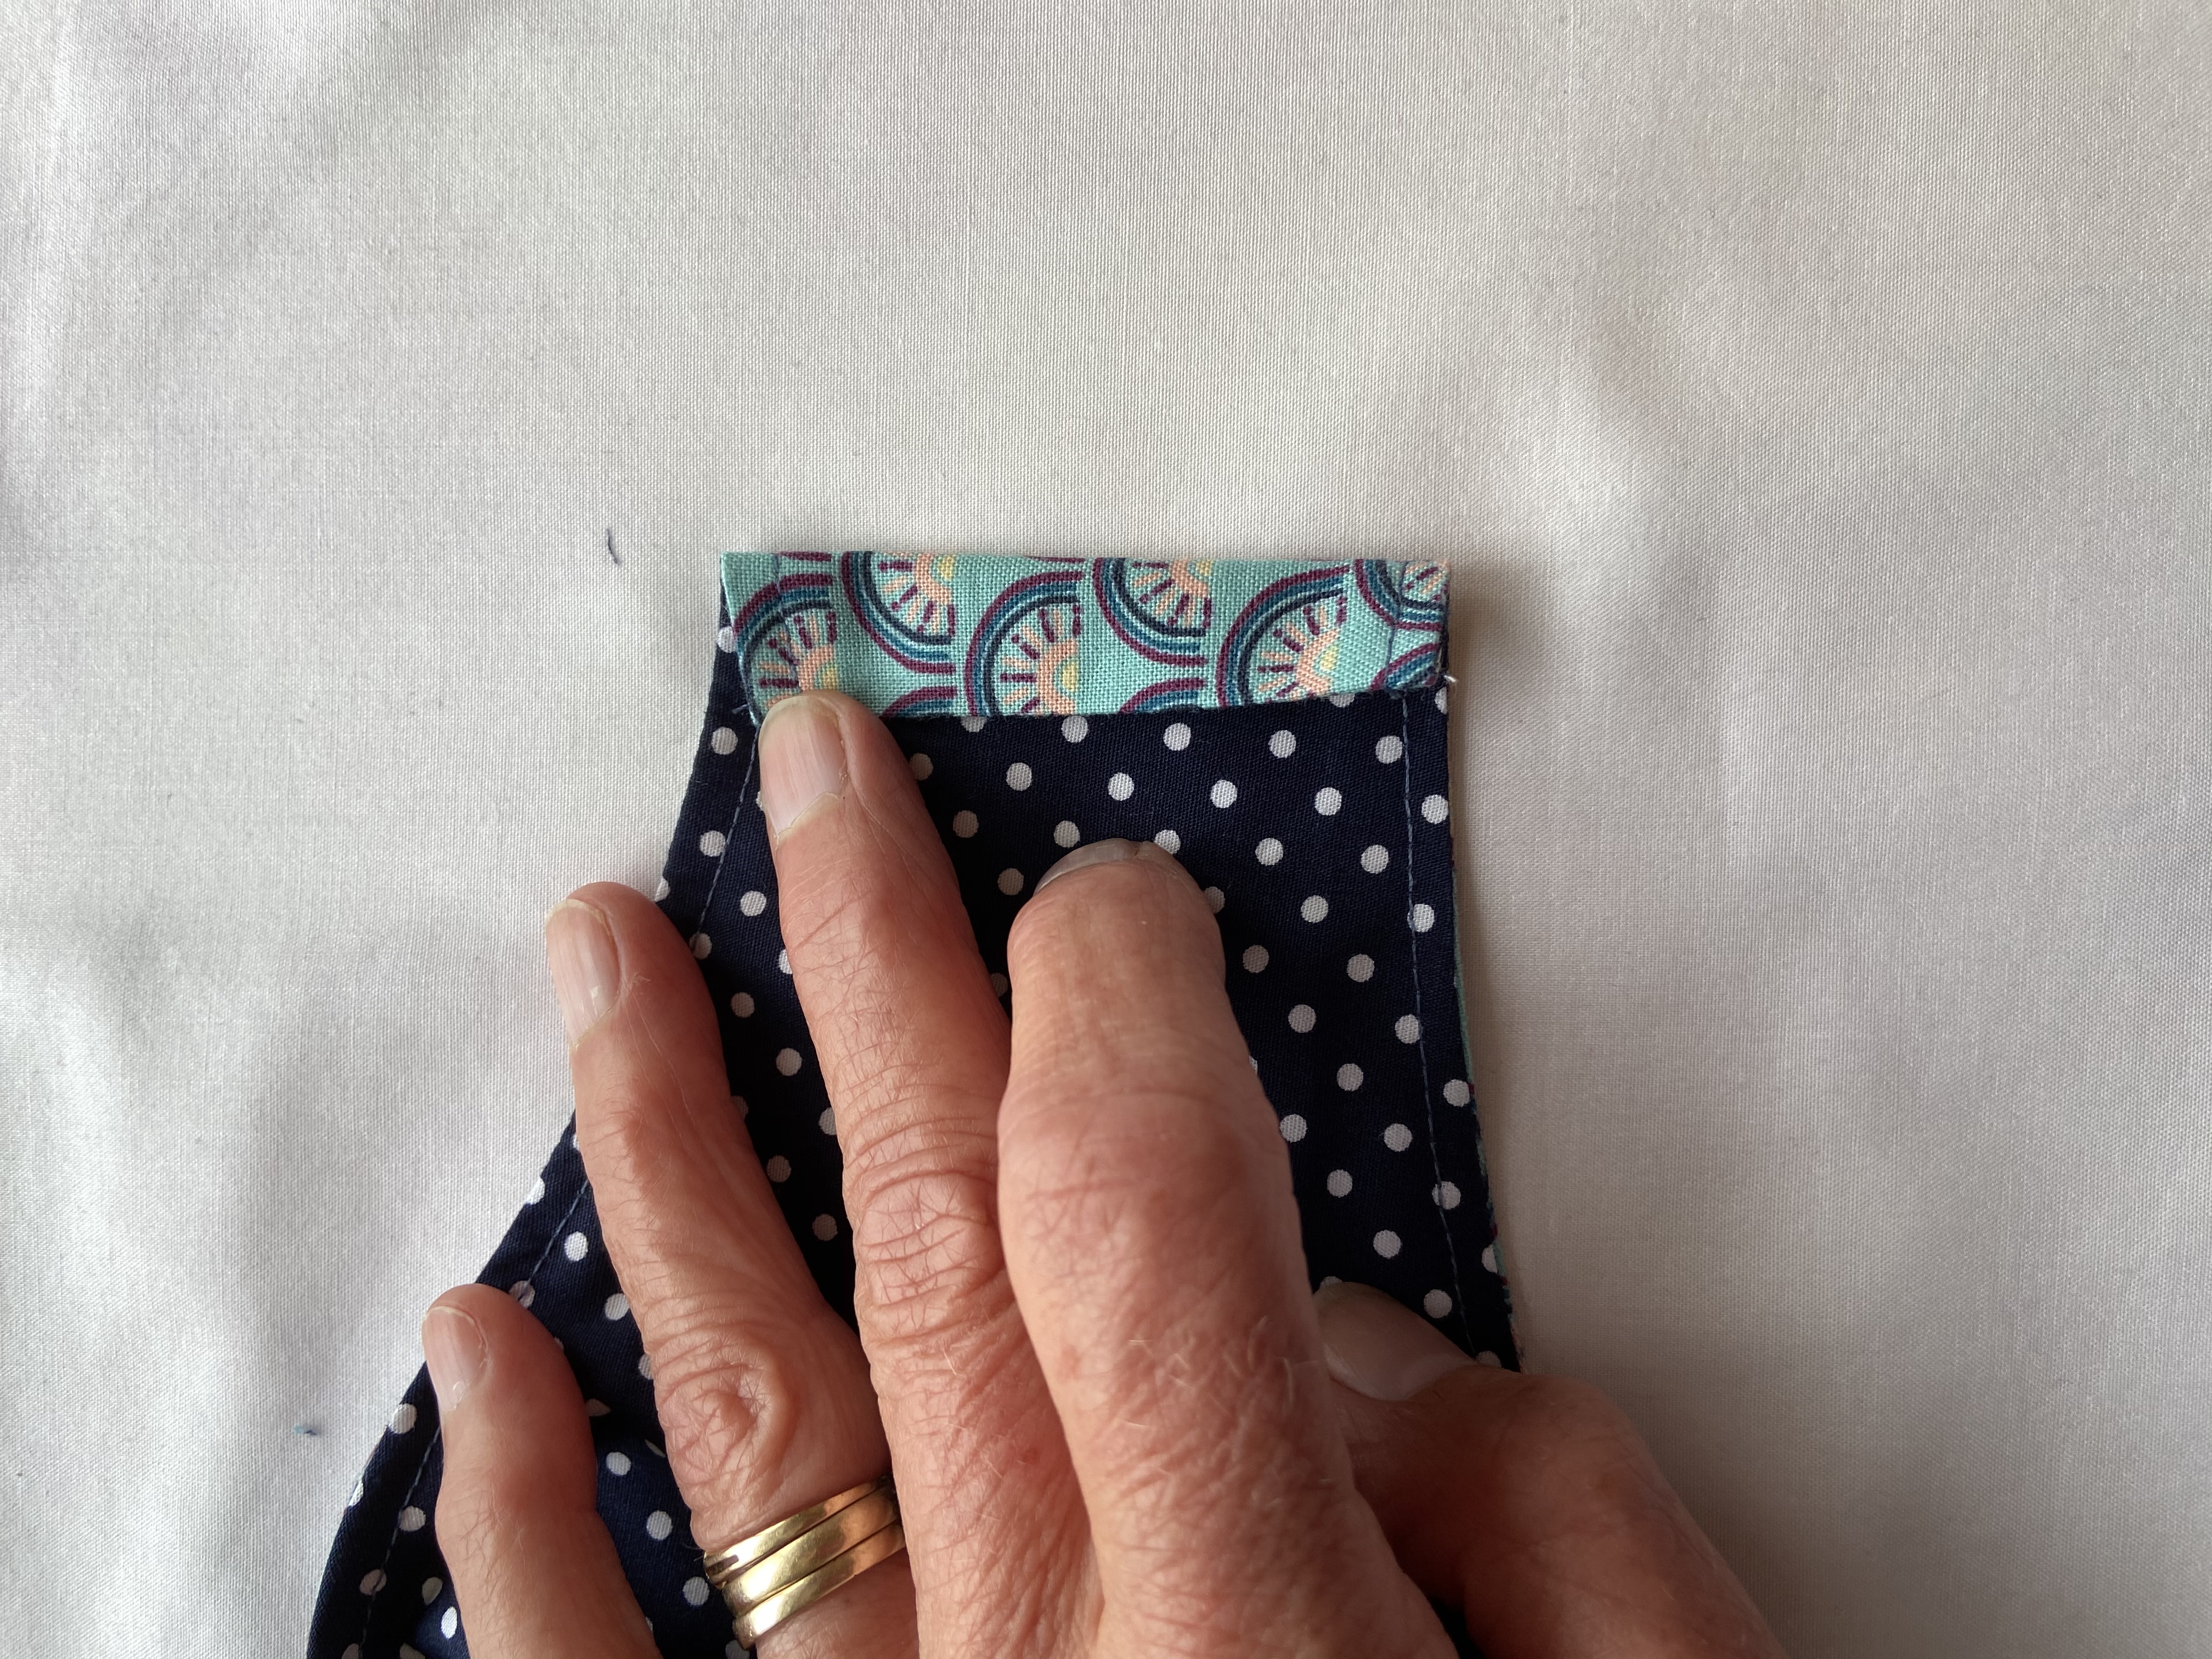
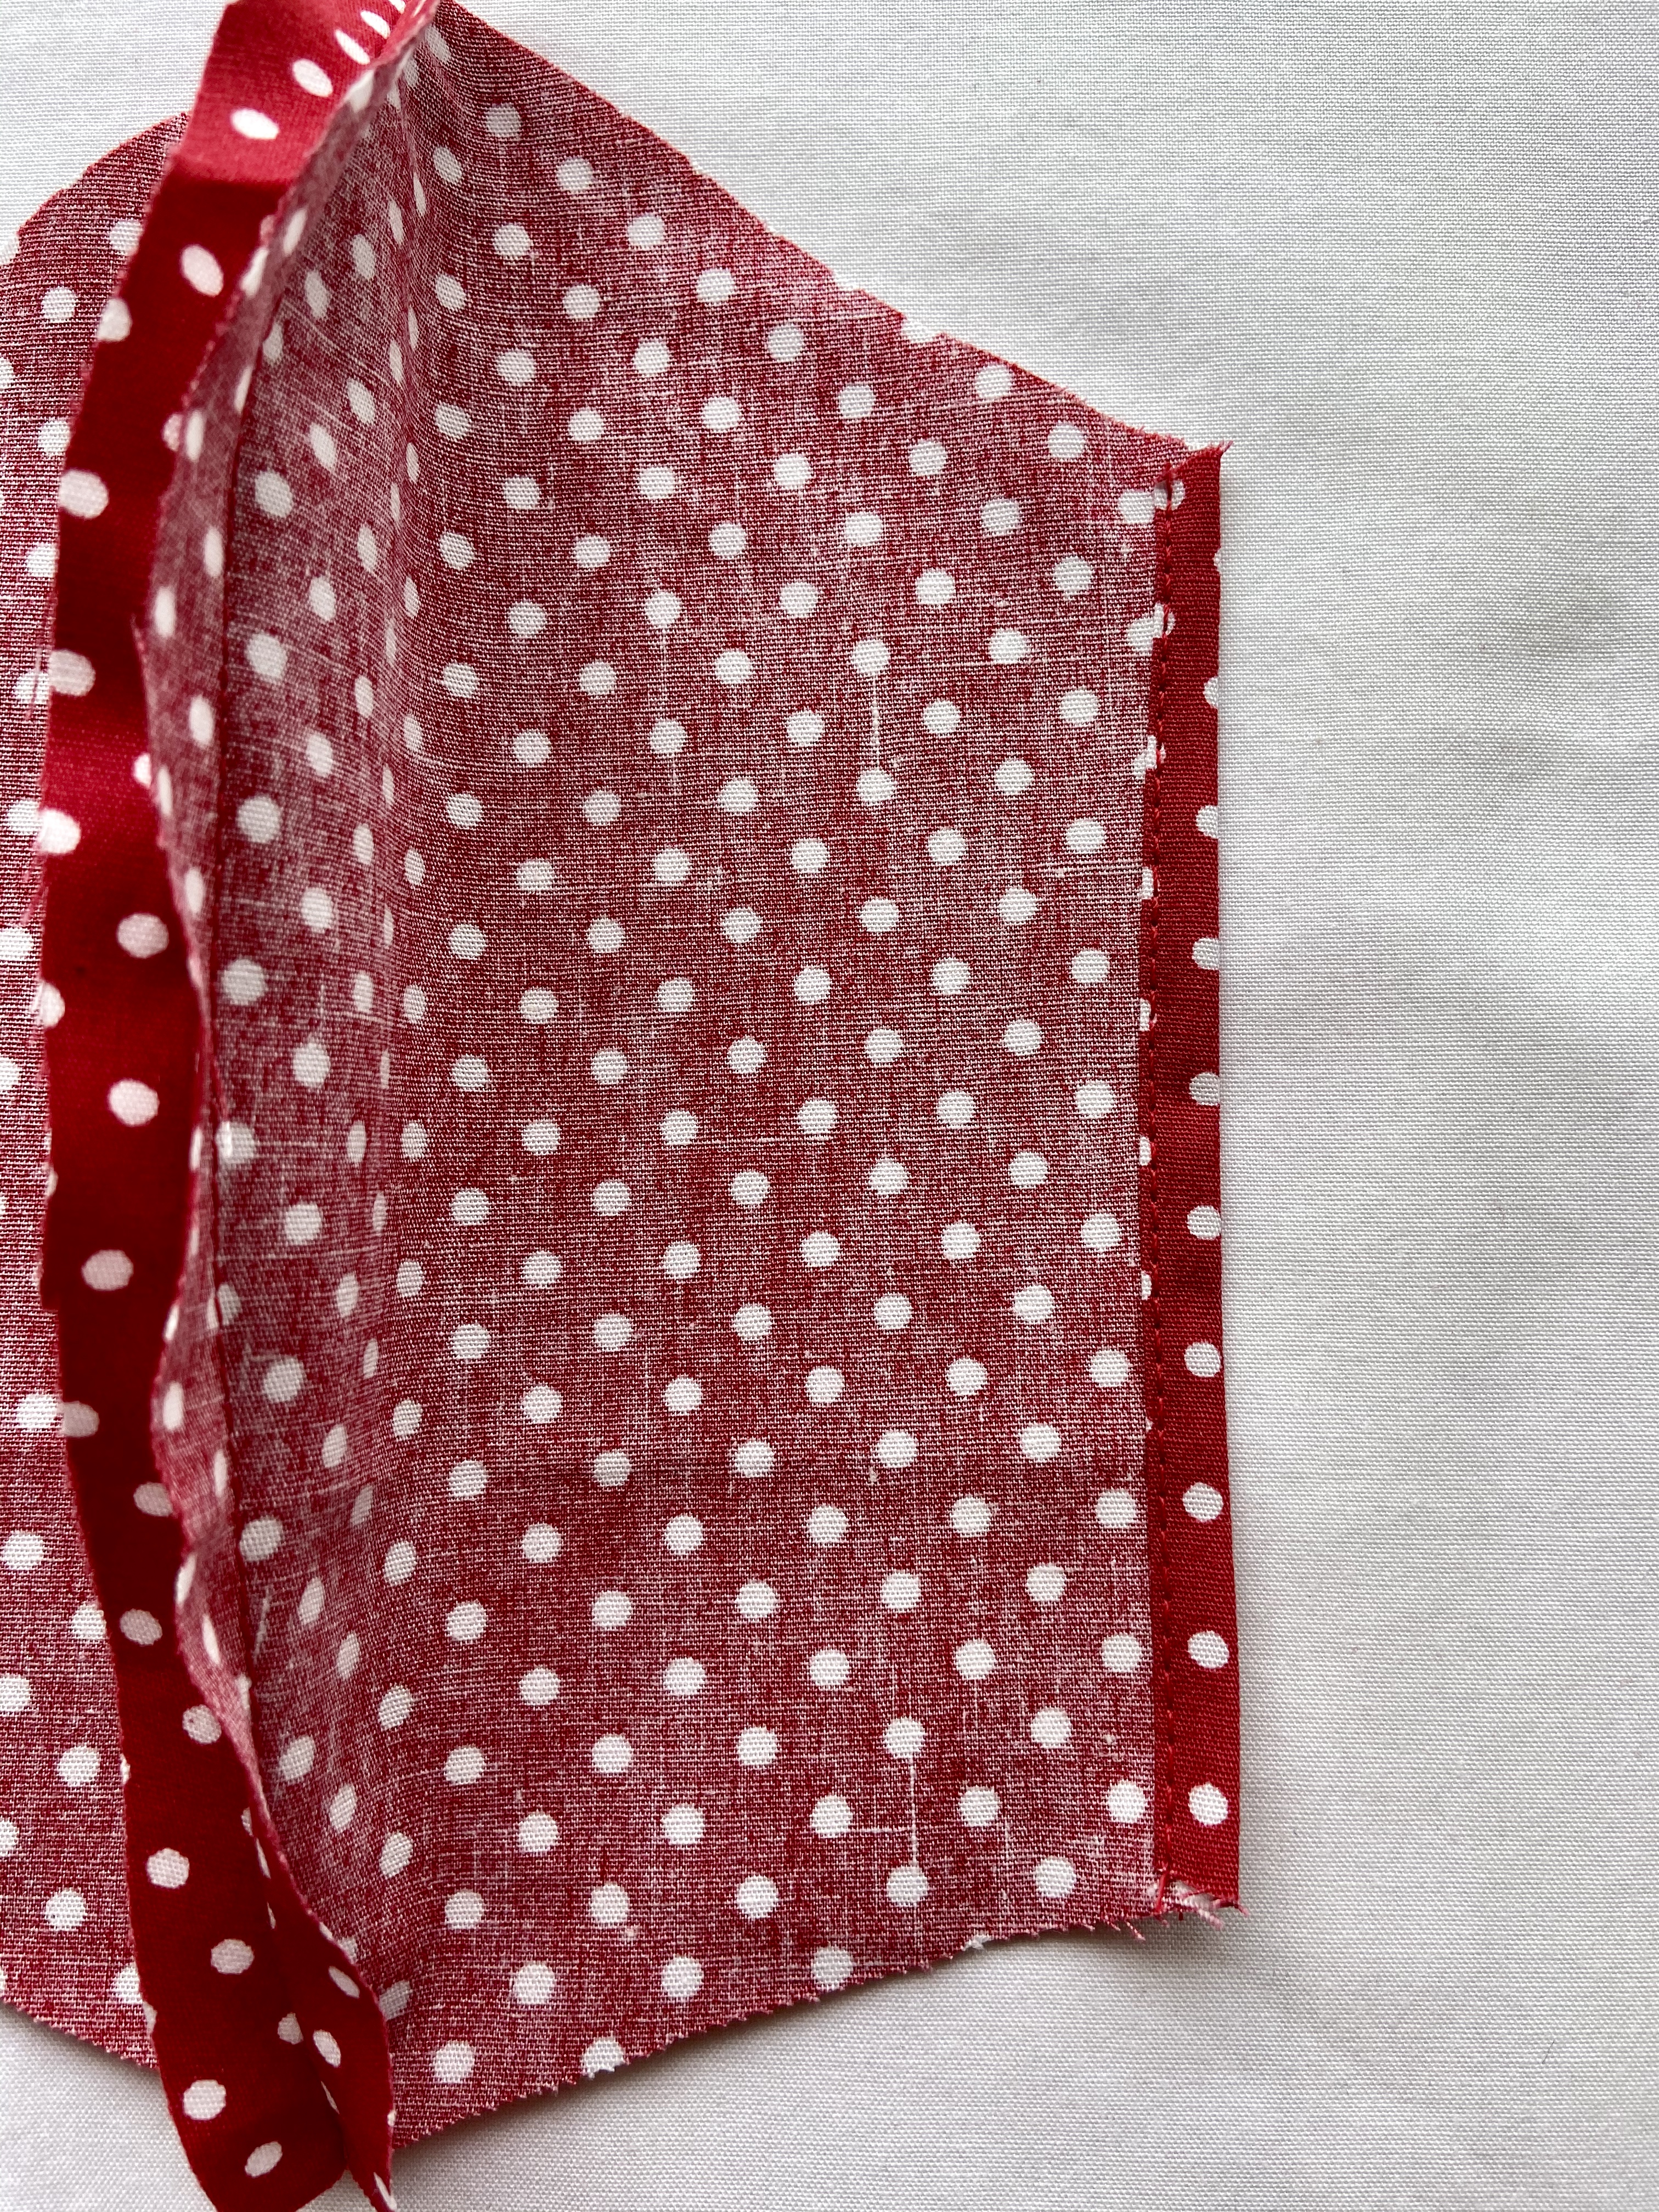
7.Open out the fold you made on the outer fabric so it is flat. Right sides together pin the outer mask and lining mask together. Start by matching the centre seams (make sure they are flat) and then align the straight cut edge of the lining to the fold line you made on the outer fabric. The outer fabric should extend beyond the lining. Pin in place. Sew together along the top and bottom curved edges – leave the straight ends open. Do a few backstitches at the start and finish to secure stitching

8.Turn out and press. Use the edge of scissors or the handle of a wooden spoon or similar to push seams out as you press to get a nice crisp edge
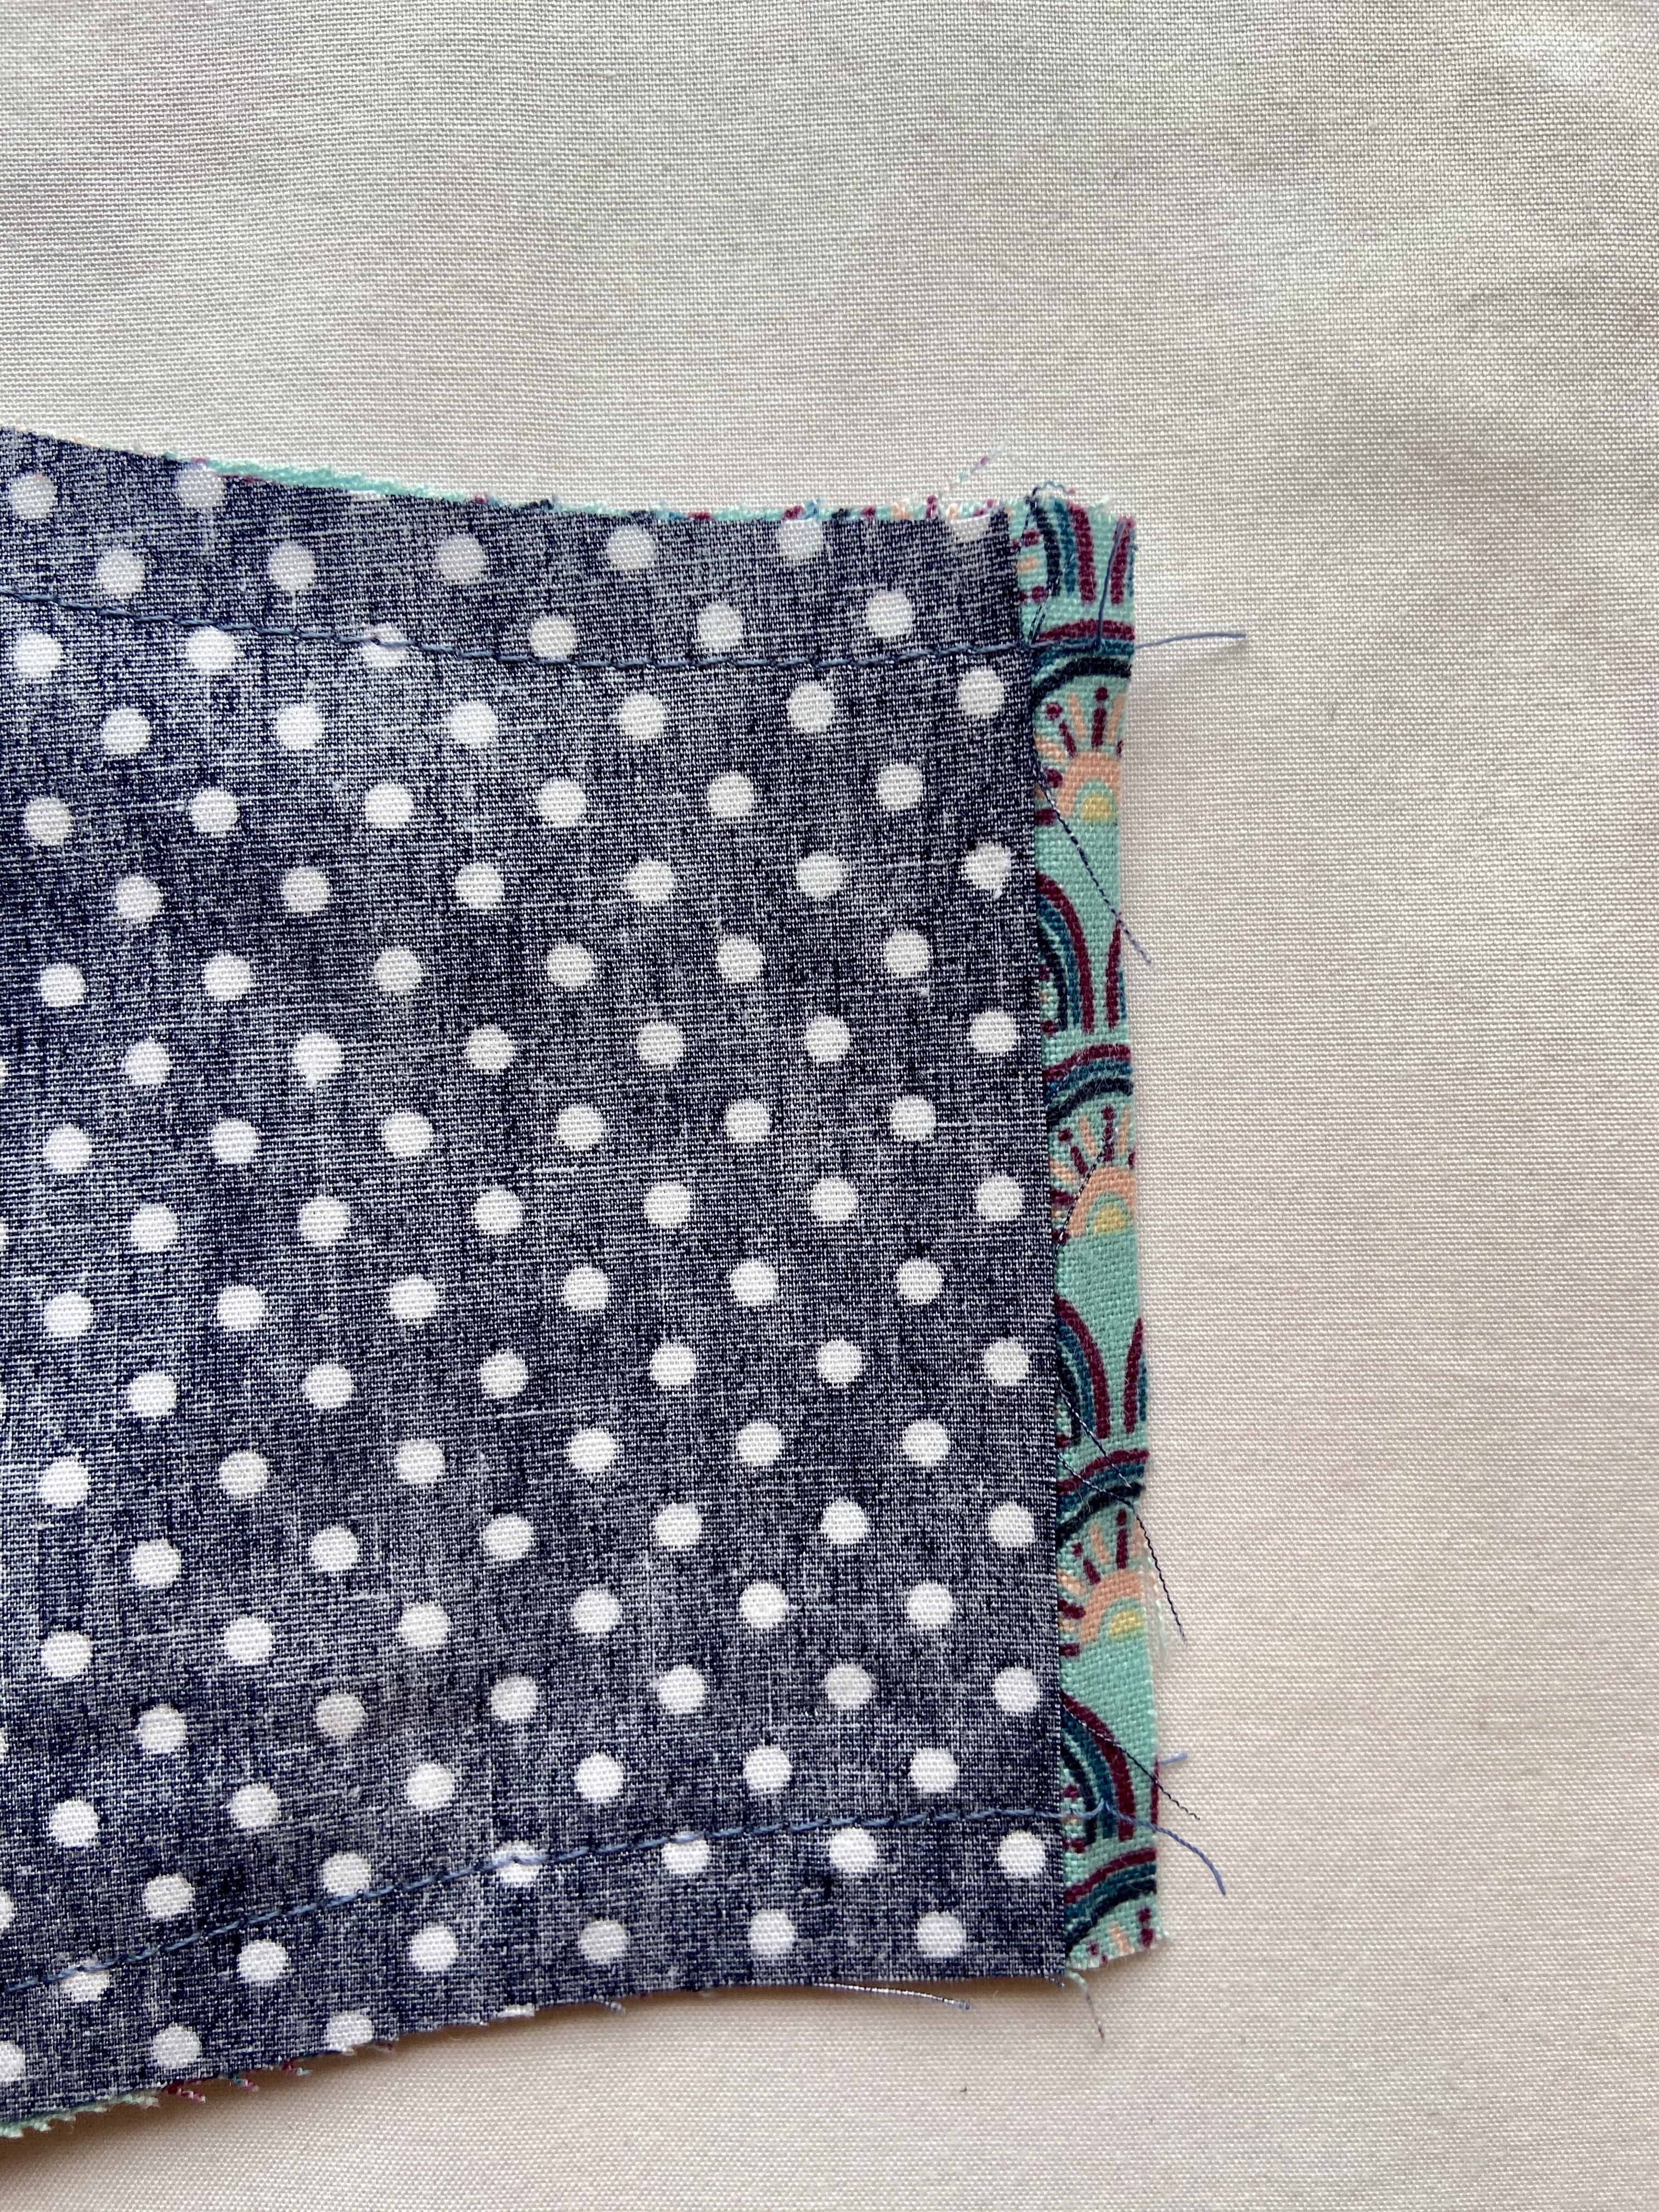
9.Top stitch 0.5cm from pressed edge along both the top and bottom of the mask
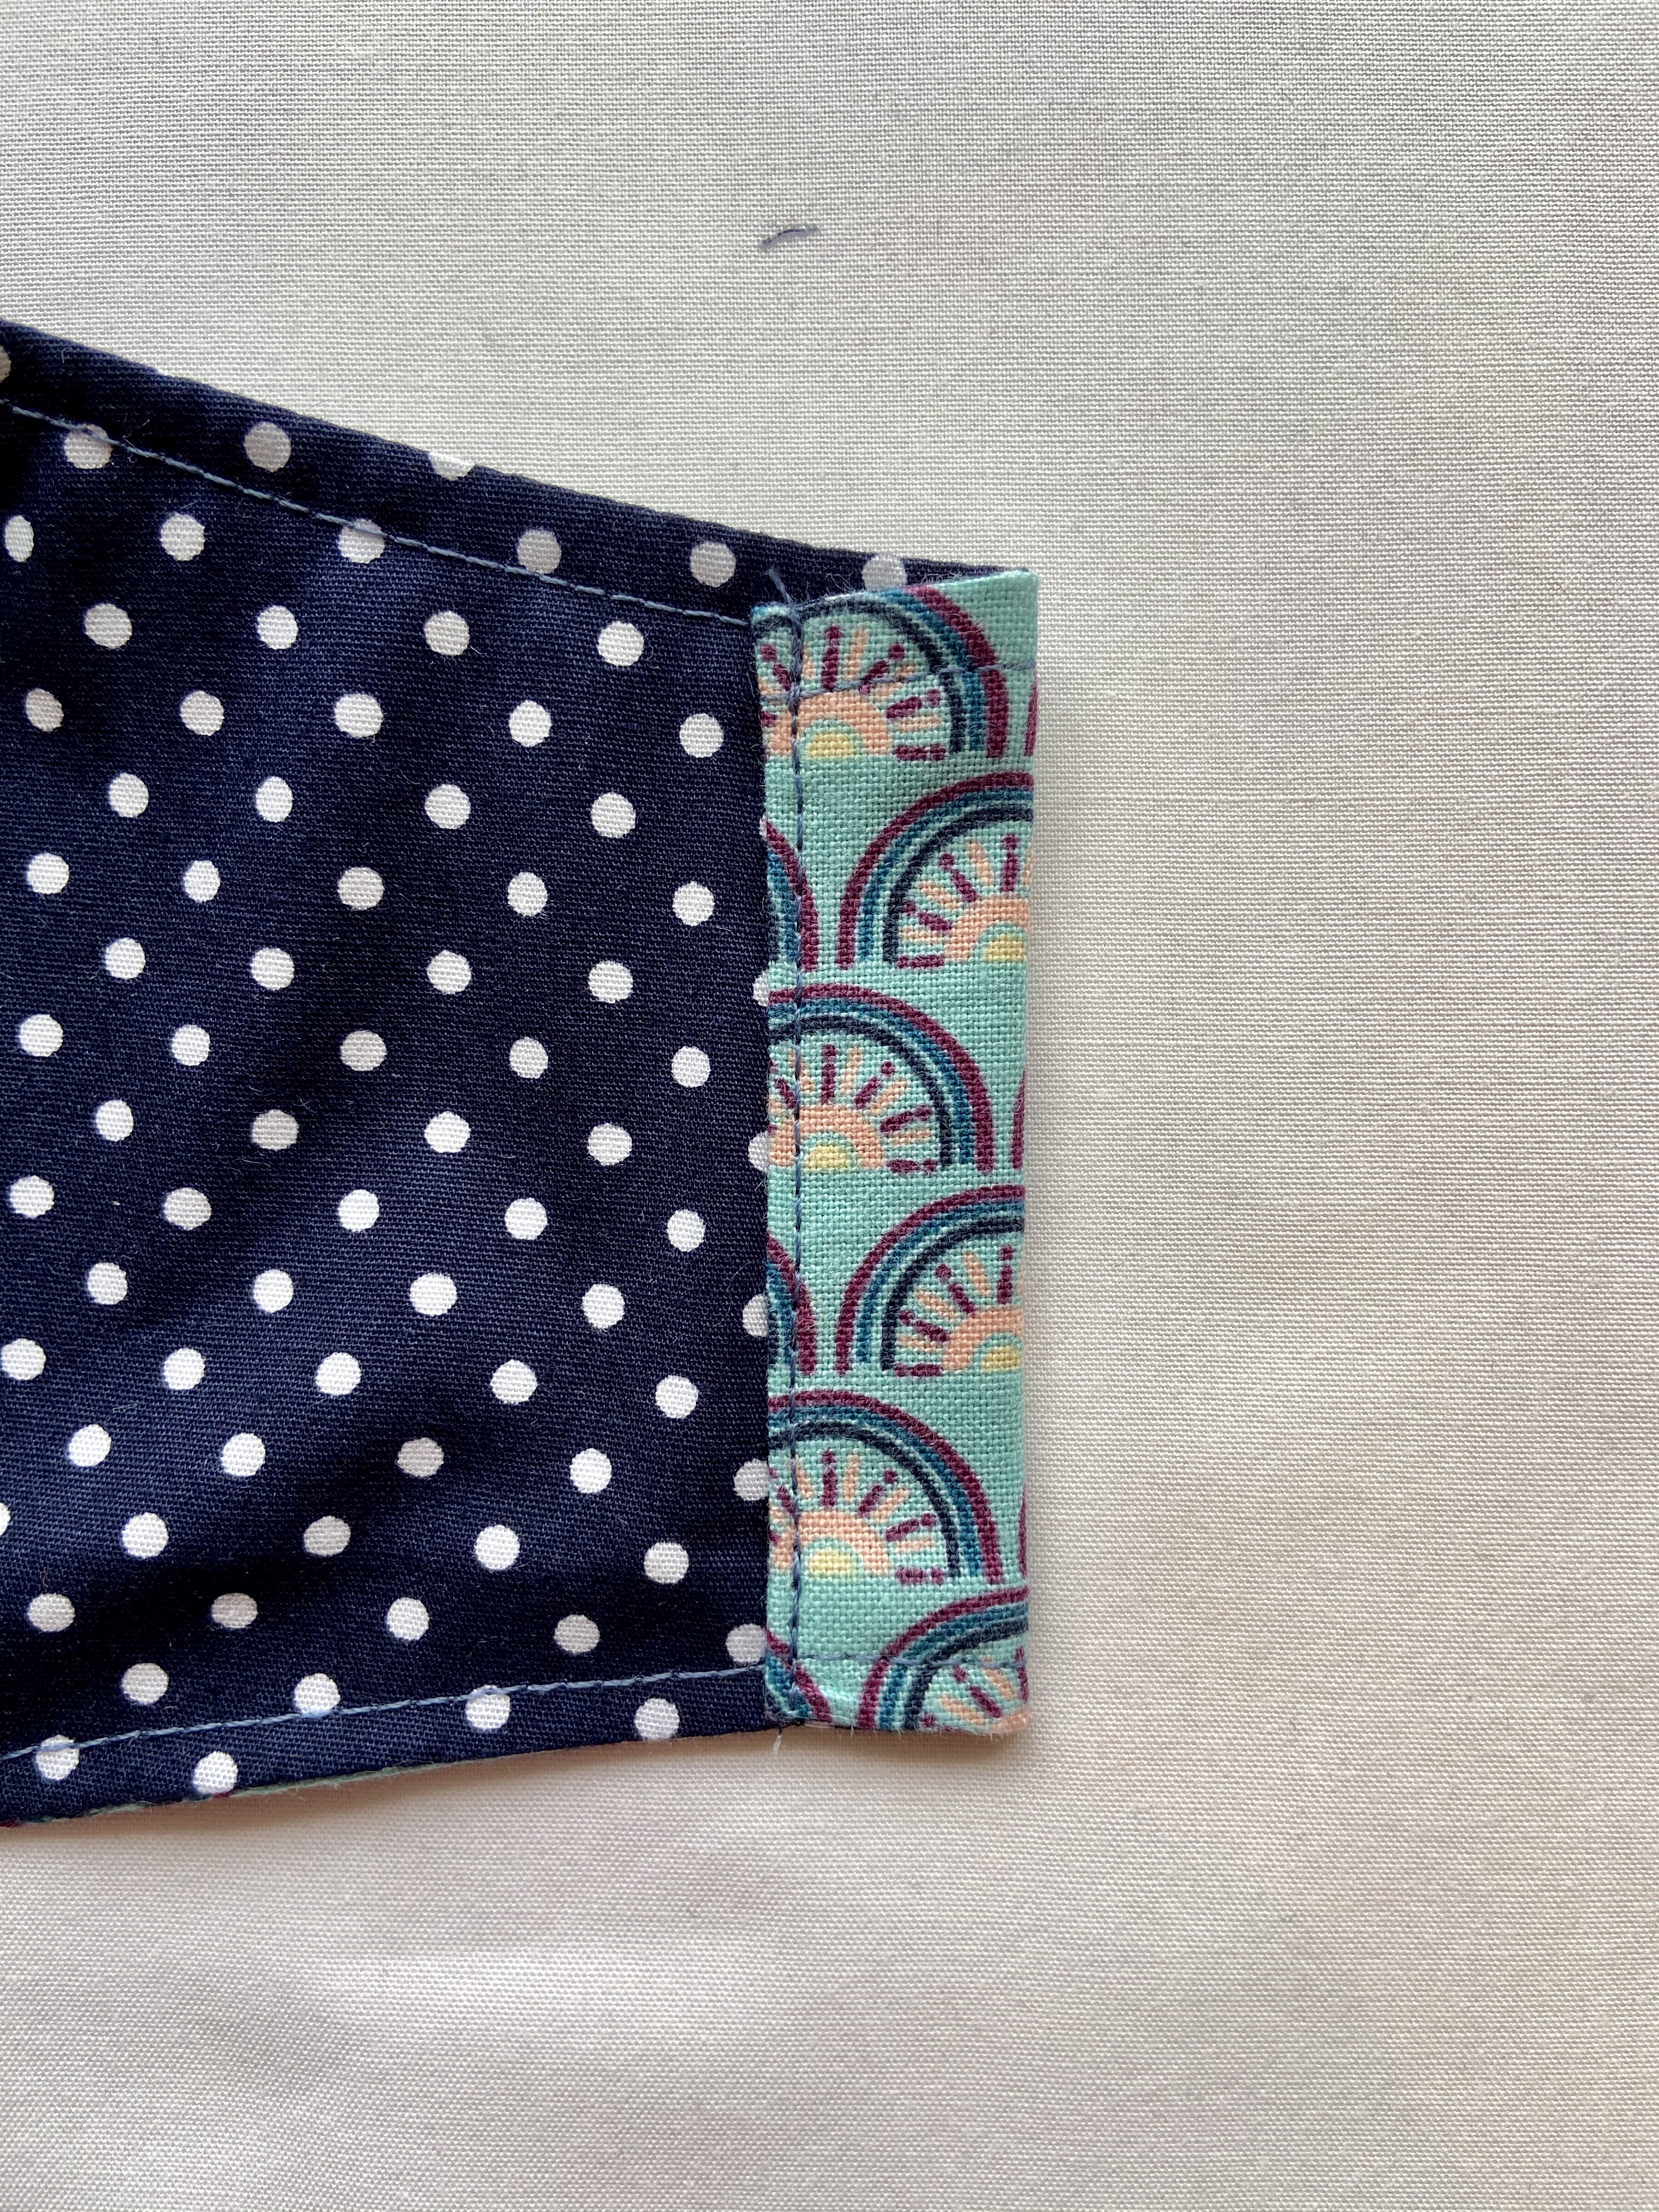
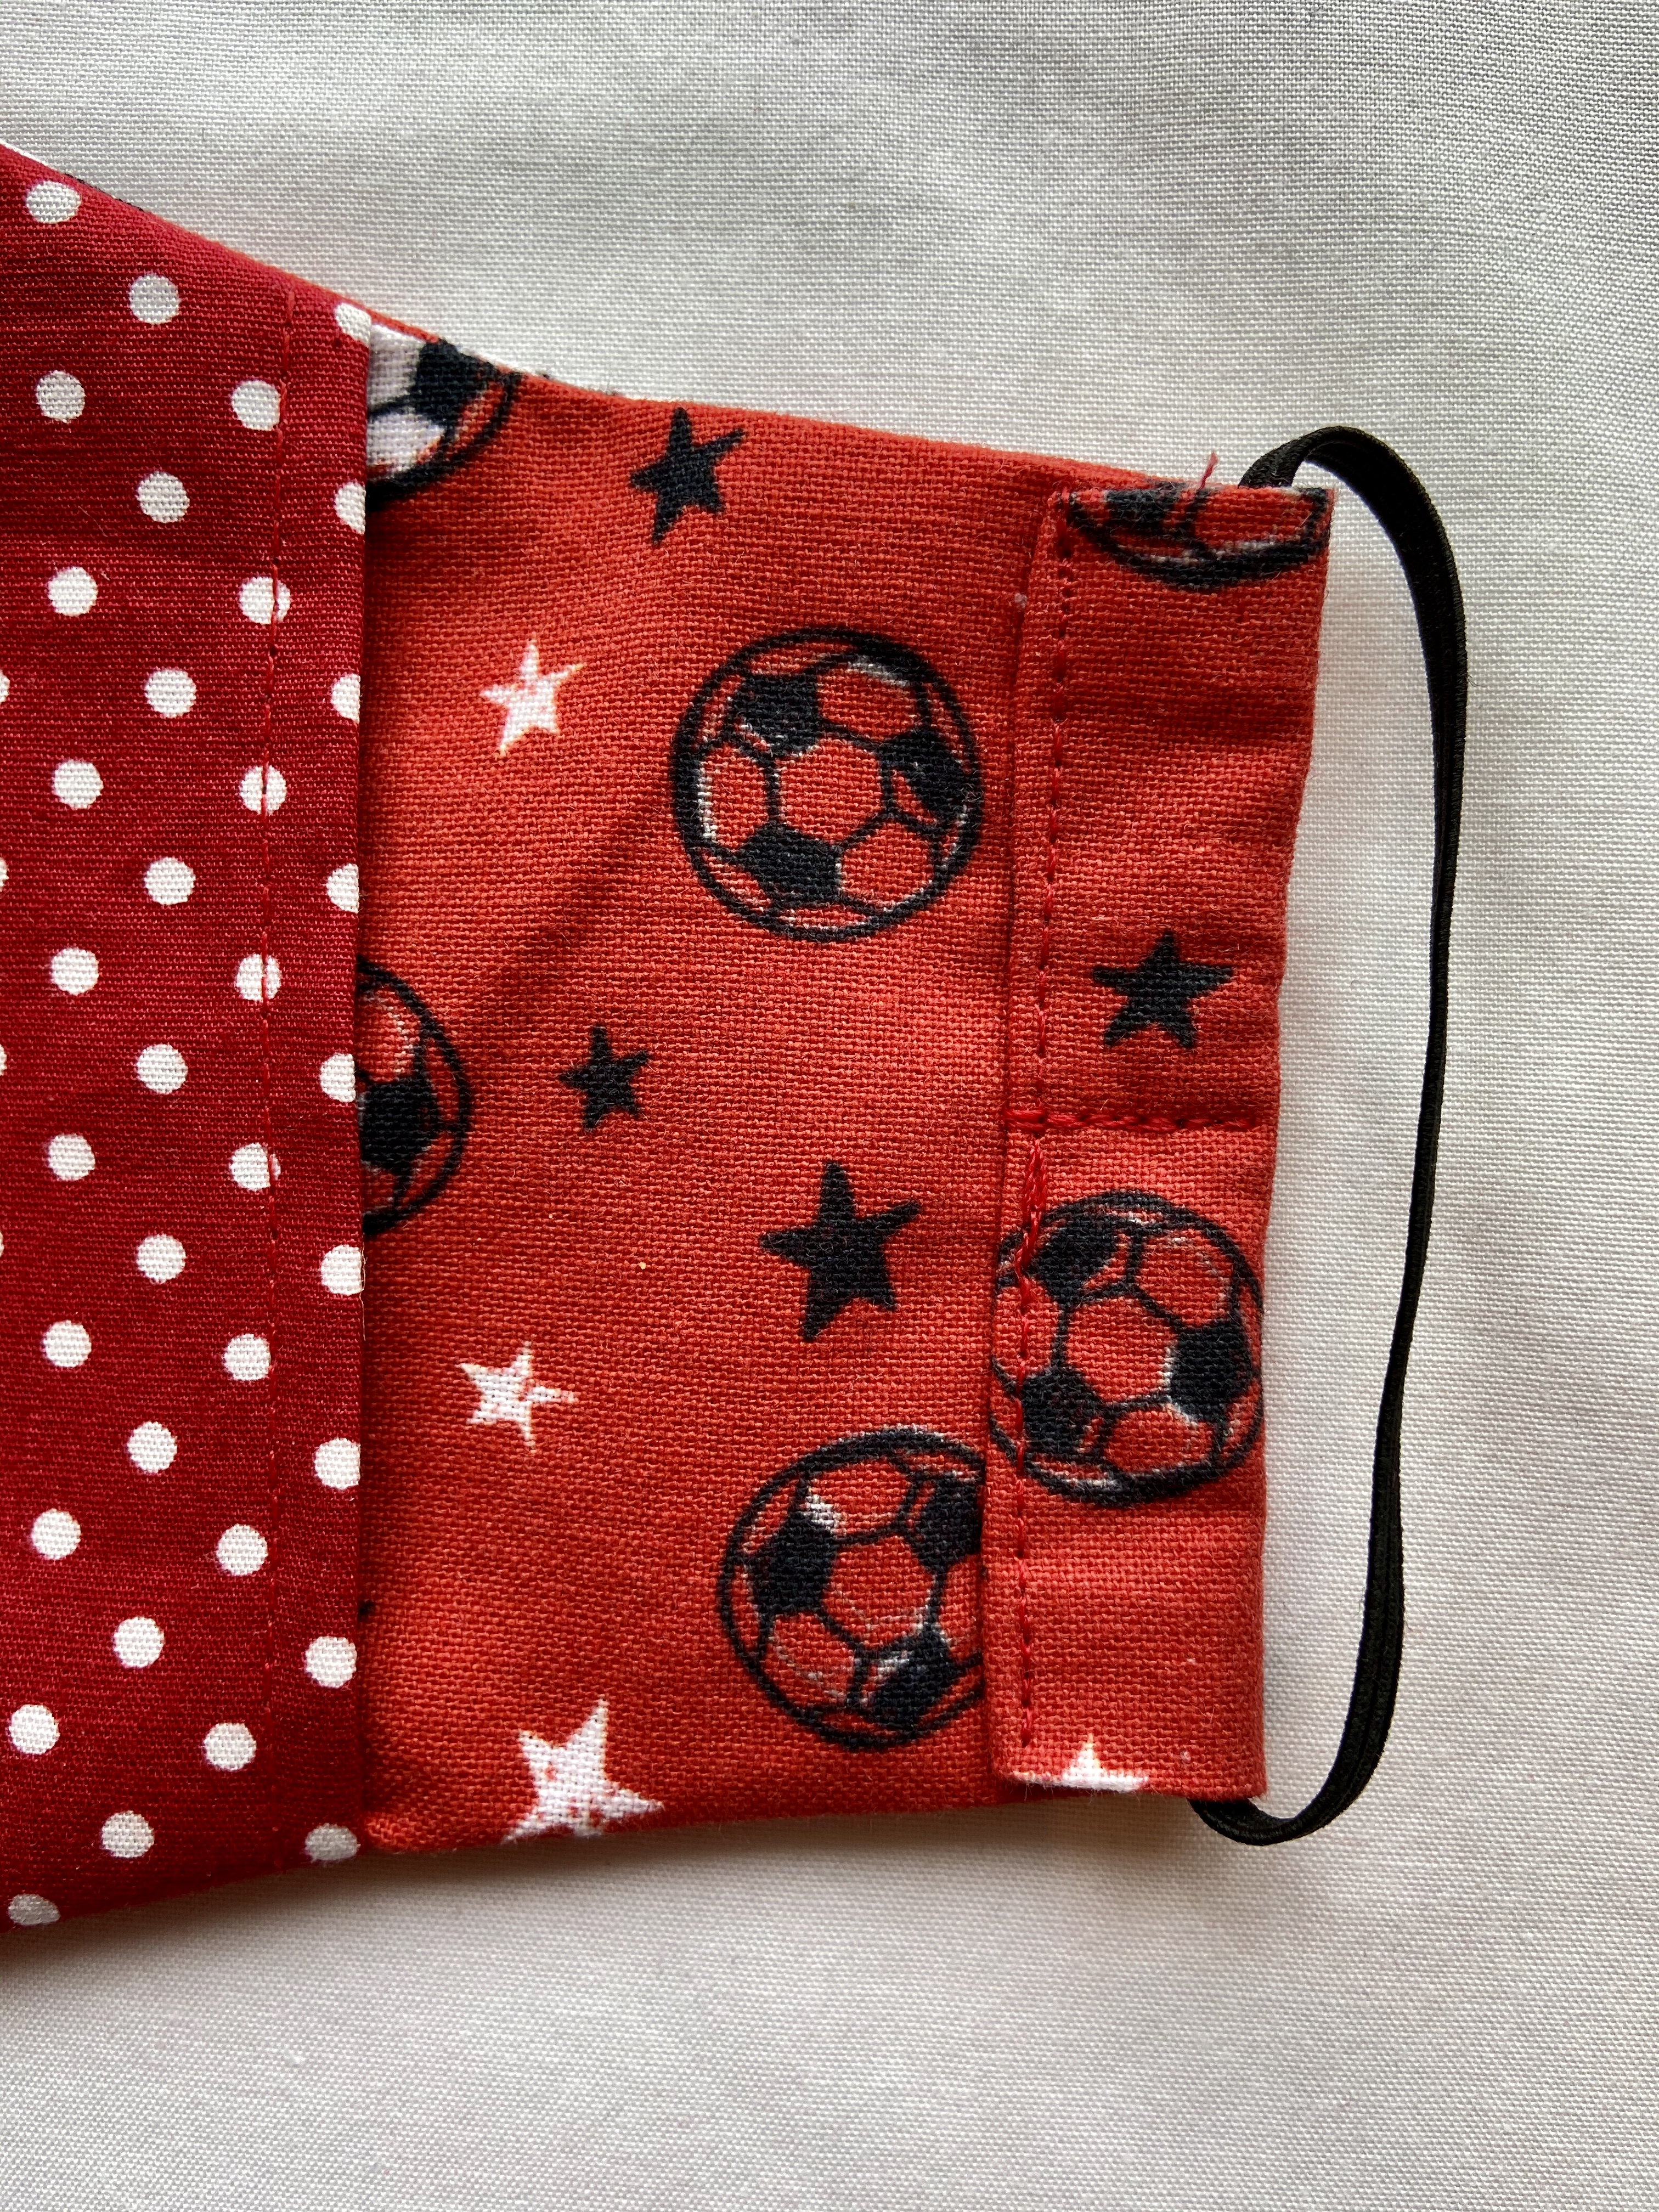
10.At the ends fold the outer fabric over the lining along the 0.5cm fold line made earlier. Fold over another 1cm to create a channel for the elastic. Stitch in place close to inner edge
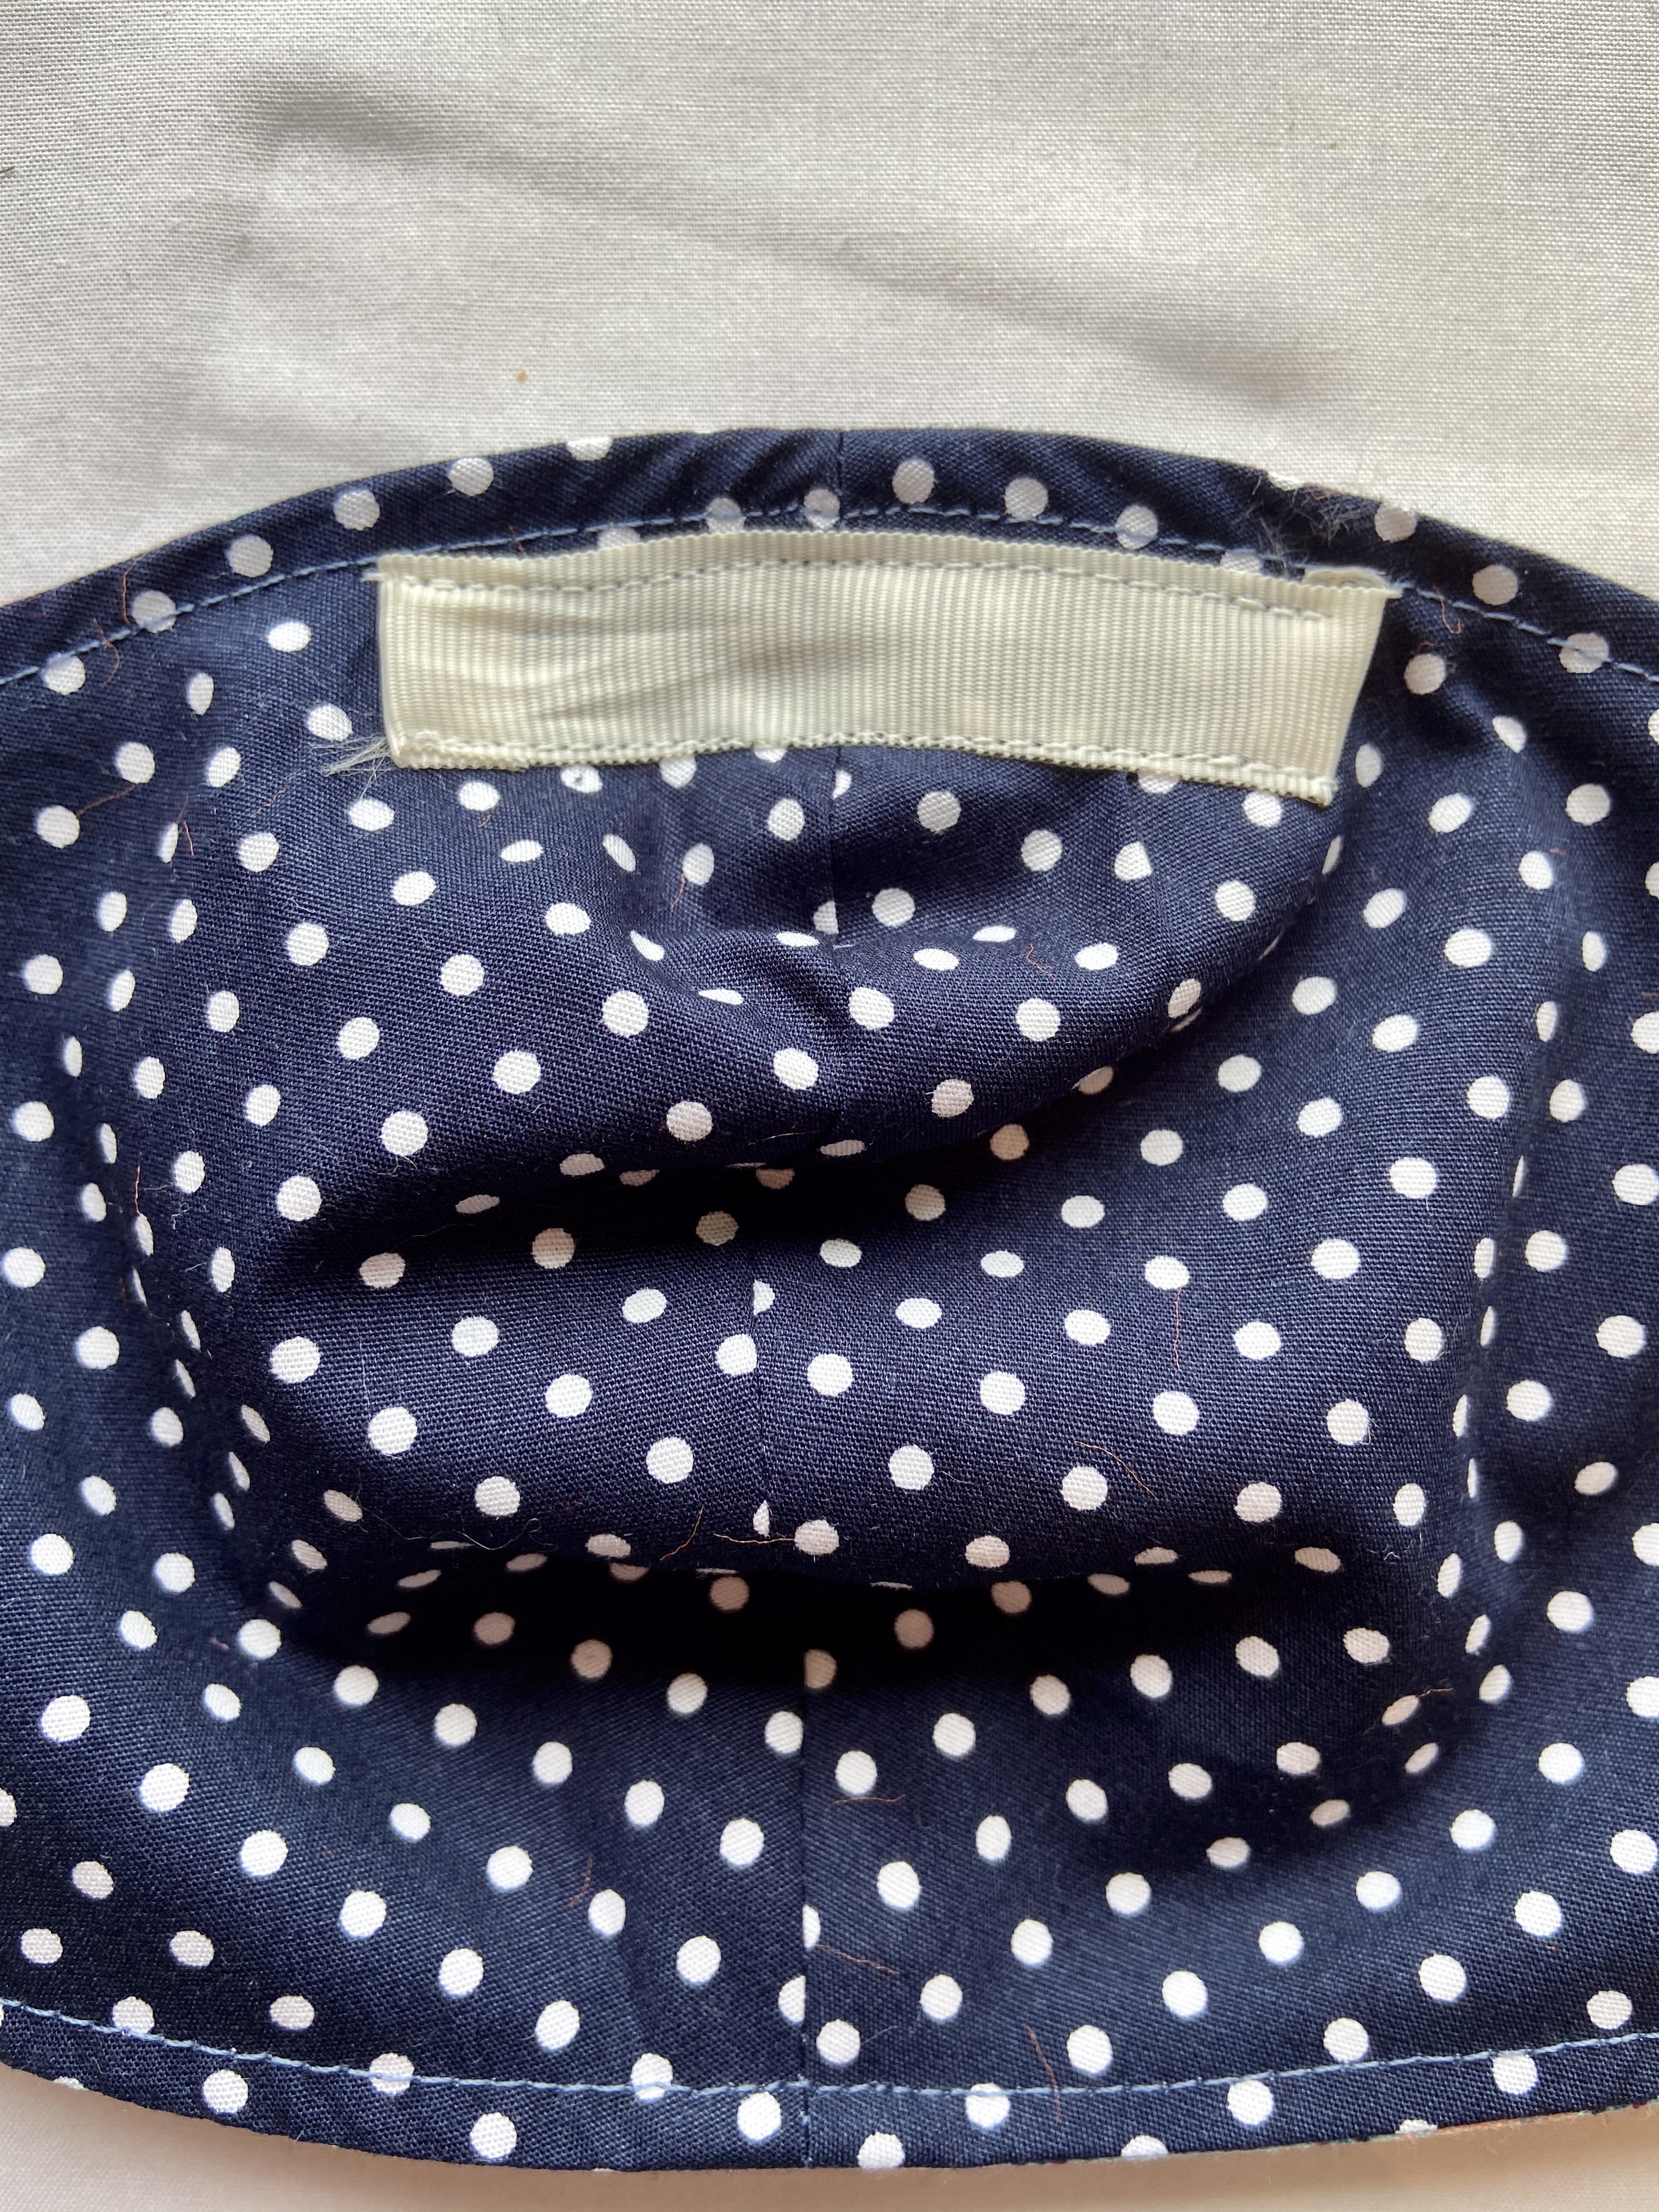
Lined mask with filter pocket
1.Use pattern pieces A, B and C
2.A (outer mask) cut two from main fabric
B (filter pocket) cut two from lining fabric
C (side piece) cut two from either lining fabric or main fabric or a third contrast fabric

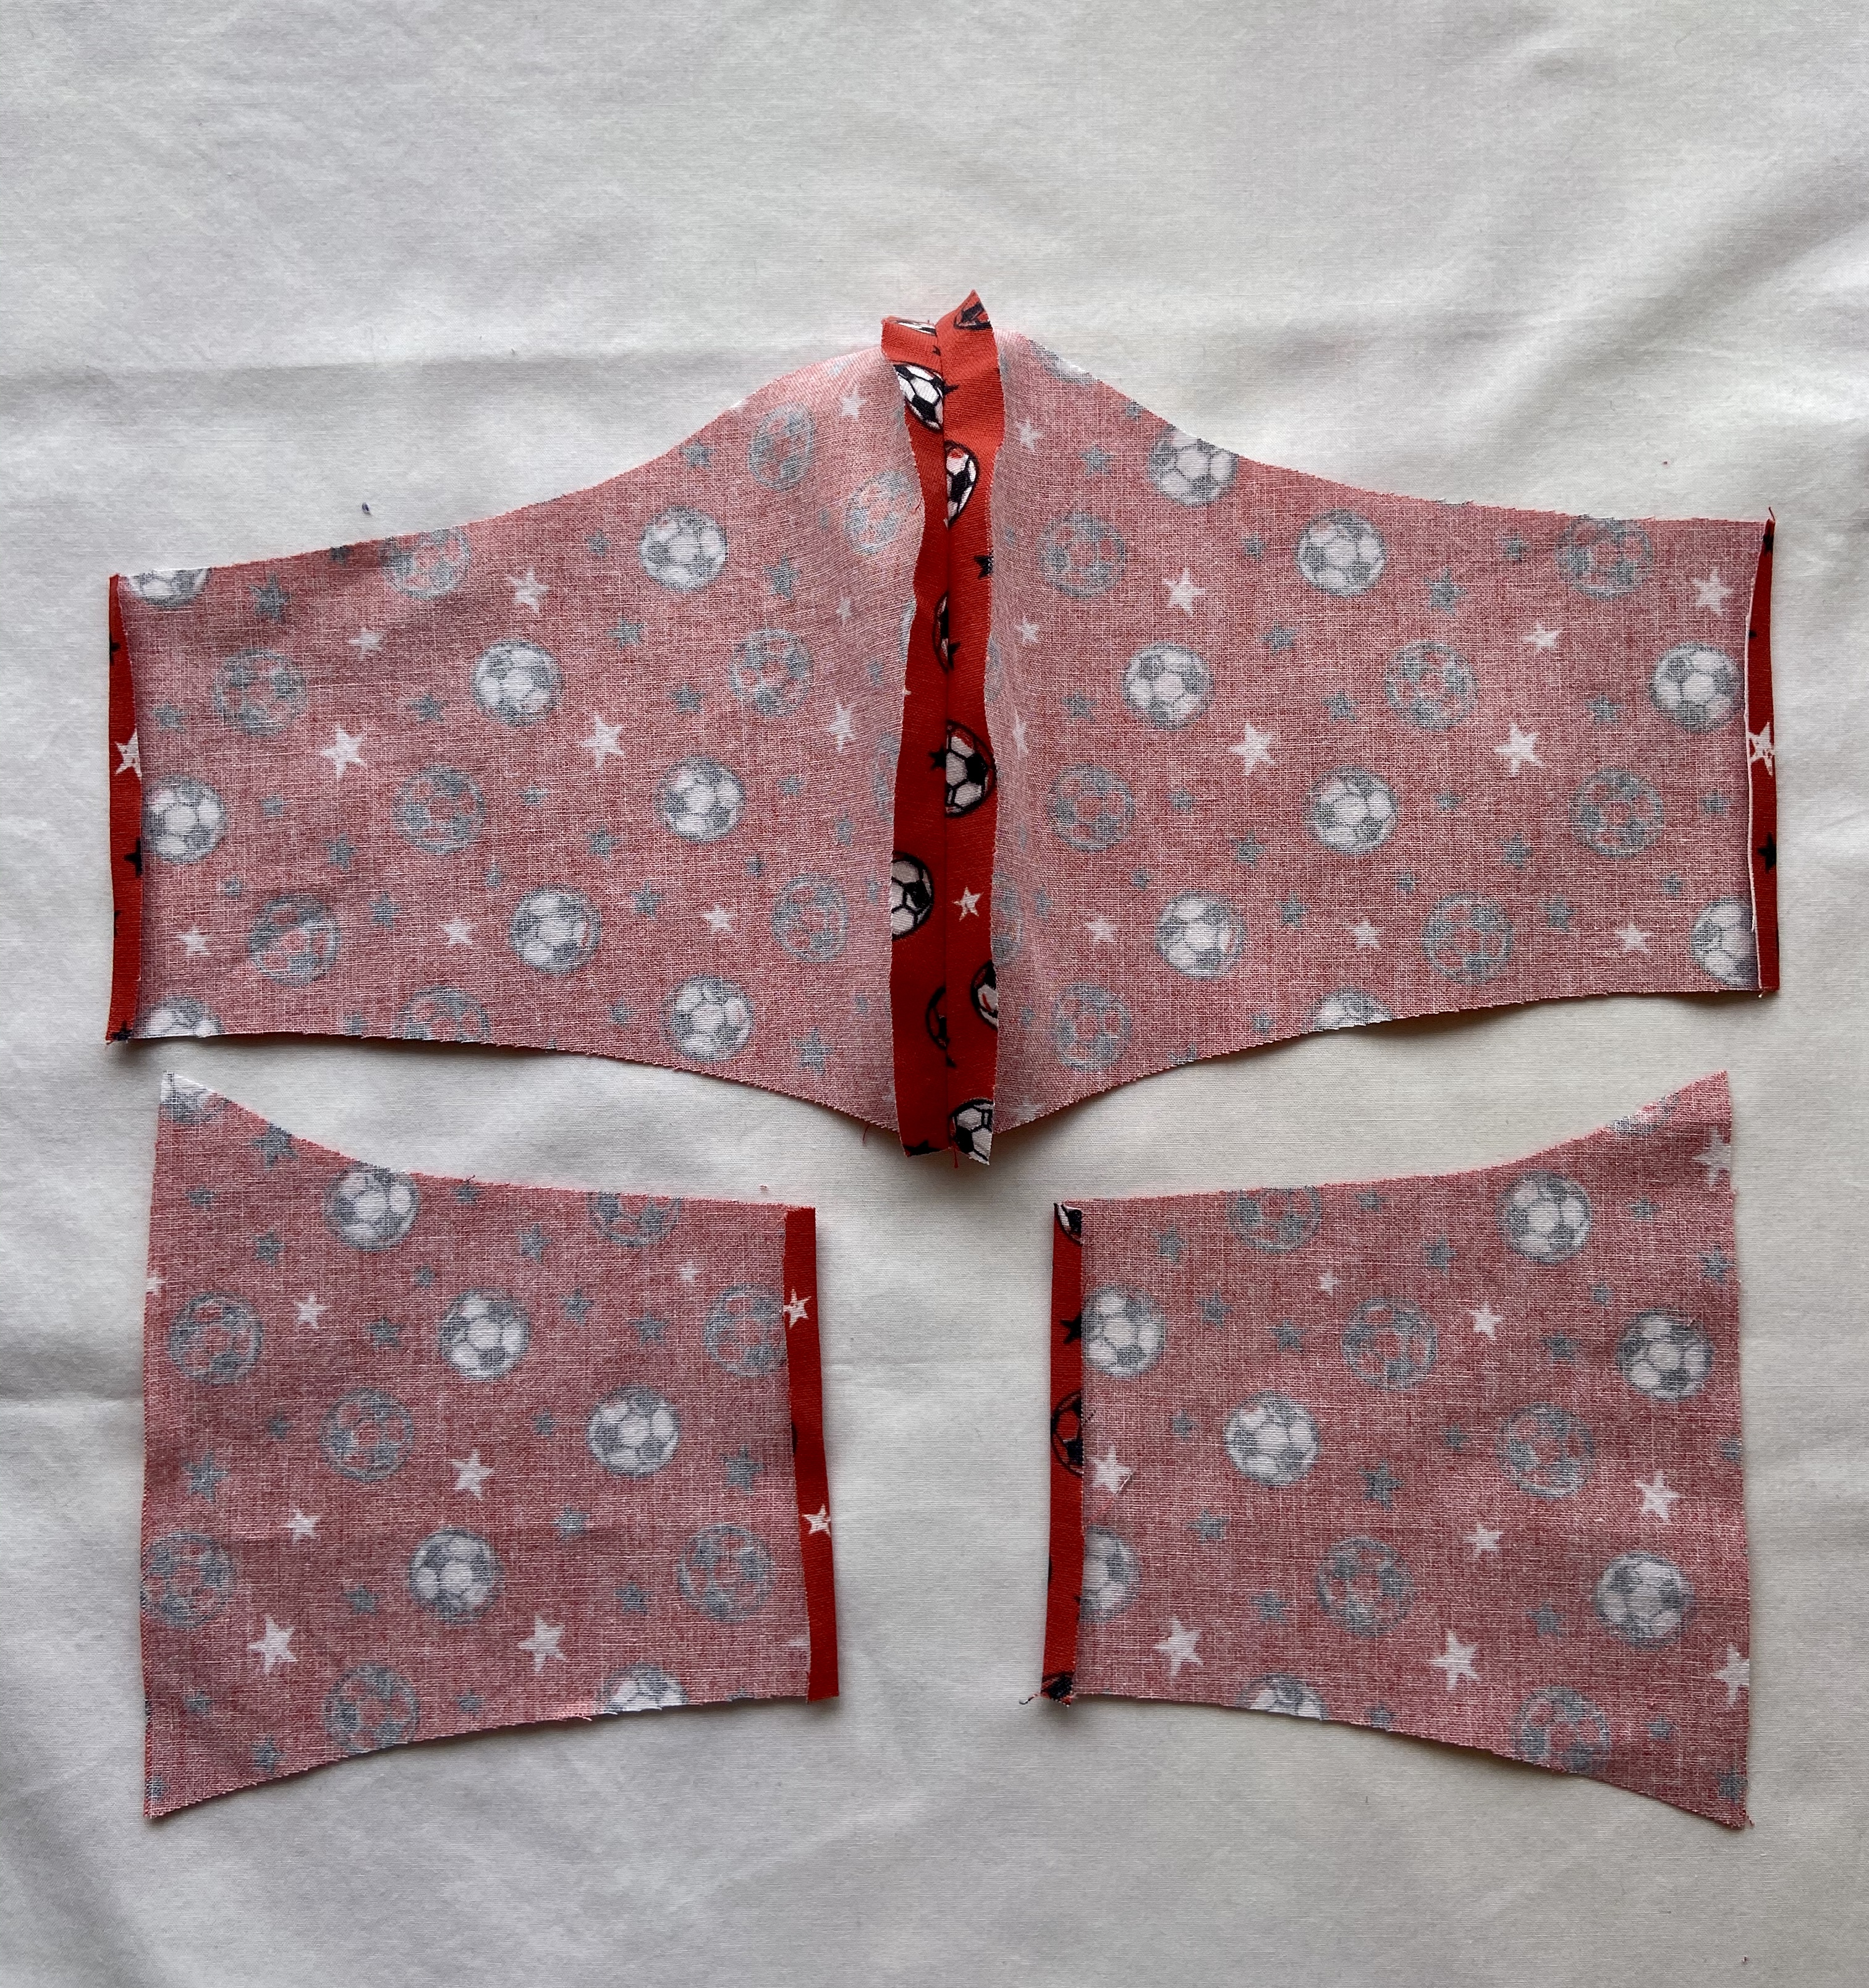
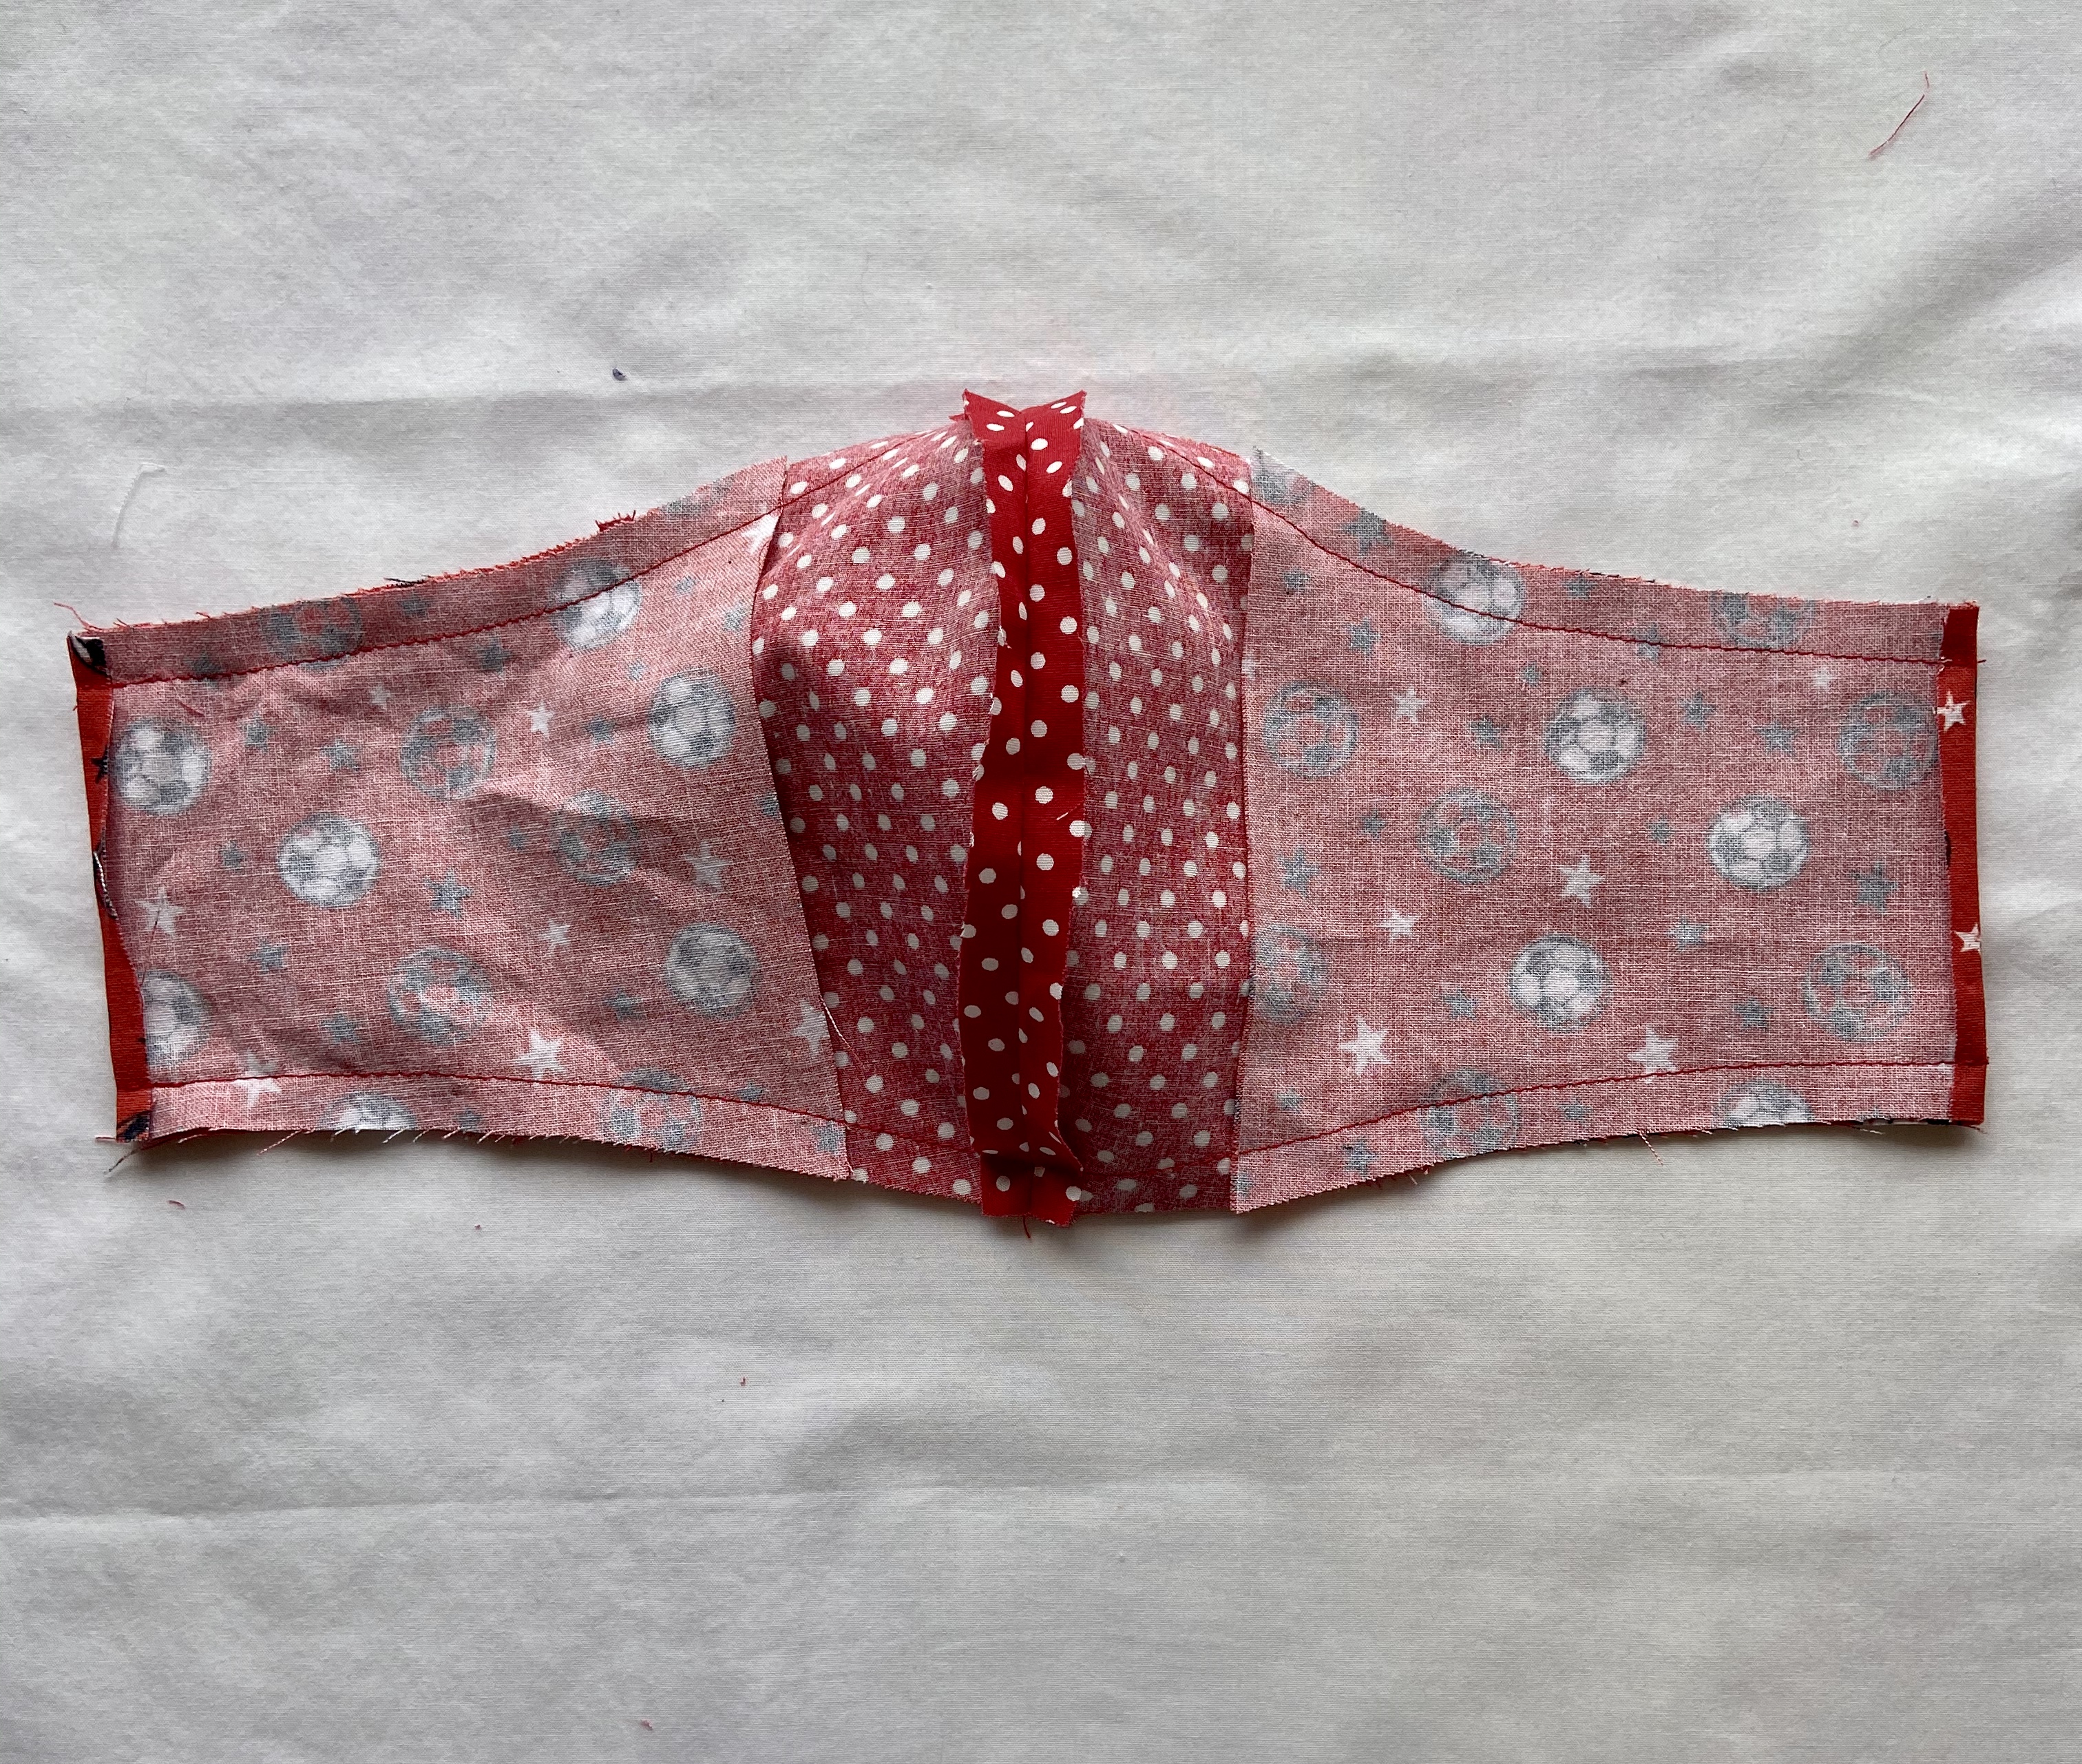
3.Right sides together stitch centre front curved seam of main fabric A and repeat for filter pocket B
4.Press seams open.
Tip: Use your iron at either end of the seam and your thumb and finger to press open the central curved area
5.Fold 0.5cm of straight edge of filter pocket to wrong side, press fold again, press, stitch in place close to inner edge
6.On the straight edge of A and the shorter straight edge of lining C fold 0.5cm to the wrong side, press in place
7.On the side piece C only trim away the fabric along the fold line you made (see photo step 6 simple mask)
8.Open out the fold you made on the outer fabric A so it is flat. Right sides together pin the outer mask A and the filter pocket B together. Start by matching the centre seams (make sure they are flat) and then continue along the top and bottom edges.
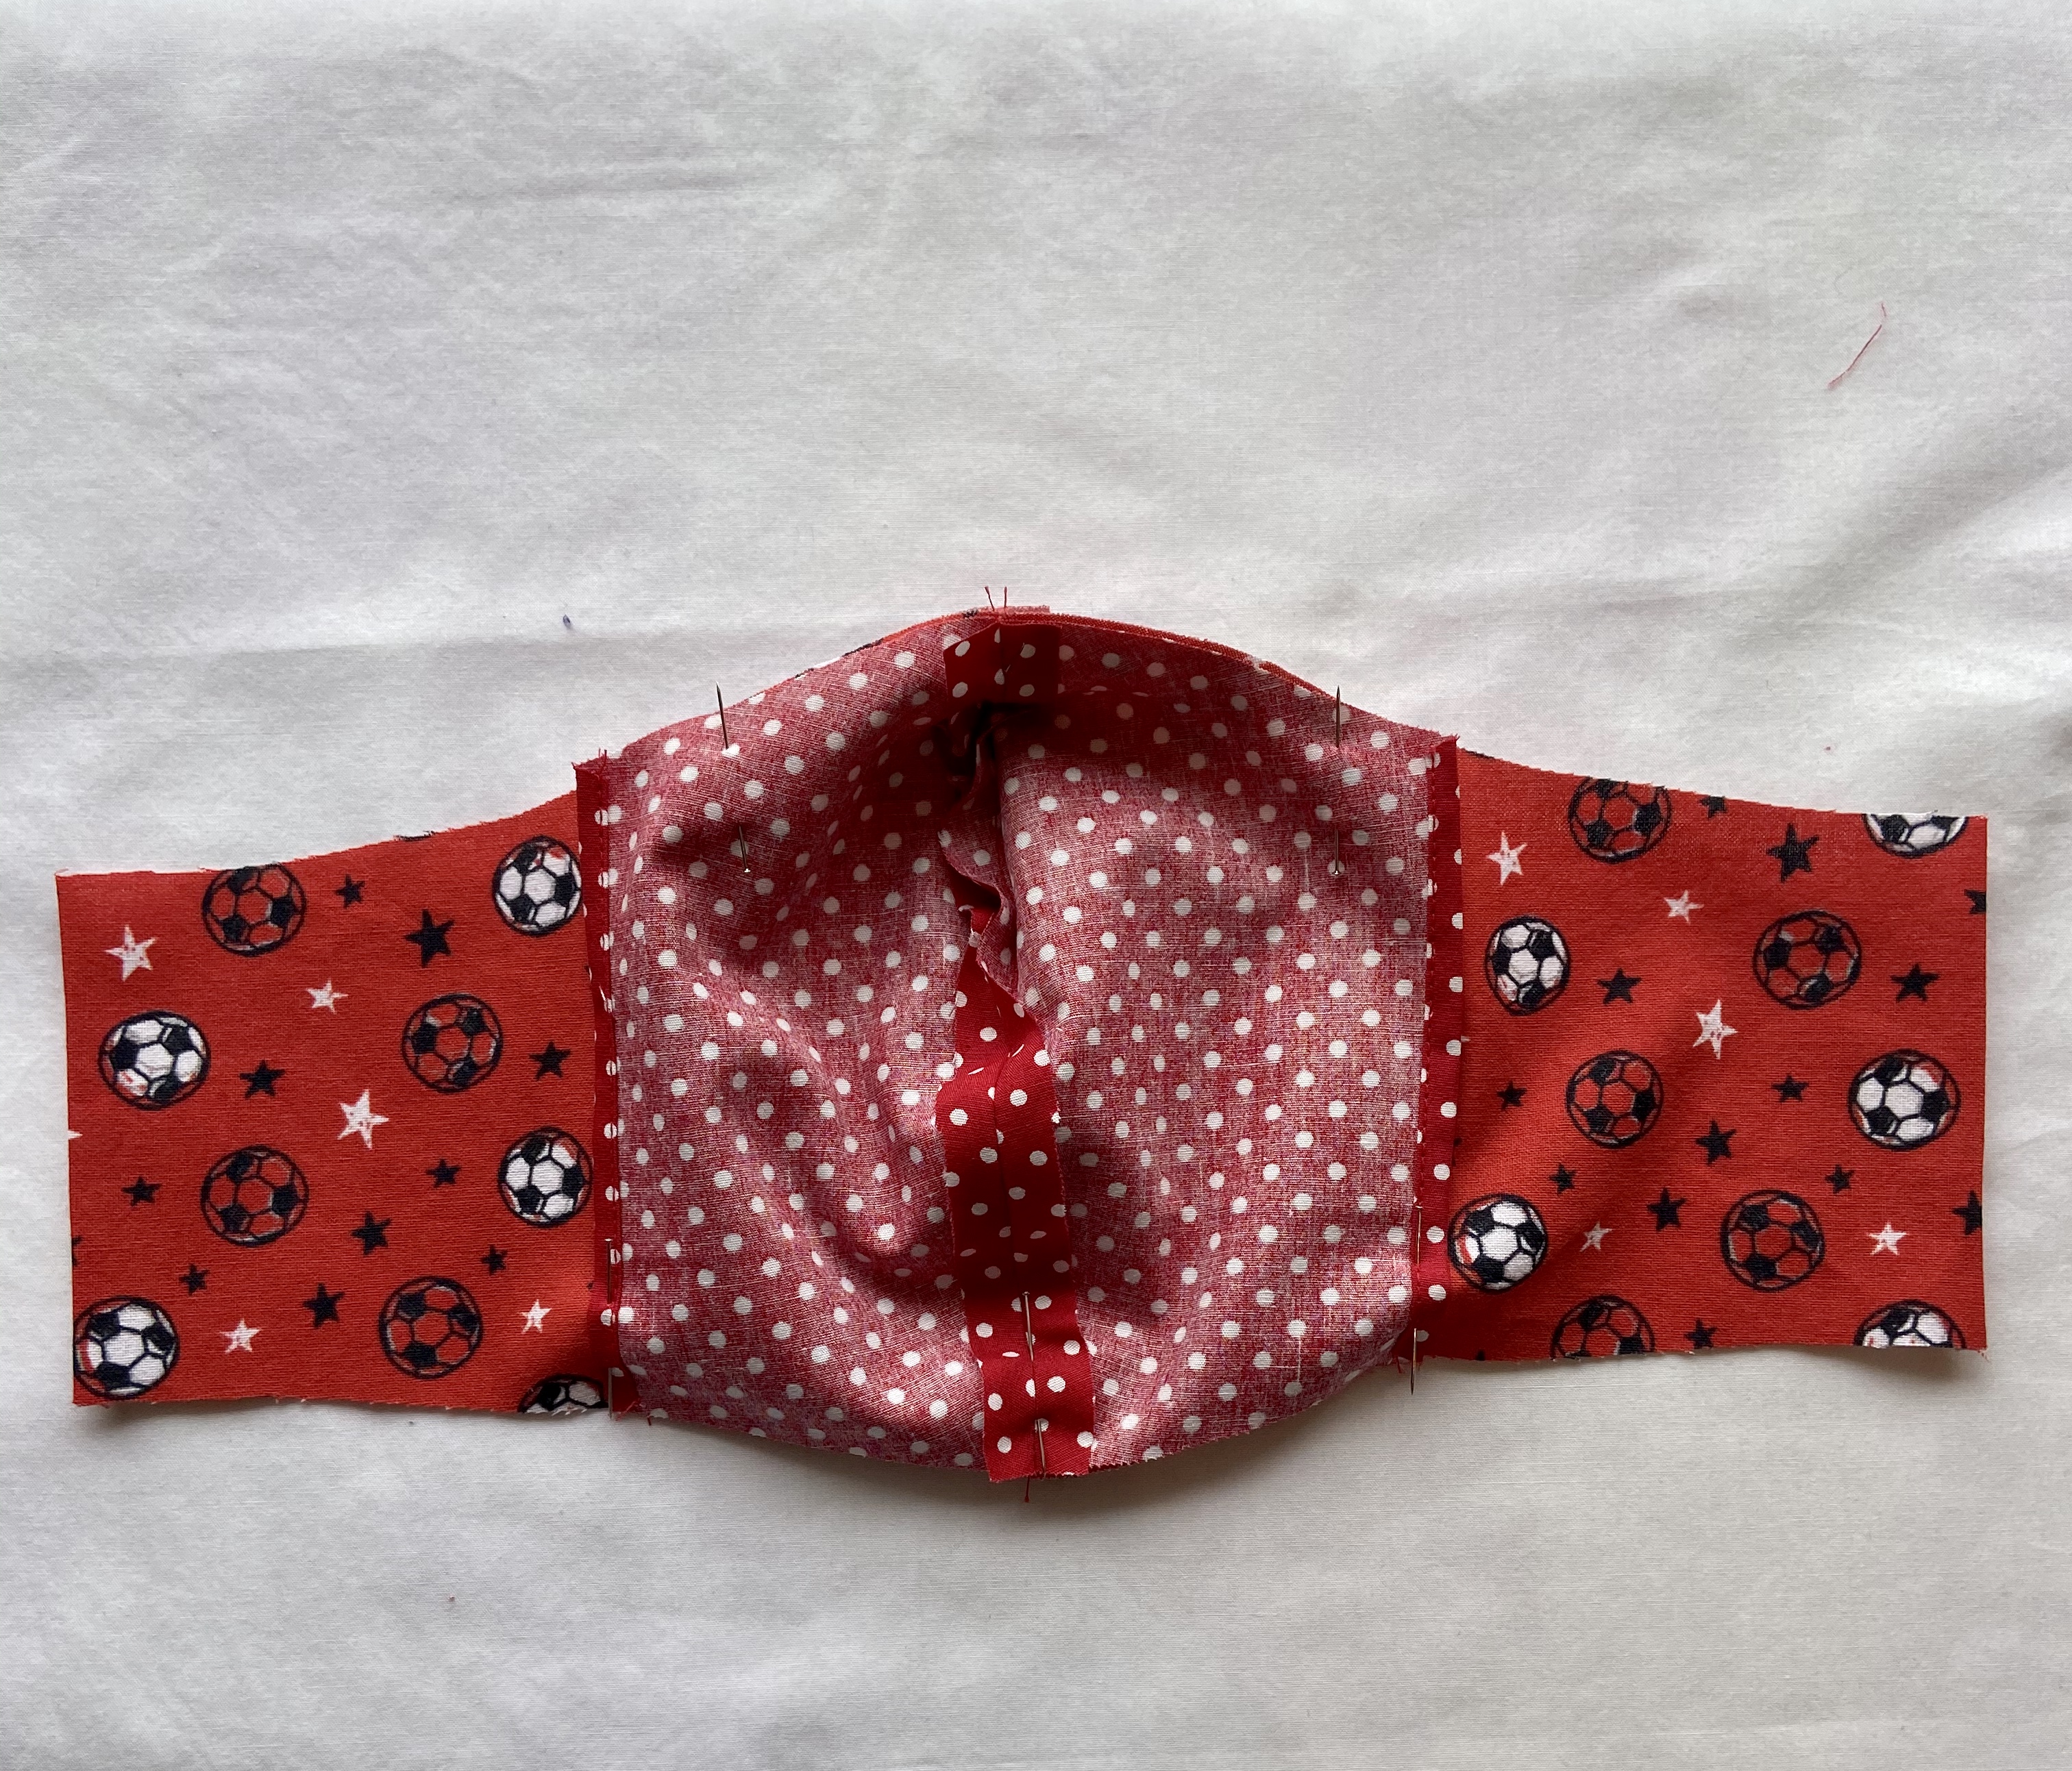
9.Right side together align the straight cut edge of the side piece C to the fold line you made on the outer fabric A. The outer fabric will extend beyond the side piece C and side piece C will overlap the wrong side of the filter pocket B. Pin in place. (see more detailed picture step 7 for simple mask)
10.Sew together along the top and bottom curved edges – leave the straight ends open. Do a few back stitches at the start and finish to secure stitching.
Continue as with simple mask steps 8, 9, 10
Attaching elastic to mask
There are two ways to attach the elastic
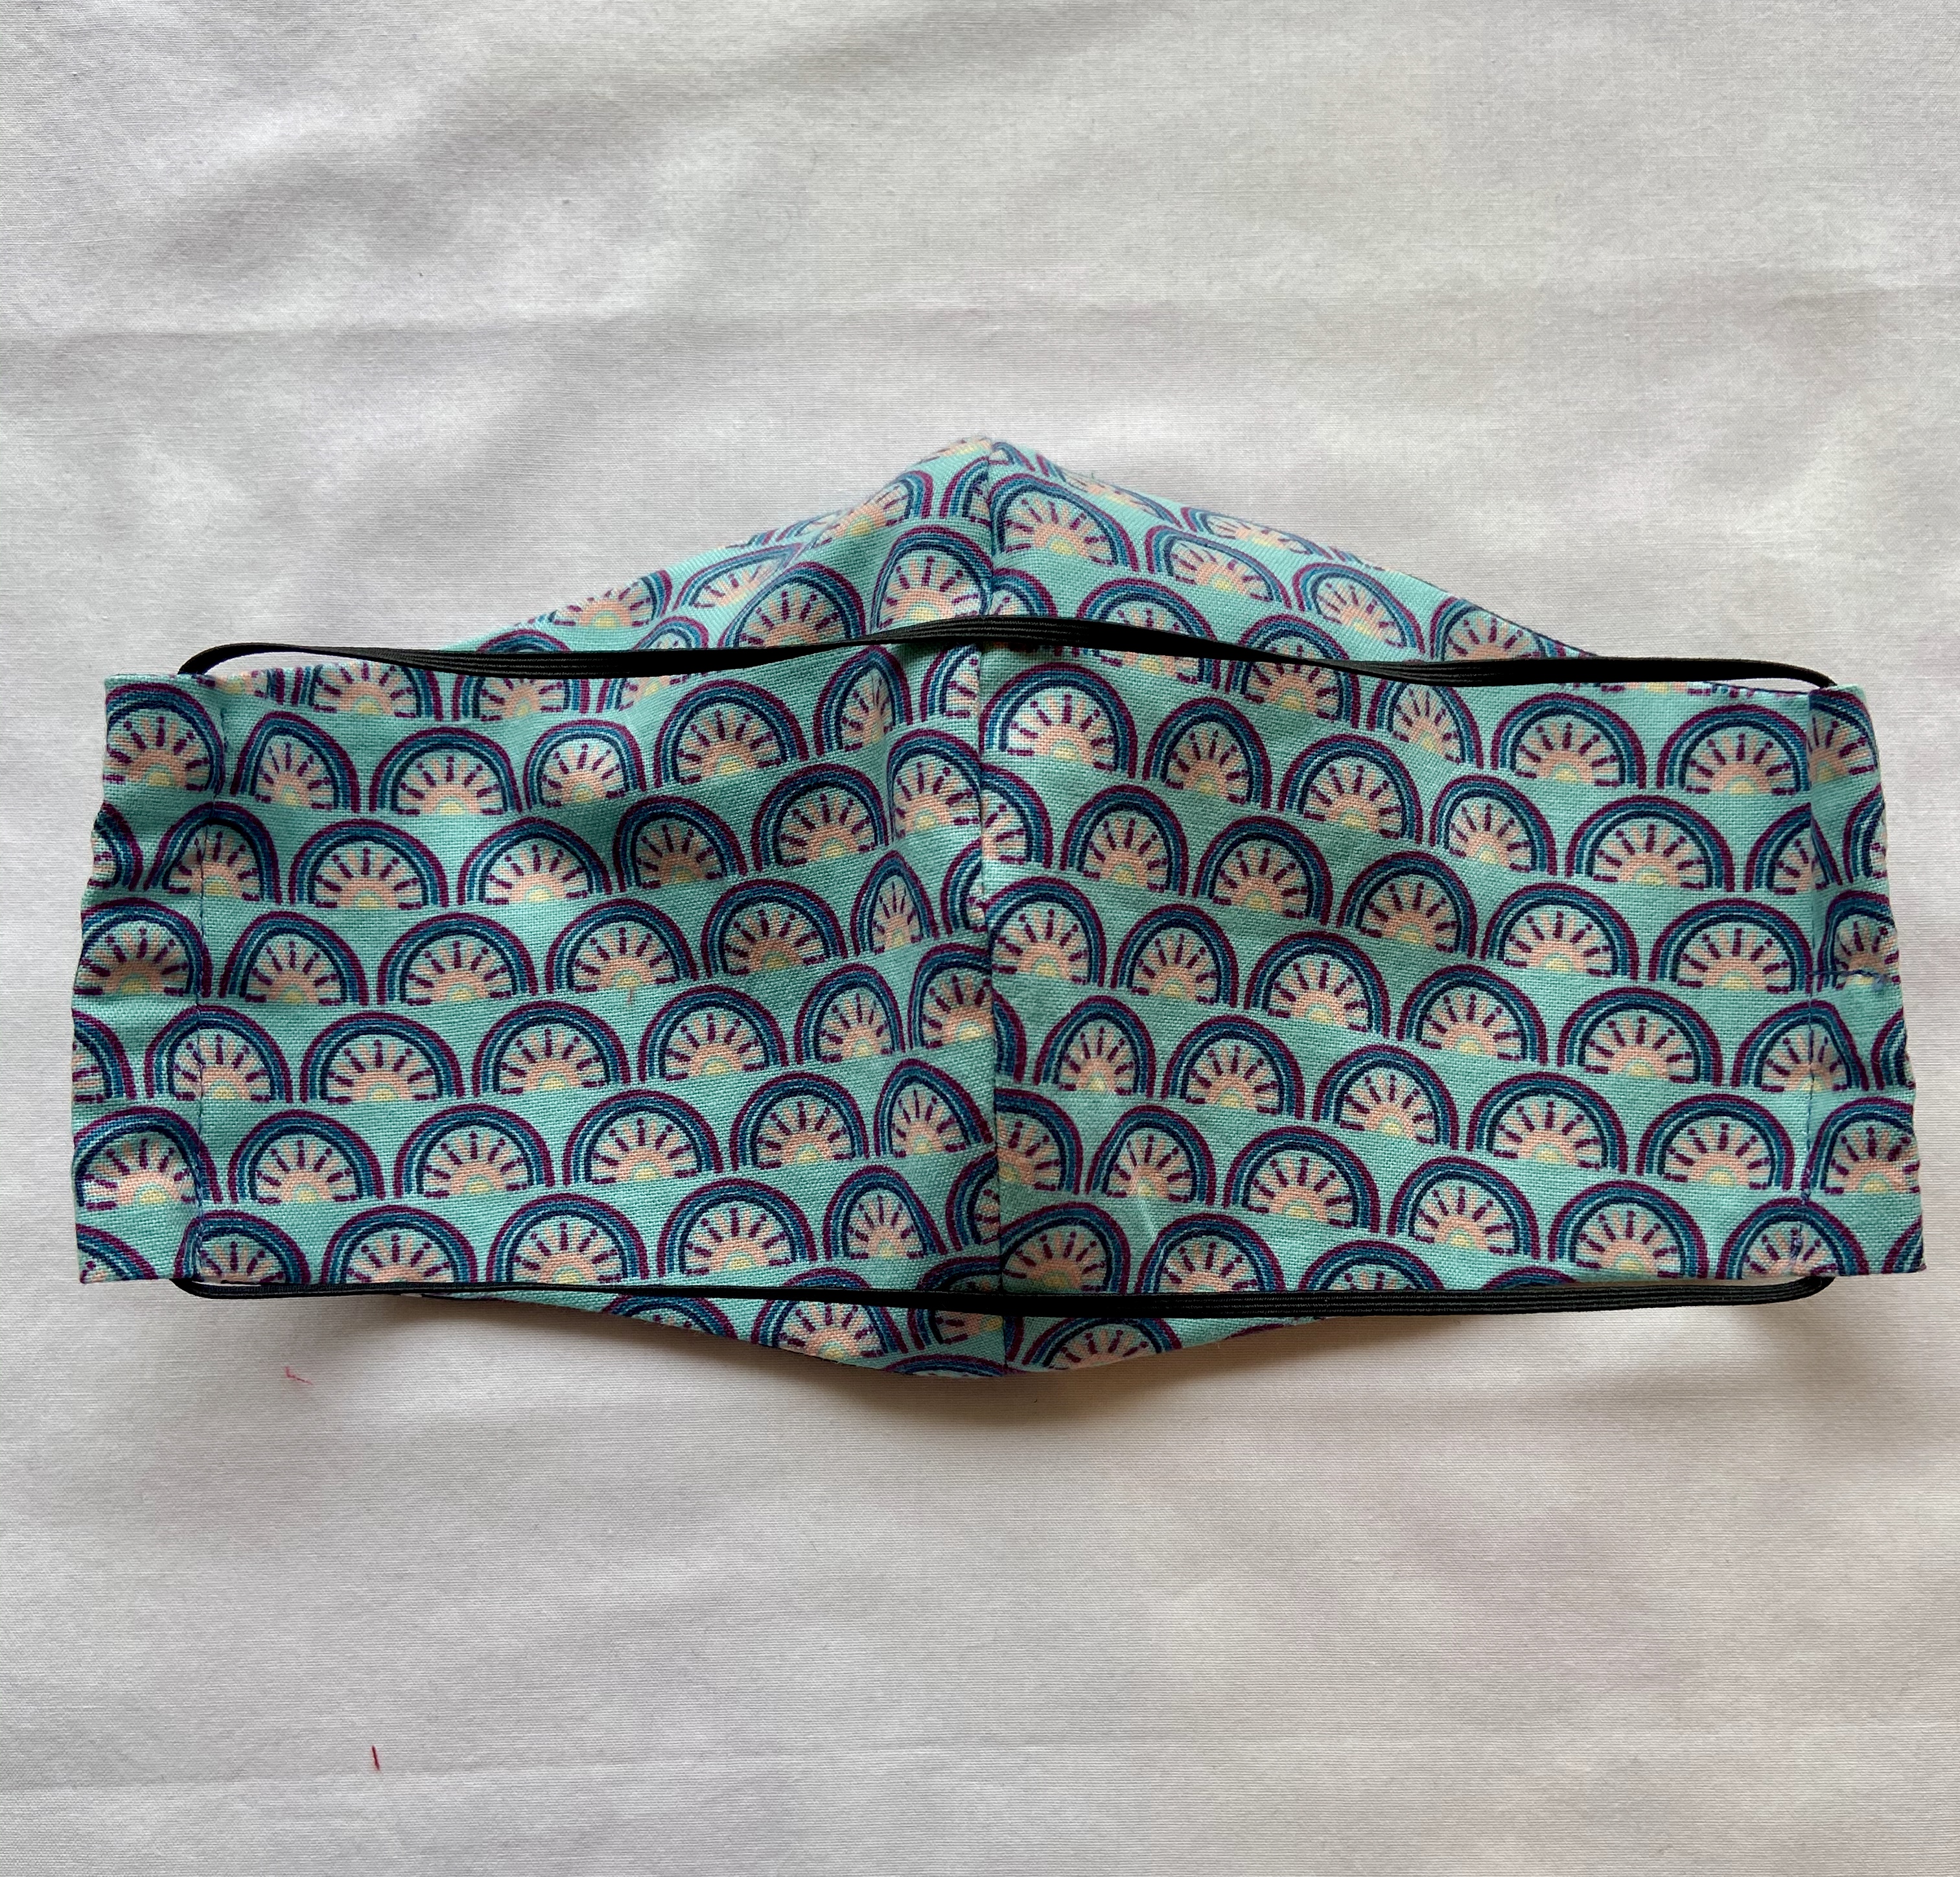
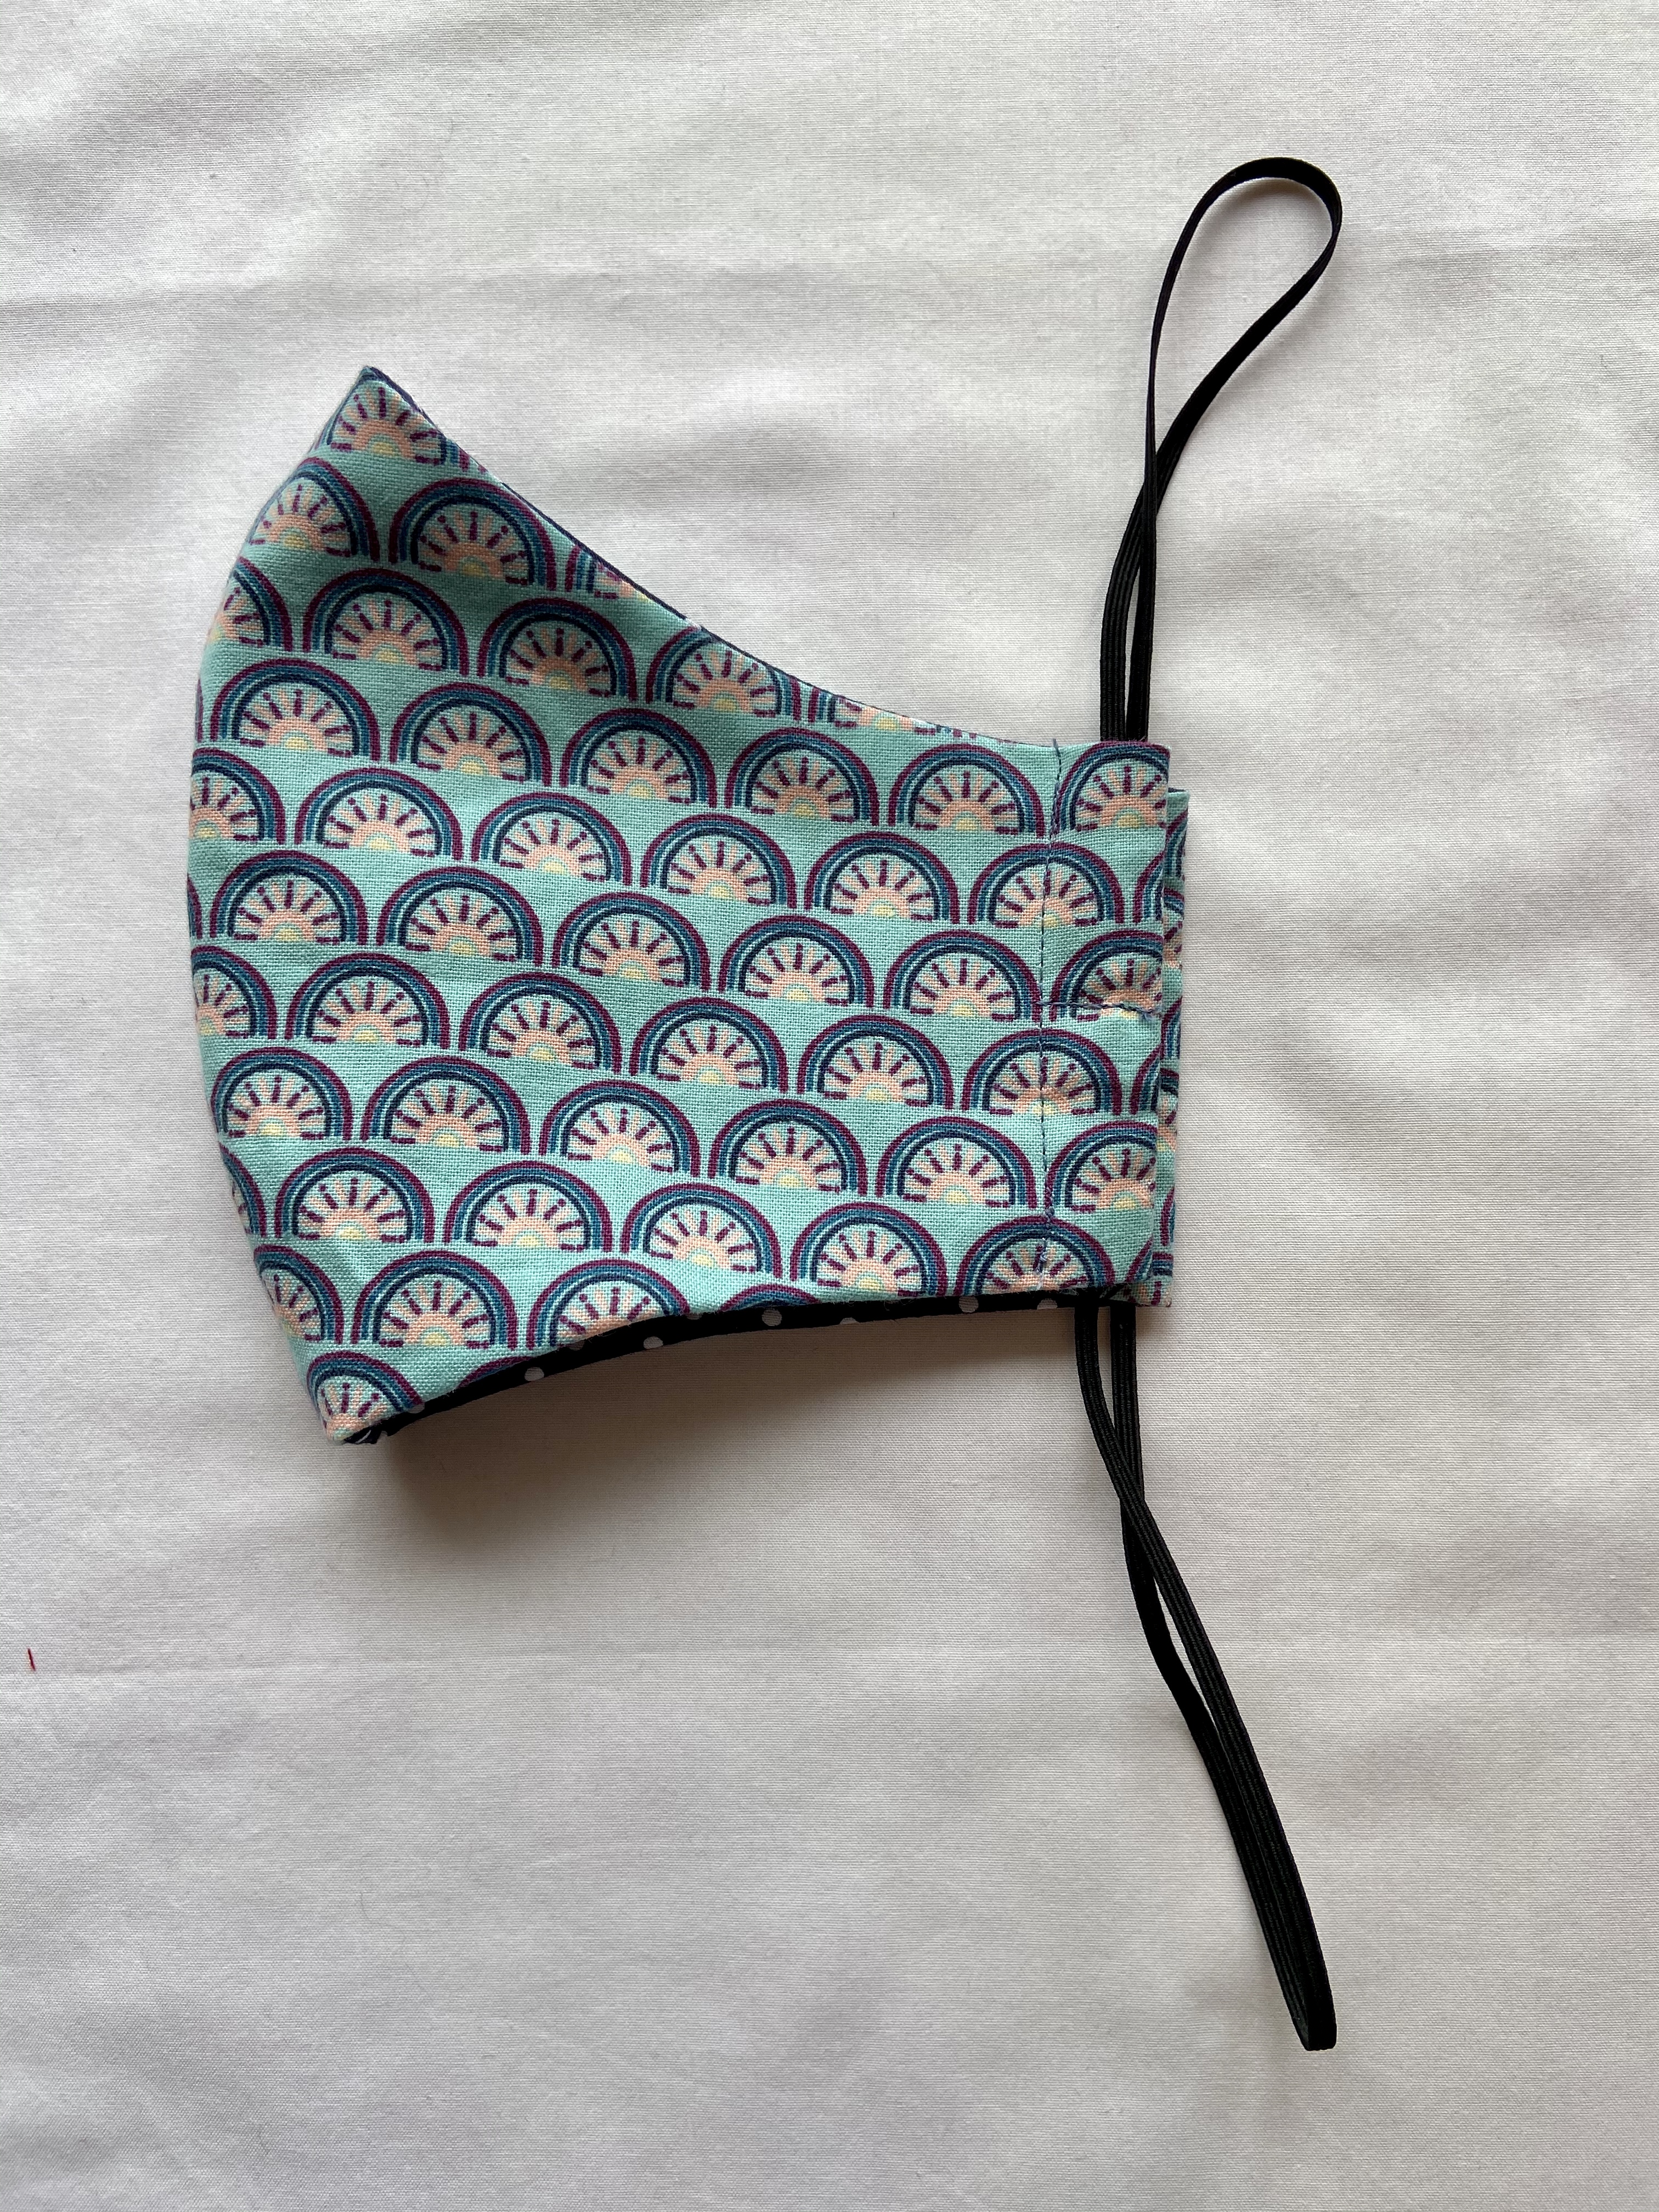
1.Simple loops over ears
Cut two pieces of elastic about 20cm long
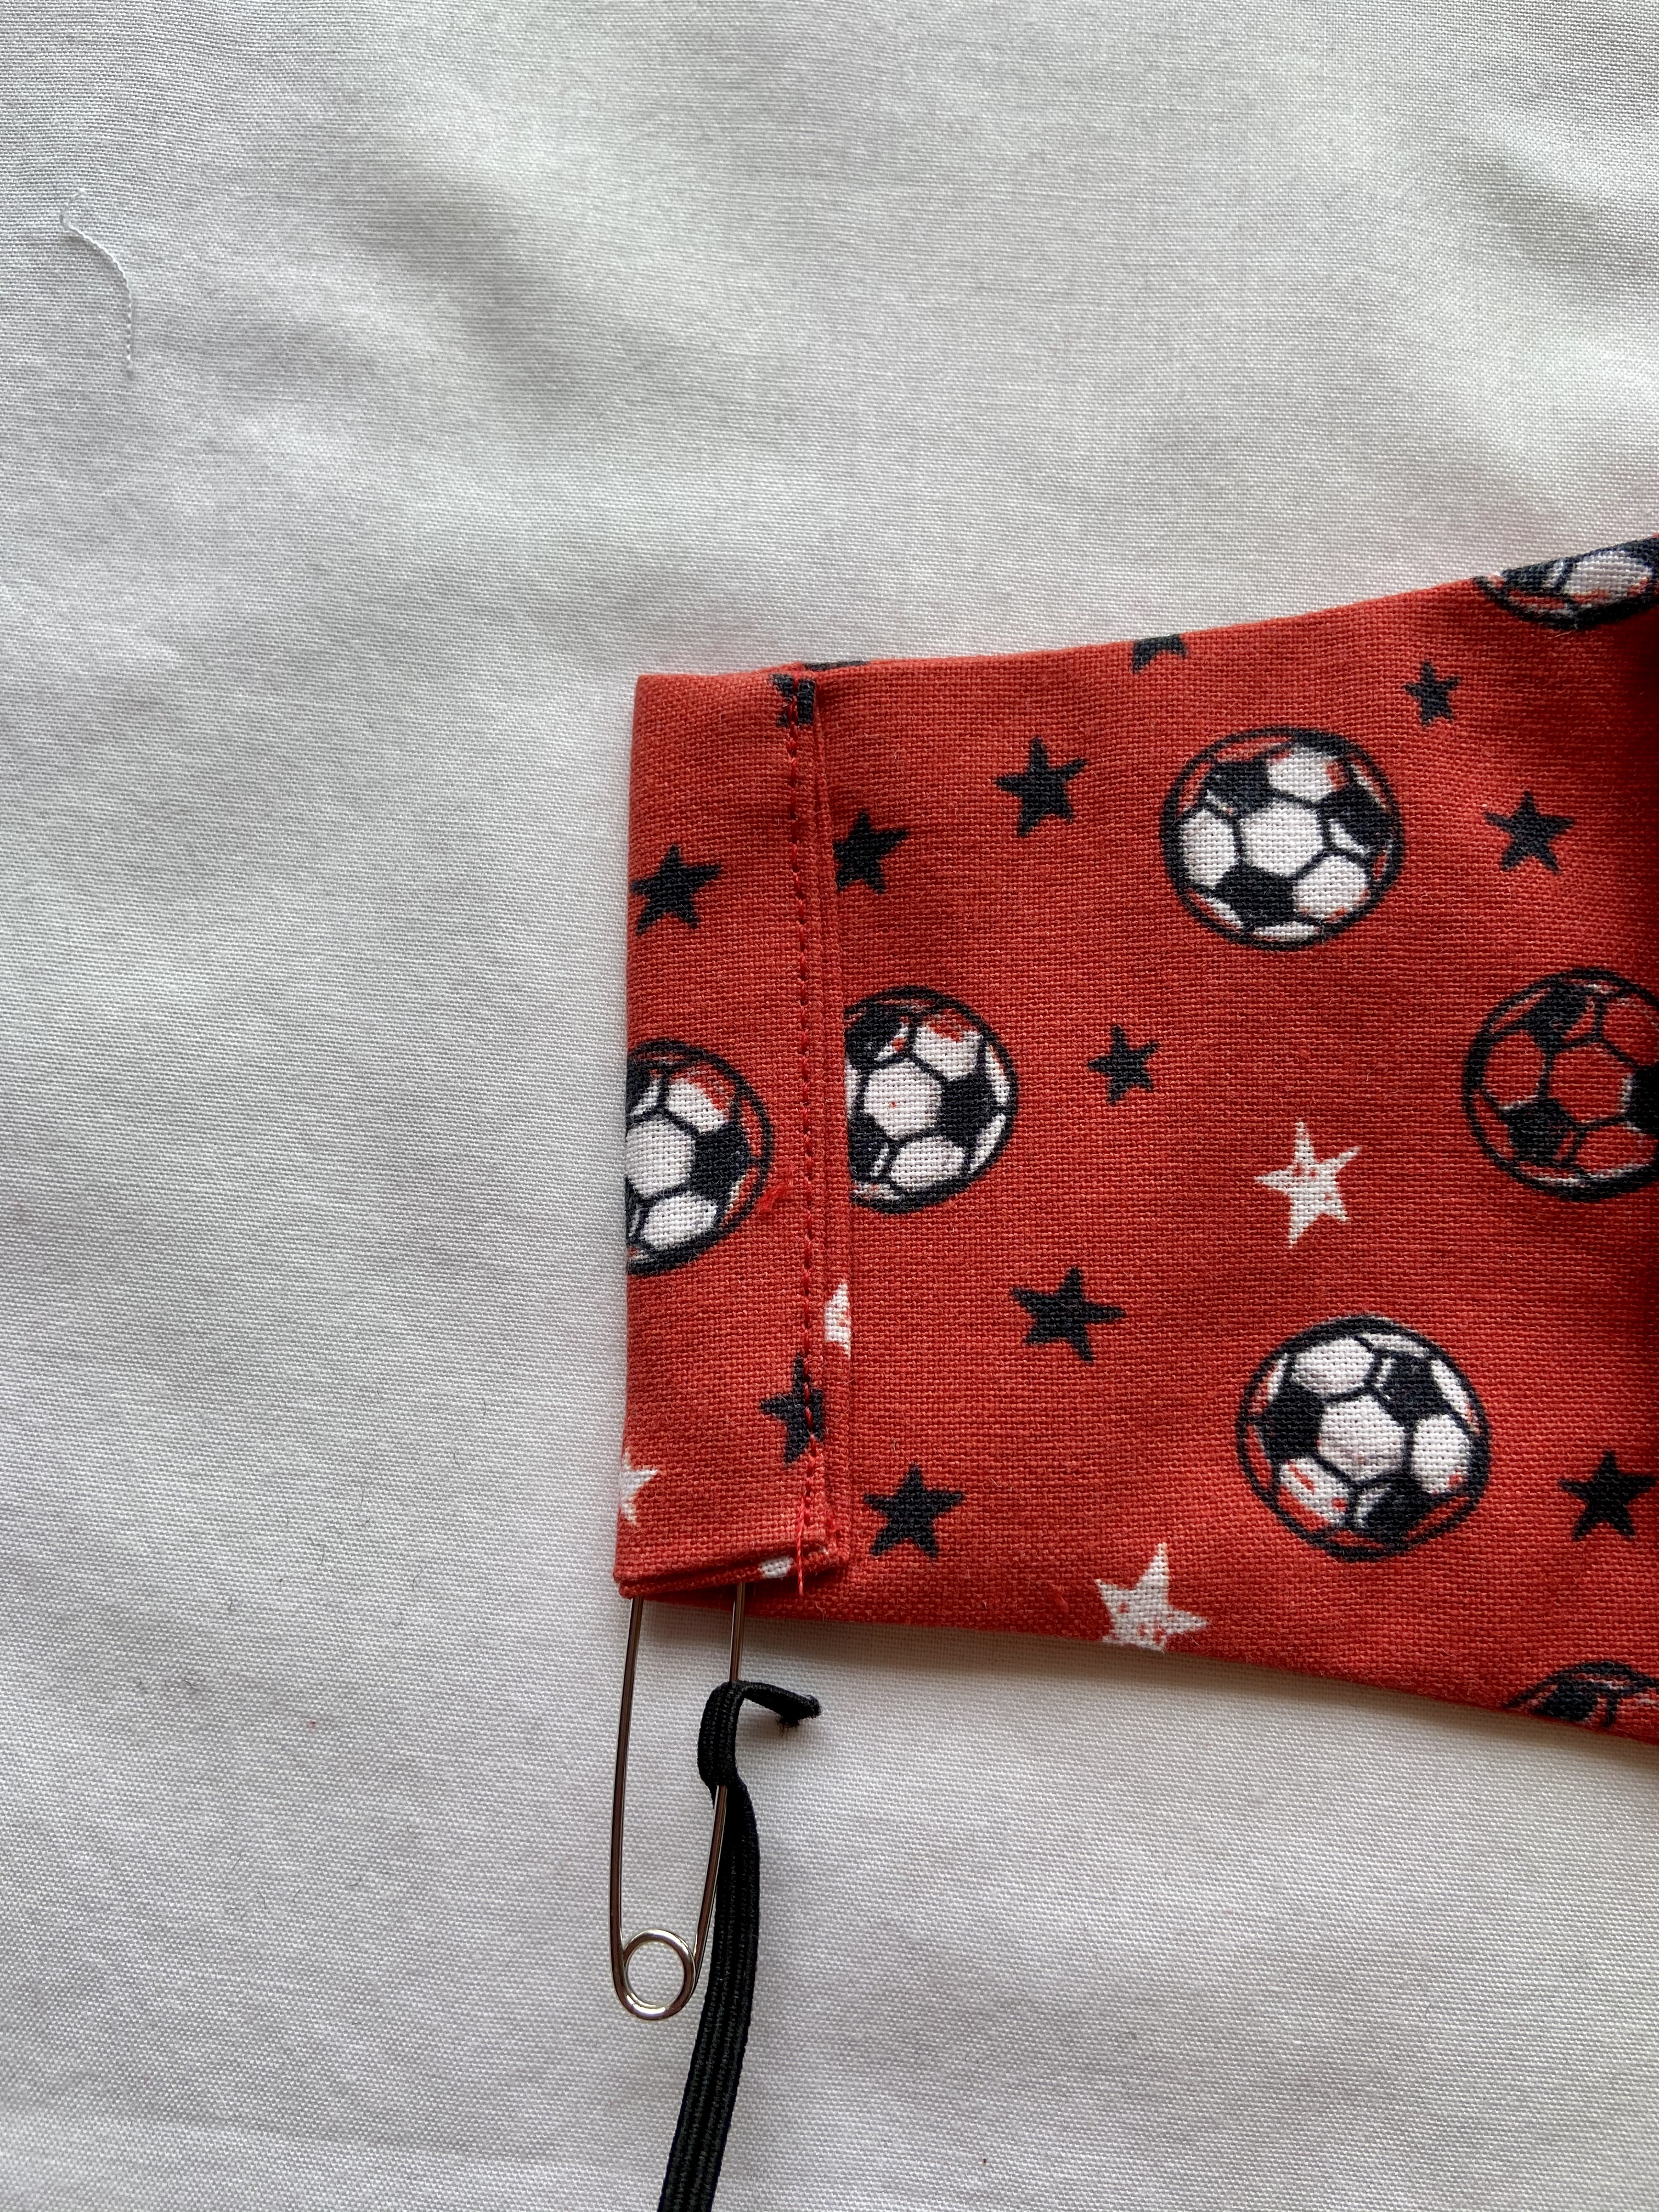
Using a safety pin thread through the channel
Adjust to fit and sew ends together by hand
Pull elastic so joined ends are hidden in middle of channel
Sew across centre of channel to hold in place
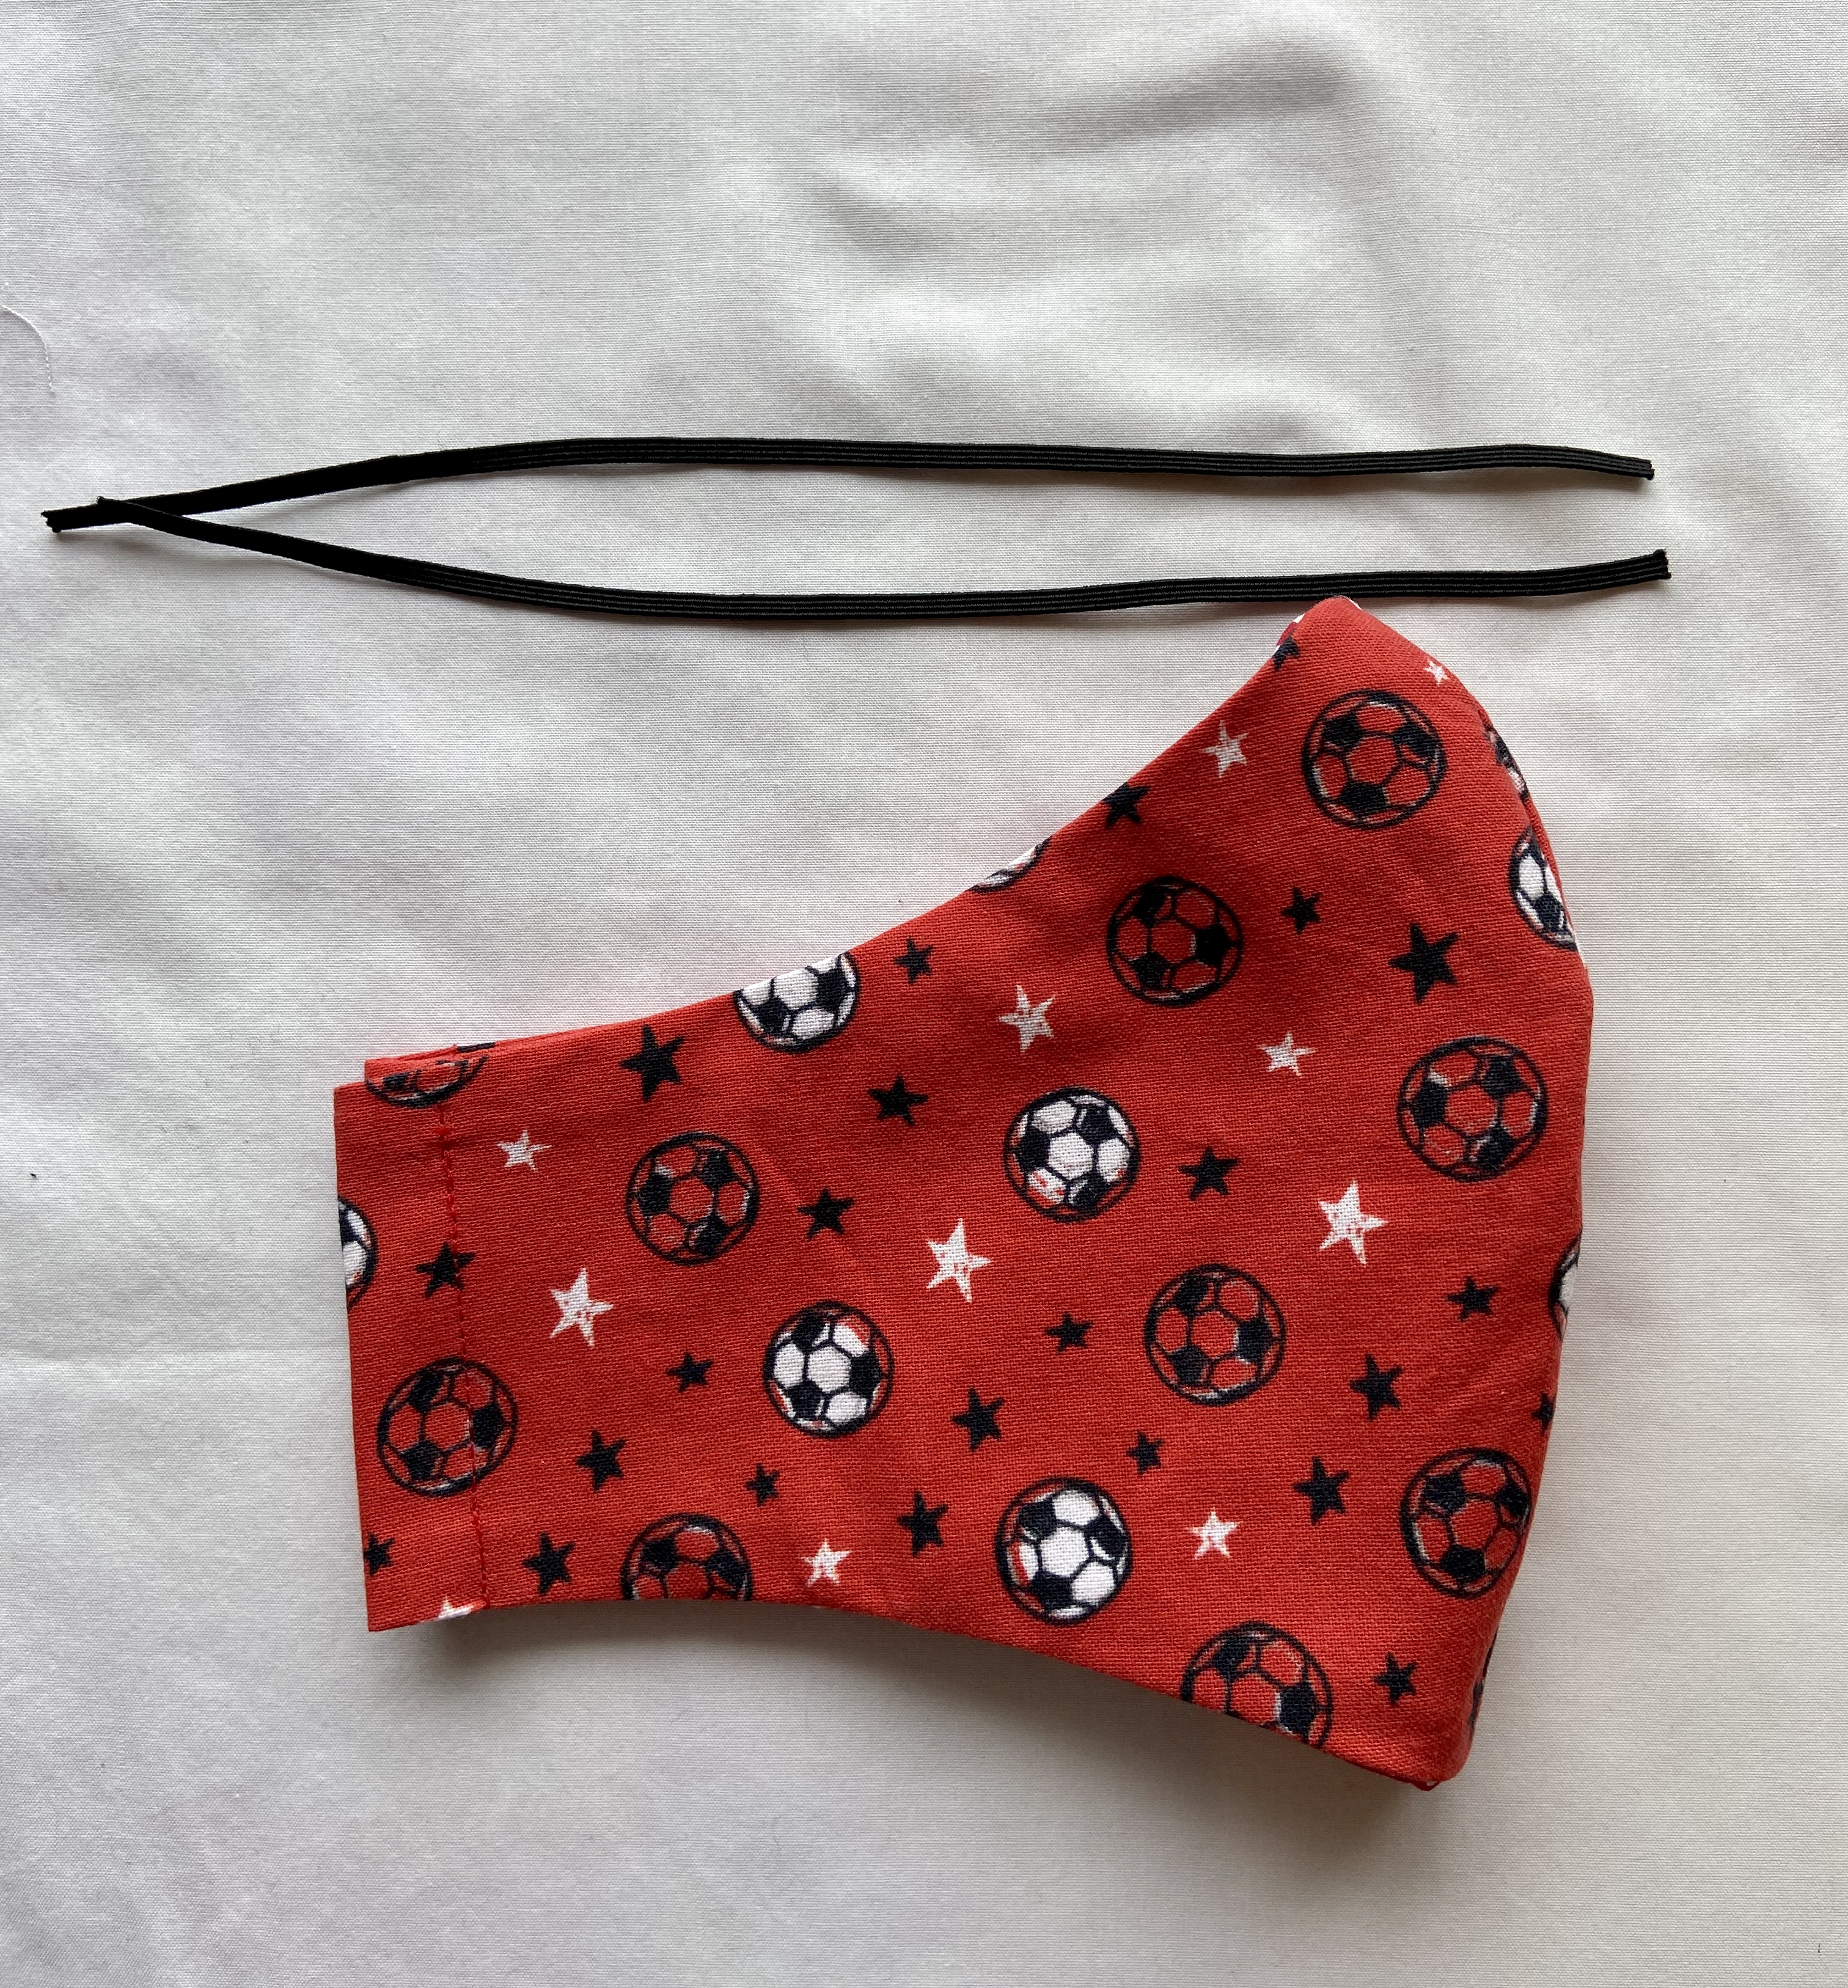
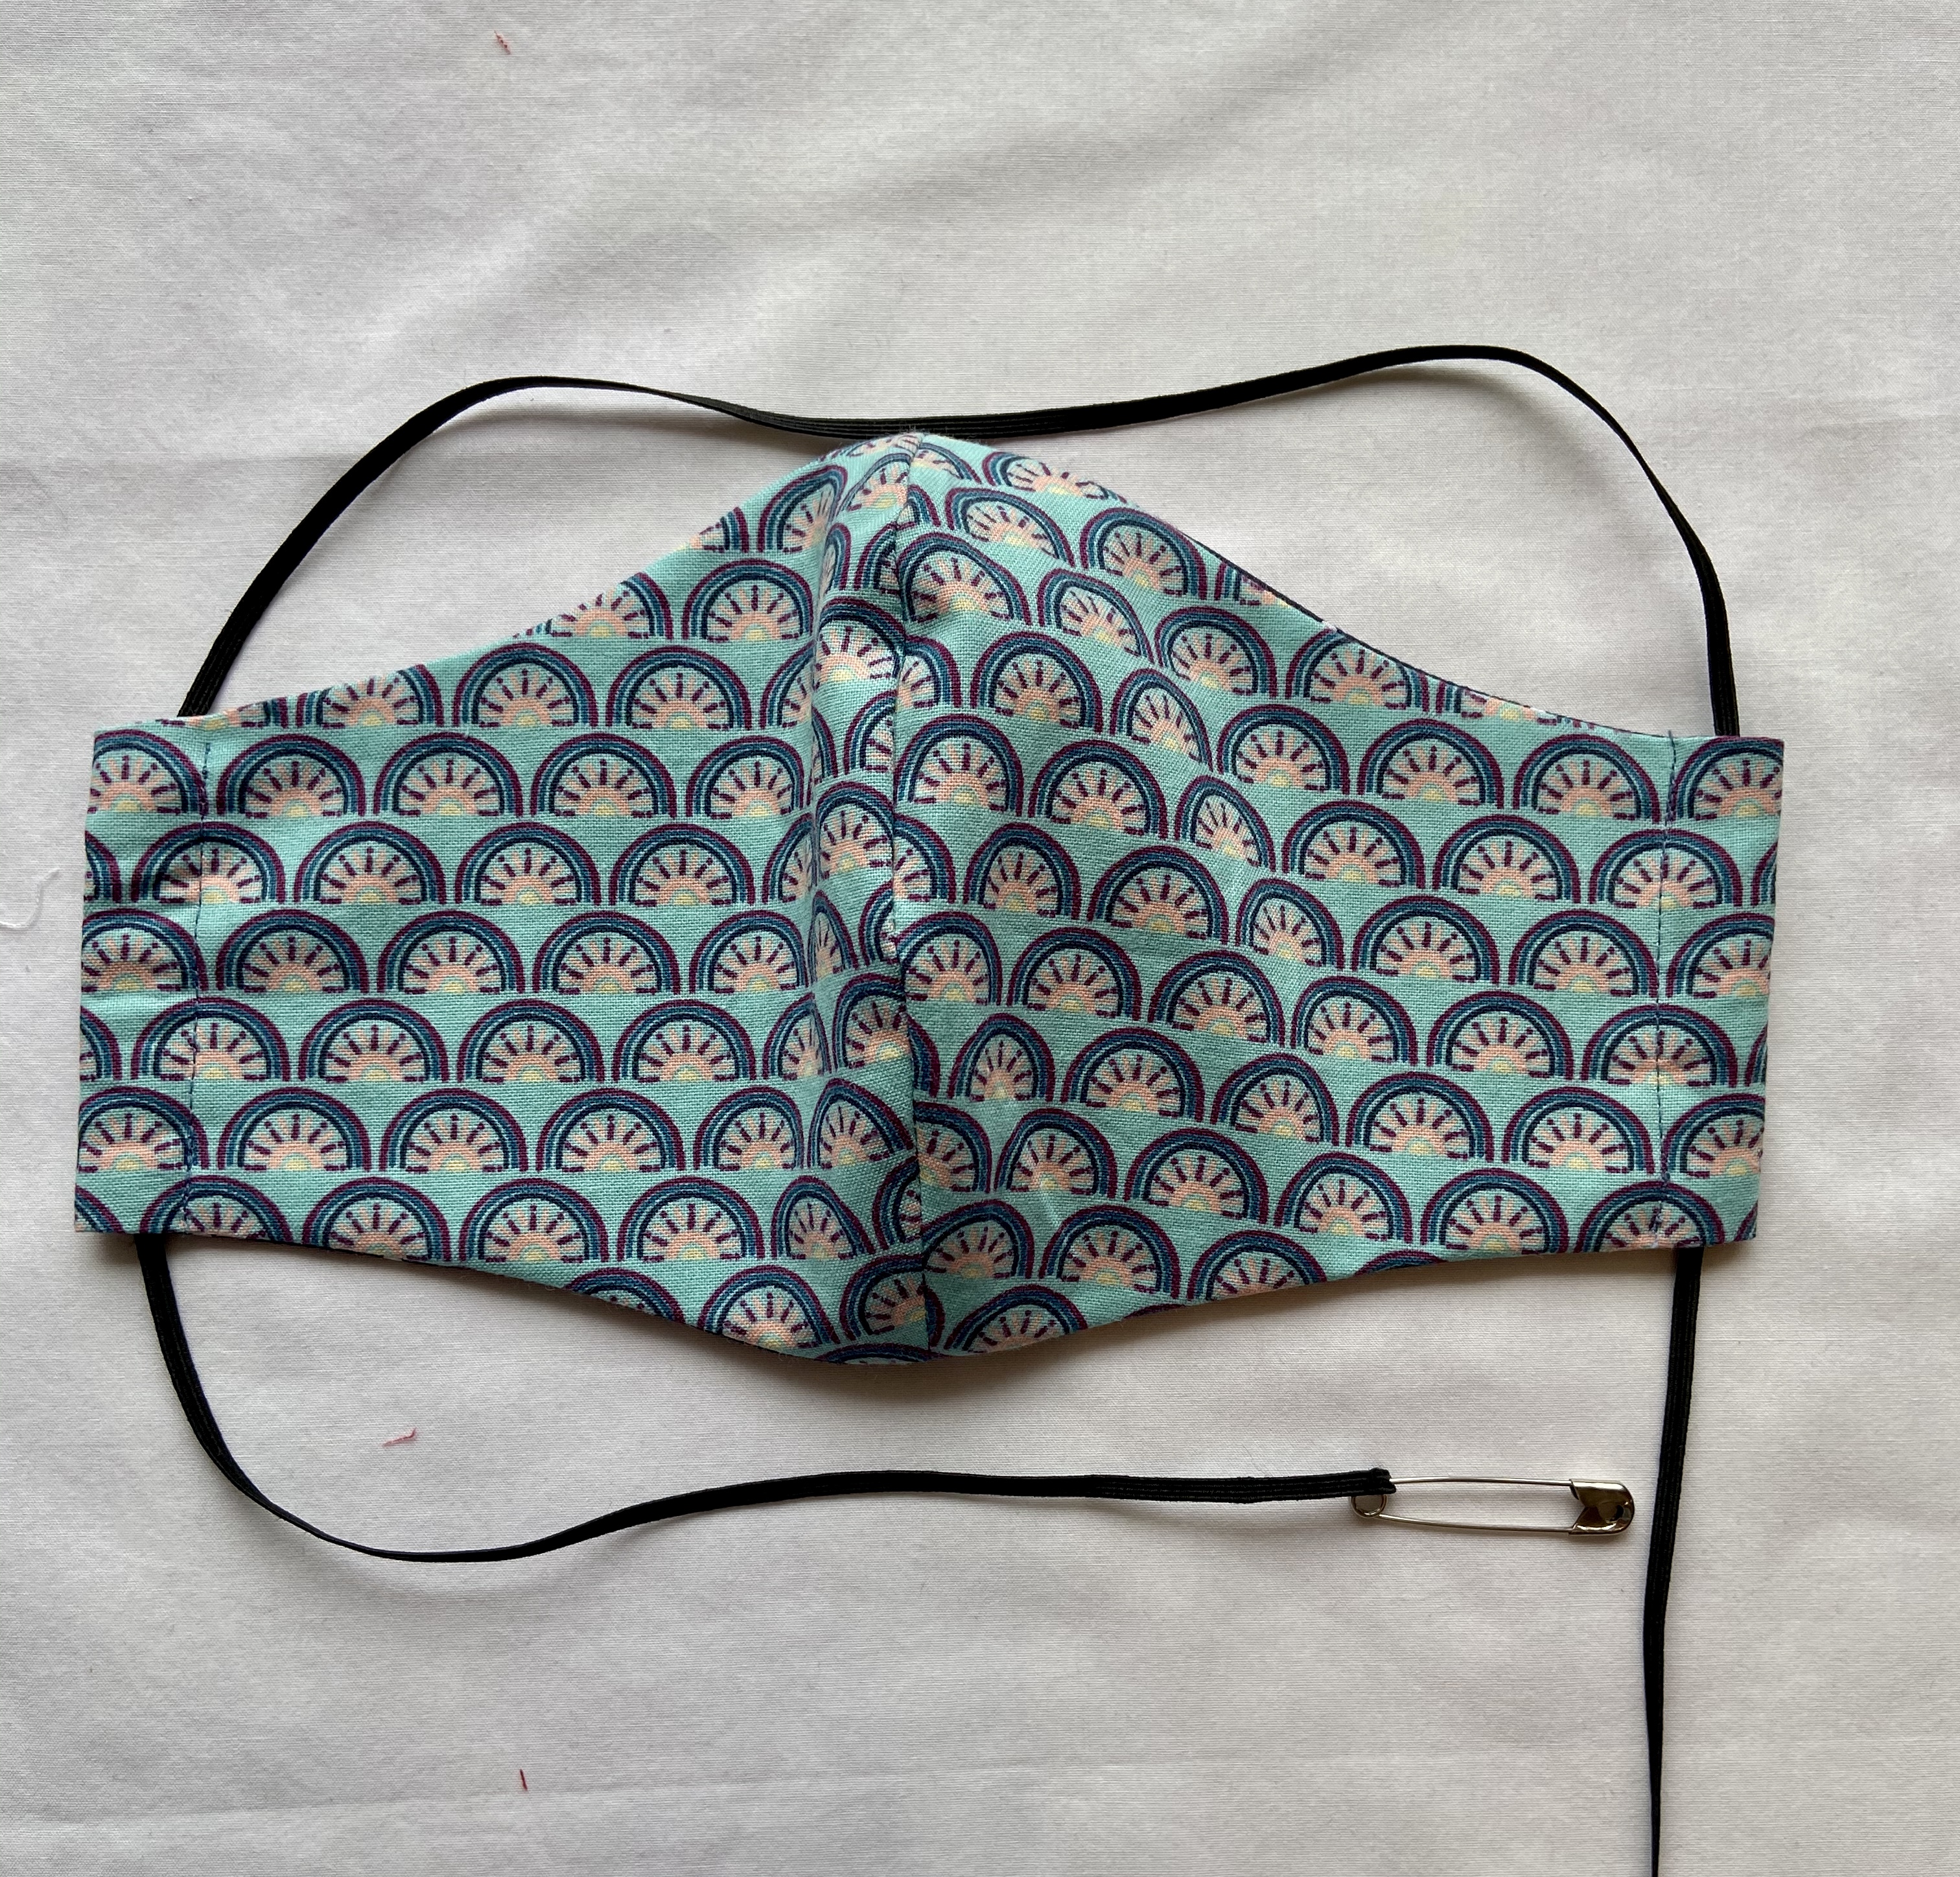
2.Elastic to go around back of head
Using a safety pin, thread a long piece of elastic down one channel and then up through the other
Try mask on with elastic around the back of your head
Adjust to fit securely
Sew ends together
Pull elastic so joined end is hidden in middle of one channel
Sew across centre of channel to hold in place
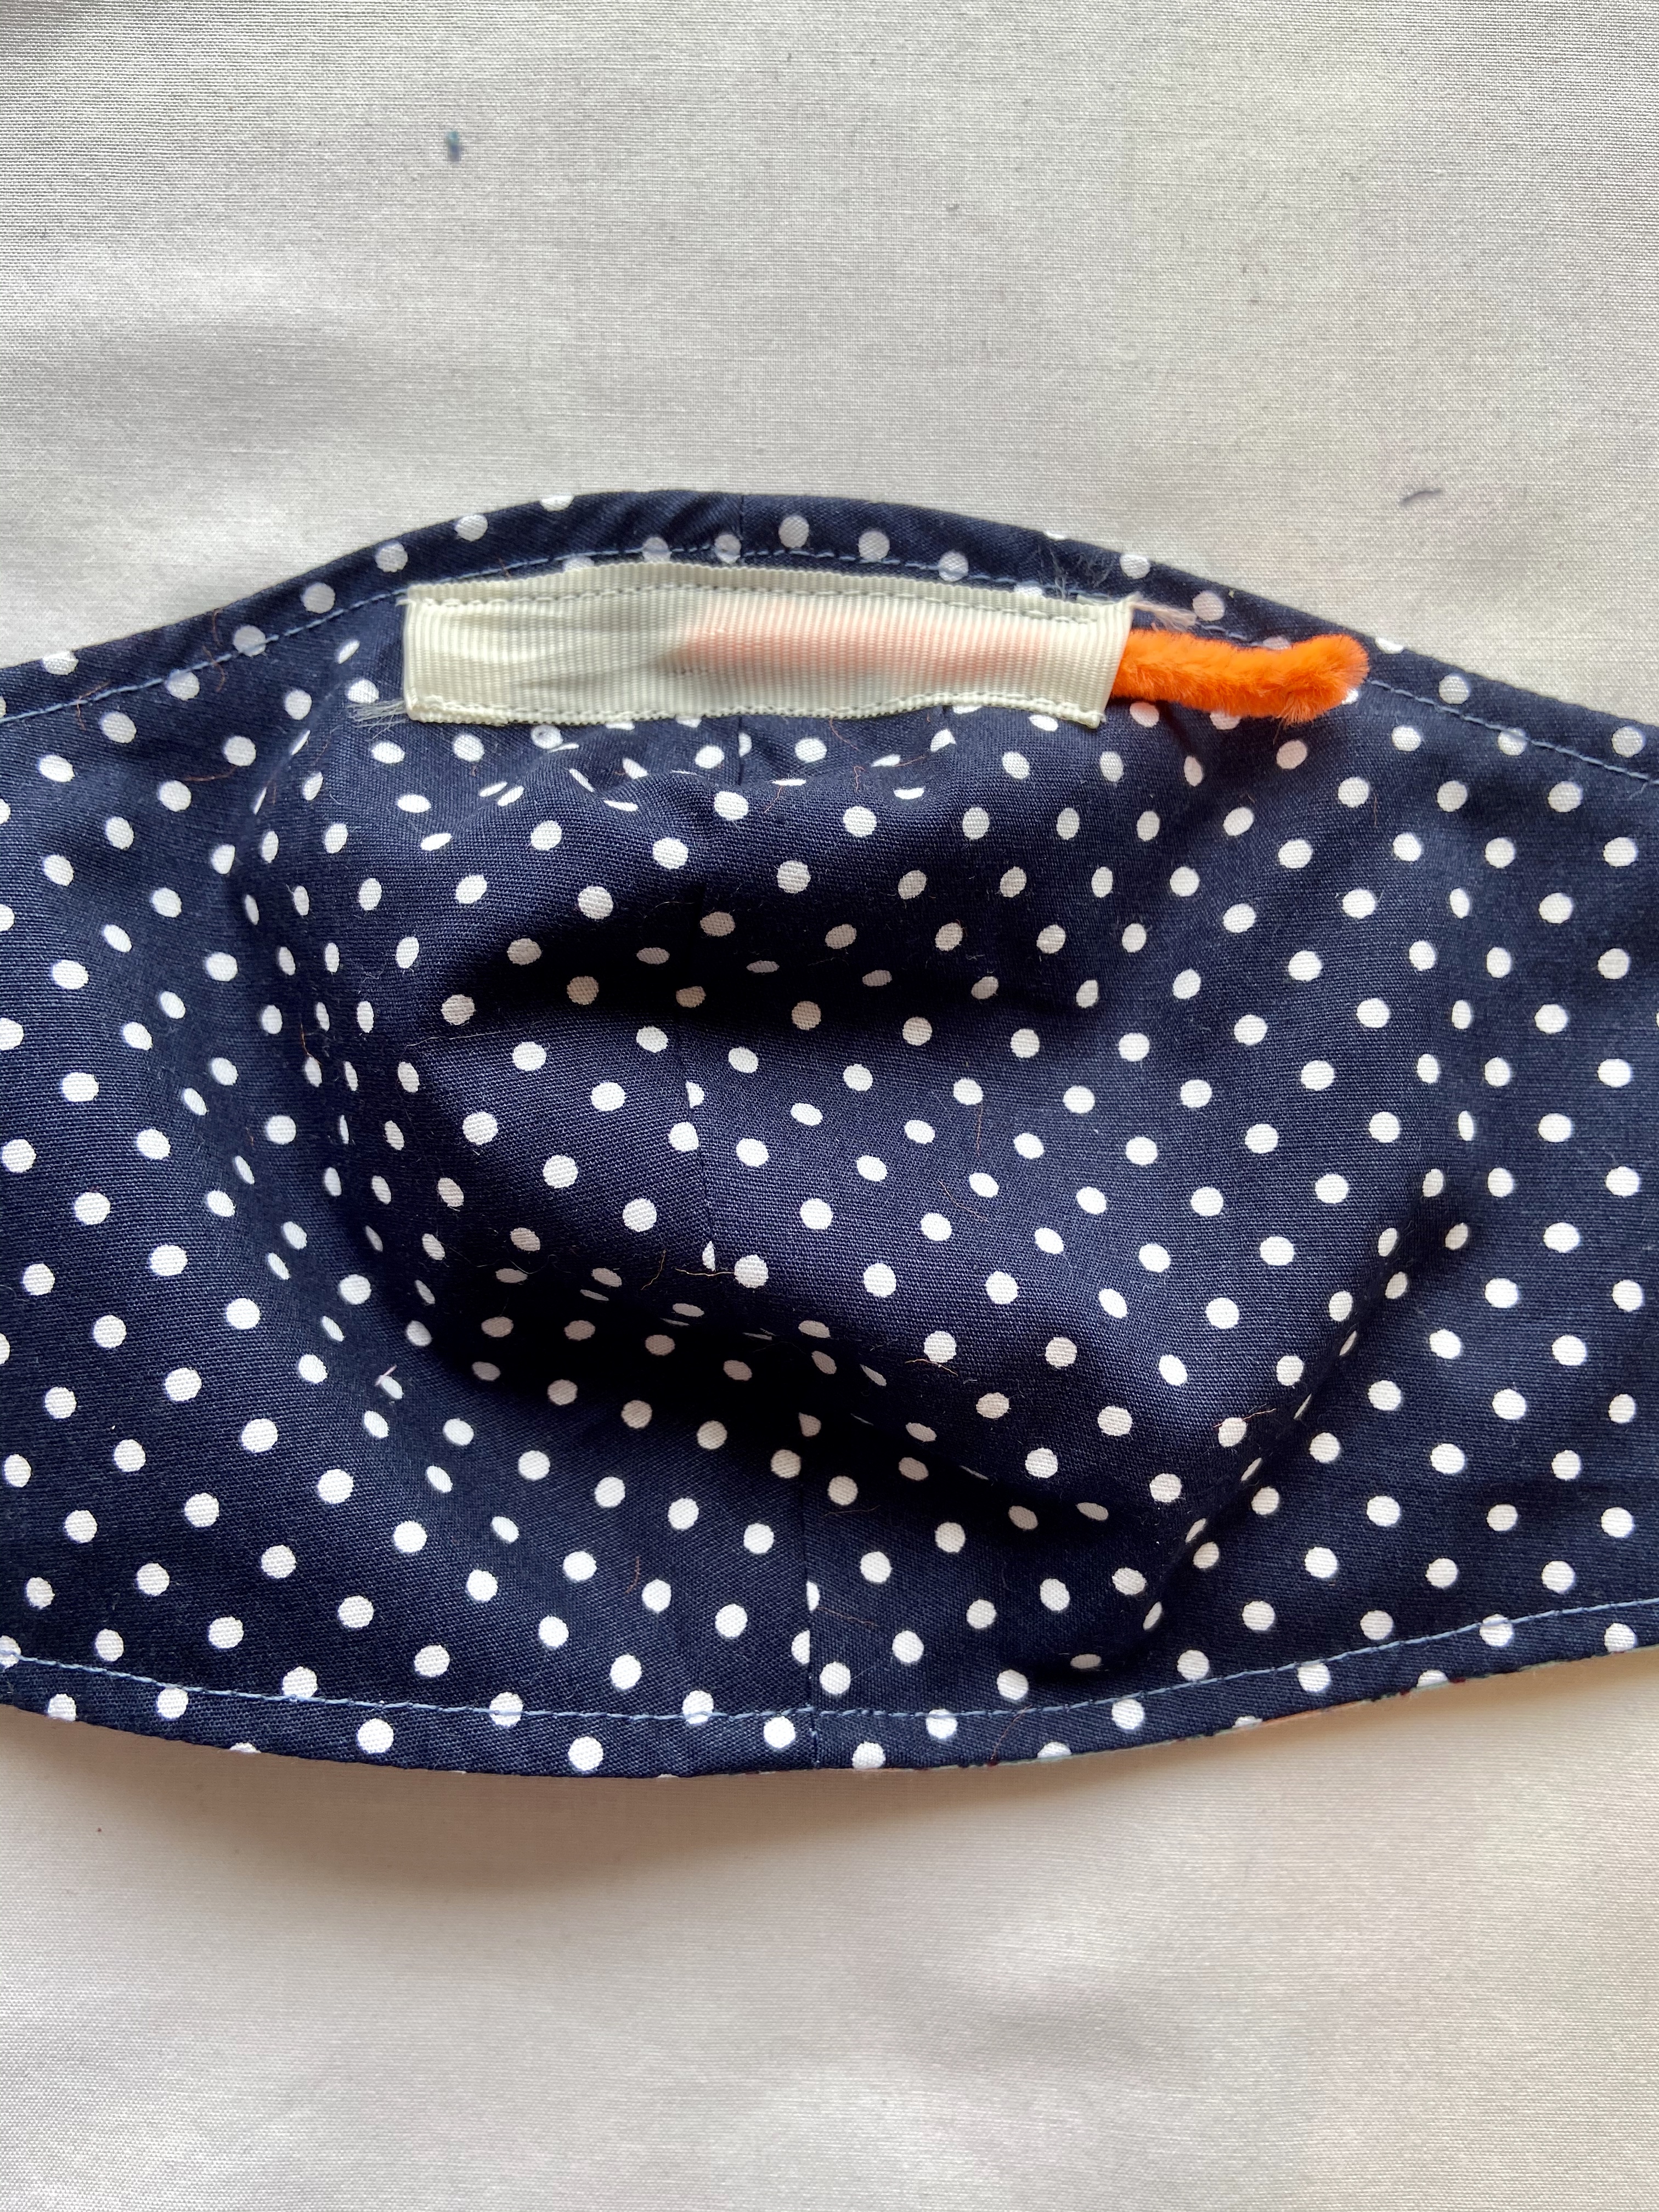
Optional extra – nose bridge wire
You will need (not included in kit)
- narrow tape or ribbon
- pipe cleaner or similar
Cut a piece of tape or ribbon 9cm long
Fold over the ends by about 1cm and press
Pin across the centre on the wrong side of your mask about 0.5cm down from the top edge
Stitch in place close to the two long edges creating a channel
Cut a piece of pipe cleaner about 8cm long
Turn over the ends, so there is no sharp point
Push into the channel made by the tape
You can then either sew over the short ends to secure in place, or leave open
If you leave open remove the pipe cleaner before washing
You can find a quick overview video on our You Tube Channel
We hope that you love our face mask pattern. You can use the pattern over and over again to make masks for friends and family. Just use fabrics in different designs.
Stay safe and happy sewing!