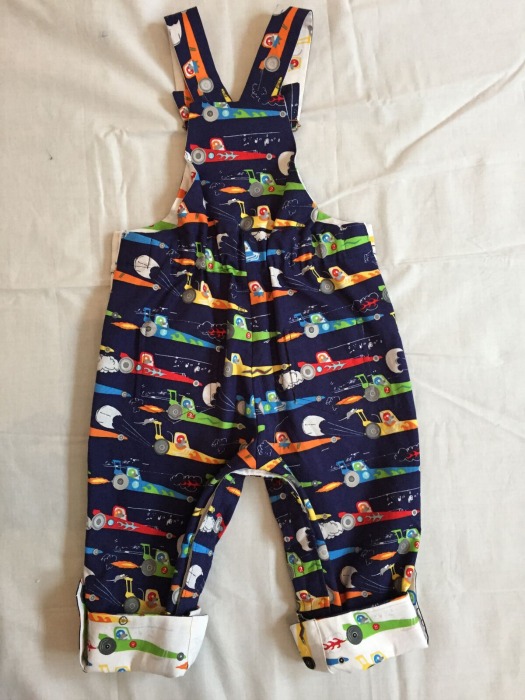
For our second blog post on sewing with 'Two Stitches' patterns, Rachel chose to make the 'Frankie' Dungarees using Michael Miller's - Rat Race Redux fabric in blue and white. These are her thoughts and tips on using the pattern....
First Thoughts:
- Before you start sewing read all the general instructions
- The general instructions are helpful and remind you to wash and press your fabrics before you start – this allows for any shrinkage that might happen with the fabric!
- Measure your child to check the best size to make
- Seam allowances on these patterns are only 6mm (1/4’’) which is much less than the big commercial pattern companies allow.
Preparing the pattern:
I traced the pattern size age 6-12 months (this means I can keep the original pattern as a master copy and make a different size next time) There are quite a few pieces to this pattern so be patient, it is worth it in the end. Take your time when you do this to ensure you follow the right size on all pieces and copy the pieces for the dungarees trousers View A or the dungaree dress View B.
Cutting out:
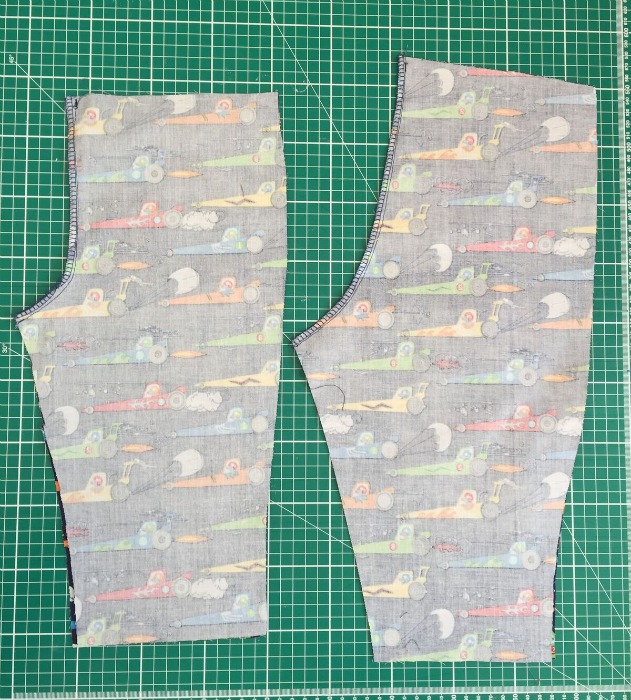
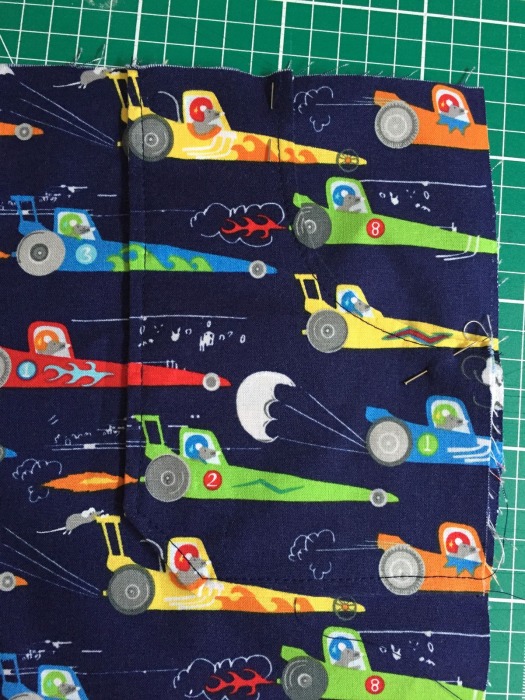
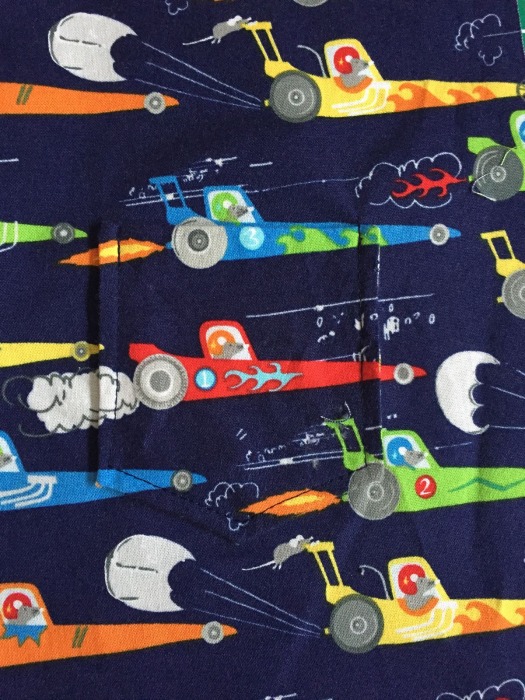
If your chosen fabric has an obvious one-way pattern or bold design spend a bit of time thinking about the best way to lay out your pattern to show the fabric off to its best. The fabric I chose had a relatively big car design on it and I wanted, where possible, to see as many cars as possible and pattern match the pockets onto the trousers so that the cars did not get too ‘disrupted’ and the design lost.
I tried to make sure that I cut out the bib front with a full car in the middle and matched the front and back legs so that the cars lined up at the side seams. I made sure when I cut them out that the bottom of the legs were on the same pattern line on the fabric. You may need to consider buying a bit of extra fabric if there is a lot of patttern matching to do.
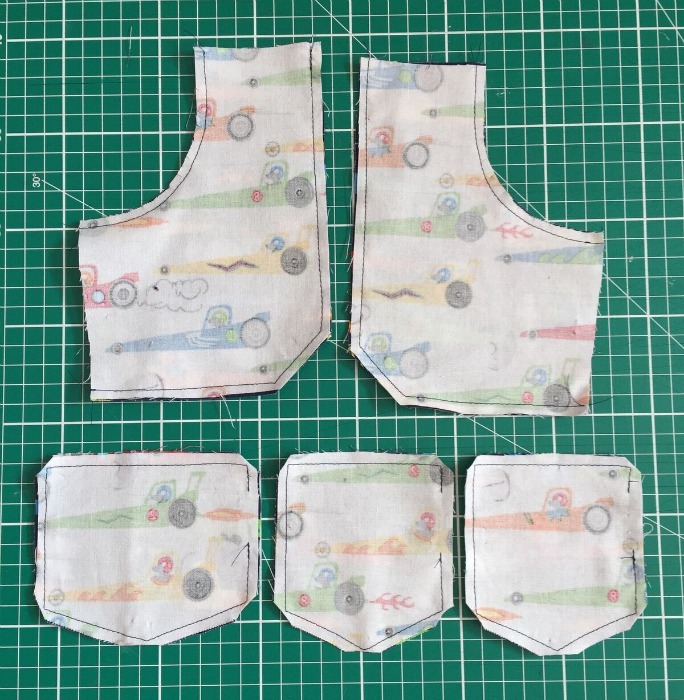
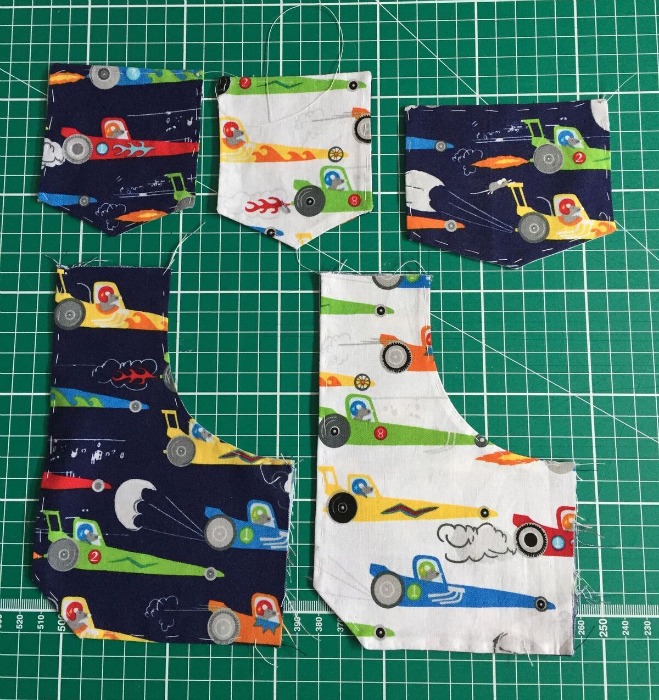
Pattern matching tip:
Cut out the trouser legs and bib front first before cutting out the pocket pieces. Then mark the pocket positions onto these pieces. Place the pocket pattern pieces over the marked pocket placements and trace the fabric pattern outline onto the pocket pattern pieces. Now you can pin the pocket pattern pieces onto the fabric matching the pattern outline drawn. Once cut out they should match up perfectly. You may need to do each trouser pocket separately.
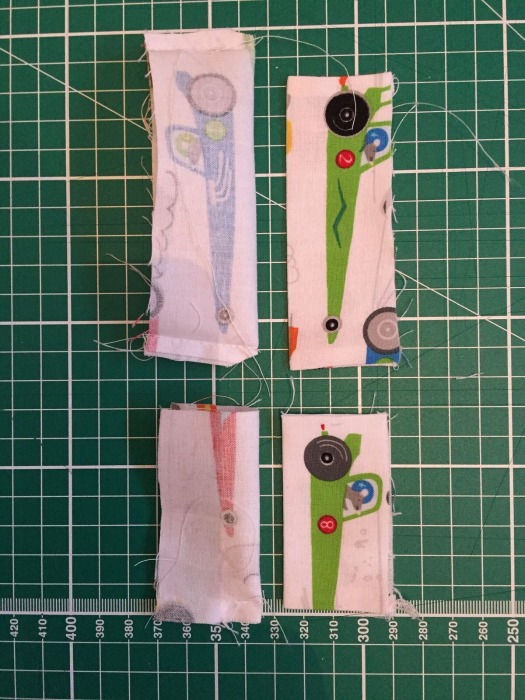
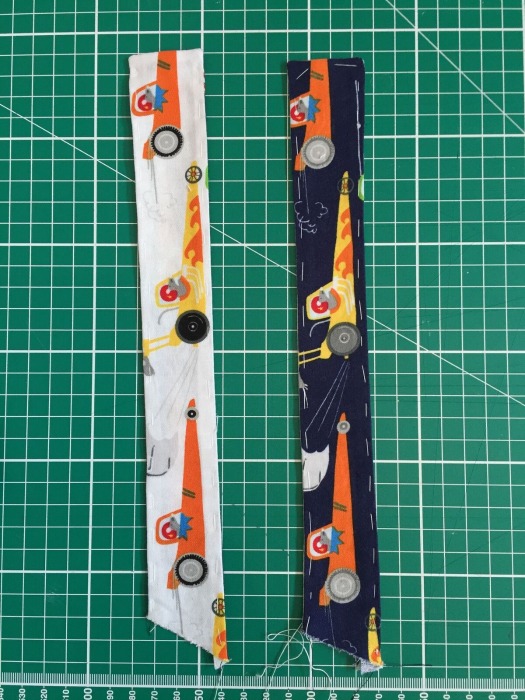
I also decided to cut the shoulder straps with the cars running down the strap so that I could get a full car shape visible so these I cut out at right angles to the grain.
After the above considerations lay the pattern out on the fabric as shown in the instruction booklet or with your adjustments for the fabric you are using. Make sure you take note of the grain line arrows or fold line markings.
Then cut out carefully and accurately (don’t forget to cut the notches – I cut outwards not into the seam) time spent doing this makes all the difference when you start sewing.
I found the instructions clear and fairly straight forward so this blog really just shows a lot of the steps in photos which may be helpful if you are a newish sewer. I have also added a few tips that I think help a bit.

Making up
The following numbers match the numbered diagrams in your booklet.
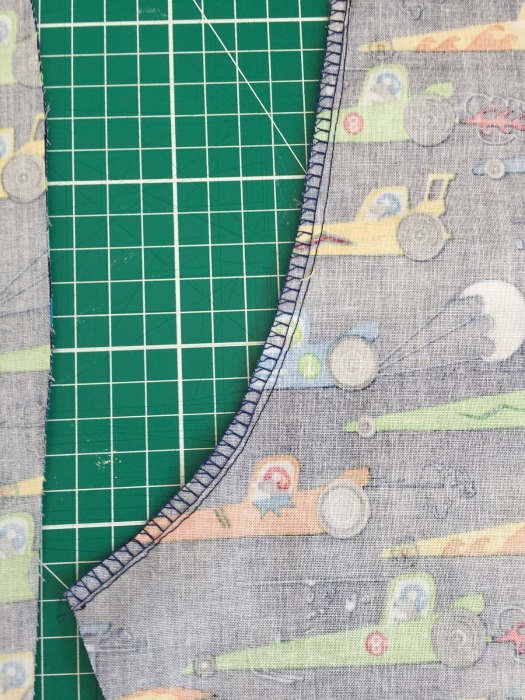
1. View A crotch seams
2. Pockets
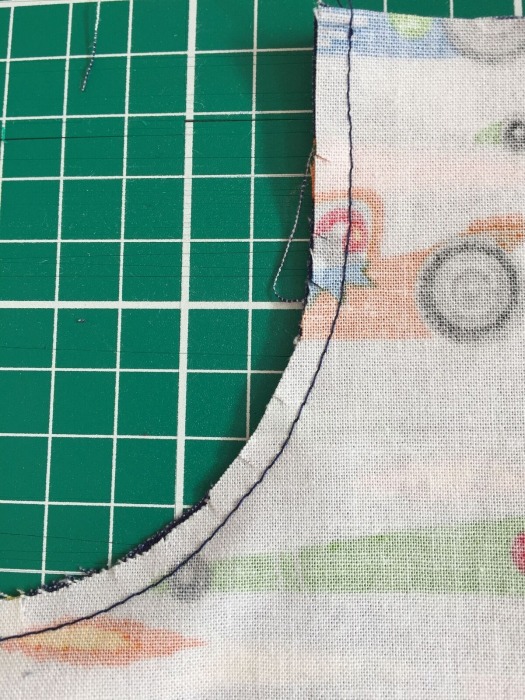
Don't forget to leave a small gap on the back and bib pockets to turn them out. Snip the curved seams and corners
Tip:
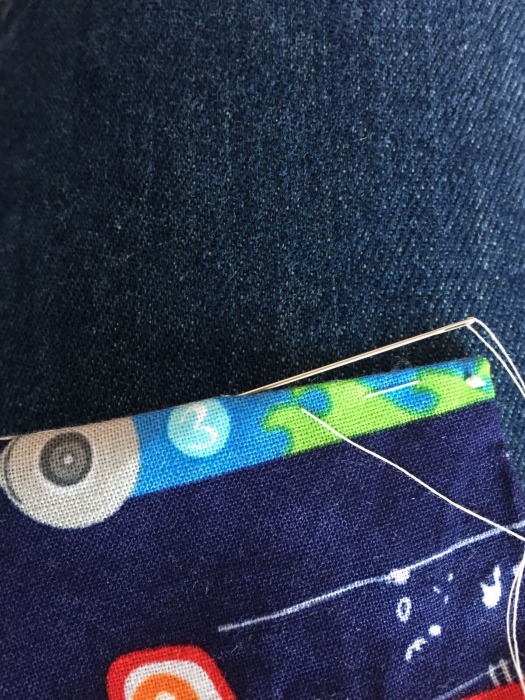
When you turn out the pockets use a small pair of scissors to gently push out the corners, then use a needle to ‘pull out’ the seams and tack in edge before pressing – gives a really neat crisp edge.
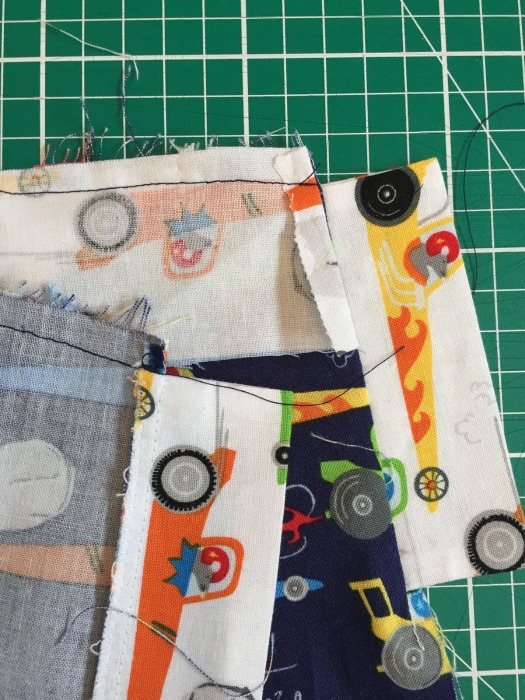
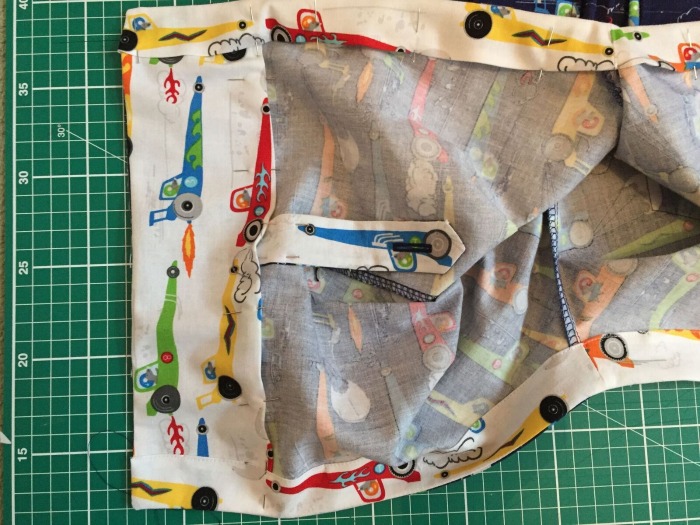
3.Topstitch the curved edge of the trouser pocket then pin and topstitch in place. You can see how my pattern matching works here on the pockets
4.Topstitch the top of the back pockets and pin and topstitch in place.
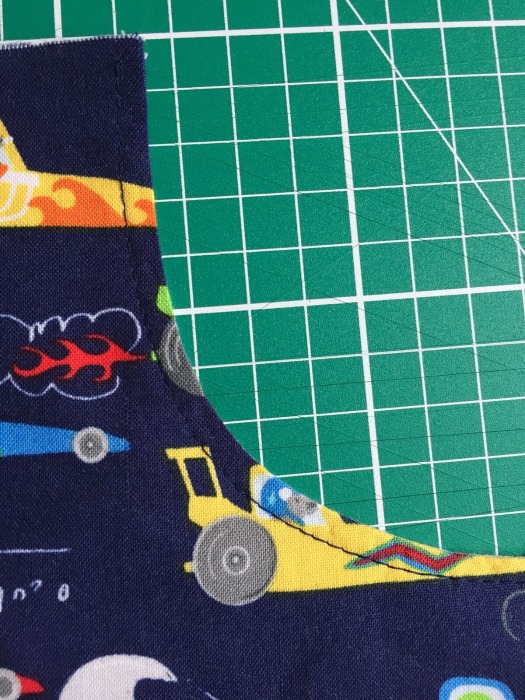
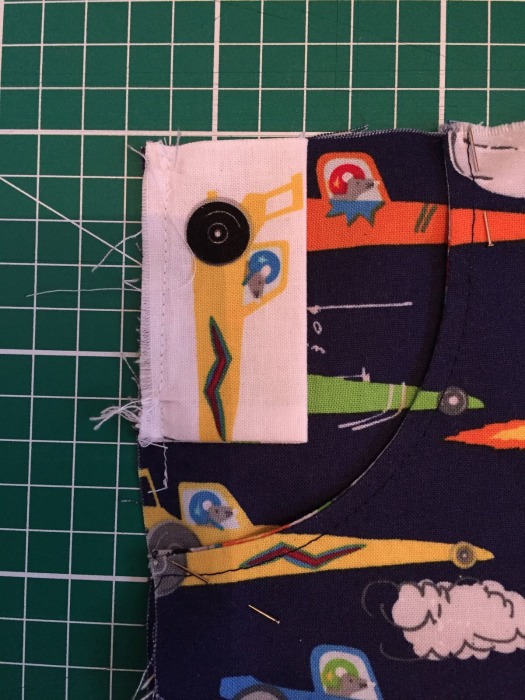
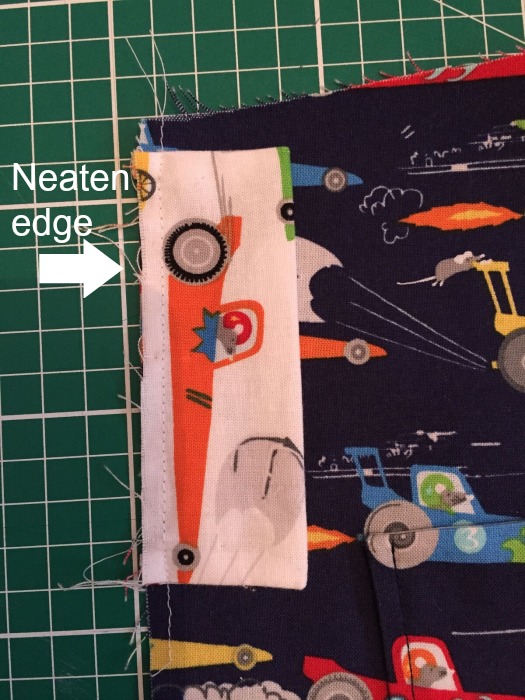
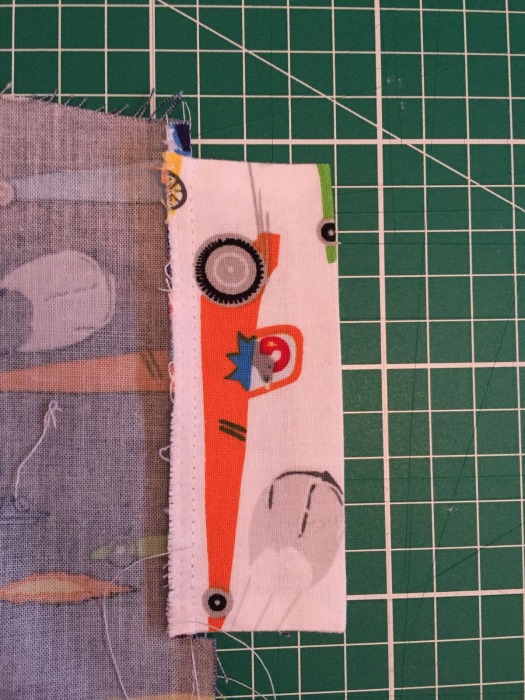
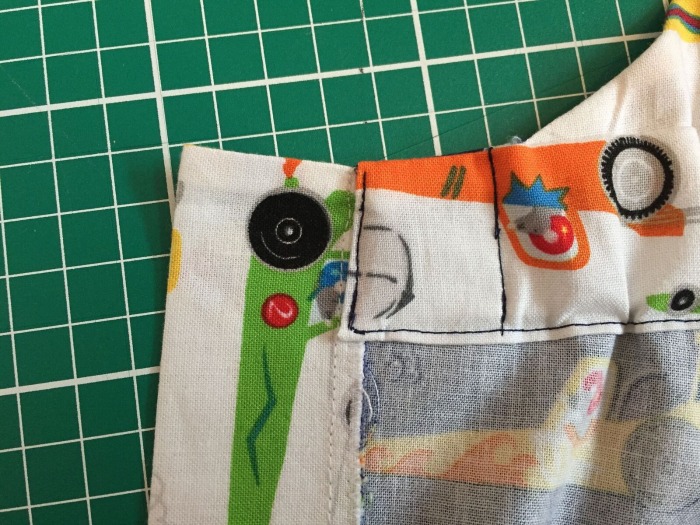
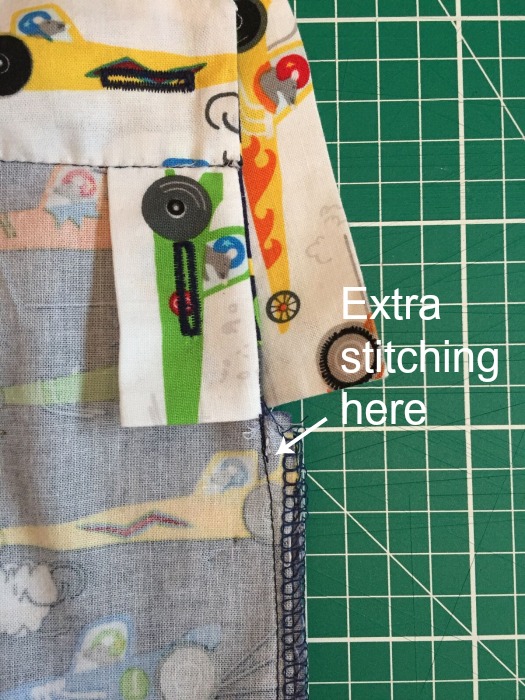
5. Button plackets
6. Tip: When sewing the plackets in place continue for a few stitches below the bottom of the plackets so that the seam where you make the small snip at the bottom of each placket is strengthened. Neaten edge of back placket when sewn in place.
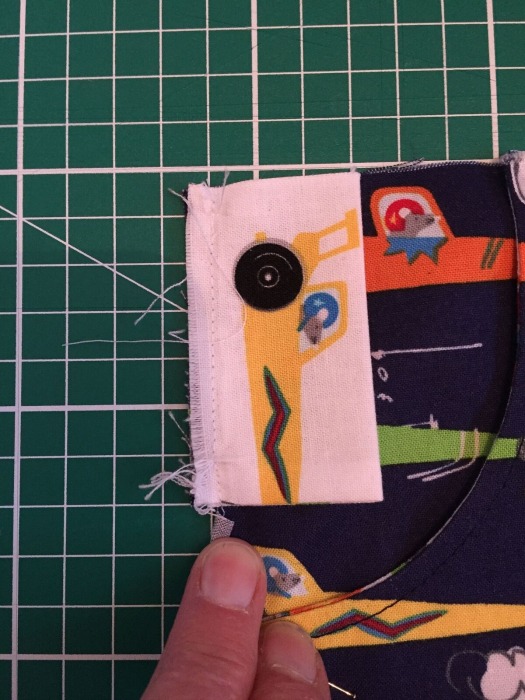
Front placket
Back placket
Snip all plackets to stitching
Press plackets
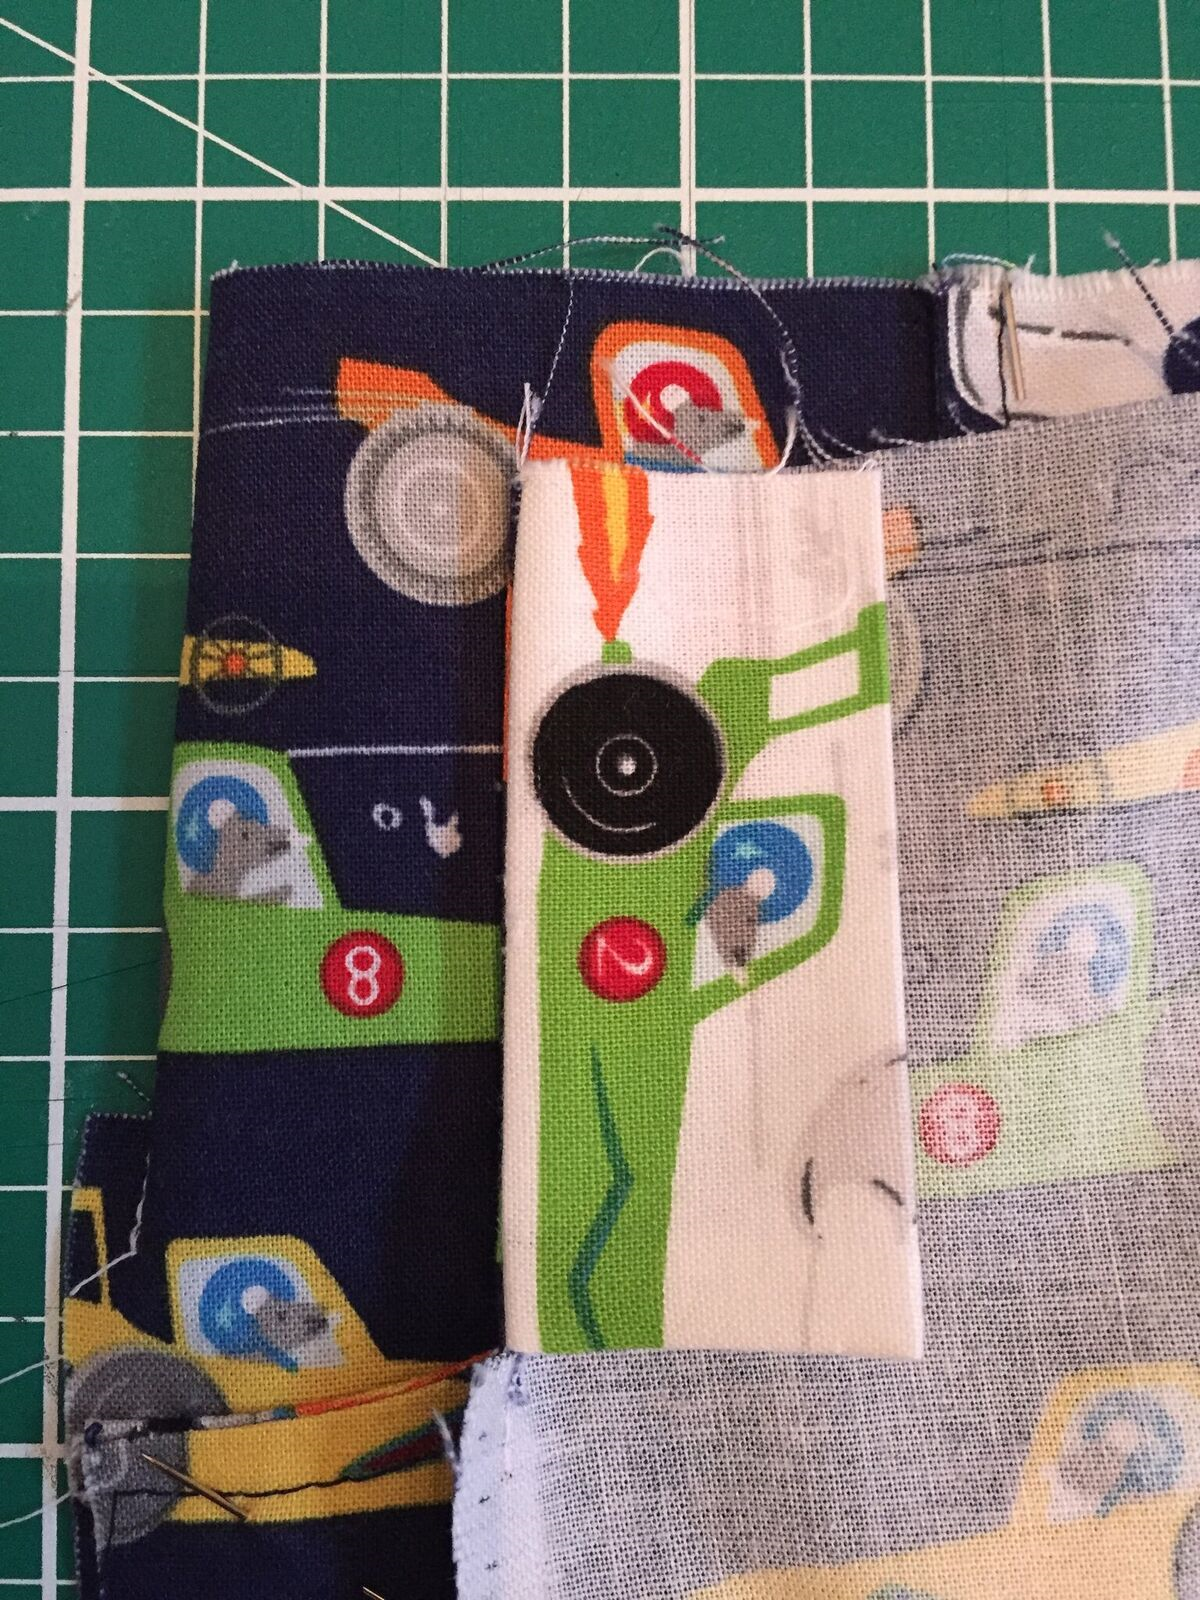
Front plackets toward wrong side
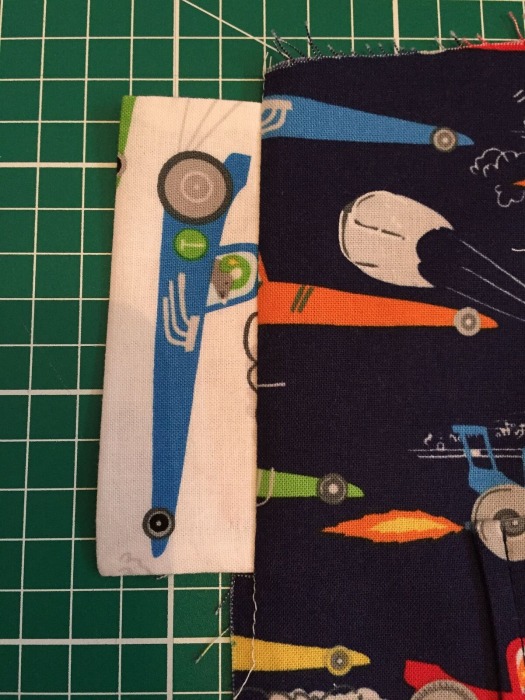
Back plackets flat out
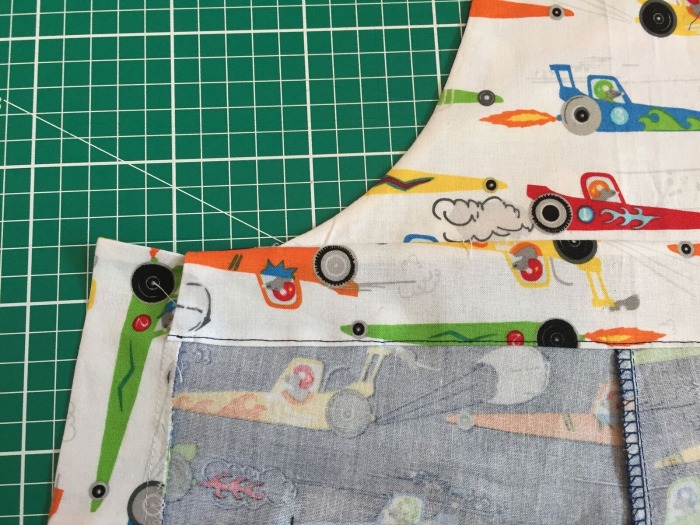
7.Bib Pocket
Top stitch and attach as with back pockets
Sew two rows of gathering stitches between front pockets
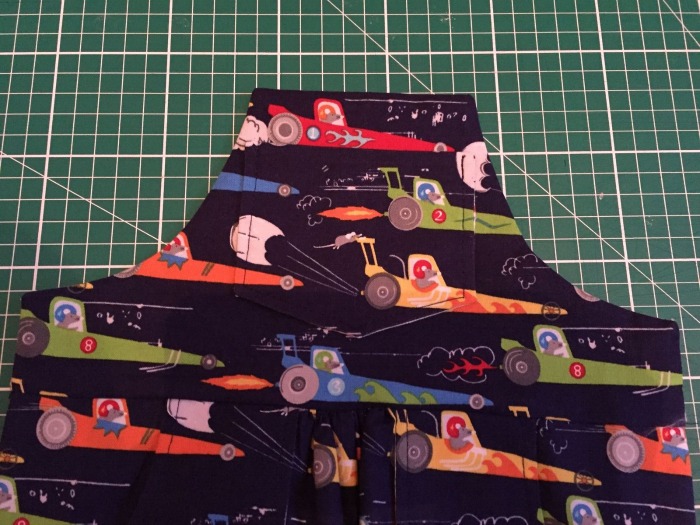
8.Attaching bib.
Tip: after attaching the bib point 10 tells you to make buttonholes on the the side opening. I did this as the pattern instructed but I think it might be easier to make the vertical buttonhole in the placket before attaching the bib. My machine did not like the seam where the bib attached to the trouser – it’s quite thick and interfered with my buttonhole foot a bit. I manged in the end but that’s why it might be easier to do first, but if you do, remember to allow for the seam when centring the buttonhole.
Follow the instructions, matching the centre notch to the crotch seam and making sure the bib piece extends beyond the top of the trousers equally on both sides. Sorry forgot to take a picture of this step.
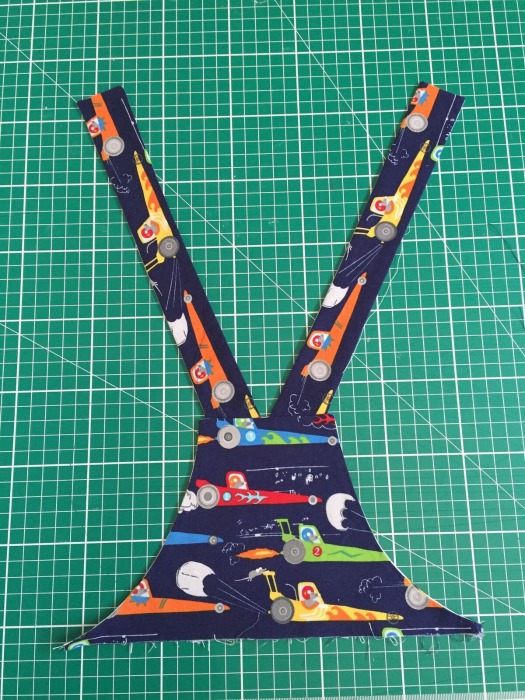
9.Bib lining attached to bib.
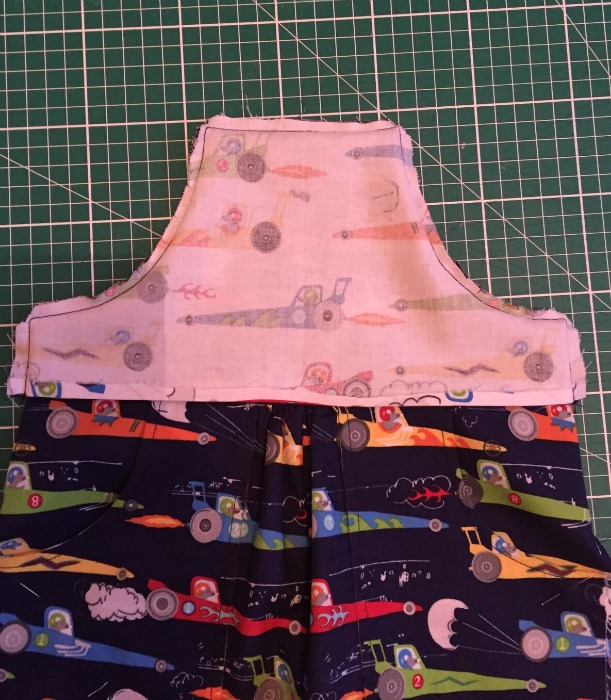
Bib turned out

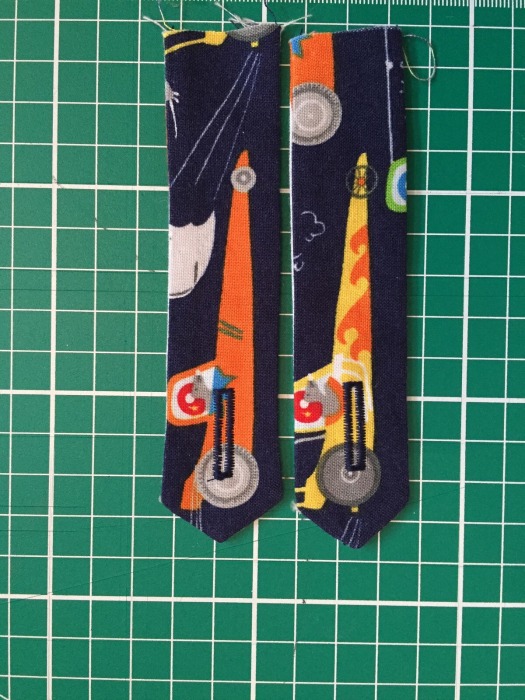
10. The two buttonholes
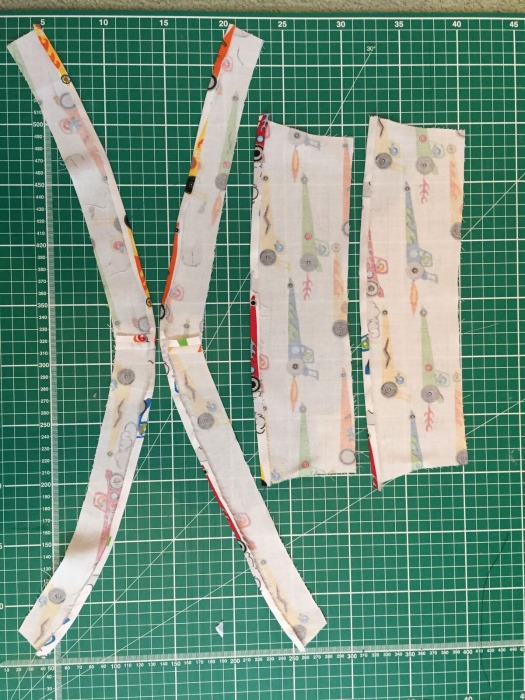
11. Make the straps
12. Sandwich between bib pieces and sew in place as per instructions

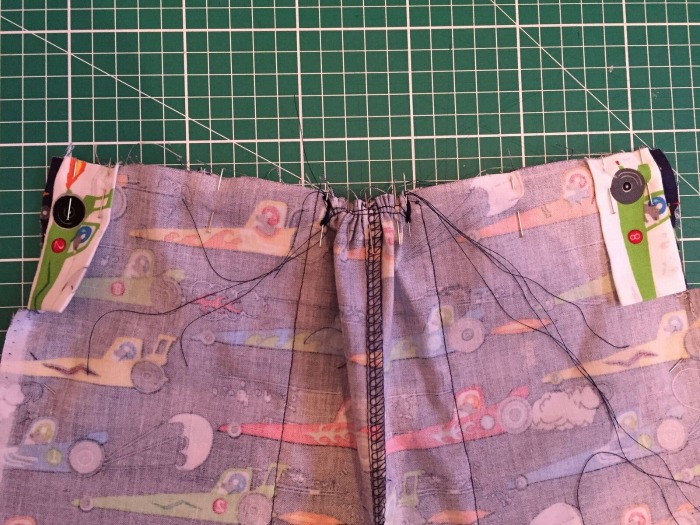
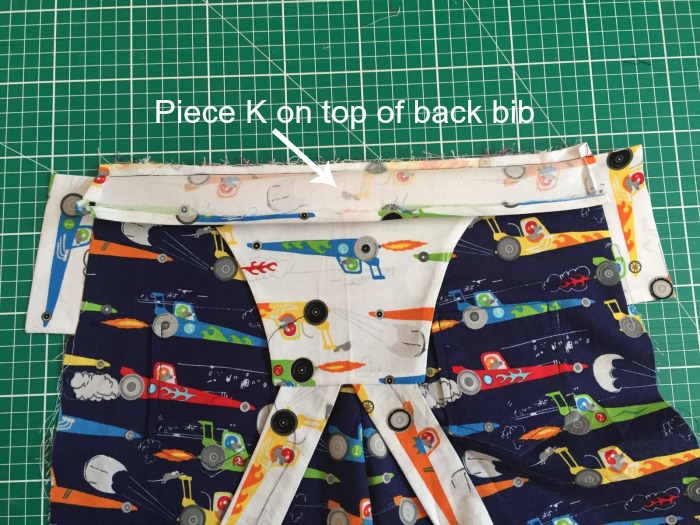
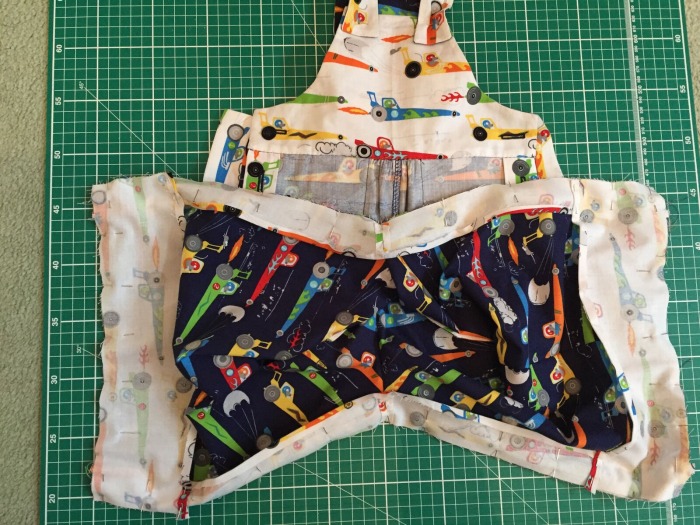
13. Back facing for elastic - looks a bit complicated but read it carefully and look at the diagrams and these photos and it should all go together nicely
14. Elastic casing pressed over to wrong side of trousers and sewn in place.
15. Cutting elastic to length.
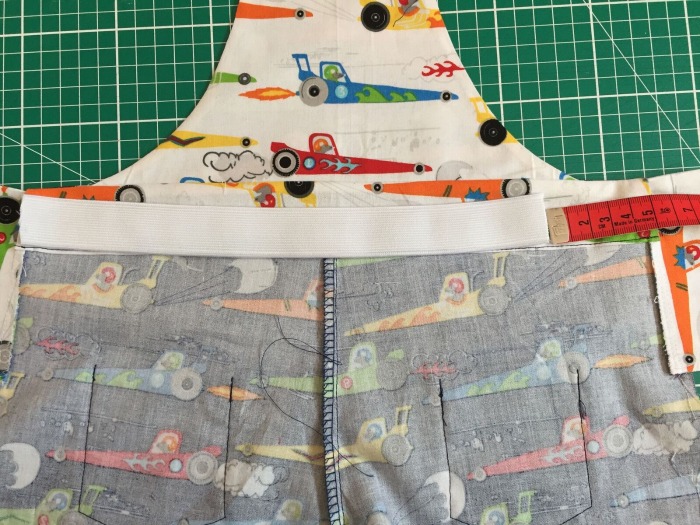
Tip: Sew elastic in place then trim excess so it does not stick out before sewing casing shut.

16.Stitch front to back.
Tip: Do a few extra stitches back and forward just below the placket to strengthen the seam
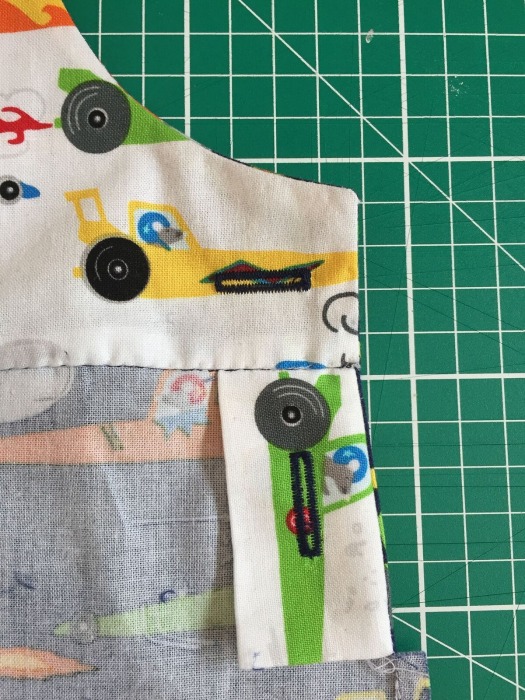
17. Make button tabs
18. Prepare leg facings
19. Tip: Match the crotch seam with the seam on the leg facings first when you start pinning. Then pin turn up facings on top.
20. After stitching facings turned out and pined with tabs pinned in place between trouser and facing.
21. I used popper tape for my dungarees. I pinned this along the edges as shown in the photo and topstitched in place. Make sure the front leg overlaps the back leg.

22. Fold up turnups and sew buttons under all buttonholes and admire your lovely dungarees!